Looking for a Blacksmithing Guide? Follow along with our free video series and learn how to become a blacksmith.
Forge ahead with a new hobby in forging with this intro to blacksmithing video! Sorry for the pun, it's just not everyday that you get the opportunity to learn how to forge something. In this video lesson series, you'll do just that.
We created this amazing, free video series, which will walk you through just about everything you could possible need to know about how to start your new forging hobby. We wanted to show you how to forge just like the professionals by working with one of the top forgers and certified horseshoer in the country, Armando Herrera.
In order to get you the you the very best, first hand knowledge, we slapped on our forging aprons, pack up the gear and went out to Adams Forge in Los Angeles to get a forging lesson. We learned A TON and we're confident that in these FREE VIDEOS, our horse shoer Armondo Herrera will walk you through everything you need to know about forging. Things like:
- Forging safety
- Anvil advice
- Hammer and heat tips
- Career advice
- How to hot chisel
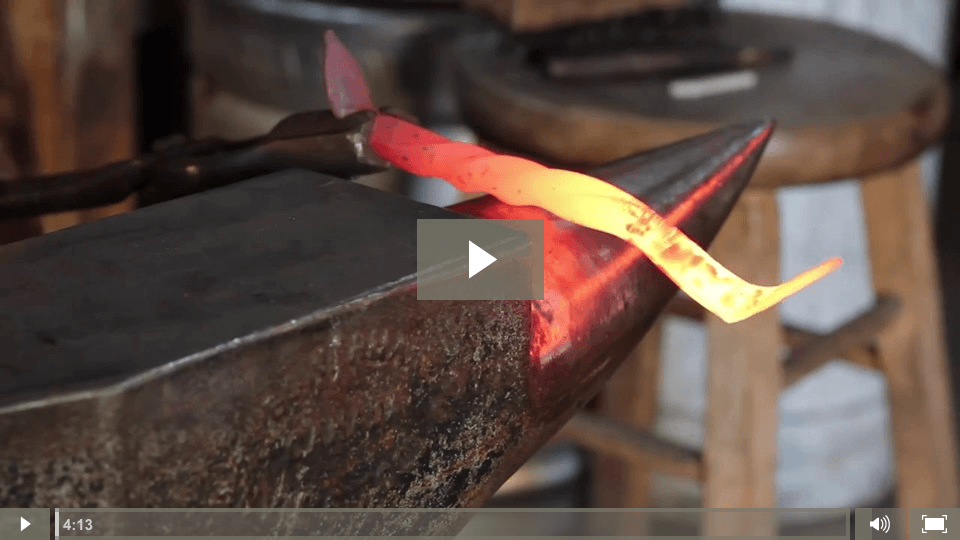
- How to forge a twisted handle
- The forging business
- and so so much more!
VIDEO Blacksmithing Guide | Intro to Blacksmithing
In this free blacksmithing guide, you will get one-on-one training from our blacksmithing experts, no matter whether you just want to try your hand at blacksmithing for fun or are seriously considering entering the world of professional blacksmithing.
You’ll meet Armondo Herrera, a certified horse shoer and forger. Armondo will cover everything you need to know about forging. He'll cover things like safety, anvil differences, blacksmithing culture and how to get a blacksmithing apprenticeship. Then he'll teach you some different techniques for bending metal and making an anvil.
So, what are you waiting for??? Start blacksmithing like the pros! Watch the course straight through or in any stages you like.
Lesson 1: Blacksmithing Guide | Forging Safety
We can't stress enough how important it is to practice safety in blacksmithing. In this first lesson, you'll learn from our expert Armondo about how to practice safety when handling your blacksmithing tools. You learn things like how to light the kiln with safety, and some helpful tips and tricks to get the most out of your safety skills. We really got a powerful sense of the work that goes into running an operation like this. We don’t really think about it when we shop around for outdoor furniture or other metal made objects. So, step into the blacksmithing world with us, so you can proceed into this free blacksmithing how to video series and start blacksmithing just like the pros!
In this video:
- Safety tips, tricks and techniques.
- Why safety is so important.
- How to light your kiln with a butane lighter.
- How to handle your kiln tools.
- And much more.
Lesson 2: Blacksmithing Guide | Anvil Advice
In the next lesson of our blacksmithing guide, we continue speaking with Armondo about the right way to use an anvil. Armondo discusses how to use an anvil for efficiency and how to conserve energy using the anvil correctly. We also get to see a side by side comparison of an anvil that is great and one that's not so great, so you can see the difference. Armondo goes through the process of how the hammer should fall and bounce back, maximizing your energy. We were shocked to learn that not all anvils are the same, in this video you'll see the right way and wrong way to use an anvil. You'll also learn how to take care of your anvil. It's pretty fascinating if we say so ourselves, so be sure to continue onto the next lesson, check it out!
In this video
- How to swing your hammer on the anvil.
- How Armondo correctly uses an anvil to hammer out metal.
- The difference between a good anvil and a bad anvil.
- The right way to use an anvil.
- The right way to use a hammer.
- How to listen to your anvil.
- And much more.
Lesson 3: Blacksmithing Guide | Career Advice
In our talks with Armondo, he mentioned that it's simple to get going as a blacksmith. How incredible would it be to become your own blacksmith?? Through lots of reading and maybe taking a few classes, you can get started practicing at home and in class. By taking pictures of things you have crafted in your home or at school, you may be able to link up with a blacksmith and get yourself a blacksmithing apprenticeship! From there it's all about respect for the craft. In this video, Armondo talks about earning a blacksmith's respect in order to really start earning a living, working in a blacksmithing shop. Blacksmith's don't like to have their time wasted, so it's important to know that they won't just train anybody. They want to make sure that if they're going to invest time in training you, that you'll be around for a while. He also talks about things like reaching out to local blacksmithing unions for help with landing a great blacksmithing apprenticeship. In this blacksmithing guide, you'll learn so much!
In this video:
- How to start your blacksmithing career.
- Getting a job in blacksmithing.
- The distinct personalities blacksmith's have.
- How to seek out apprenticeships.
- Beginning blacksmithing at home .
- How taking pictures of your creations can lead to a job in blacksmithing.
- And much more.
Lesson 4: Blacksmithing Guide | Hammering Tips
If there's one thing Armondo knows, it's blacksmithing! What's blacksmithing all about? Well, you're essentially heating and molding metal. The only real way to do this is with heat. In this blacksmithing guide, Armondo is going to teach you a few things about heat. He's also going to show you some different techniques for hammering out your metal. You'll also learn how to gain energy out of an inanimate object, an anvil. People tend to think these things are useless, in this video you'll get to see what an anvil really does and how to use it properly with your hammer. It's not all about max power either. Armondo talks about constraining your energy through a 10 hour day of swinging the hammer. With his techniques, you'll learn how to wield a hammer all day long! In this blacksmithing guide, you're going to learn so, so much about the art form. Continue with the lessons to keep the learning going!
In this video:
- How to position your body while hammering.
- How hammer your metal.
- How to heat your metal.
- What it means to use an anvil's energy.
- Essential techniques for longevity.
- Heating 101.
- And much more.
Lesson 5: Blacksmithing Guide | How to Make A Hot Chisel Part I
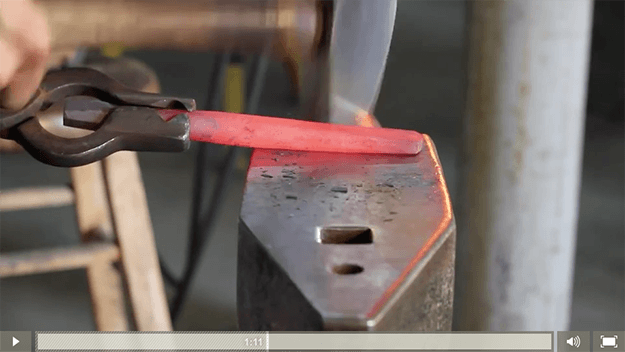
Now that you've learned some tips and tricks for heating and hammering your metal, Armondo is going to start teaching you how to make a hot chisel. It's time to put that knowledge to work! We hope you're ready to dive in and get blacksmithing! In part 1 of this video, Armondo talks about repurposing old metal from oil machinery to make a hot chisel. He's also going to show you what the dimensions of a hot chisel should be, and break down what you exactly use a hot chisel for. If you don't know the difference between a hot and cold chisel, don't worry, he'll cover that as well. This is just the beginning! Make sure you continue onto the other parts of the video and follow along and take notes, because you can do this! Take a look at the next video in this blacksmithing guide!
In this video:
- Learn how to start making your basic hot chisel.
- Secrets to make a comfortable chisel.
- How to repurpose old steel into a chisel.
- The difference between a hot chisel and cold chisel.
- The correct angle for for a hot chisel
- The importance of the correct angel.
- And much more.
Lesson 5: VIDEO Blacksmithing Guide | How To Make A Hot Chisel Part II
In part 1 of this lesson, Armondo started teaching you how to make a hot chisel. Now it's time to continue on with the process. Let's dive into part 2! In part 2 of this video, Armondo talks about how to make an octagon style handle. He's also going to show you how to mold the handle of the chisel and how to use different parts of your anvil to round out the shape. See, you're already starting to put the anvil knowledge to good use on your chisel shaping. You'll also see Armondo utilize the horn of his anvil to make a oval shape to his handle to give you a great grip. If you're curious about heat, he'll show you how to tell when it's the right temperature as well. Make sure you continue onto the other parts of this blacksmithing guide, follow along and take notes!
In this video:
- Taking lessons we learned in part 1 and applying them furthermore.
- Secrets to make a comfortable chisel.
- How to read the color for temperature.
- Different metals taking different heat for molding.
- Molding a chisel handle
- How to make an octagon style butt-end.
- And much more.
Lesson 5: Blacksmithing Guide | How to Make A Hot Chisel Part III
Alright, so in part 2 of this lesson, Armondo taught you how to heat and begin shaping your hot chisel. Now it's time to continue on with the blacksmithing guide. Let's dive into part 3! In part 3 of this video, Armondo talks about how to hammer out the tip of your chisel. He's also going to show you how to mold the chisel tip and how to use different parts of your anvil to round out the shape. As he's hammering away on his chisel, take a look at how the color goes from a high heat yellow, to a lower heat red and then back to its original grey color as it cools even more. It's so fascinating to see the metal becoming so hot that you can shape it. We're sure you agree! Continue on to part 4 and see how Armondo wraps up the hot chisel making process and smooths out all the edges, except for the tip which will be essential in chiseling. Continue on furthermore with the rest of the free blacksmithing guide to see what else Armondo has in store for you future blacksmiths!
In this video:
- Taking lessons we learned in part 2 and applying them furthermore.
- Learn how to brush off slag.
- See first-hand, the color difference between yellow and a cooler, red.
- Hammering the tip.
- Molding the edge for filing into a sharp edge.
- How to hammer the tip of your chisel
- And much more.
Lesson 5: Blacksmithing Guide | How to Make A Hot Chisel Part IV
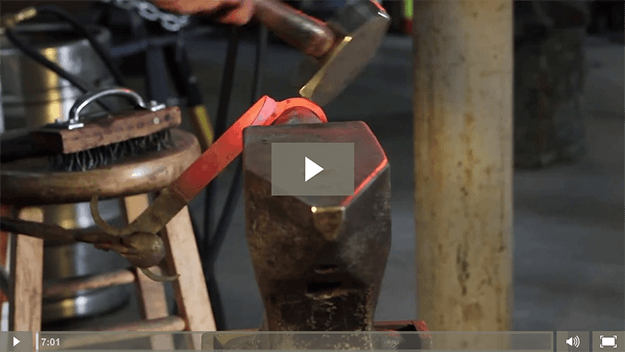
In part 3 of this lesson, Armondo taught you how to begin shaping your hot chisel. Now it's time to wrap up the Hot Chisel and continue on with the blacksmithing guide. Let's dive into part 4! In part 4 of this video, Armondo teaches how to hammer out the tip of your chisel, creating a sharp angled tip. He's also going to show you how to mold the chisel tip and how to use different parts of your anvil to round out the shape. You can really see the metal spread out as he hammers away. He takes time to file away excess slag to keep the chisel smooth. Now that you have the knowledge needed to make a hot chisel, make sure you continue on furthermore with the rest of the free blacksmithing guide to see what else Armondo has in store for you future blacksmiths!
In this video:
- Taking lessons we learned in part 2 and applying them furthermore.
- Learn how to brush off slag.
- See first-hand, the color difference between yellow and a cooler, red.
- Hammering the tip.
- Molding the edge for filing into a sharp edge.
- How to hammer the tip of your chisel
- And much more.
Lesson 6: Blacksmithing Guide | How to Make A Corner Brace Part I
Welcome to lesson 6 in the blacksmithing guide! You just learned some safety techniques, career advice and how to make a hot chisel. You're going to be putting those skills to use now in this lesson. Armondo is going to walk you through the process of creating a corner brace, using your kiln and hot chisel to make a corner brace for your anvil. If you're thinking, “Why do I need to know this??”, well, keep watching because our expert blacksmith Armondo is going to break it down to you, while he makes it. You can, he was very smart in marking his metal with guides, so as he goes on making this brace, he will be accurate with his bending. We think you're really going to dig how this thing turns out in the end! Be sure to continue onto the other parts of this lesson, as well as the rest of this blacksmithing guide!
In this video:
- Take our hot chisel that we made in lesson 5 and put it to the test.
- Learn about Armondo's ball vice.
- Learn how to mark your metal.
- How to split metal .
- Learn how to split metal with metal.
- The importance of marking your points.
- And much more.
Lesson 6: Blacksmithing Guide | How to Make A Corner Brace Part II
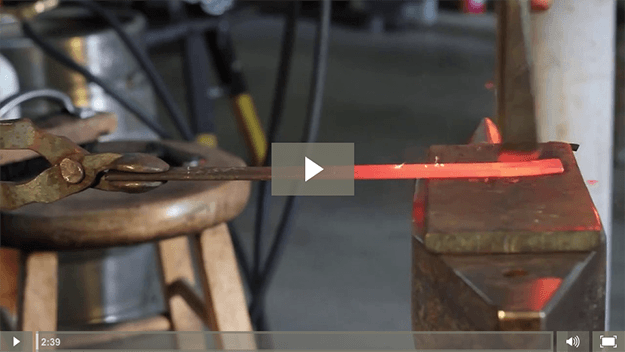
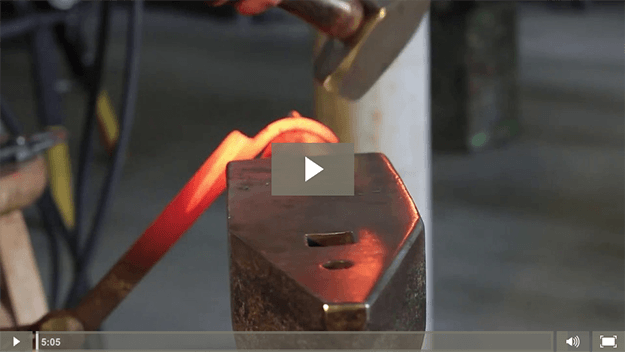
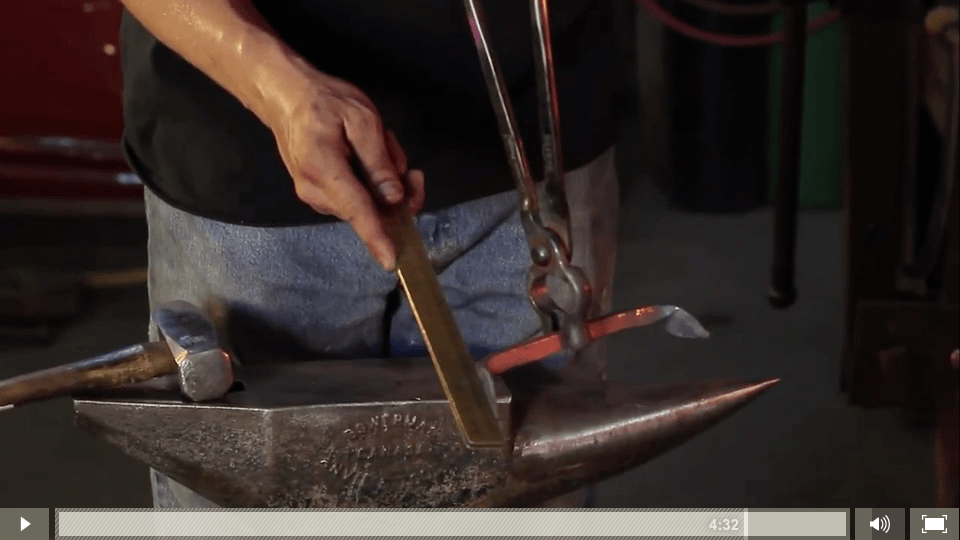
Alright so you just learned the beginning process on how to create a corner brace. Now you're going to see this thing start to take shape. You'll see as our expert Armondo gets the metal a nice bright yellow, he's able to bend the metal over the anvil horn. This is going to make it so he can start to taper the split metal down and curve it at the same time. I know, it sound confusing, but you have to see it done, it's a lot easier than you may think! See you're still putting those lessons you learned earlier in the blacksmithing guide to good use. The anvil horn is a great tool for creating things like this. You'll see Armondo bend the metal twice over the anvil horn and how he uses his kiln to reheat his metal to keep manipulating it.
In this video:
- Learn about color temperature of metal.
- How to taper a metal edge.
- Heating and reheating to work on different parts.
- How to split metal.
- Learn how to use an anvil horn to curve metal.
- Metals breaking point.
- And much more.
Lesson 6: Blacksmithing Guide | How to Make A Corner Brace Part III
In this video our awesome blacksmithing guide, Armondo will show you in detail, how to use the anvil to taper and bend the curled edges that he created in part 2. If you're not getting the itch to start blacksmithing yet, this is sure to get you going. To us, it's really cool to see a simple plank of metal transformed into a beautiful curved, tapered piece of functional art. Armondo really knows what he's doing, you can see he's done this a million times. You can get to the same point with practice! Continue watching these blacksmithing guide lessons to see what else Armondo has up his sleeve. In the last part of this lesson, you'll see how Armondo finishes with the corner brace. In the next video he puts two holes for mounting into the metal. It's fascinating, trust us! After part 4 of this lesson, be sure to continue to Lesson 7, How to make a Twisted Handle.
In this video:
- Learn the importance of even heat.
- How to taper a metal edge.
- Heating and reheating to work on different parts.
- Preparing the brace for the next step.
- Learn how to use an anvil horn to curve metal.
- step by step instructions for tapering metal.
- And much more.
Lesson 6: Blacksmithing Guide | How to Make A Corner Brace Part IV
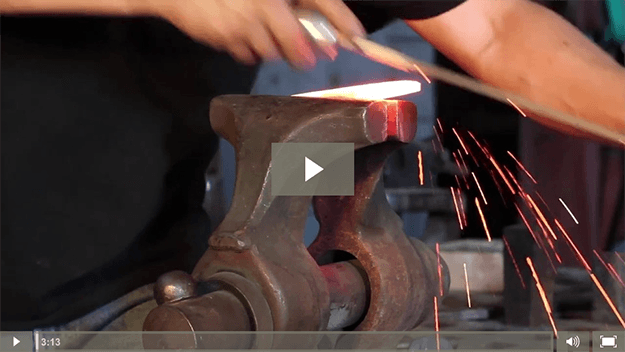
Are you ready to finish Lesson 6 of the blacksmithing guide? Well this is the last video in the this lesson. Here, you'll see as Armondo uses a vice to bend the corner brace into a 90º angle. It's fascinating to see him heat, what was a single plank of steel, and then bend effortlessly into a hard angle. Our expert Armondo will also show you how he uses a tool to hammer each side of the steel to create a mounting hole for the bracket. This bracket would be great to support an island counter or any type of solid wood block of some sorts, like say… an anvil mount? Make sure you continue onto the next lesson, Lesson 7: How to Make a Twisted Metal Handle. In that lesson, Armondo will teach you how to use the vice to literally twist steel. It's really cool, trust us!
In this video:
- How to bend metal in a vice.
- How to hammer a hole in metal.
- When the vice is tight enough.
- Make a corner brace.
- Uses for a corner brace.
- Metals breaking point.
- And much more.
Lesson 7: Blacksmithing Guide | How to Make a Twisted Steel Handle Part I
Let's make a twisted handle! In this lesson, you'll do just that. In lesson 7 of our Blacksmithing Guide, our expert Armondo is gong to walk you through the steps necessary in order to make a twisted handle from a 1.5″ x 8″ steel peg. He'll also teach you what a “half-face hammer throw” is. So get ready to learn some more blacksmithing lingo as well as more techniques necessary for becoming a successful blacksmith. In part 1 of this lesson, you'll learn the first step in creating the twisted handle. You'll see Armondo take what is a simple square steel peg, and begin molding it into an intricate piece of art. He begins with heating and hammering one end of the steel to create a flat diamond shaped end, thinner and perfect for mounting.
In this video:
- How to create a diamond shape out of steel.
- How to flatten a square piece of steel.
- Using the anvil as a measuring tool.
- The beginning stage of a twisted handle.
- Techniques for hammering.
- More tips on using the anvil.
- And much more.
Lesson 7: Blacksmithing Guide | How to Make a Twisted Steel Handle Part II
After part 1 of this lesson, you're now well on your way to creating the coolest twisted metal handle ever!! In this part of the lesson, you'll hear from our expert Armondo, how to go onto the next step in creating the twisted metal handle. He takes the metal and flattens out one side and then he is careful to make sure that the opposing end also is flat and that the two are even. How bad would that be if you went to go mount this thing on a flat surface, only to realize it wasn't level?? Well he has a technique that he'll share with you to make sure that never happens. In this blacksmithing guide, you'll learn so much about steel, bending steel, heating steel and hammering steel. In part 2 of this lesson, our expert will show you how to even out your hammer hits and so much more. Check it out!
In this video:
- How to create a matching diamond shape head.
- Keeping the two mounting spots level.
- Prep for twisting.
- The beginning stage of a twisted handle.
- Techniques for hammering.
- More tips on using the anvil.
- And much more.
Lesson 7: Blacksmithing Guide | How to Make a Twisted Steel Handle Part III
Congratulations, you made it to part 3 of this lesson! You're on your way to having a custom made steel, twisted handle. Remember, this thing was originally a square, steel 1.5″ x 8″ peg. In part 3 of this lesson, our expert Armondo is going to teach you how to twist steel. He uses steady heat from his kiln to get the steel full of heat for the twist. Our expert will also show you how he uses an everyday monkey wrench that he welded with a handle, to clamp on the steel and twist, in tandem with his vice. Its so cool to see steel, something that is SO solid, turned and molded as if it's clay. Continue onto part 4 of Lesson 7 and see how Armondo finishes off the twisted handle with holes for mounting to the object of your choice. If you missed anything, make sure you go back to earlier parts of this lesson, or even earlier lessons to refresh your memory.
In this video:
- How to hammer out hammer marks.
- Keeping the two mounting spots level.
- Learn the negatives of serrated wrench teeth.
- Stage 3/4 of a twisted handle.
- Techniques for hammering.
- How to use a vice to twist steel.
- And much more.
Lesson 7: Blacksmithing Guide | How to Make a Twisted Steel Handle Part IV
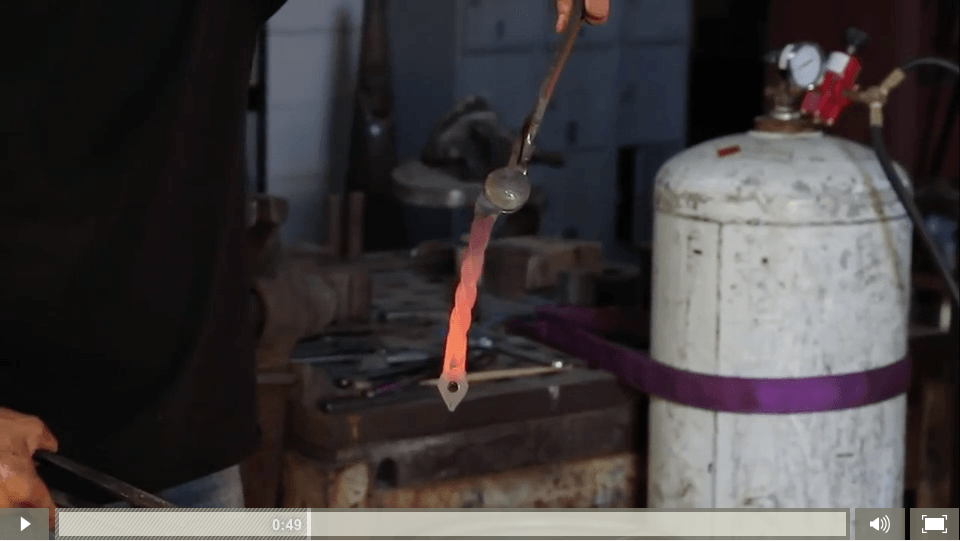
Welcome to the final part of Lesson 7 of the Blacksmithing Guide. In this final lesson, our expert Armondo is going to blow your mind with his twisted metal handle. He created this from a solid 1.5″ x 8″ steel peg. To us, this is prefect for repurposing old steel. Anytime we get to recycle material it's a win-win situation. Okay, so in this video Armondo is going to take the twisted steel, with both ends flattened out into a diamond shape and hammer out two holes, one on each end for mounting.
In this video:
- How to hammer steel.
- Hammer a hole through metal.
- Learn the negatives of serrated wrench teeth.
- Stage 4/4 of a twisted handle.
- Techniques for hammering.
- How to use a vice to twist steel.
- And much more.


Leave a Reply