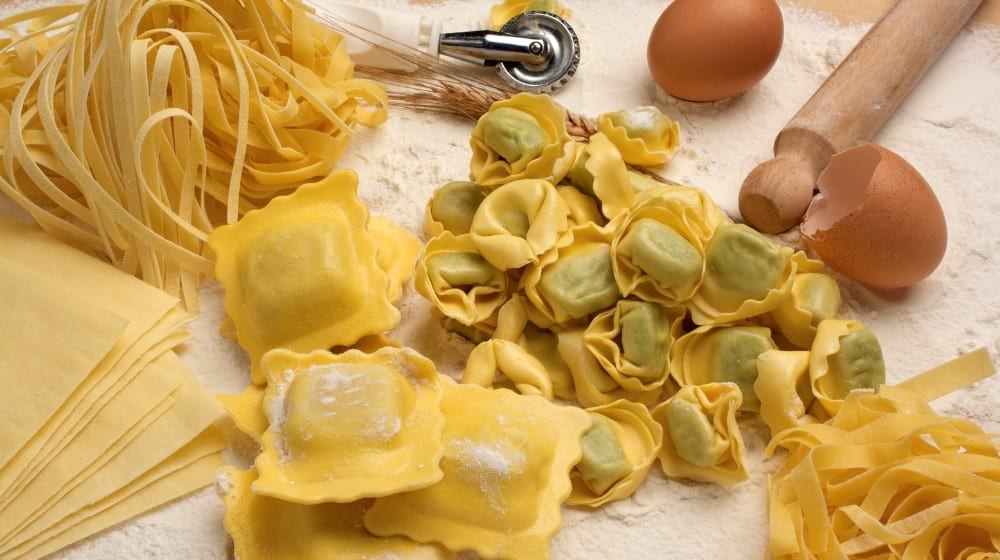

Making homemade pasta without a machine is a skill every pasta enthusiast should have up their sleeves for a steady and quality homemade supply.
Here is a detailed guide you can try at home.
RELATED: How To Debone Chicken Like A Pro | Step-by-Step Guide
How to Make Quality Homemade Pasta Without Machine
Ingredients You’ll Need
- 350 g all-purpose flour (have some extra for dusting the surface)
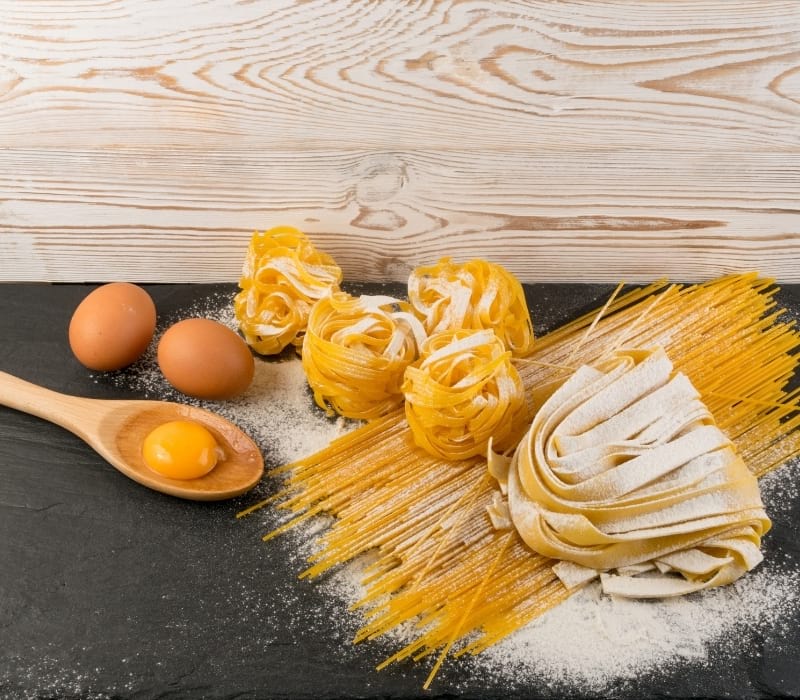
- 1 egg yolk
- 4 large eggs at room temperature
- ½ tsp salt
- 3 tsp olive oil or any other vegetable oil
Tools You’ll Need
- A rolling pin
- Bench scraper or dough cutter
- No products found.
- Plastic wrap
Step 1. Make the Dough
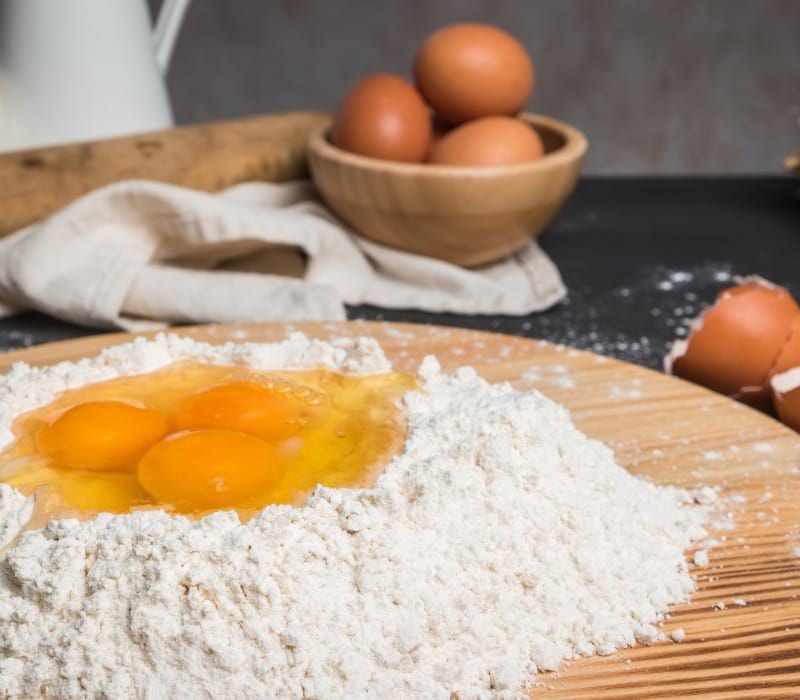
Pour the flour on the kitchen counter and heap it up to form a small mountain. Make a hole at the center of the heap–it should be large enough to hold the wet ingredients. Next, add the eggs, oil, salt, and egg yolk. Use a fork to combine the egg mixture lightly.
When the egg mixture is nearly combined, start deconstructing your flour heap by slowly extending to the outer dry flour through slow stirring motions. In case the egg mixture breaks through the pile at this stage, seal the break with dry flour from the heap.
The dough cutter will come in handy if a large amount of the egg mixture breaks through since you can scrape it back.
Continue deconstructing until the egg mixture is well incorporated, and most of the flour starts coming together into a dough. At this point, the dough will be inconsistently damp, loose, and chunky. Use the dough cutter to scrap all the loose flour into the dough to form a crumbly ball.
Step 2. Knead the Dough
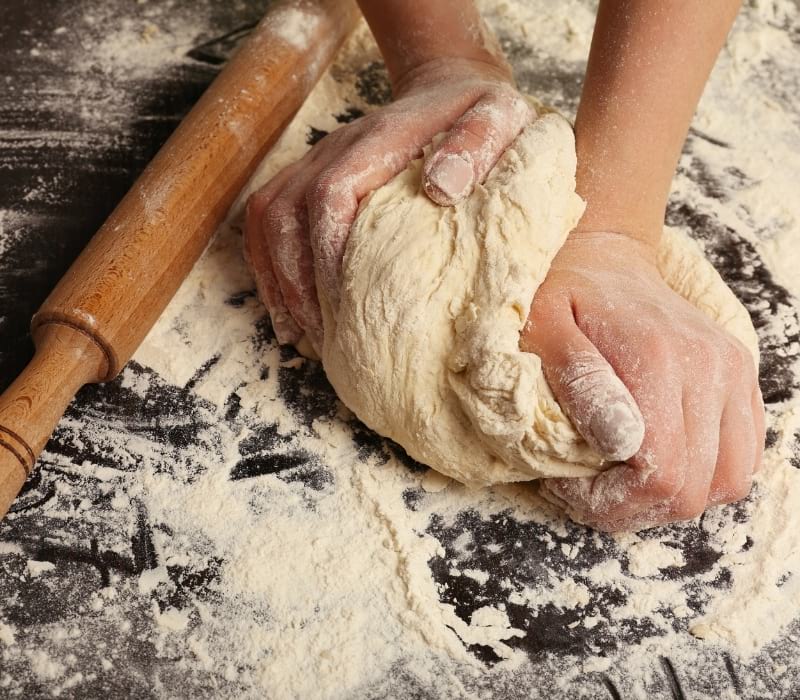
This is the make it or break it stage, and it needs the right execution.
Knead the crumbly and loose dough against your kitchen counter for 10 minutes.
The start will need some elbow grease at first, but a few minutes into kneading, the dough will start to smoothen and tighten up. Dust the counter with a spoon of flour at a time during the kneading process. This will prevent the dough from sticking onto the surface and your hands.
At the end of 10 minutes, you should have a silky soft dough that is elastic and not sticky at all. Now, wrap your ready dough with a plastic wrap and rest it for at least one hour.
Tips
- The longer you rest it, the more stretchy it becomes, which is suitable for pasta.
- At this point, you can also freeze the dough for a maximum of 24 hours.
- ELEGANT NATURAL STONE ROLLING PIN is designed from 100% marble and accented with sleek and smooth wooden handles, making it so that you...
- UNIQUE MARBLE VARIATIONS ensure that this rolling pin will be one-of-a-kind.
- SMOOTH SURFACE WITH NATURAL NON-STICK PROPERTIES means that this elegant rolling pin is easy to clean and able to keep up with all your...
RELATED: How to Carve a Turkey The Right Way
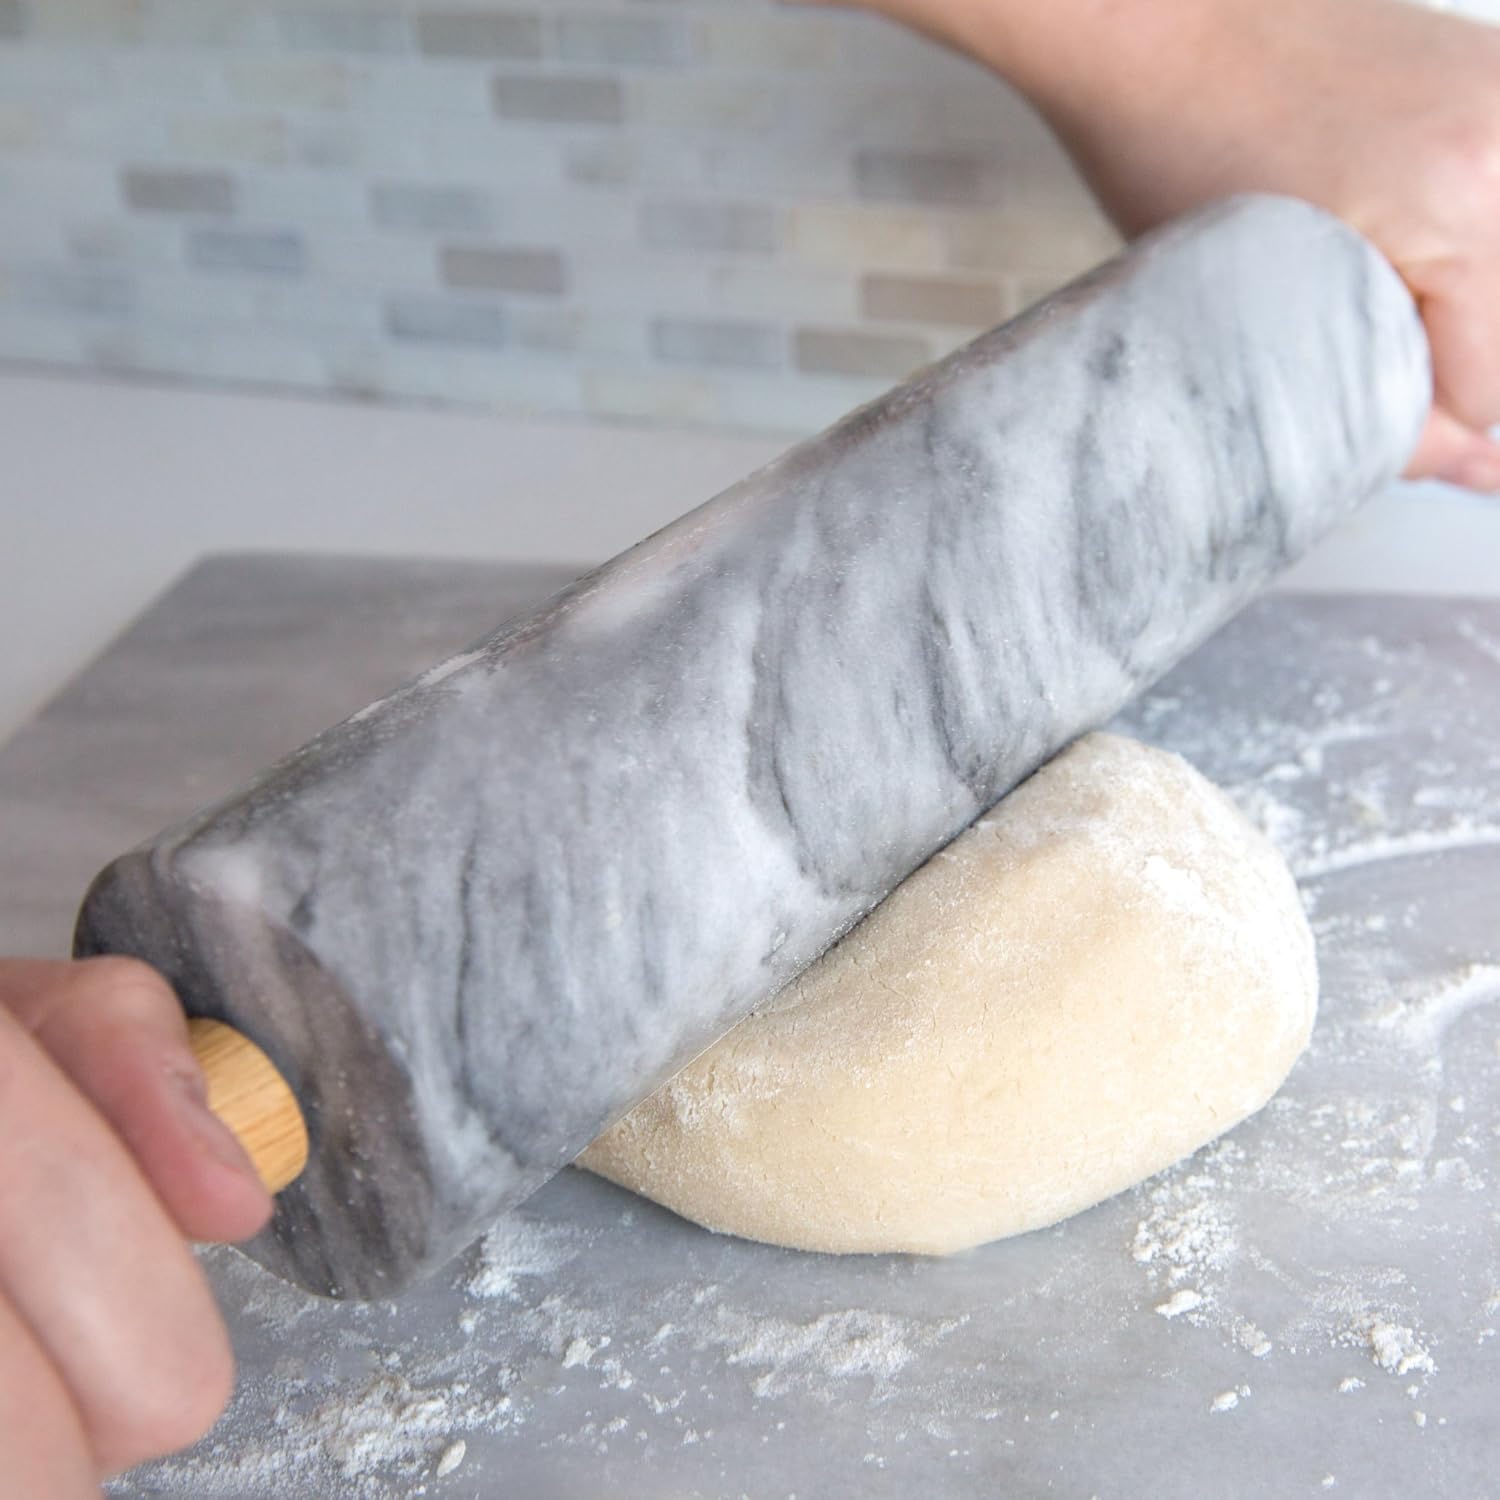
Step 3. Roll Out the Pasta Dough

After at least one hour, unwrap the ball, and cut it into four to six small equal parts. This makes handling the dough easier. Rewrap the pieces and only remove one when you need to work on it.
Lightly flour the counter, and using your rolling pin, roll out the dough into a long strip. Make sure you flip the dough after each roll to get even thickness. Remember to dust the counter with each flip.
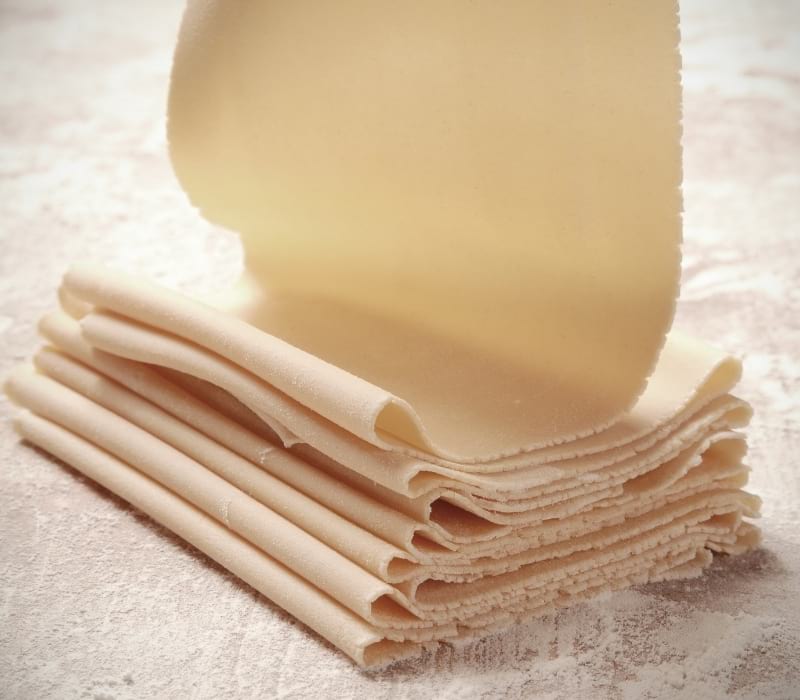
You will know the dough is ready when you have a long, paper-thin piece of dough. It should, however, be strong enough to lift off the counter without tearing.
Tip: If the dough snaps back when you roll it, rest is for another five to ten minutes.
Step 5. Fold and Cut the Pasta
At this point, generously flour the paper-thin dough strip. And starting with the shorter or uneven end, fold the dough loosely to resemble an accordion. It will prevent the dough from sticking to itself and makes cutting easier.
Now, cut the loose dough stack into strips. Ensure you use a sharp knife to make clean cuts through the stack without going back and forth. Cut the strips as thick or as thin as you want your noodle but stay consistent with the size you choose.
At this stage, you can also choose not to fold the paper-thin strip and instead, leave it on the countertop and cut strips using a pizza cutter. It works for both thin and thick pasta.
Step 6. Dry the Pasta
Lastly, unravel the noodles, generously flour them, and lay them across an undisturbed section on your kitchen counter. Allow them to dry for at least 15minutes.
If you choose to freeze the noodle, flour and form them into loosely packed pasta nests. Place on a floured baking sheet and freeze them for 24 hours. Afterward, put them in a Ziplock bag.
Watch this video from Bon Appetit on how to make 29 handmade pasta shapes with 4 types of dough:
There you go, homesteaders. With this guide, you can now make quality homemade pasta without a machine. It doesn’t get better than this. Also, knowing how to make it by hand means you can make any pasta you crave anytime.
What are your favorite types of pasta? Let us know in the comment section below!
Up Next:
- How To Make Gouda Cheese At Home
- Homemade Pasta Salad Recipe To Enjoy This Spring
- How To Build a Rabbit Hutch For Your Homestead
Fellow homesteaders, do you want to help others learn from your journey by becoming one of our original contributors? Write for us!
