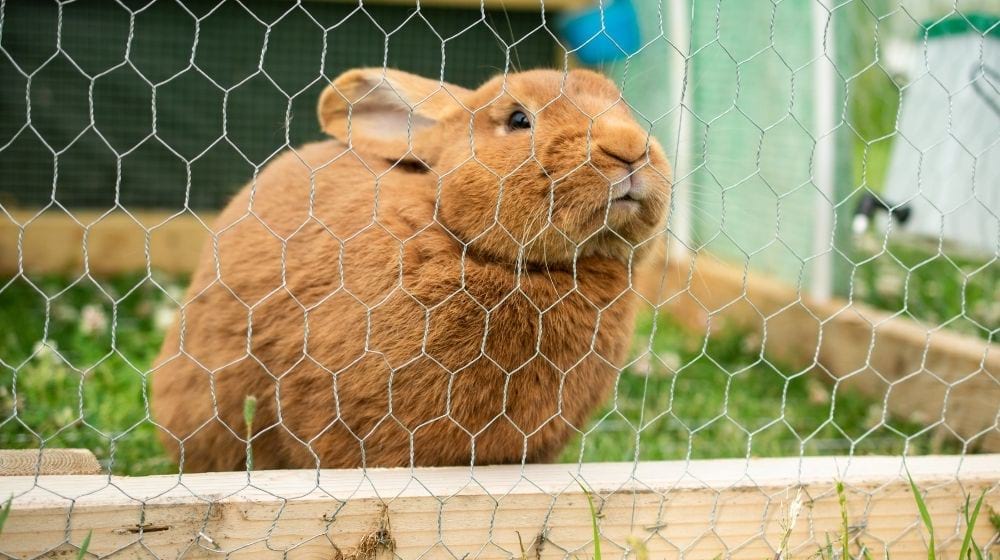

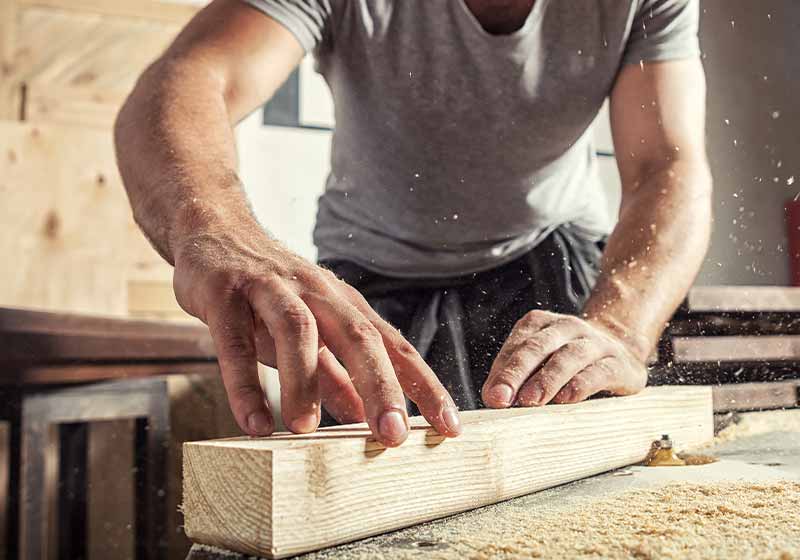
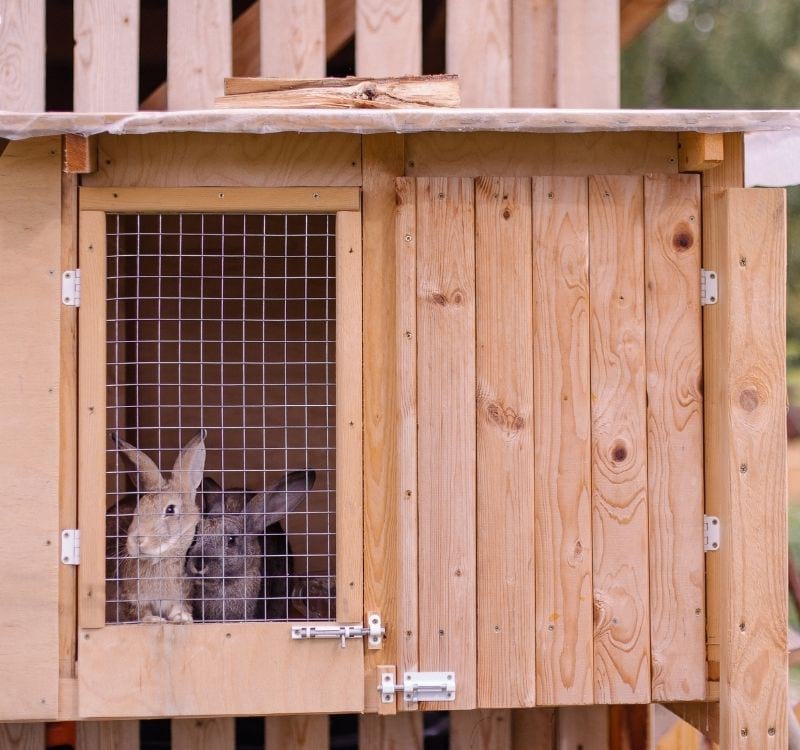
A functional rabbit hutch should keep your bunnies comfortable while protecting from harsh weather elements and predators.
Here is a detailed guide on how to build a rabbit hutch.
RELATED: How To Build A Tiny House | A Step-By-Step Guide
How to Build a Rabbit Hutch in 5 Easy Steps
Materials You’ll Need
- 6 pcs 2×2 timber (8′)
- 9 pcs 1×4 timber (8′)
- 1 pc 1/2″ plywood (4’x8′)
- 1 pc 1/2″ plywood (2’x2′)
- 100 pcs (2 1/2″), 100 pcs (1 1/2″) screws
- 2 hinges
- 15 sq ft shingles
- Wood stain
Cutting Sizes
For the frame
- 2 pcs 2×2 timber (32 3/4″)
- 2 pcs. 2×2 timber (28 1/2″)
- 1 pc 2×2 timber (48″)
- 3 pcs 2×2 timber (45″)
- 3 pcs 2×2 timber (21″)
- 1 pc 2×2 timber (20 1/2″)
For the flooring
- 1 pc 1/2″ plywood (24″x48″ long)
For the interior wall
- 1 pc 1/4″ plywood (21″ x 22 1/2″ long)
- 2 pcs 2×2 timber (21″ long)
For the slats
- 12 pcs 1×4 timber (24 3/4″)
- 6 pcs 1×4 timber (13 3/4″)
- 6 pcs 1×4 timber (48″)
For the door
- 2 pcs 2×2 timber (17 1/4″)
- 2 pcs 2×2 timber (29 3/4″)
For the roofing
- 1 pc 1/2″ plywood (27 3/4″ x 52 1/2″ long)
- asphalt shingles
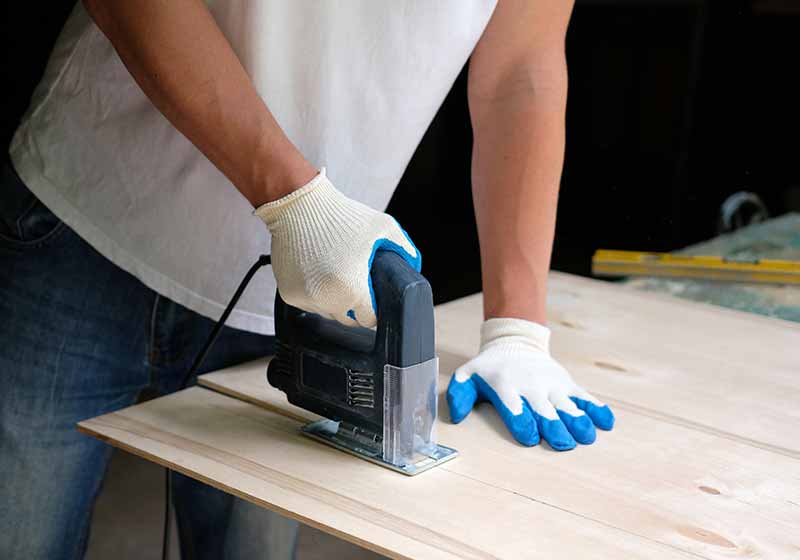
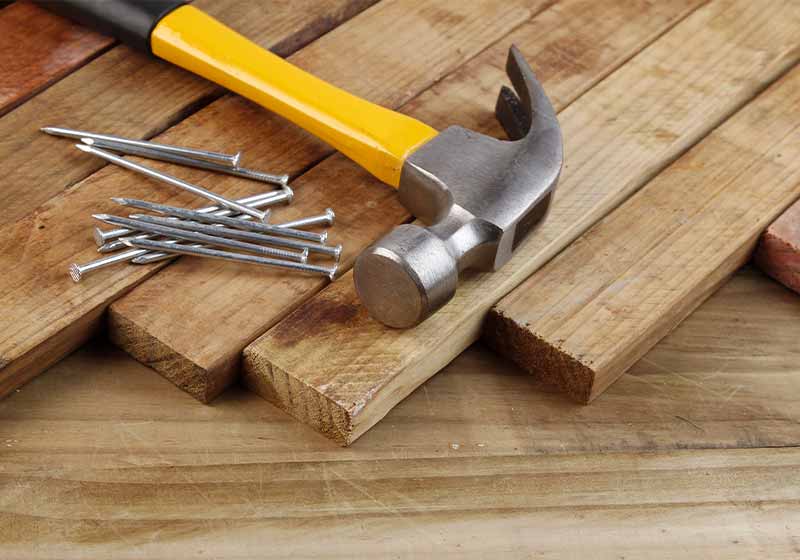
Tools You’ll Need
- Circular saw
- Hammer
- Drill
- Tape measure
- Framing square
- Level
- Safety gloves and glasses
- Sander
- Paint Brush
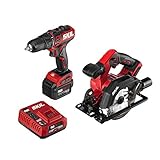
- 2-Tool KIT—Cordless drill set includes Brushless 12V 1/2 inch drill driver and 5-1/2 inch Brushless 12V circular saw. Plus a PWR core...
- Longer run time & battery LIFE—Industry leading PWR core 12 Lithium battery technology wraps Each cell with cooling material to keep...
- Power on the GO—Plug in To the battery’s USB port wherever, whenever with PWR assist mobile charging.
Step 1: Assembling the Frames

To make the frame of your reclined rabbit hutch, cut your 2×2 lumber to size, and starting with the two pieces of 32 3/4″ lumber, make the two frame legs for the front side of the hutch. Join the two legs with two pieces of the 45″ lumber.
Using the 28 1/2″, make the frame legs for the rear end of the hutch. Interlock the remaining 45″ lumber to form the bottom length. Next, screw on the 48″ lumber on the top length of the rear frame using 2 1/2″ galvanized screws.
Lastly, join the two frames using the three 21″ long lumber pieces. Using a tape measure, measure 13 3/4″ from one leg of the front side of the frame and screw on the 20 1/2″ long lumber.
Tip: All the corners should be right-angled.
Step 2. Laying the Floor and Interior Wall
Next, cut the 1/2″ plywood so that it fits the frame and make small notches using a circular saw. Once done, lay the plywood flooring onto the frame. A hammer will help drive the plywood through so that it makes contact with the frame. Lock the flooring in place with 1 1/4″ galvanized screws.
Cut a 21″ piece of lumber and screw it on the 20 1/2″ frame lumber but to the interior side of the hutch. This will guide you on how long the interior wall should go. Now cut your 1/4″ plywood to size and fit it inside the hutch to make the interior wall. Keep in mind the slant angle of the roof.
While inside the hutch, use a pencil to mark out where you will make a notch for the interior wall to fit onto the rear frame as well as where you will make an opening for the rabbits.
Once done, remove from the frame and make the cuts in all the places you have marked out, and then fit the interior wall back into the hutch. It should fit perfectly without curving.
RELATED: How To Build A Duck Pond For Your Flock
Step 3. Fitting the Exterior Slats
Here, you will need to make three different sizes of slats. Make the slat for the rear end of the hutch by screwing together the six 48′ long pieces. Once ready, attach the slat to the rear end and hold them in place with screws or nails.
Drilling pilot holes and inserting screws before attaching the slats will make this step easier if you do not have a handyman.
Next, use the twelve 24 3/4″ long lumber blocks to make two slats of six blocks each for the sides and screw them in place. You will need two wedges the fill the higher corners on the front frame.
Lastly, use the remaining six 13 3/4″ long blocks to make a slat for the space you sectioned earlier when making the frame. Note that you should attach the slat of the smaller section of the front frame.
Tips
- The side slates will look like a wedge with one length measuring 23 3/4″ and the opposite one measuring 18 3/4″.
- The difference makes the wedges you will use to fill the corner on the higher front frame.


Step 4: Making and Fitting the Door
To make the door, place the two sets of 17 1/4″ and 29 3/4″ of blocks at right angles with each other and screw them together using 1 1/4″ screws.
Next, lay over a chicken wire over the door frame and hold in place with screws. Allow the chicken wire to fall over the frame so that you have enough room to make it as tight as you want.
Now, fit the door with the two metal hinges and attach it to the hutch. Be keen on how you do this to ensure the door opens properly.
Step 5: Finishing Off the Roof
For the roof, cut a piece lay the 1/2″ plywood on top of the hutch and secure with nails or screws. Ensure this plywood is a bit longer and wider than the actual dimensions of the hutch.
Next, cover the plywood roof with asphalt shingles and extend the shingles by at least one inch past the plywood roofing so that they are overhanging. This will make the hutch waterproof.
Finally, check for any gaps and fill them with wood putty. Allow this to dry for a few hours before sanding the hutch surface and staining it to avoid wood rot.
Pro Tips
- Using a spirit level will give you an overall professional-looking rabbit hutch.
- Mark cut-lines first with a pencil to ensure everything fits in place.
- Using waterproof glue between your slats will improve the structural integrity of the hutch.
- Fitting the structure with tar paper will also ensure the hutch remains waterproof.
- 2-Tool KIT—Cordless drill set includes Brushless 12V 1/2 inch drill driver and 5-1/2 inch Brushless 12V circular saw. Plus a PWR core...
- Longer run time & battery LIFE—Industry leading PWR core 12 Lithium battery technology wraps Each cell with cooling material to keep...
- Power on the GO—Plug in To the battery’s USB port wherever, whenever with PWR assist mobile charging.
Watch this video from Adler Farms on how to build a rabbit hutch:
There you have it, homesteaders. Building a rabbit hutch might appear challenging, but with these detailed guides, you can easily pull off a perfect hutch for your little bunnies regardless of your budget.
Do you prefer a stand-alone or suspended hutch for your bunnies? Let us know in the comment section below!
Up Next:
- 9 Best Duck Breeds For Your Homestead
- 7 Best Types Of Honey Bees For Your Bee Farm
- 10 Classy Coffee Bar Ideas For Your Homestead
Fellow homesteaders, do you want to help others learn from your journey by becoming one of our original contributors? Write for us!
