
Whether you’re stocking up on cherries or preserving them, canning this fruit is pretty easy. Here’s a guide to making canned cherries for your future recipes and own consumption.
RELATED: 26 Canning Ideas And Recipes For The Homestead | Homesteading
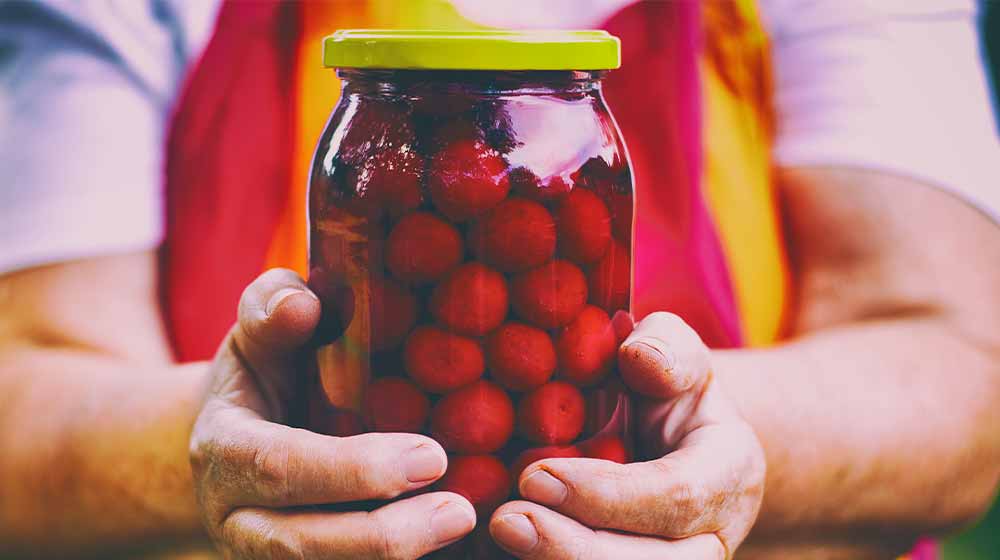
The Homesteader’s Guide to Making Canned Cherries
Ingredient:
- Cherries
- Acidulated water
- Sugar or your syrup of choice
- Whole vanilla beans or almond extracts (optional)
Tools You’ll Need:
- Cherry pitter or sterilized needle
- Large bowl
- No products found.
- Canning lids and rings
- Dishcloth or towel
- Water bath canner
- No products found.
- Cooling rack
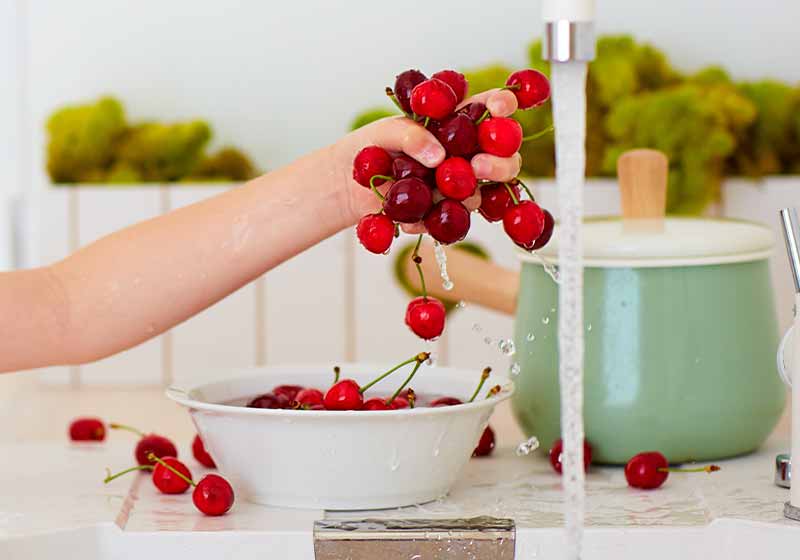
Step 1: Clean Your Cherries
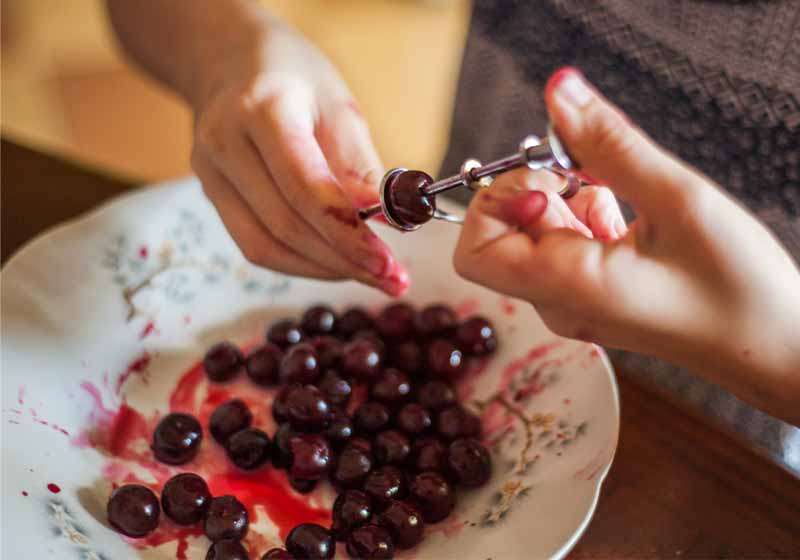
Thoroughly clean your cherries before pitting them. Use a cherry pitter or simply cut them in half to remove the pit.
You might find this process a bit tedious, but you can also turn it into a fun family bonding. Although it’s perfectly acceptable to leave cherry pits, you’ll be able to save time in the future if you do it now.
Should you decide to can cherries with pits, be sure to prick them with a sterilized needle so they won’t burst.
Step 2: Soak and Dry Them
As you continue preparing, place the cherries in a large bowl with acidulated water. You can create this solution by adding ascorbic acid or lemon juice to water. This will prevent the cherries from browning.
After 10 minutes, remove them from the acidulated water and drain well.
Step 3: Enhance the Taste

You can add pieces of whole vanilla beans to your cherries to brighten the flavor. Cut these beans into an inch size. Alternatively, you can put one or two drops of almond extract.
Step 4: Clean Your Jars
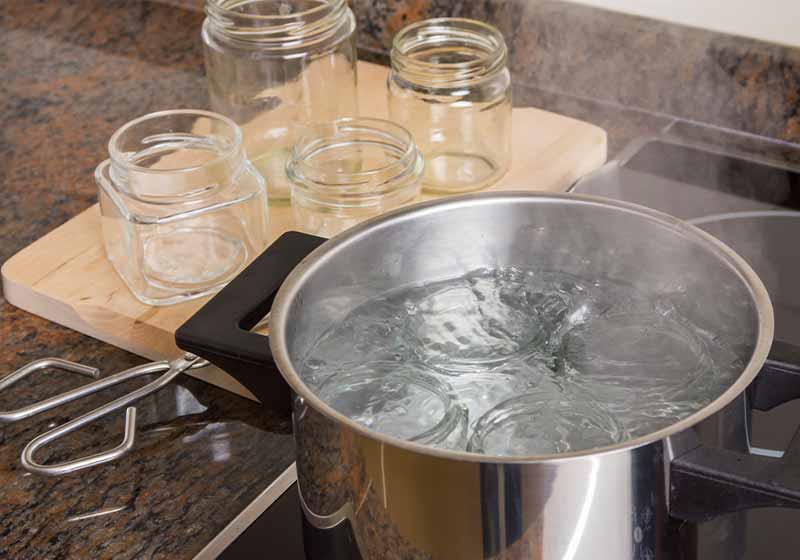
Canned cherries require sterilized jars. Submerge them in the canner with boiling water. Carefully remove after 10 minutes, then drain.
Cold jars will crack when placed in hot water so ensure that yours are warm.
RELATED: 17 Creative Canned Food Storage Ideas
Step 5: Combine Syrup and Cherries
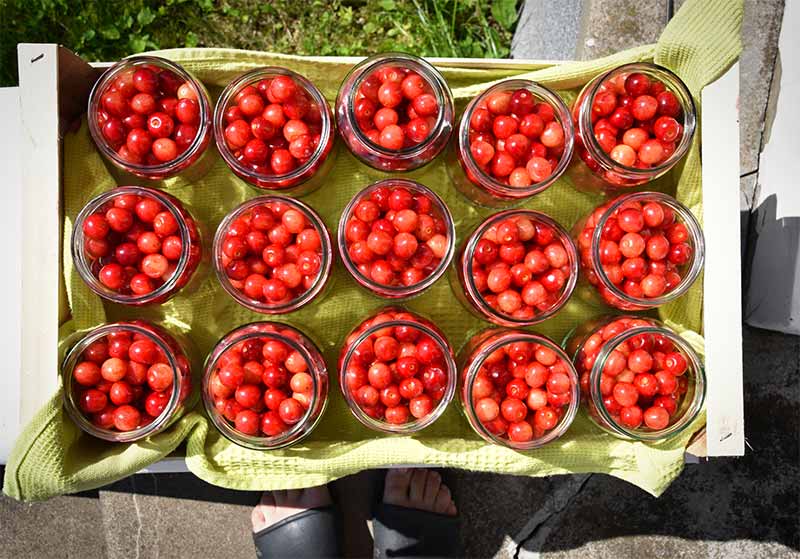
Fill your jars with as many cherries as you can. Be sure to settle the contents by lightly tapping or gently shaking your jars. Then, add a half cup of syrup or mix sugar and water to make a homemade one.
Leave half an inch of headspace in your jars. Too little or too much headspace might prevent the lid from sealing.
Step 6: Prepare Jars for Canning and Boiling
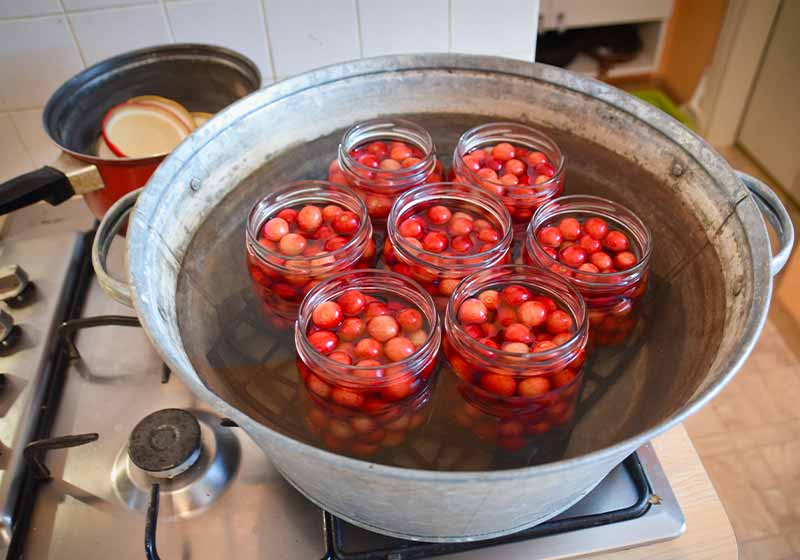
Using a clean cloth, wipe the rims of your jars and remove air bubbles before placing the lids and rings on top. Cover the jars tightly.
With a jar lifter, place them in a canner with hot water. They should be covered with at least an inch of water. Processing will start 25 minutes after the water has started boiling.
When the time’s up, turn off the heat and let the jars stay in the canner for a few minutes. Afterward, remove them and transfer them to a cooling rack.
Step 7: Check Jar Seals
You should be able to hear a popping sound which means that the lids have successfully sealed the jars. You’ll also notice that the lids are curved downward. Once cool, you can slightly press the lids to check the tightness.
Don’t worry. Jars that weren’t sealed properly can be stored in the refrigerator.
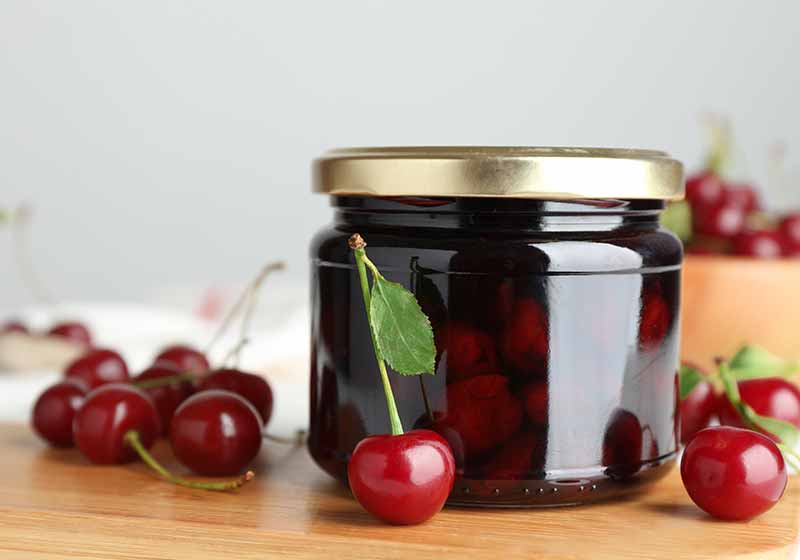
Whether you’re making cherry bars, jam, or pudding, your canned cherries can be used for any type of recipe. Learn how to make a cherry pie using canned tart cherries in this video by The Artful Parent:
This guide to making canned cherries will give you a readily available jar of this fruit for your convenience. Taste sunshine on a winter day in the form of these canned cherries.
What other methods do you use in making homemade canned cherries? Let us know in the comment section below!
Up Next:
- A Homesteader’s Guide To Canning Pineapples
- A Step-by-Step Guide To Canning Chicken Safely At Home
- How To Make Vegetable Rennet for Cheesemaking
Fellow homesteaders, do you want to help others learn from your journey by becoming one of our original contributors? Write for us!
