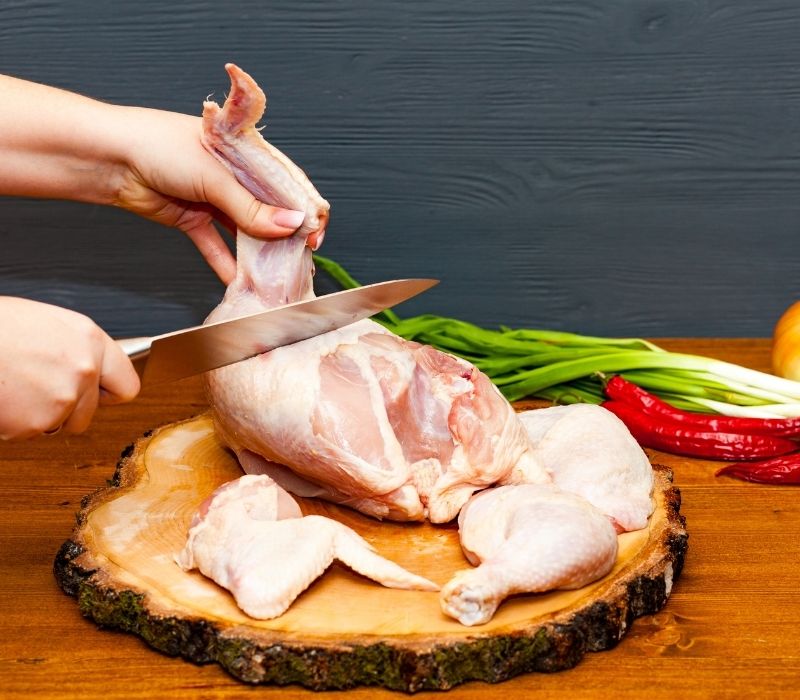
Every homesteader should know how to debone chicken. Aside from getting the best from bones and meat, you can make mouth-watering roulade dishes.
Learn with us in this detailed guide.
RELATED: Raising Chickens For Meat [Chapter 9] Raising Backyard Chickens – Homestead Handbook
How to Debone Chicken in Three Simple Steps
Things You'll Need
- Whole dressed chicken
- Knife file
- Chopping board
- Boning Knife
- Kitchen scissors
Step 1. Cutting Off the Unwanted Parts

- Place the chicken, breast-side up, on a clean chopping board.
- Using a pair of scissors or boning knife, cut off wing tips, drumstick knuckles, and the pope's nose. These parts are mostly meatless and will only give you a hard time.
Tip: You do not have to throw these away yet. Throw these in a saucepot together with some vegetables and water and make chicken stock.
Step 2. Separating the Meat From the Ribcage

- Now, flip the chicken, breast-side down, and use your fingers to feel the backbone outline.
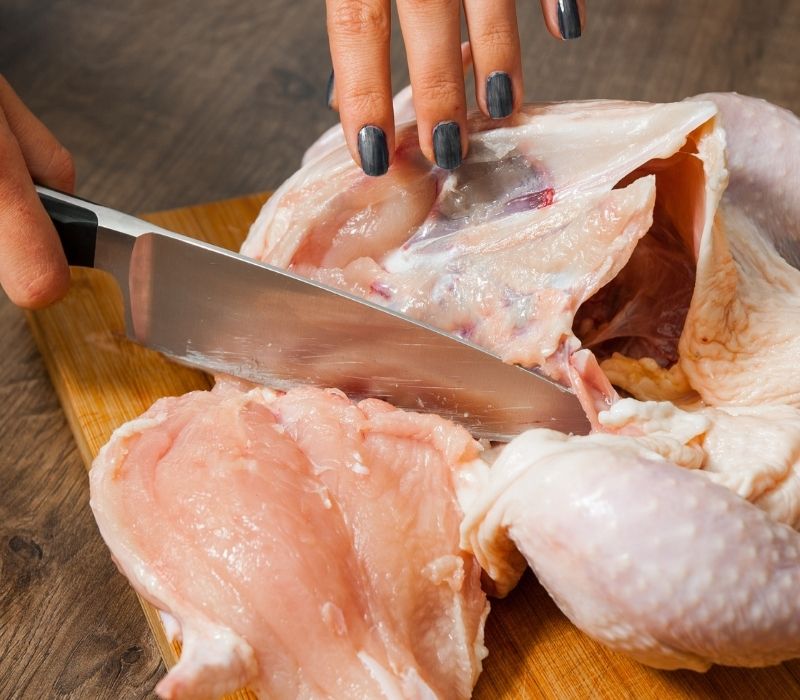
- Once you locate the backbone, Firmly grip your sharpened boning knife and make deep cuts on either side of the spine. You will know that the incision is deep enough when your boning knife starts grinding on the chicken's back or ribcage.
- Now that there is no meat attached to the spine, firmly press the skin with your non-dominant hand and carefully start pulling the meat from the bone as you work your knife through. For this, you will only need to use the tip of the boning knife–about an inch of the knife to make short, clean, and deep cuts.
- You will get to the wishbone quickly when you start pulling the meat. Next, flip the chicken such that the neck hole is facing you and cautiously start working your knife around the wishbone. Once it is loose enough, you can easily pull it out with your hand.
- Continue separating the meat from the ribcage. Ensure that you are cutting at the same pace along the ribcage for a more uniform outcome. Be careful with how much knife power you use to avoid cutting through the meat or leaving some stuck on the bones.
- Keep cutting until you get to the wing and thigh joints. Once there, flip the chicken and start separating the other side of the spine. Do this until you get to the thigh and wing joints on that side too.
- Next, find the cartilage on the breastbone near the skin. This is called the keel. Carefully cut the meat off it. You will know you are doing this right when your knife scrapes alongside the bone. Once you work around the keel on both ends, pull free the carcass.
Tips
- Going in with the entire knife length will tear the meat since most of it will be left on the bones.
- To pull off this step correctly, you will need to find the angle you are most comfortable working with.
- Cut as close to the bone and ribcage as you can.
- Be careful with the wishbone as it breaks easily. Snapped bone shards can lead to cuts.
RELATED: A Step-by-Step Guide To Canning Chicken Safely At Home
Step 3. Removing the Leg and Wing Bones

- Grasp the wing on one side of the chicken with your hand. Hold the chicken mass around the wing you are already holding with the other hand.
- Next, bend the wing backward, slightly twisting it until the joint pops. Once it pops, locate the space between the bone and the socket and cut through it to separate the wing from the chicken carcass.
- For the legs, bend and twist to reveal the joint and then cut. This time, use more energy to bend the drumstick.
- Once you have removed the carcass, you should be left with a large and somehow flat piece of meat except for the legs and wings bones.
- Since you already snipped off the wingtips, start pushing the wing towards where the rib was. As you do this, use the edge of your boning knife to scrape meat off the bone. Do this until you can push the bone through entirely. Repeat the same process for the other wing.
- To remove the thigh bone, carve meat away from the thigh bone to expose the joint where the thigh is attached to the carcass. With a little caution, you can easily remove both the thigh and drumstick bones without having to separate them.
- Like with the wings, push the bone inwards towards where the ribcage was. Once you have an exposed end, start scraping off meat from the bone to the knee.
- Cut around the knee to separate tissue and continue scraping until the bone is loose enough to come out when pulled. Repeat this for the other thigh and drumstick bone.
- Lastly, wash the chicken to get rid of any bone fragments before you can turn it into a delicious meal.
Tip: The keel can easily rupture the skin, so be extra careful with it.
Watch this video by Chef Santorini on how to debone whole chicken:
There you go, homesteaders. Deboning chicken can be intimidating because it requires skill, energy, and patience. However, with this detailed guide, you bet you can pull it off in have the time to make your favorite chicken meals.
What other methods do you use for deboning your chicken? Let us know in the comment section below!
Up Next
- How To Build A Practical Pallet Chicken Coop
- A Step-by-Step Guide To Canning Chicken Safely At Home
- 25 Classic Pioneer Woman Recipes For Thanksgiving
Fellow homesteaders, do you want to help others learn from your journey by becoming one of our original contributors? Write for us!

Leave a Reply