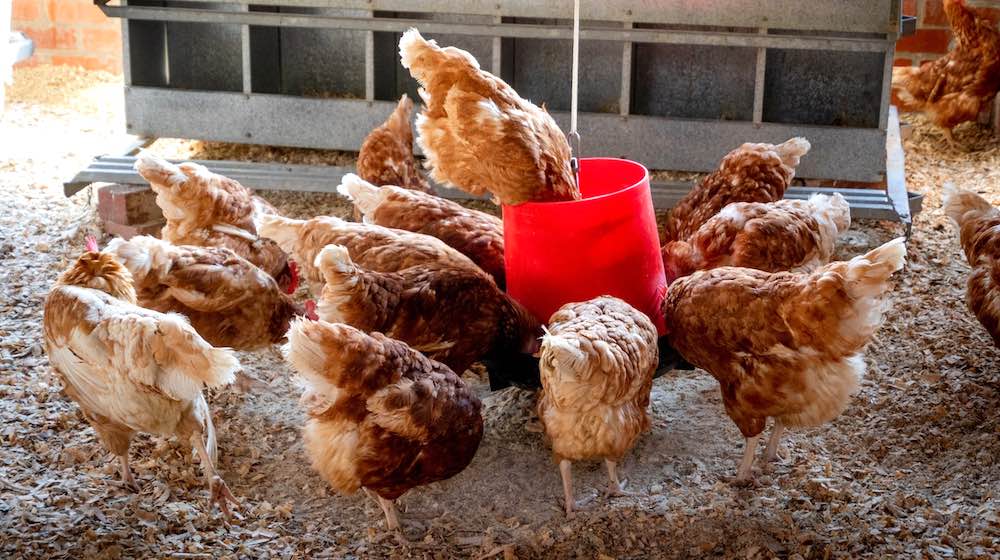

Planning to raise chickens? One of the first hurdles you’ll face is getting an affordable coop. Most on the market are very pricey. But lucky for you, we’ve made a full guide on how to build an affordable DIY pallet chicken coop.
RELATED: 36 Chicken Coop Designs And Ideas [2nd Edition]
How to Build Your Own Homestead Pallet Chicken Coop on a Budget
What You’ll Need:
Materials:
- pallets or skid
- chicken wire
- door latch
- a few hinges
- scrap wood
- old metal scraps for the roofing
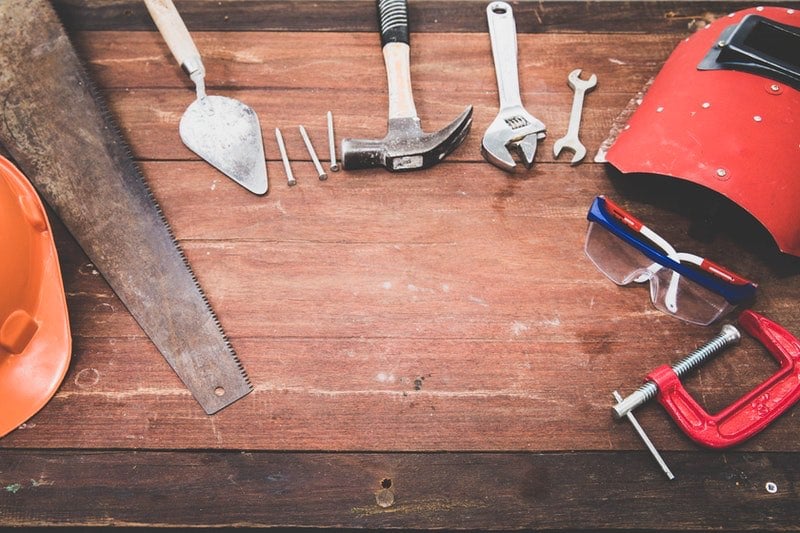
Tools:
- tape measure
- level
- handsaw
- screws
- impact drill
Step 1: Secure the Materials Needed
The first thing you need to do is to secure the materials. Apart from the pallets and scrap wood, most of the items needed are staples that almost every homesteader’s tool shed has.
For the scrap wood, you can visit a nearby junk shop, deconstruction site, or woodworking firm. They often give their scrap wood out for free if you ask nicely.
When it comes to pallets, however, you might have to spend a few bucks. The best approach here is to buy them in bulk so you can get better, lower deals.
Don’t be afraid to have a few leftover pallets because they are versatile free-building materials you can use on an array of pallet projects. They won’t go to waste.
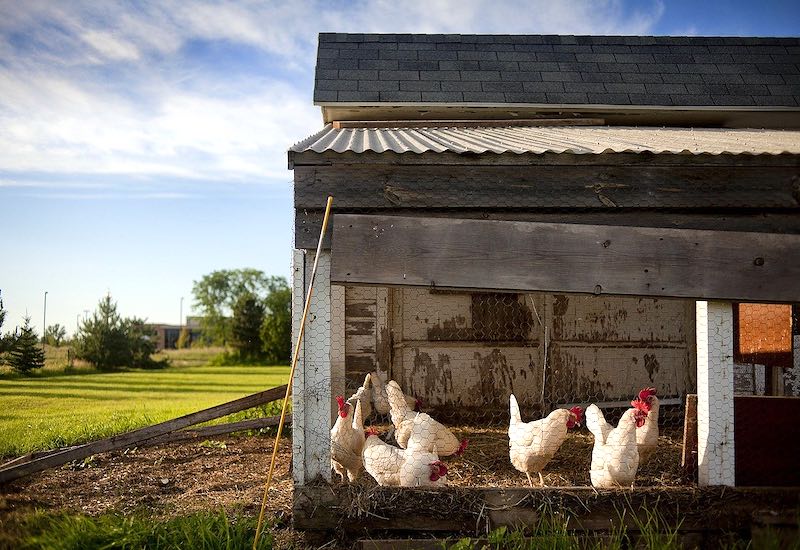
Step 2: Prepare the Coop Site
Once you’ve secured the materials needed, it’s time to prepare the groundwork. Check the project site, count how many chickens you want to raise, and assess how large the coop should be to accommodate your poultry livestock.
Then, grab a bunch of 2 x 4 pieces of wood, or something similar in size, and screw them together.
This step is very important. Do not proceed with the next steps until you are 100% sure of the size of your groundwork.
Also, it’s always better to build a coop that’s too big than one that’s too small. That way, you’re free to scale your poultry farm as you see fit.
Step 3: Build the Coop’s Walls
Screw the first row of pallets vertically onto the groundwork’s wooden perimeter. Make sure they are arranged properly and the ends are aligned with each other.
Once, you’re done with the first row, add another one on top of it. You’re free to adjust the height of the coop based on how big or small you are. Generally, you should be able to enter the coop without bending too much.
Note: If the pallets you have don’t have the same sizes, trim them down first with your hand saw. They need to have similar, if not the same, dimensions. Otherwise, the structural integrity of your pallet chicken coop will be compromised.
RELATED: How To Build A Chicken Coop In 4 Easy Steps
Step 4: Attach the Roofing

Now for the tricky part: the roofing. Homesteaders are encouraged to get creative on what materials they’ll use for the roofing of their pallet chicken coop.
For this specific guide, we opted to use some old scrap metal. Screw them together to form a flat, sturdy plane then attach them on top of the second row of pallets.
Do a quick water test to check if there are any holes. Do not put any chickens inside it until you are sure that the coop is 100% dry and leak-free.
Remember, chickens need to stay warm and dry to survive. If you expose them to excessive amounts of water, they’ll be at risk of getting sick, or worse, dying.
Step 5: Build a Door
Screw some scrap wood horizontally on top of the wooden perimeter of your chicken coop. This will serve as the door’s base.
Next, attach two pieces of scrap wood on both sides of the doorway. This will serve as the frame.
Then, use the chicken wire to cover the space in between the doorframes. The chicken wire will be the screen to prevent outside elements from entering the coop.
Finally, finish off the doorway by attaching the handle, latch, and hinges. Make sure the hinges are greased and lubed up so you won’t have trouble opening and closing the door.
Note: If you have the budget and don’t want to spend time woodworking an entirely new screen door using scrap wood, opt to buy a secondhand one at a local thrift store. Choose one that’ll fit your pallet chicken coop.
Step 6: Set up Extra Fixtures
Here are the additional fixtures you’ll need to set up in your pallet chicken coop:
1. Chicken Roost/Perch
Most chickens do not sleep on the ground. The perch on high places such as tree branches and take their rest there.
Why don’t they sleep on the floor? Firstly, this is their natural way of avoiding land predators. Secondly, they do not want to sleep in their own feces.
How to Build:
Grab some spare wood and pallet then create multiple horizontal poles. Your roost should look like a very wide ladder that’s about chest-high.
2. Nesting Box
If you plan on raising hens, then you definitely need a nesting box. This is where your hens can lay their eggs in peace.
Generally, chickens prefer warm, dark nesting boxes. This type of environment tells their instincts that they are safe and free to lay eggs.
How to Build:
For this, you can opt to use the scrap wood and pallets you have left. Make the area as tight and secure as possible. Remember, hens won’t lay their eggs unless they feel safe.
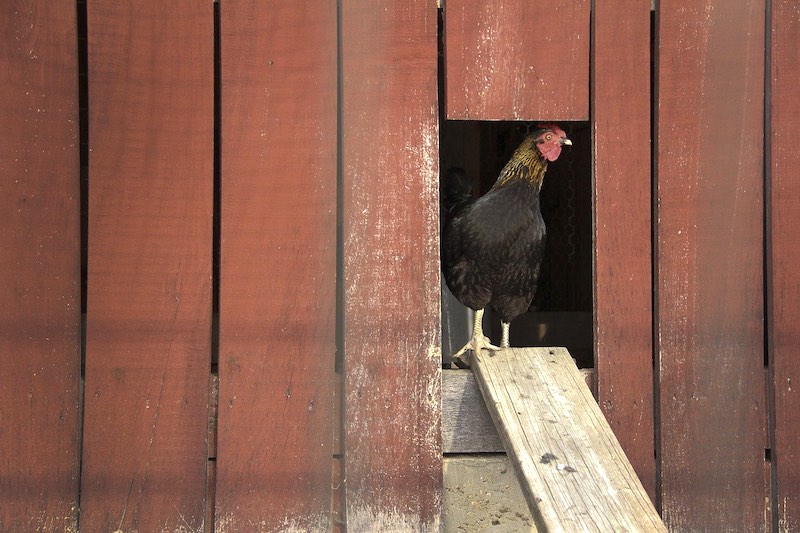
3. Secondary Door
You wouldn’t want to be opening and closing the door for your chickens all day, would you? That’s why you need to build a secondary door.
This is a small opening where your chickens can enter and exit the coop as they please. Just make sure to latch it closed before the night comes.
How to Build:
Build a small door using the spare chicken wire and scrap wood. Attach them to the pallets with the hinges.
See how Edge of Nowhere Farm built his pallet chicken coop out of recycled materials:
Take note that this guide is not set in stone. Feel free to replace the materials we used with other alternatives. Overall, your goal would be to source high-quality, virtually free items to use on your pallet chicken coop.
Likewise, you are free to modify the coop however you see fit. If you have a bit of extra cash, you can opt to line the DIY chicken coop flooring with plywood and linoleum.
How did your pallet chicken coop turn out? Share your experience with us in the comments section below!
Fellow homesteaders, do you want to help others learn from your journey by becoming one of our original contributors? Write for us!
Up Next:
