
Creating your own worm composting bin is a great addition to your homestead. It is affordable, low-maintenance, and very easy to make. It can help you decompose your food scraps organically. Plus, it can also give you rich and nutritious soil that can help your plants grow faster. To get you moving, we prepared five easy steps for you. Check them out below.
RELATED: Vermicomposting | Fertilize With Worm Castings
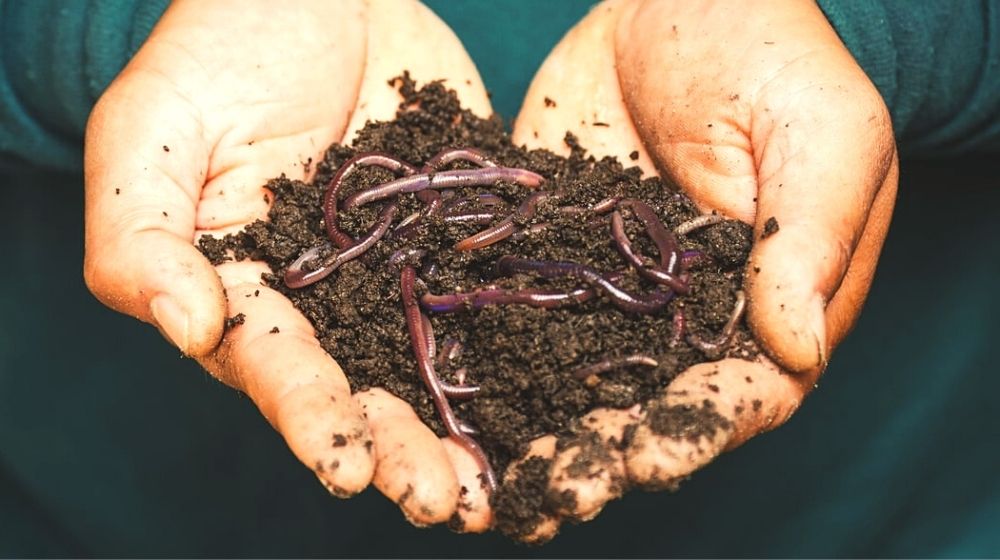
Worm Composting for Beginners
Materials Needed
- A pound of worms
- Two unused plastic bins (one taller, one shorter)
- A drill
- Screen or unused rugs
- Waterproof glue
- Dirt and water
- Shredded paper (avoid heavy, shiny, or colored paper)
- Towel
- Food scraps
How To:
-
- First, from the top of the taller bin, drill a one-inch hole on opposite sides. Then, drill another four 1/8-inch holes from the bottom of the bin.
- After that, cover the holes with screens. This is to avoid the worms from escaping. Secure the screens using waterproof glue. If you don’t have screens, you can also use unused rugs. Then, put the taller bin inside the short bin. Remember, do not drill holes in the short bin.
- Next, combine some shredded paper, and soil inside the taller bin. Make sure that the soil you are using does not have chemicals in it. Dampen everything with water for some moisture. Remember, do not form puddles of water.
- After preparing the bins, you may now add the worms. Let them get used to the bins for a day before feeding them. Then, close the lids of the bin. Remember, keep your worm composting bins indoors. This is to make sure that worms won’t freeze during the winter, or get too warm during summer.
- Feed the worms once a week. You can collect some food scraps like the following:
-
-
- Vegetables and fruit peelings
- Used tea bags
- Used coffee grounds
- Eggshells
- Other food leftovers
-
Important Things To Remember
It’s important to remember that you should not include animal by-products such as bones, fats, and meats. Similarly, do not mix in plastic, woody, and dry items. Such foods will cause foul odor and will take the worms a lot longer to decompose.
For a proper feeding process, you may also follow the steps below:
-
-
- Collect the kitchen scraps and mix them in a clean container
- Then, gently lift the lid of your composting bins and throw in the kitchen scraps. You may also include some shredded pieces of paper.
- Next, cover all the food scraps and paper with some moist soil. This is an important step because exposed food may attract fruit flies.
- After that, observe what the worms are eating the most. Remove the kitchen scraps that they are ignoring, since they may not like that kind of food.
- Put the lids back to cover the bin
-
Maintenance of the Composting Bins
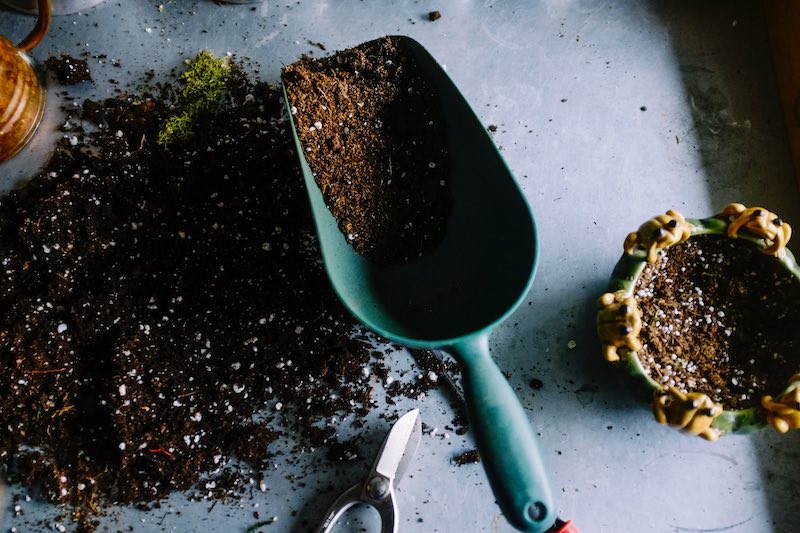
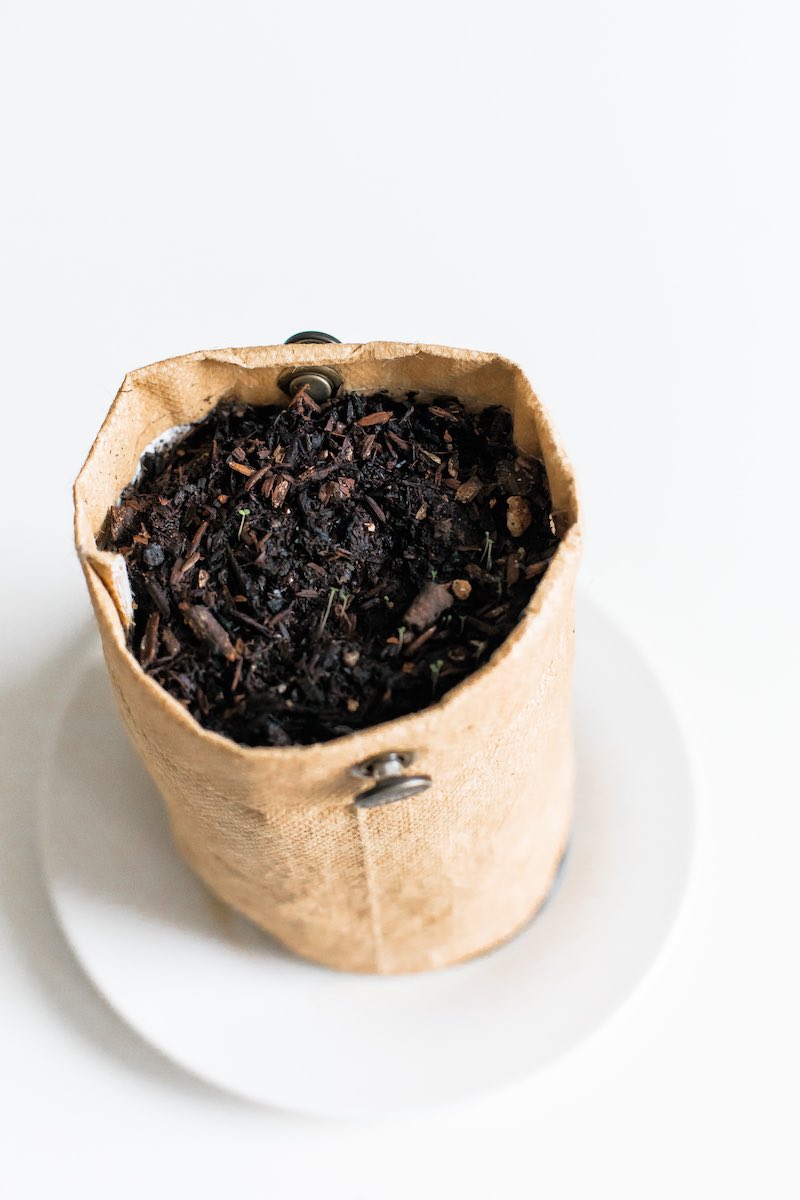
Once in a while every few months, you can scoop some soil out of the indoor worm composting bins and use it as fertilizer on your homestead. You can also water down the soil and add it around your indoor plants.
If you see that your worm bin is already full, you can already remove some soil. You may follow these steps:
-
-
- Feed the worms only on one side of the bin for a couple of weeks. This is to attract them to stay on this side.
- Once you see that all the worms are on one side, harvest some compost on the other side. You can already use this compost for your garden.
- If you see way too many worms in the compost that you harvested, you can share them with your fellow homesteaders. Alternatively, you can also release some of them in your yard.
-
Some people find the idea of keeping thousands of worms in their homestead gross and creepy. Of course, it will take some time for everyone to get used to it. But as long as you do it correctly, you will see that recycling through vermicomposting is helpful and even fascinating. Plus, the worms won’t even smell at all.
A worm compost bin is very affordable and easy to maintain. It will only take you around fifteen minutes to assemble your worm bin.
To create a bin, you can just use your old plastic bins or storage tanks. But if you don’t have any unused bins, you can purchase composting bins from any gardening stores.
Learn how worm composting can reduce your waste by watching the video below by TED-ed:
Making your own worm compost bin is indeed very easy. You only need basic materials like your unused plastic bins, some red wrigglers, soil, and some food scraps. Remember to keep your worm bin moist, so the worms can move freely. Also, don’t forget that you should not feed them with plastic or woody items. Keep these tips in mind, and you’ll be harvesting your own organic compost in no time.
Have you tried making your own worm composting bin? What kitchen scraps do your worms prefer to eat? Share your tips in the comments section below!
UP NEXT:
Fellow homesteaders, do you want to help others learn from your journey by becoming one of our original contributors? Write for us!
