
Wondering how to freeze blueberries? It’s very easy to make and wouldn’t even take long. Freezing blueberries may just be the perfect solution to store those extra pints you got from the market, and enjoy them all year round. We prepared these five easy steps for you to follow. Check them out below.
RELATED: How To Freeze Vegetables In Your Homestead
Best Way to Freeze Blueberries at Home
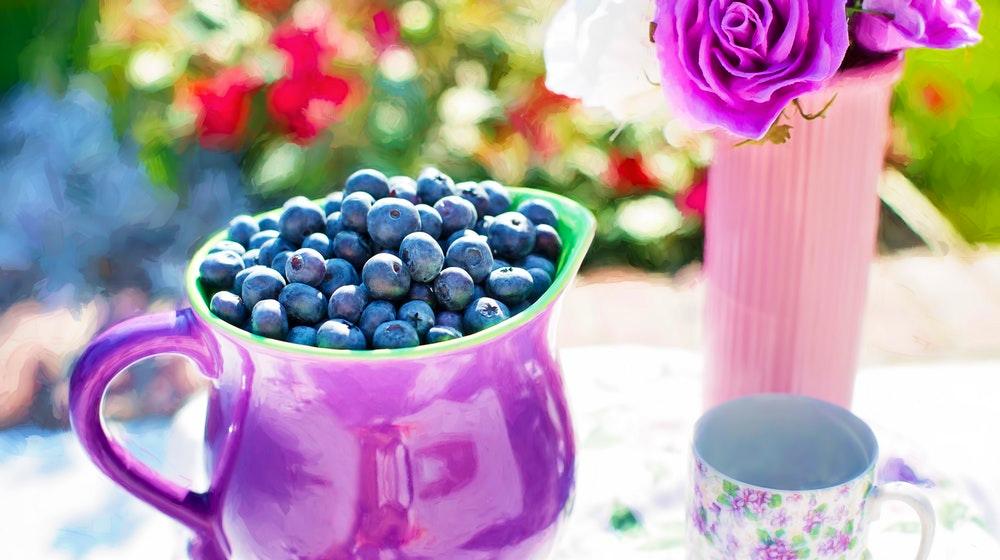
Frozen Blueberries
Munching on frozen blueberries is a yummy way to get your daily dose of vitamins and antioxidants. These berries have multiple health benefits. They can protect you from heart diseases, improve your mental health and mood, and even maintain your bone density.
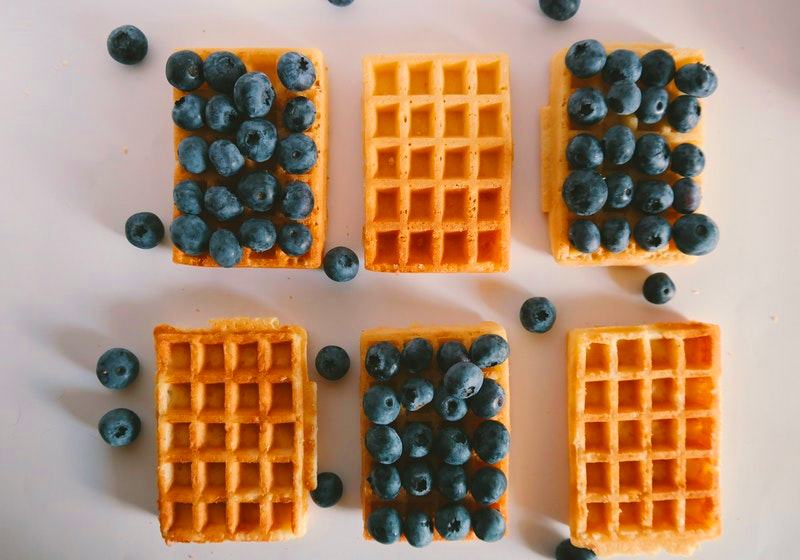
You can enrich your meals with blueberries in multiple ways. Some examples are the following:
- Add-ons for your breakfast oats
- Toppings for smoothies and juices
- On-the-go snacks
- Quick desserts
- Salad dressings
Whether your blueberries are fresh from your backyard or from the markets, the best way to preserve these berries is to freeze them. So if you’re thinking of freezing some blueberries right now, we prepared a step-by-step guide and some tips to help you in that process.
What You’ll Need:
Ingredients:
- 1 kg of blueberries (weight depends on your desired consumption)
Materials:
- Strainer
- Paper towels or cookie sheet
- Cooking tray
- Large Ziplock bag
Step 1: Prepare Your Fresh Blueberries
Before you begin the freezing process, it is important to remember to start with fresh and ripe blueberries. The fresher the berries are before freezing, the juicier they will be when you use them.
First, check out the appearance of the berries and taste some of them. Do they have a dark blue color or are they already wrinkly? Do they taste sweet or bitter?
Fresh blueberries are usually dark blue, and they taste juicy, sweet, and tangy. But if the blueberries you got are already wrinkly and mushy, then those aren’t the best candidates for freezing.
But, don’t throw away these wrinkly berries just yet. They’re perfect for baking blueberry muffins, blueberry custard pies, or as add-ons for smoothies.
Step 2: Run the Blueberries Under Cool Water
After you have prepared your berries, they’re now ready for the freezing process.
First, place the fruits in a strainer and run them under cool water. Make sure to remove the small stems. Then, shake off all excess water and pat the berries dry using a paper towel.
Step 3: Place Them on a Paper Towel
When you’re patting the excess water off the berries, pour them all on a paper towel or a cookie sheet.
Step 4: Prepare to Put Them in the Freezer
Put the blueberries on a cookie tray. Then, spread them out thin so they won’t clump together when they’re freezing.
Leave the tray of blueberries in the freezer for at least three hours. Make sure the berries are spread only in one layer to avoid them from getting stuck together.
Step 5: Transfer the Blueberries in a Ziplock
After a couple of hours, you can already check if the blueberries are all frozen. The last step is to transfer them into a large Ziplock bag.
Before you do that, you can date the Ziplock bags that you’re going to use so you would know how long they’ve been in the refrigerator. Then, close the bags and press them carefully to get all the air out.
When you store them inside the freezer, be sure to lay them flat to avoid them from sticking together. And if properly stored, blueberries can last inside the freezer for around 10 to 12 months.
You can check out this video by Wish Farms where they discuss more tips on freezing blueberries and even strawberries:
Indeed, freezing blueberries is very easy to learn. You would only be needing basic materials which you already have at home. Plus, the finished product is also very handy especially if you’re looking for quick summer snacks or additional toppings for your salads or smoothies.
Where do you usually use your frozen blueberries? Share your thoughts in the comments section below!
Fellow homesteaders, do you want to help others learn from your journey by becoming one of our original contributors? Write for us!
UP NEXT:
