
At a glance
- Cost: About $100 to $300 for the DIY parts. Furnace and chimney checks cost extra.
- Time: Four weekends, a few hours each. Frost-night covering takes about 10 minutes.
- Space: Any house. The garden steps work for one raised bed or a full plot.
- Skill level: Beginner with a caulk gun. Gas, wiring, and chimneys go to a pro.
One cold night can blacken a bed of tomatoes. The same night can split the outdoor faucet you meant to drain last weekend.
I spread winterizing your home over four weekends, in the order winter breaks things. Garden and water go first. Then garlic and drafts, then heat and safety, and the flock and pantry last. Here’s what to do tonight and what can wait for Saturday.
RELATED: Vegetables to Plant in September: What Still Fits Before Your First Frost
As an Amazon Associate, we earn from qualifying purchases.
What breaks first when winter hits your home?
Tender crops and water break first. One night near freezing can kill tomato plants, and that same night can freeze a hose bib or a pipe in a cold garage.
Next comes air leaking out around windows and doors, all winter long. Then the heating gear, which starts working hard the day it turns cold. Here’s what each one does to you, so you know why the order matters.
Tender crops go the first cold night
Frost can form when the air is still 33°F to 36°F, according to the Farmers' Almanac. Tomatoes, peppers, basil, beans, cucumbers, summer squash, and melons all take damage. Kale, cabbage, carrots, and spinach shrug off a light frost.
Water freezes next
Water gets bigger when it freezes. Inside a pipe, that can split the pipe. You usually don’t find out until it thaws and starts leaking into the wall.
Check garages, crawl spaces, and pipes along outside walls. That’s where the trouble starts.
Air leaks cost you all winter
A gap you can barely see around a door leaks heat every day until spring. ENERGY STAR says sealing air leaks and adding insulation can save homeowners an average of 15% on heating and cooling.
Heaters bring their own risks
Furnaces, wood stoves, space heaters, and generators keep you warm. They can also start fires and make carbon monoxide. Check them before you lean on them.
How to plan your winterizing weekends
I tried doing all of it in one weekend once. By Sunday night the caulk gun was still on the porch rail and the attic hatch was still open. Four weekends, one job each, gets it finished.
Start as soon as frost shows up in your forecast. Here’s the order.
Weekend 1: frost night and water
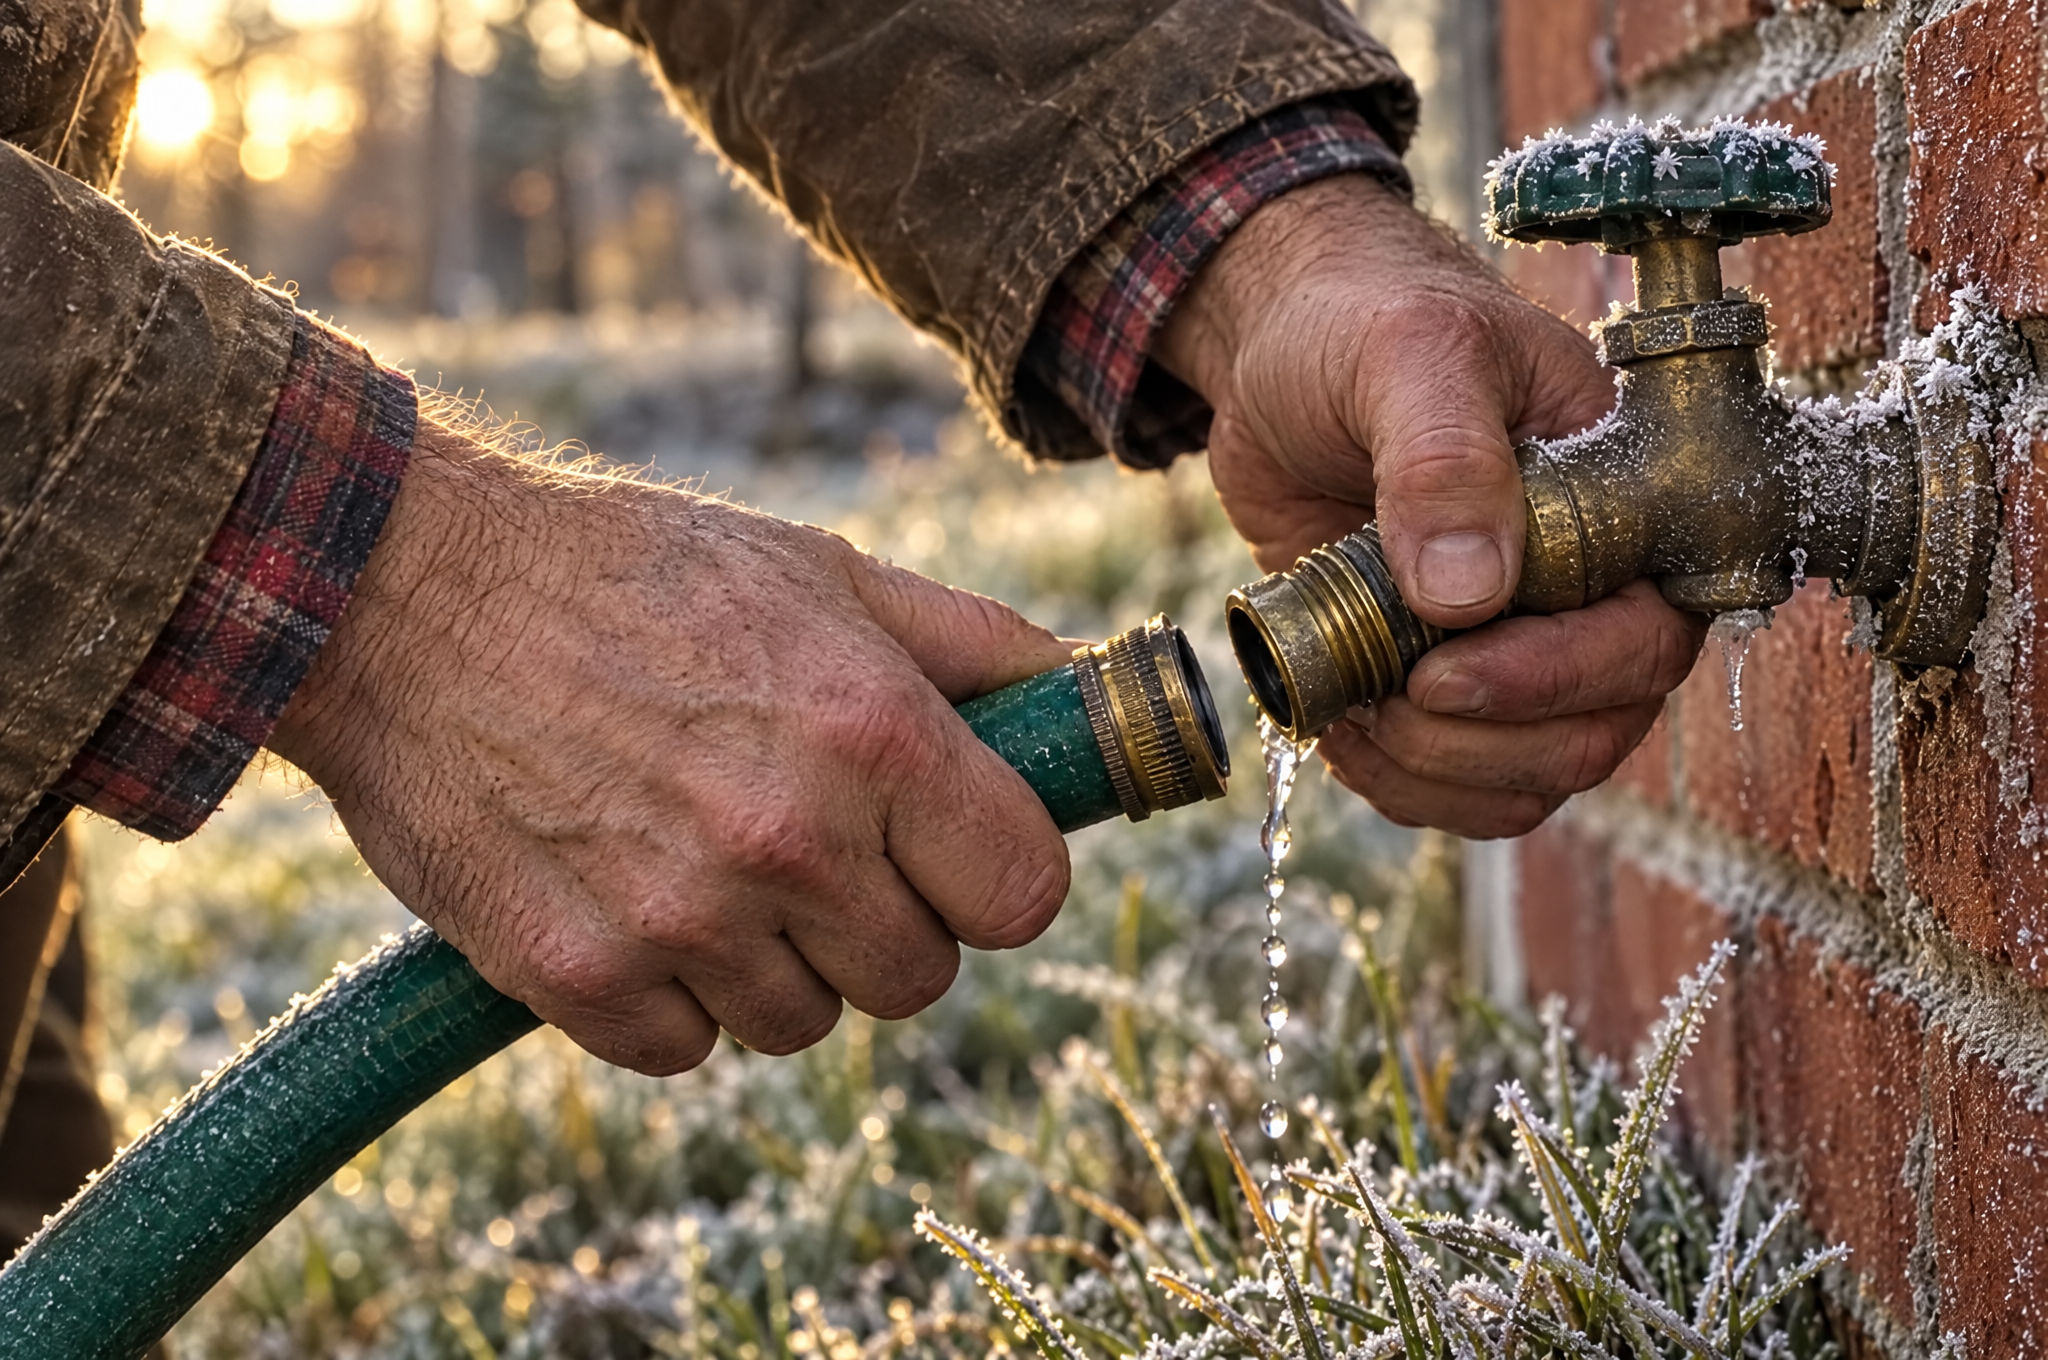
Cover or pick tender crops. Drain the hoses and outdoor faucets, and wrap exposed pipes. If you only get one weekend, make it this one.
Weekend 2: garlic and drafts
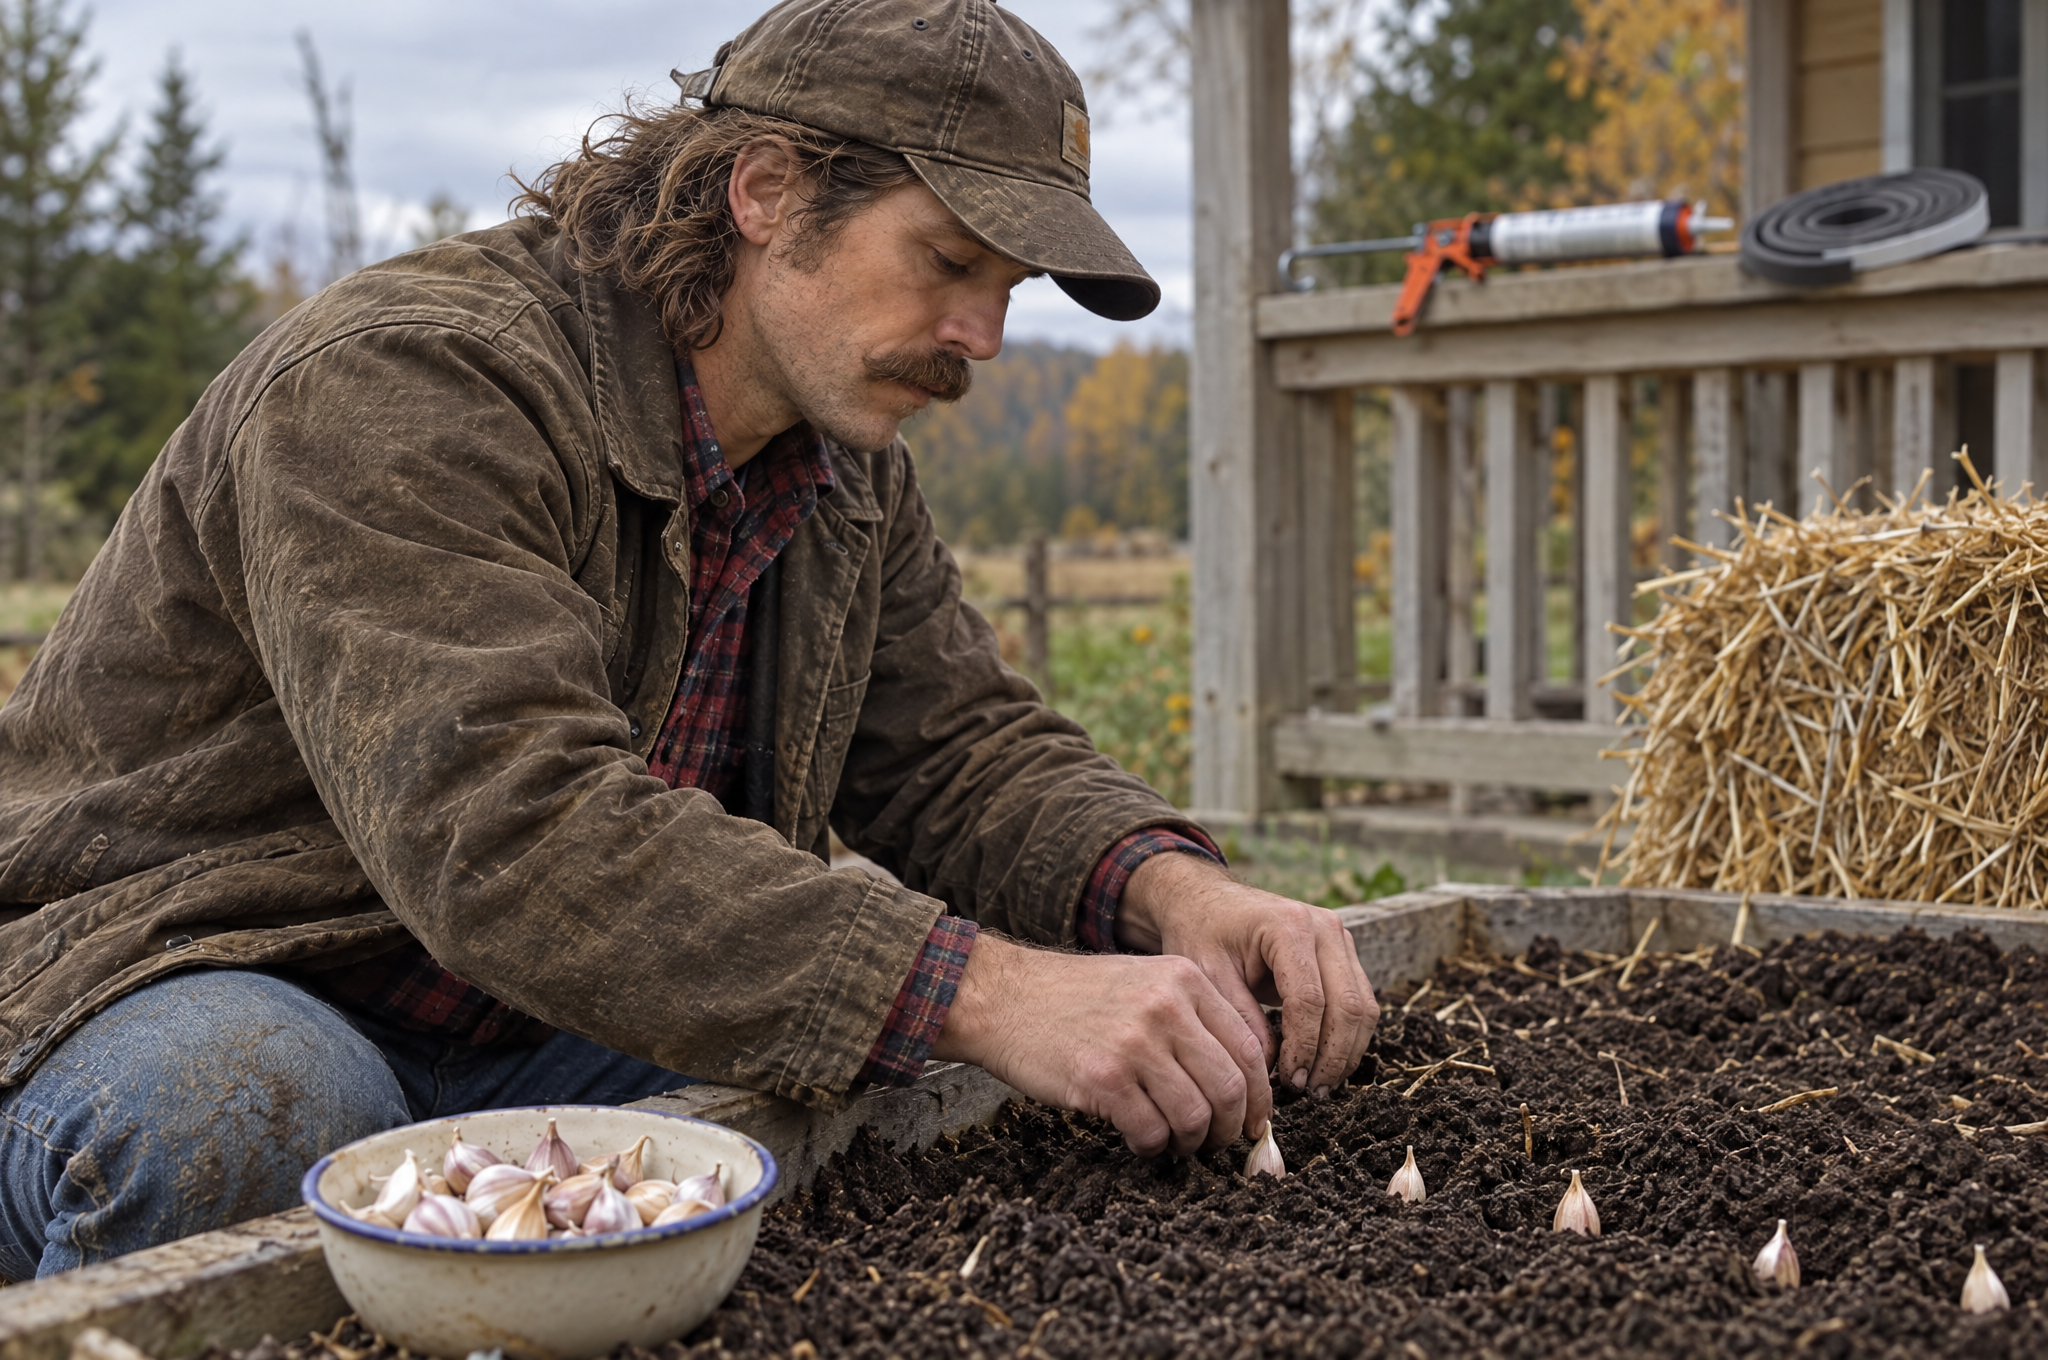
Plant garlic while you can still dig. Then find drafts, caulk small cracks, add weatherstripping, and look at your attic insulation.
Weekend 3: heat and safety
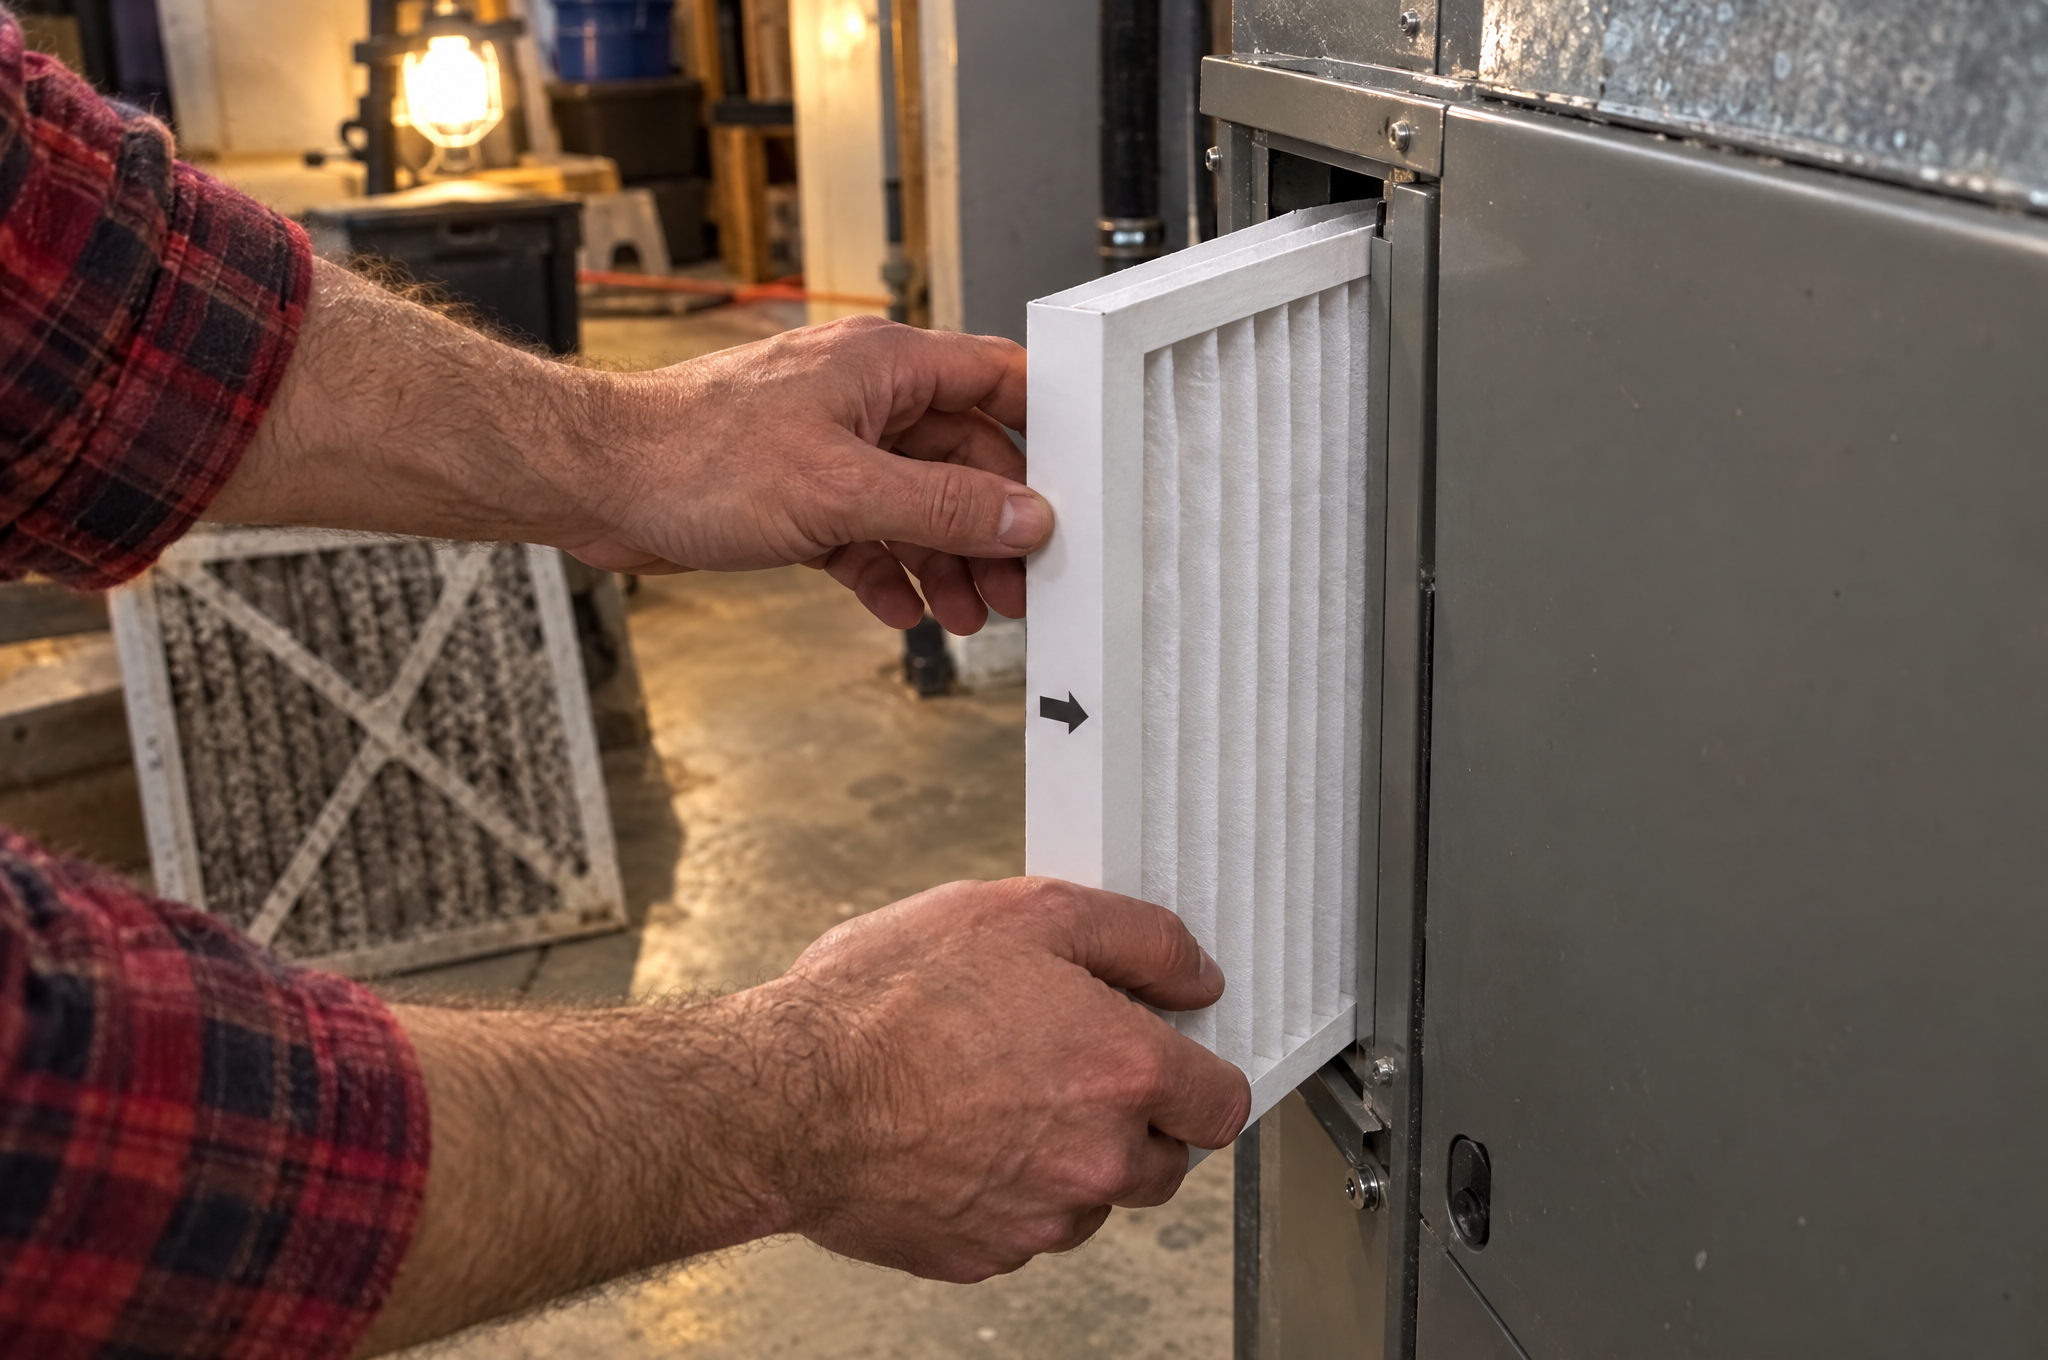
Furnace filter, a tune-up, a chimney check, and a test of every smoke and CO alarm. Then a plan for space heaters and power outages.
Weekend 4: the flock and the pantry
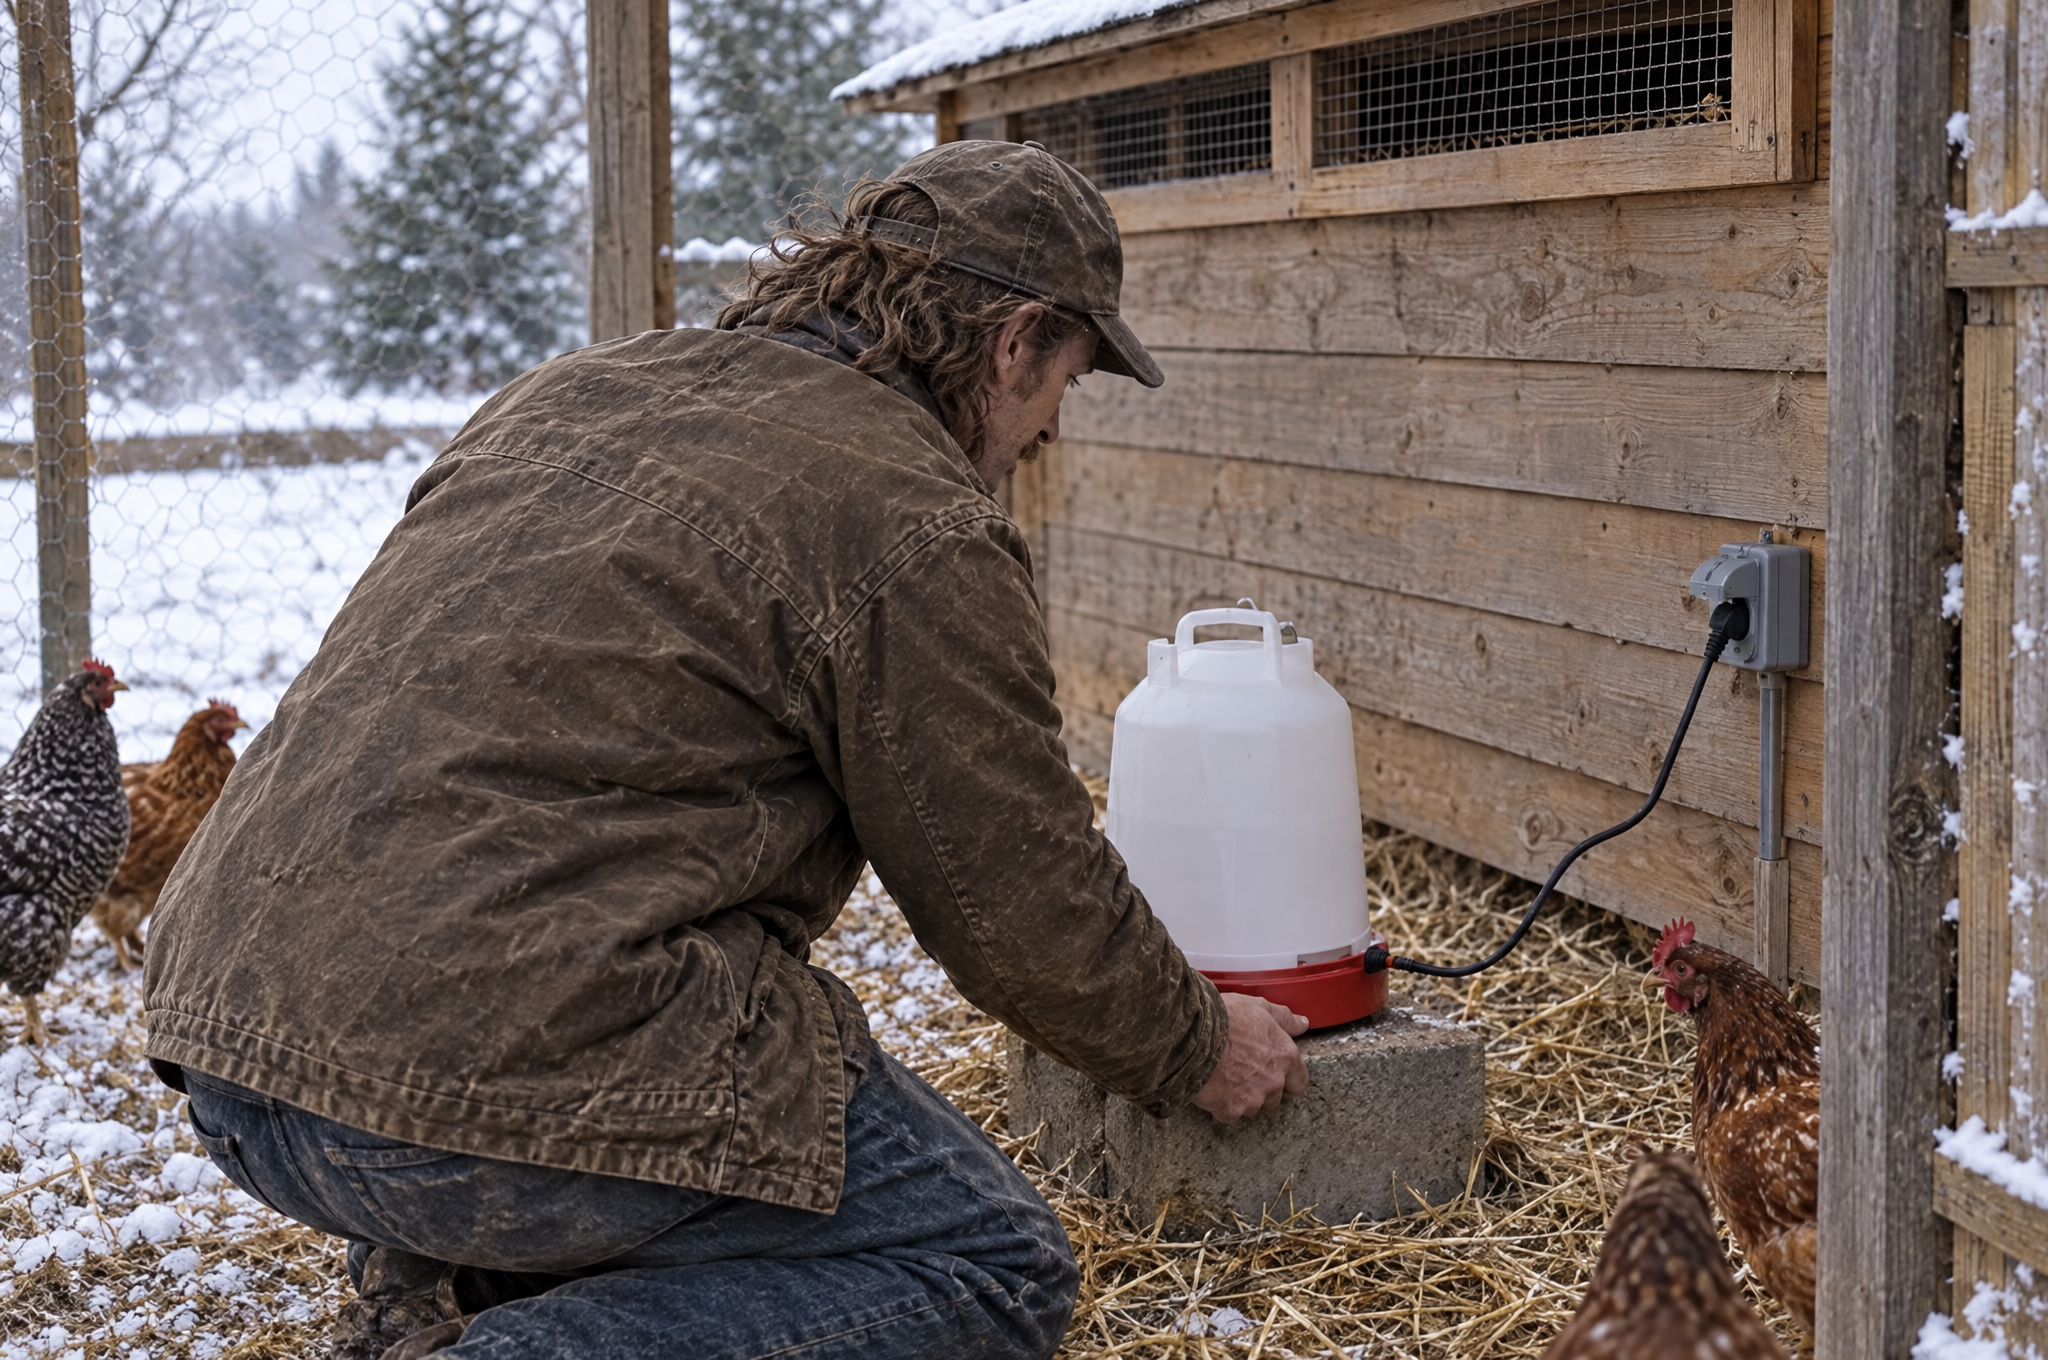
Get the coop and waterer ready, then stock water and food for a storm.
What do you need for winterizing your home?
You need frost cloth and seed garlic for the garden, pipe sleeves and faucet covers for water, caulk and weatherstripping for drafts, and working smoke and CO alarms. Most of it costs less than one month of a high heating bill.
Here’s the short list for each weekend. Skip anything you already own. Cheap is fine. Cheap twice isn’t.
As an Amazon Associate, we earn from qualifying purchases.
For the garden
- Frost cloth. It holds the soil’s warmth over tender plants and lets light and air through, so it can stay on for a cold stretch.
- Landscape staples. They pin the edges so the wind can’t lift the cloth and let the cold under.
- Straw for mulch. It tucks the garlic in for winter. Buy a bale of weed-seed-free straw at a local farm or garden center. Shipping a bale costs more than the straw.
- Seed garlic. Buy it from a local grower or a garlic seed company. Grocery garlic is often treated so it won’t sprout.
Only buying one thing tonight? Make it this. One cloth covers a whole bed of tomatoes and peppers:
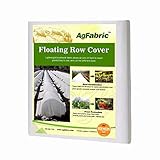
- Heavy-weight FRCs (1.2 oz./sq. yard): Are usually used to extend the growing season in spring and fall, allow 30%-50% light...
- PROTECTION High quality spun polypropylene fabric is stabilized and reusable, and allows air and moisture to reach your plants,
- EASY INSTALLATION Measured size as described, easy to cover it on the plant top personally
For water
- Foam pipe sleeves. They slow heat loss on pipes in cold spots, like the garage or crawl space.
- Outdoor faucet covers. An insulated cap adds a layer over each faucet after you drain it.
Every faucet on an outside wall gets drained, then capped. This two-pack covers a front and a back faucet:
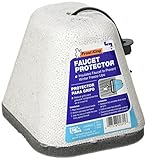
- Protects outdoor faucets from extreme temperatures
- 5/8-inch expanded polystyrene shell
- 3/4-inch one piece foam gasket
For drafts
- Caulk and a caulk gun. Caulk seals cracks of 1/4 inch or less around trim and frames.
- Foam weatherstripping. It seals the parts of doors and windows that move, where caulk can’t go.
- A door sweep. It closes the gap under the door where cold air rolls in.
- Window and door spray foam. It fills gaps from 1/4 inch up to about 3 inches without bowing the frame.
Start with the door where you can feel the draft. This self-stick foam presses onto the door stop, so the door closes against it:
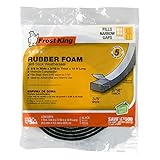
- The product is 3/8x3/16 BLK Foam Tape
- Easy and simple use kit
- The product is manufactured in United States
For heat and safety
- A combination smoke and CO alarm. CO alarms belong on every level of the house and outside each sleeping area. A combo unit covers both jobs in one spot.
- The right furnace filter. Write your filter size on the furnace with a marker. Keep a spare so you can swap it the day it looks dirty.
If all you have today is smoke alarms, add CO protection first. This plug-in model has a battery backup for outages:

- Keep your family safe with this easy to use plug in carbon monoxide alarm; It works with any standard outlet and also has a battery...
- Features an advanced electrochemical carbon monoxide sensor that accurately detects carbon monoxide levels, no matter where the...
- Simple to use, with a single test/silence button; a loud 85 decibel alarm sounds when Carbon Monoxide levels reach dangerous levels...
For the flock
- A heated poultry waterer. It keeps water open on freezing mornings without a heat lamp in the coop. You’ll need an outdoor-rated outlet near the coop.
If the coop water froze solid last winter, this is the fix. It’s a 2-gallon heated drinker that plugs in:

- Heated Water Dispenser for Poultry: Keep your chickens, turkey, and geese hydrated all winter long with this 2-gallon heated poultry...
- Temperature Controlled: 60-watt water warmer is thermostatically controlled and operates only when needed, saving you time and...
- Unique Container Design: Farm waterer bucket features a metal handle for hanging, or it can be placed on the ground; For easy...
Tonight’s frost checklist
If your forecast says 32°F or colder tonight, pick what’s ready and cover the rest before sunset. To check your usual frost date, the Old Farmer's Almanac frost date calculator looks it up by ZIP code.
Before dark, this is a 10-minute job. After dark, it’s a cold one with a flashlight in your teeth. Here’s the order.
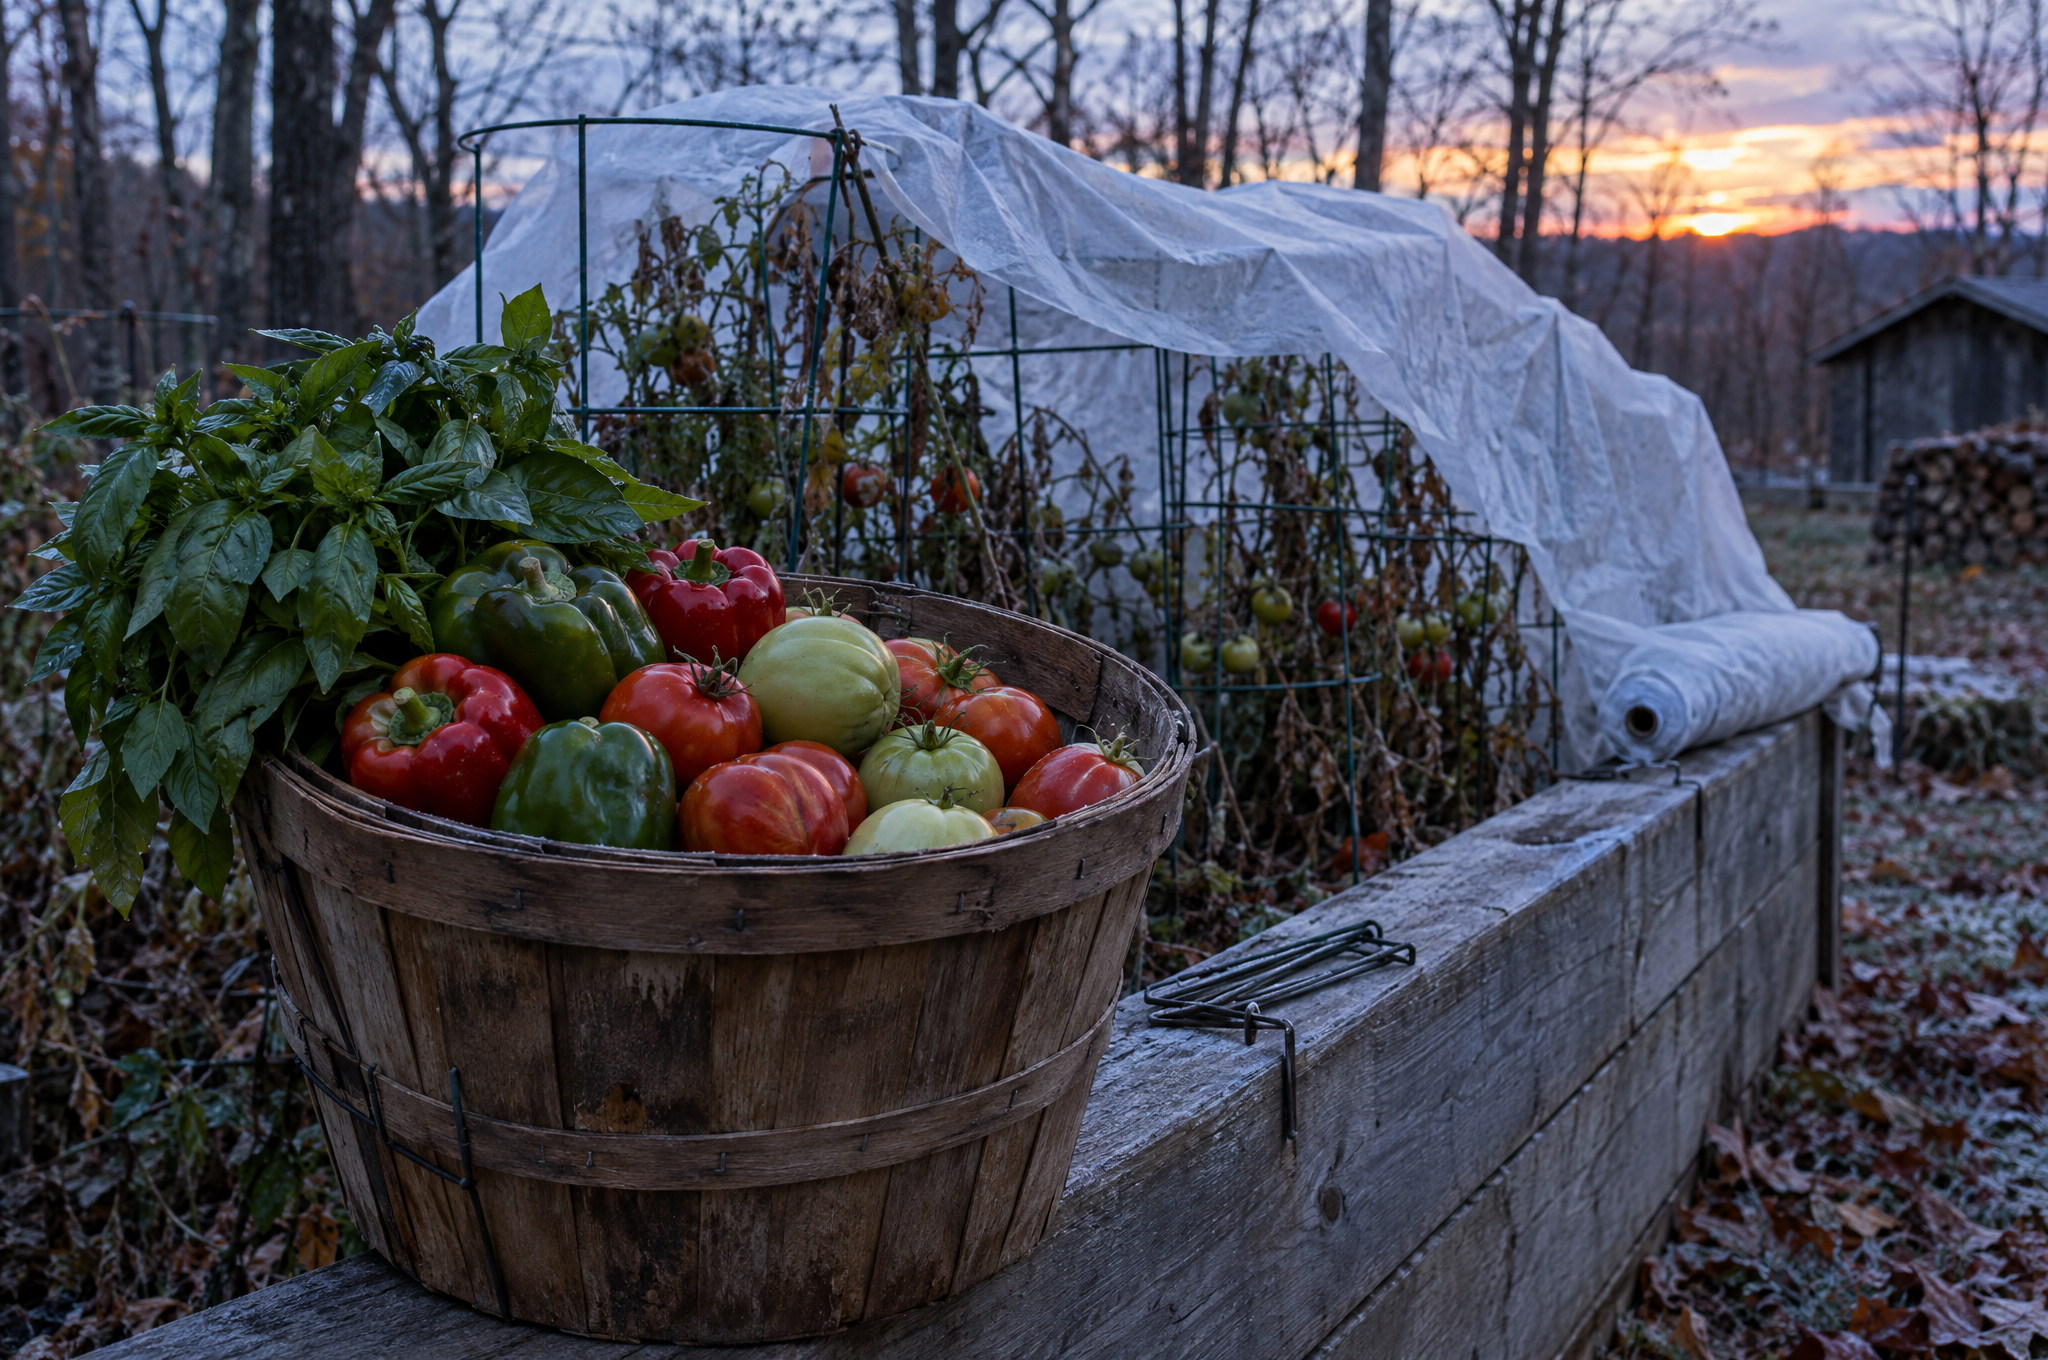
Before dark
- Pick anything that’s ready: ripe or full-size green tomatoes, peppers, basil, beans, cucumbers, and summer squash.
- If the soil is dry, water it earlier in the day. Moist soil holds more heat and gives it back overnight.
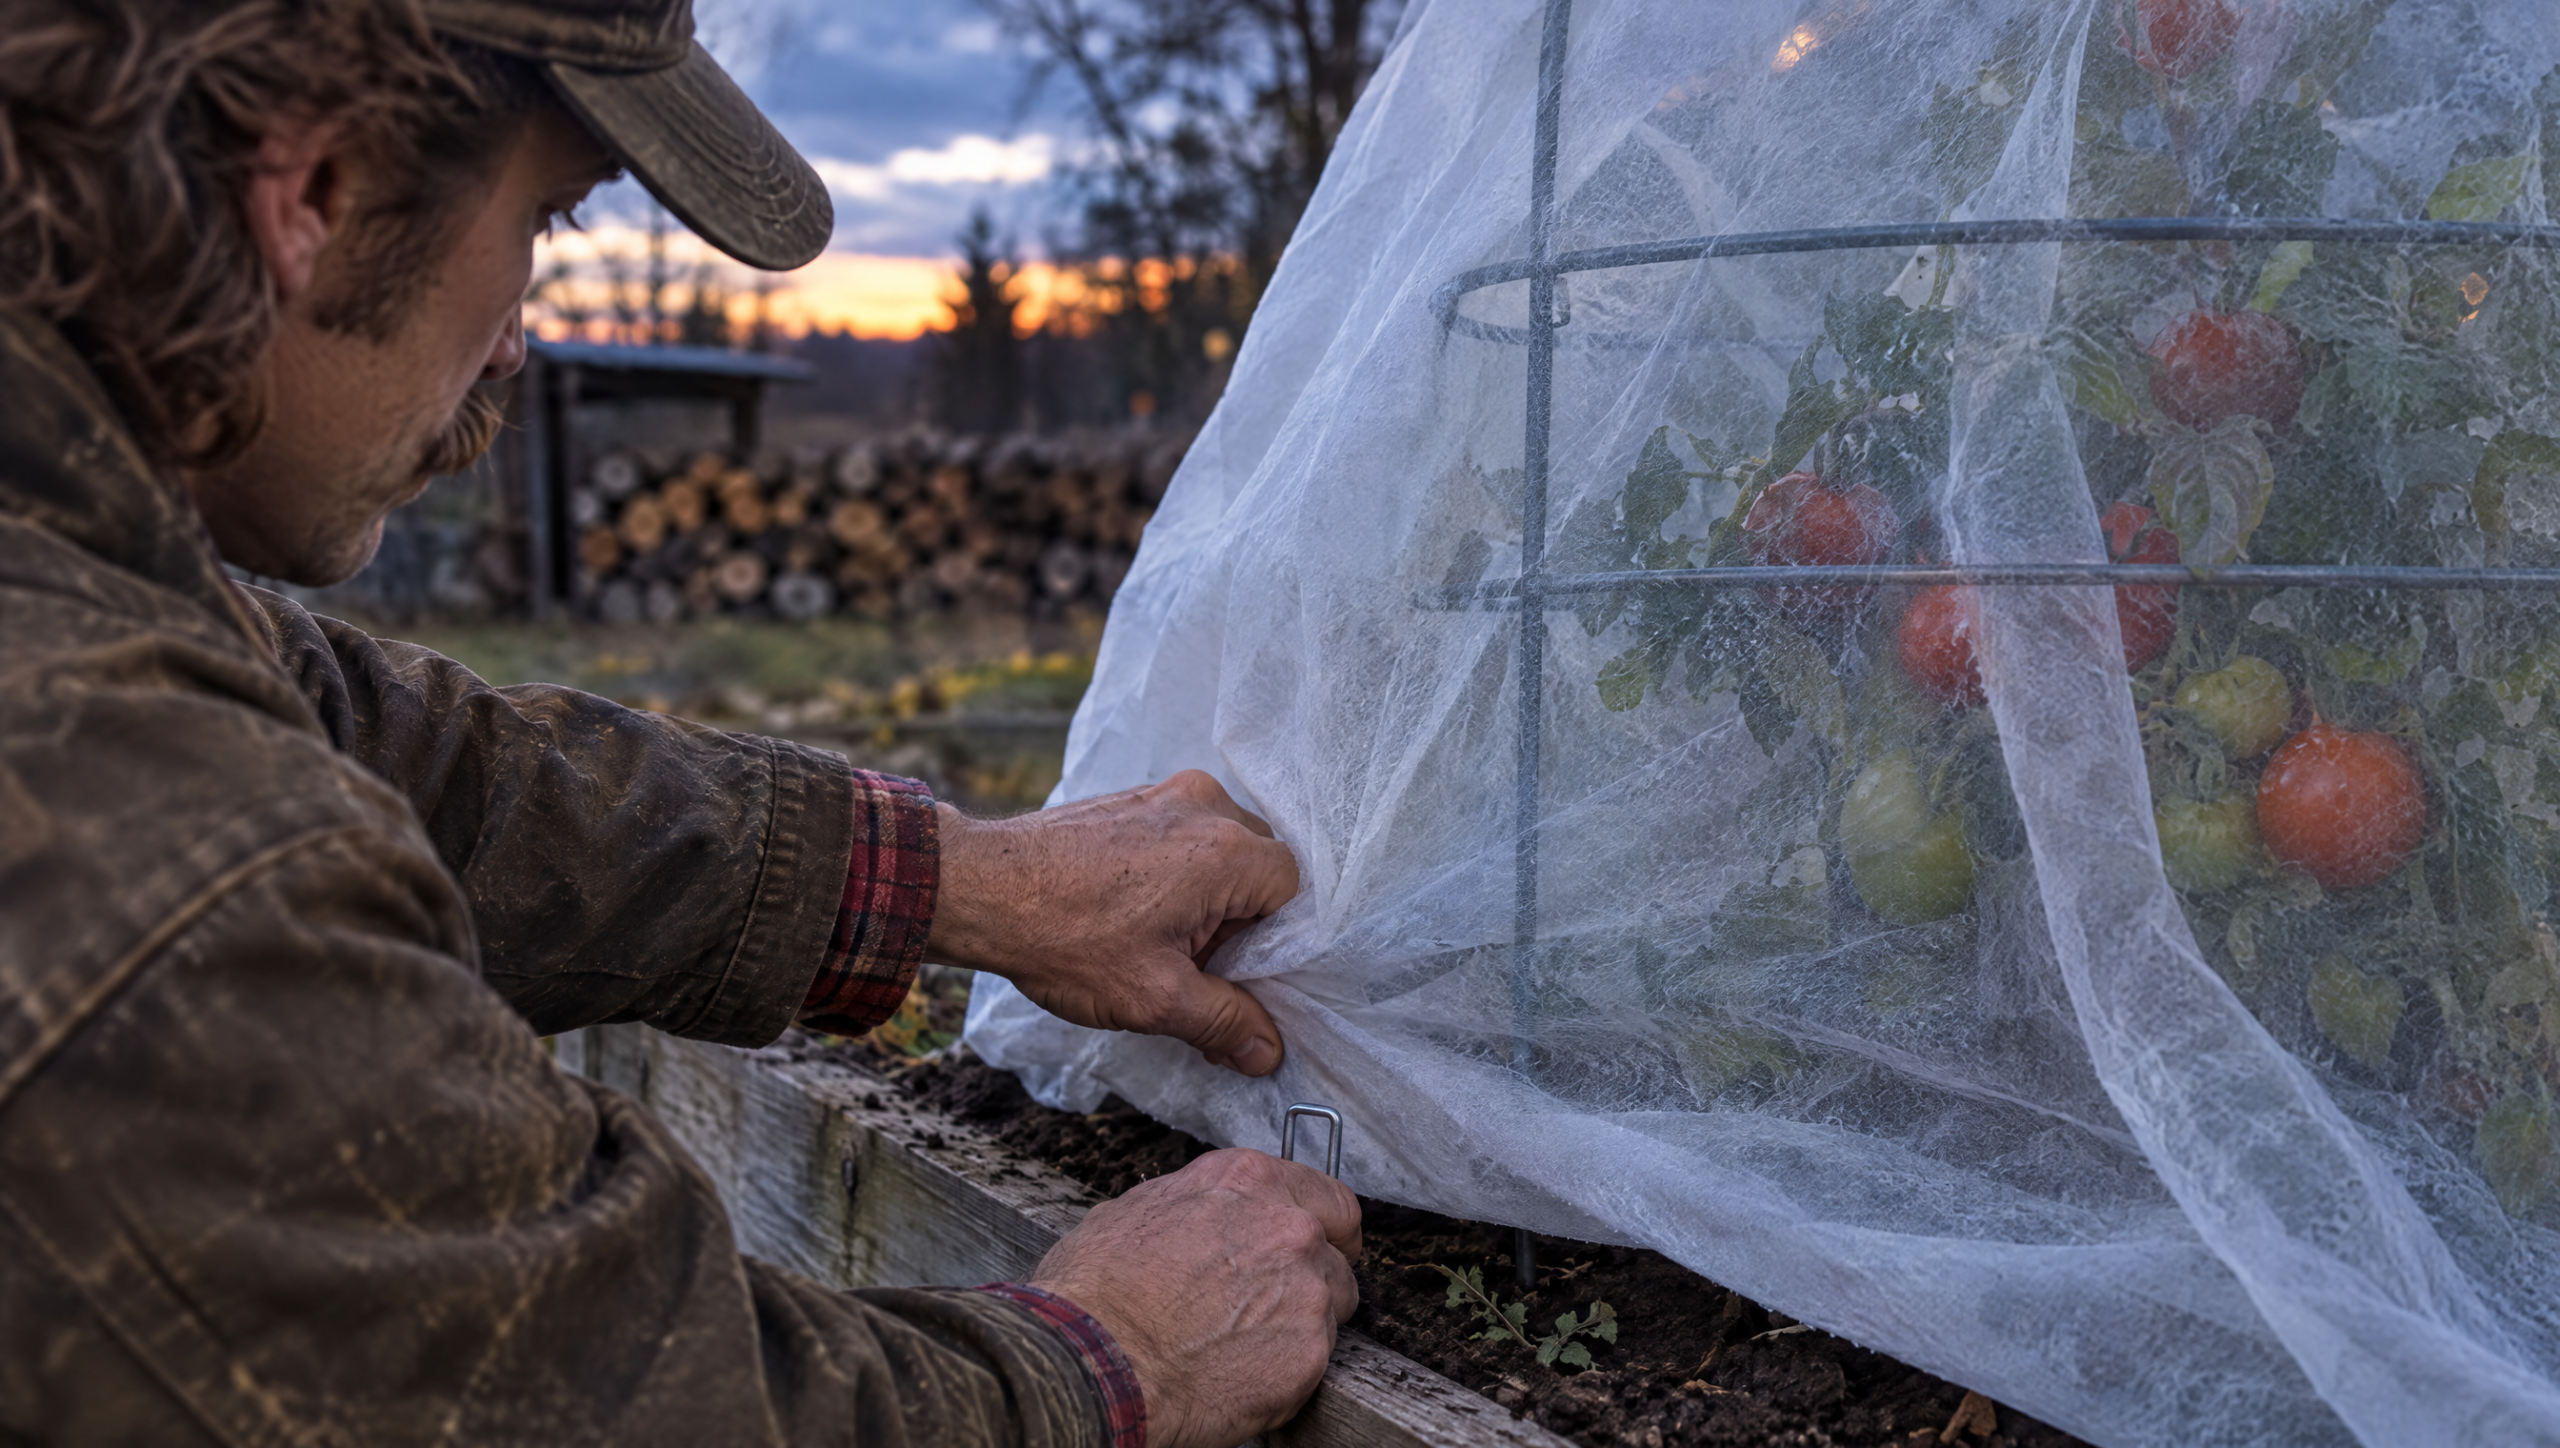
- Before sunset, drape frost cloth, old sheets, or blankets over tender plants. Let the cover reach the ground on every side so it traps the soil’s heat.
- Hold the cover off the leaves with stakes, hoops, or tomato cages. Leaves touching the cover can still freeze, plastic most of all.
- Pin the edges with landscape staples or bricks.
CHECKPOINT: Tender plants picked or covered. Covers touch the ground, not the leaves. Edges pinned.
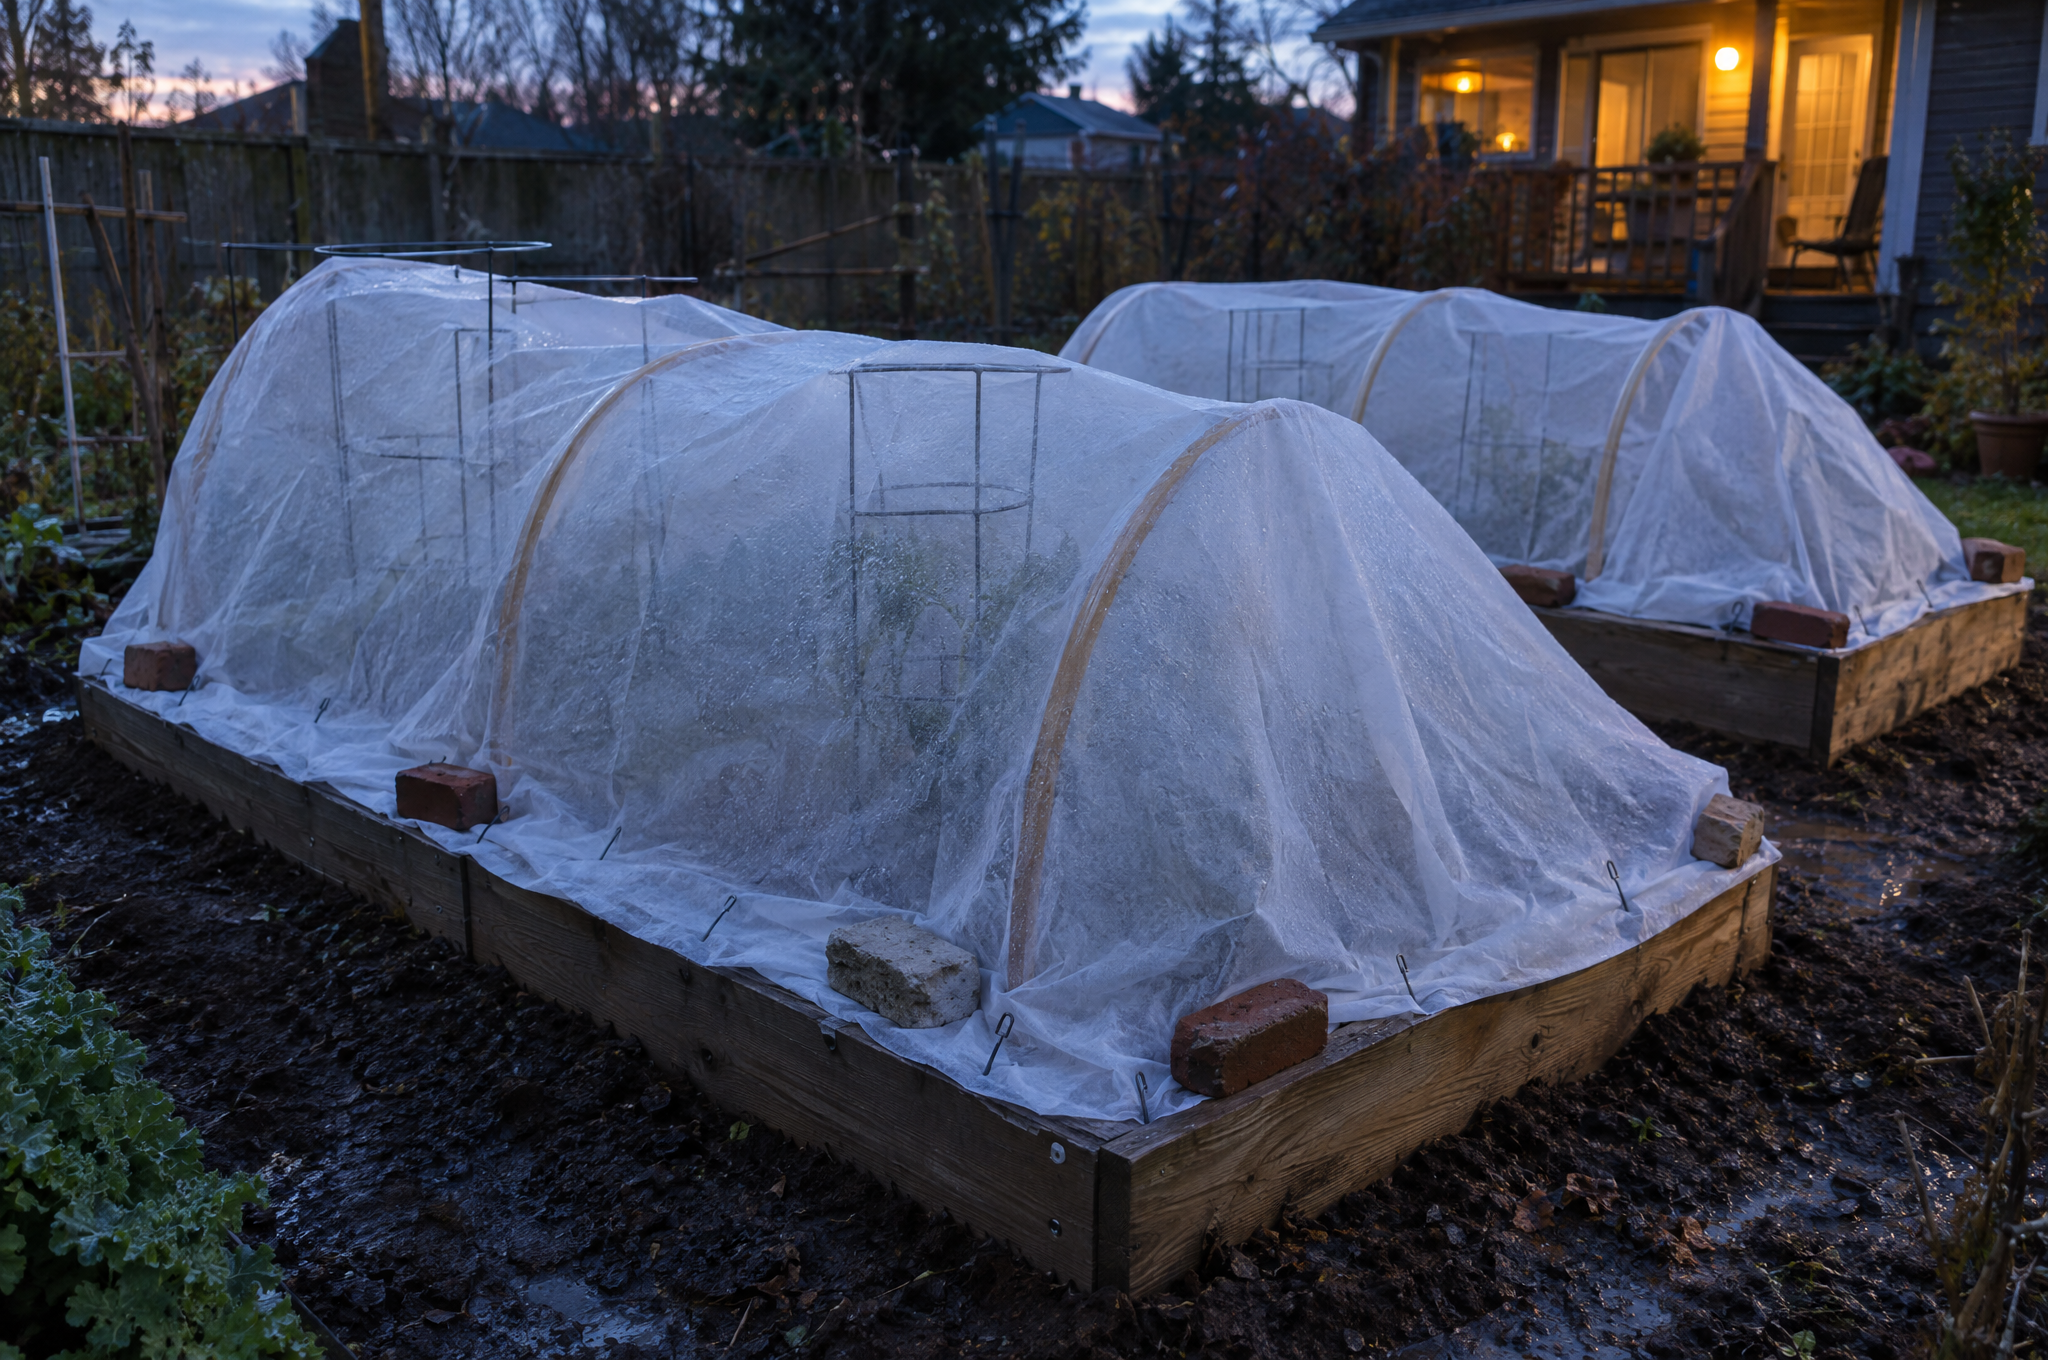
Overnight and morning
- Leave the covers on all night.
- Pull them off the next day once it’s above freezing, so the plants get sun and air.
Covers buy you a few degrees. That’s all. Iowa State Extension notes that once it drops below about 28°F, covers usually stop working. If the forecast shows a hard freeze, pick everything tender.
Watch: covering plants before a frost night, start to finish. Video by Southern Living Plant Collection.
Green tomatoes indoors
Pick tomatoes that are full size and turning a pale, greenish white. Iowa State Extension suggests wrapping each one in newspaper and keeping them in a cool, dark spot around 60°F to 65°F. Move them to room temperature once they start to color.

How to plant garlic by zone this month
Plant garlic about 3 weeks before your ground freezes, says the Old Farmer's Almanac. In the coldest zones that means late September to early October. In warmer zones it can run into November.
It’s the one crop you plant while everything else is shutting down, and you dig it next summer. Here’s when to plant where you live, which garlic to buy, and how to tuck it in.
| Where you garden | Typical zones | When to plant |
|---|---|---|
| Minnesota and the far north | 3 to 4 | 1 to 2 weeks after the first killing frost |
| Iowa and much of the Midwest | 5 | October to early November |
| New England | 4 to 6 | October in the north, November farther south |
| Warm states like Texas | 8 and up | Mid-October or later |
Sources: UMN Extension, Iowa State Extension, UNH Extension, Old Farmer's Almanac. Zones are a rough guide; your local frost date matters more.
Pick the right garlic
Buy seed garlic from a local grower or a garlic seed company. Iowa State Extension points out that grocery garlic is usually a softneck type from warmer places, and it’s often treated so it won’t sprout. In cold climates, hardneck types usually do better.
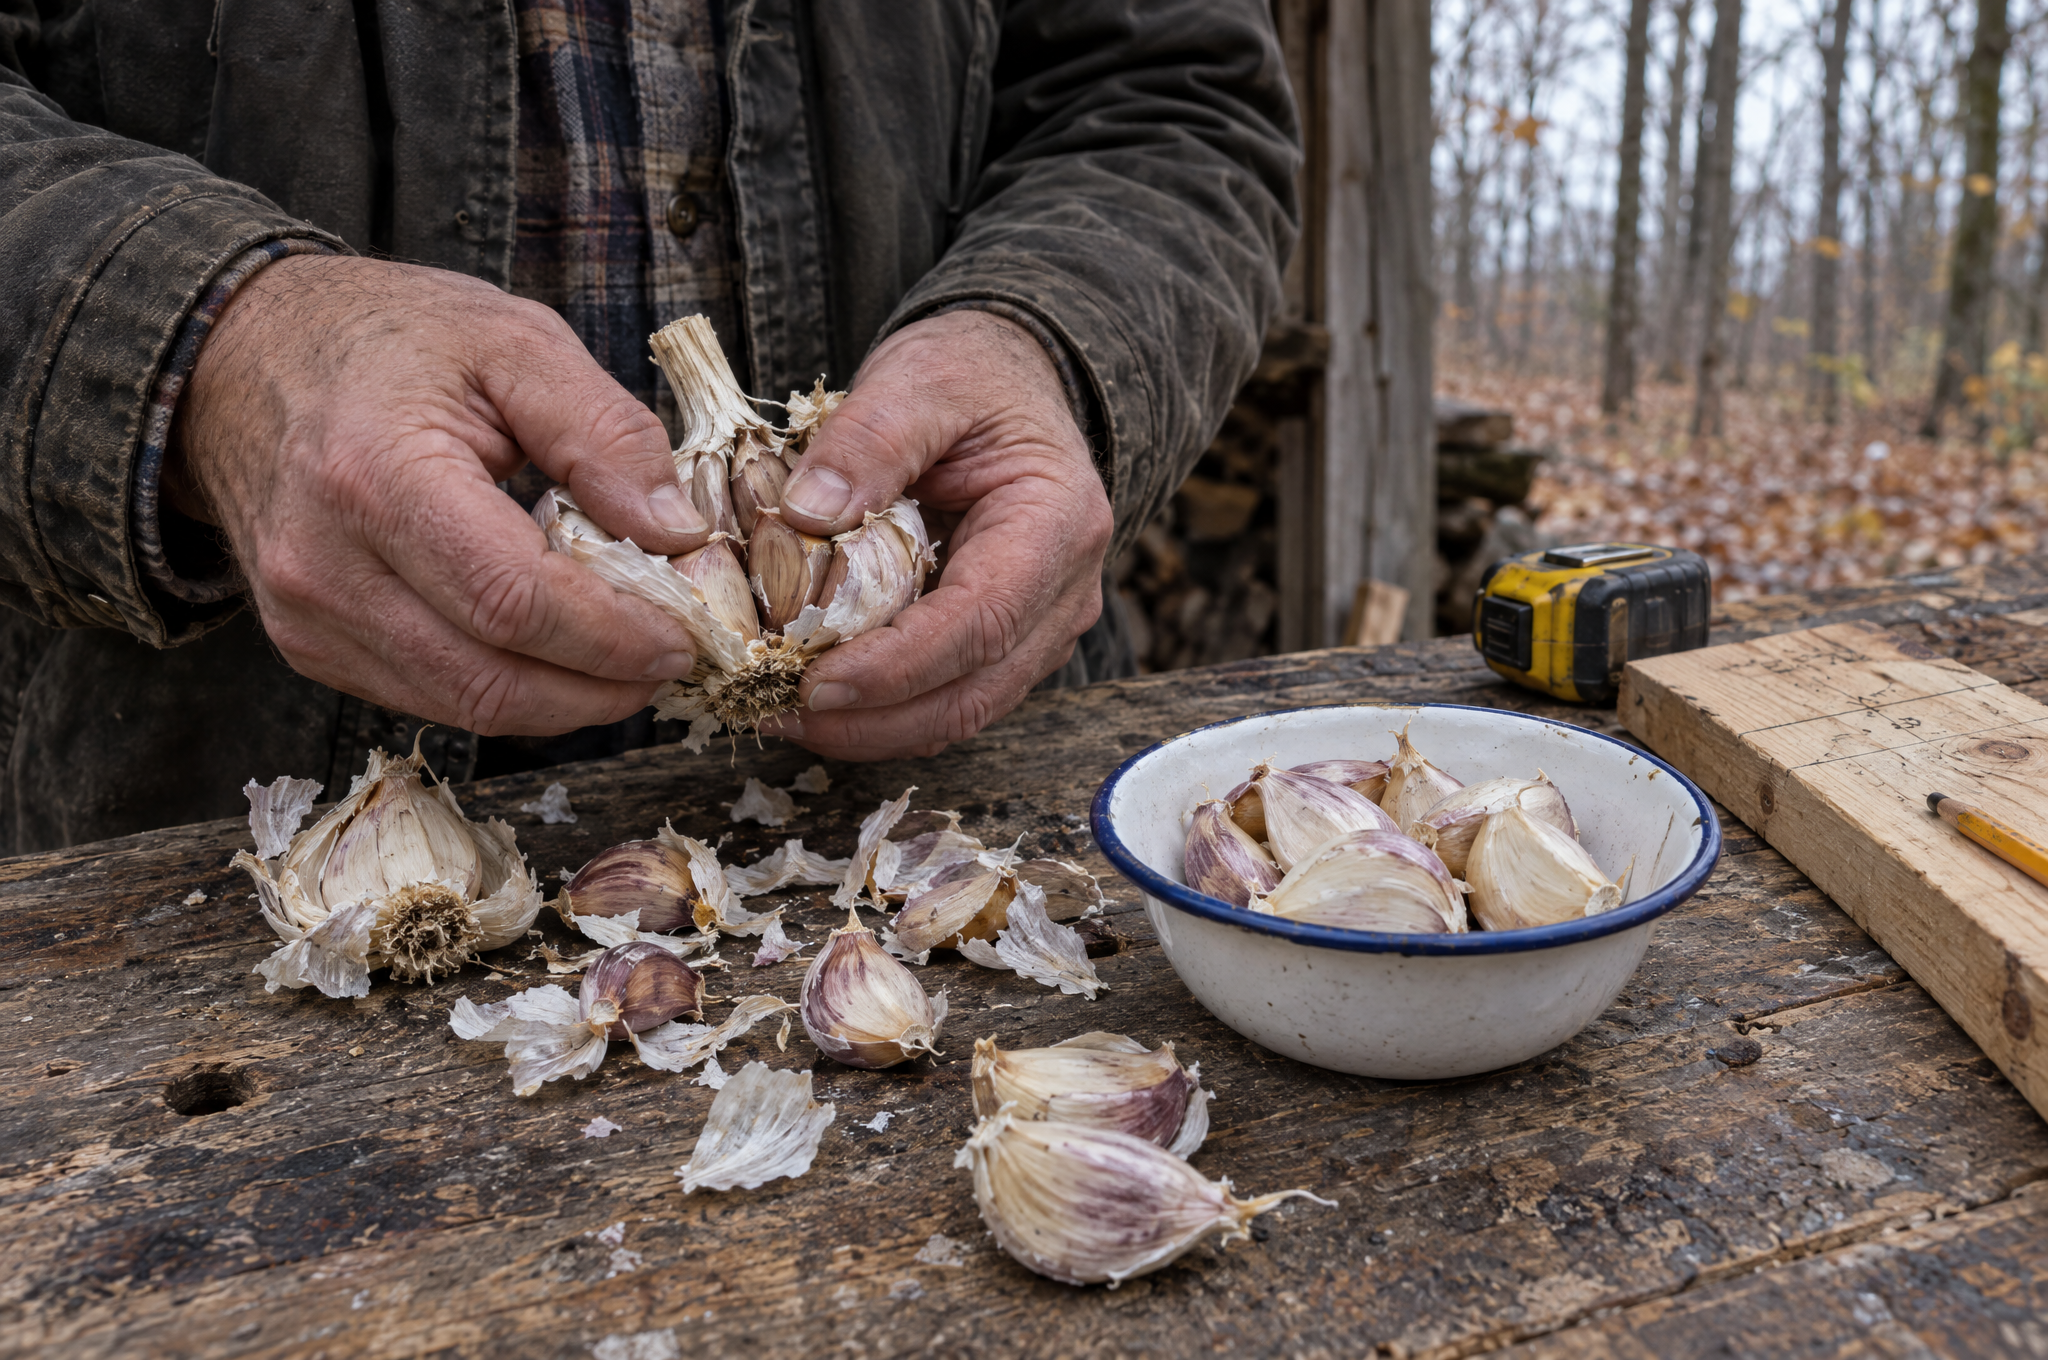
Plant the cloves
- Break the bulb into cloves right before planting. Leave the papery skins on. Plant the biggest cloves, since bigger cloves grow bigger bulbs.
- Set each clove pointed end up, about 2 inches deep and 6 inches apart. Space rows 12 to 18 inches apart.
- Cover with soil, firm it gently, and water if the soil is dry.
Let’s measure before we buy. A 4-by-8 raised bed with rows 12 inches apart and cloves 6 inches apart holds about 4 rows of 15. That’s around 60 cloves, or roughly 6 to 10 bulbs, depending on how many cloves each bulb holds.
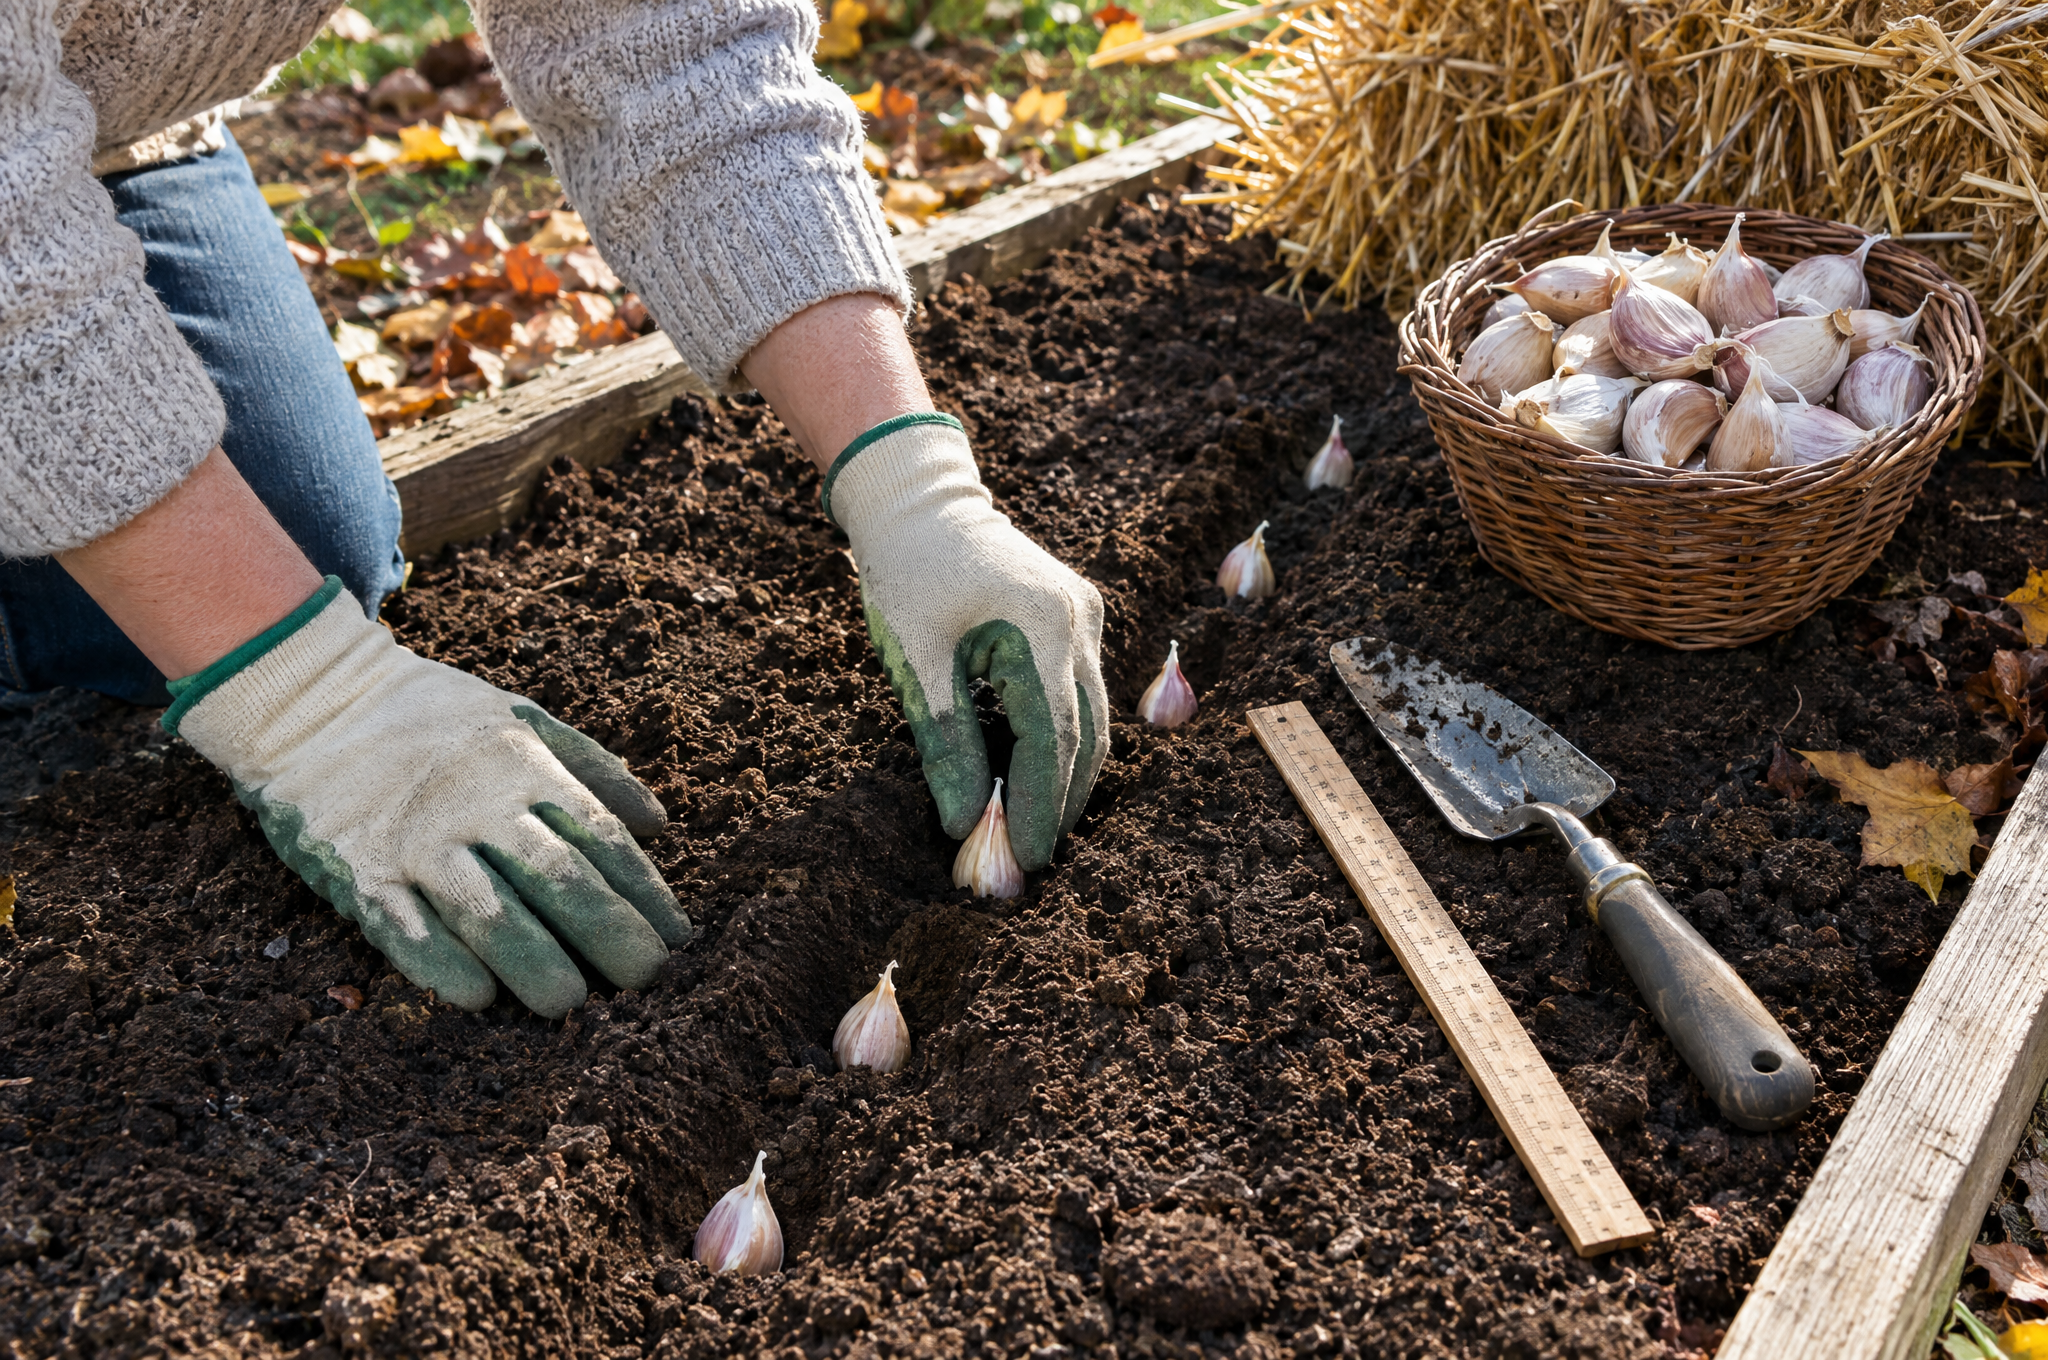
Tuck it in with straw
Spread 4 to 6 inches of weed-seed-free straw over the bed once the soil starts to freeze. In spring, after hard freezes are done, pull the straw back or move it between the rows.
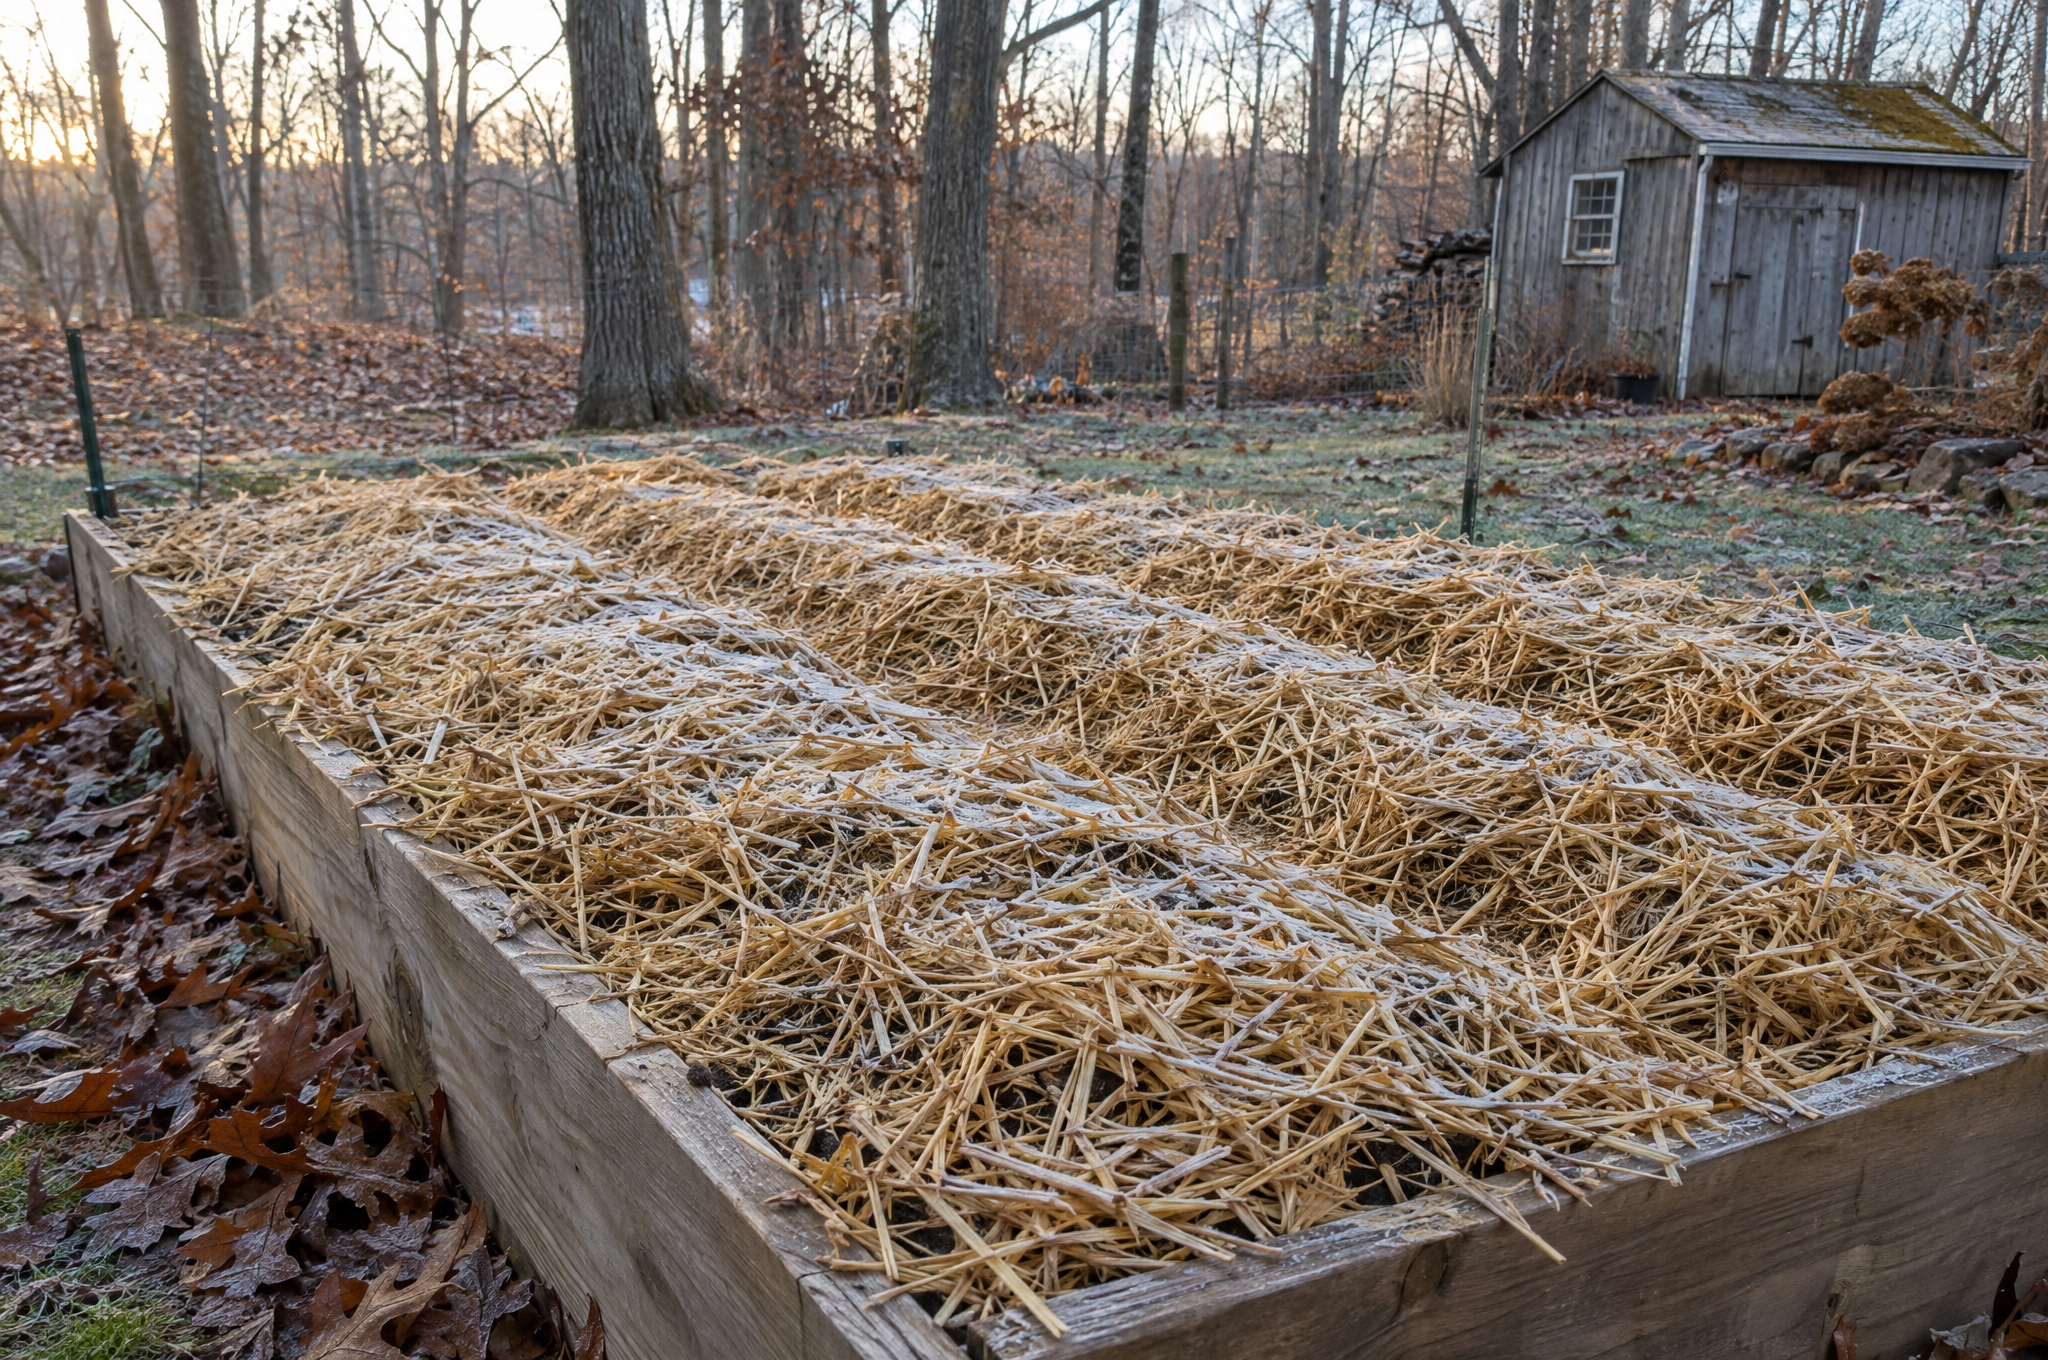
Watch: separating cloves, planting, and mulching fall garlic. Video by MIgardener.
If you miss the window, UNH Extension says cloves planted very early in spring can still make bulbs, though fall planting is more reliable. For the rest of the season, see our guide to growing garlic at home.
How to protect your pipes from freezing
Drain everything outside, wrap the exposed pipes inside, and keep warm air reaching your plumbing on cold nights. That handles most frozen-pipe trouble.
These steps follow American Red Cross guidance. Start outside, then go inside, then know what to do if a pipe freezes anyway.
Outside: hoses and hose bibs
- Unscrew, drain, and store every garden hose. A hose left on the faucet holds water that can freeze back into the pipe.
- Inside the house, close the shut-off valve that feeds each outdoor faucet.
- Go back outside and open the outdoor faucet so the water left in the line drains out. Leave it open.
- Add an insulated faucet cover.
Here’s the part people skip: finding that inside valve. Mine sits behind the water heater, and the first year I found it with a flashlight and a lot of moving boxes. Find yours now and hang a tag on it.
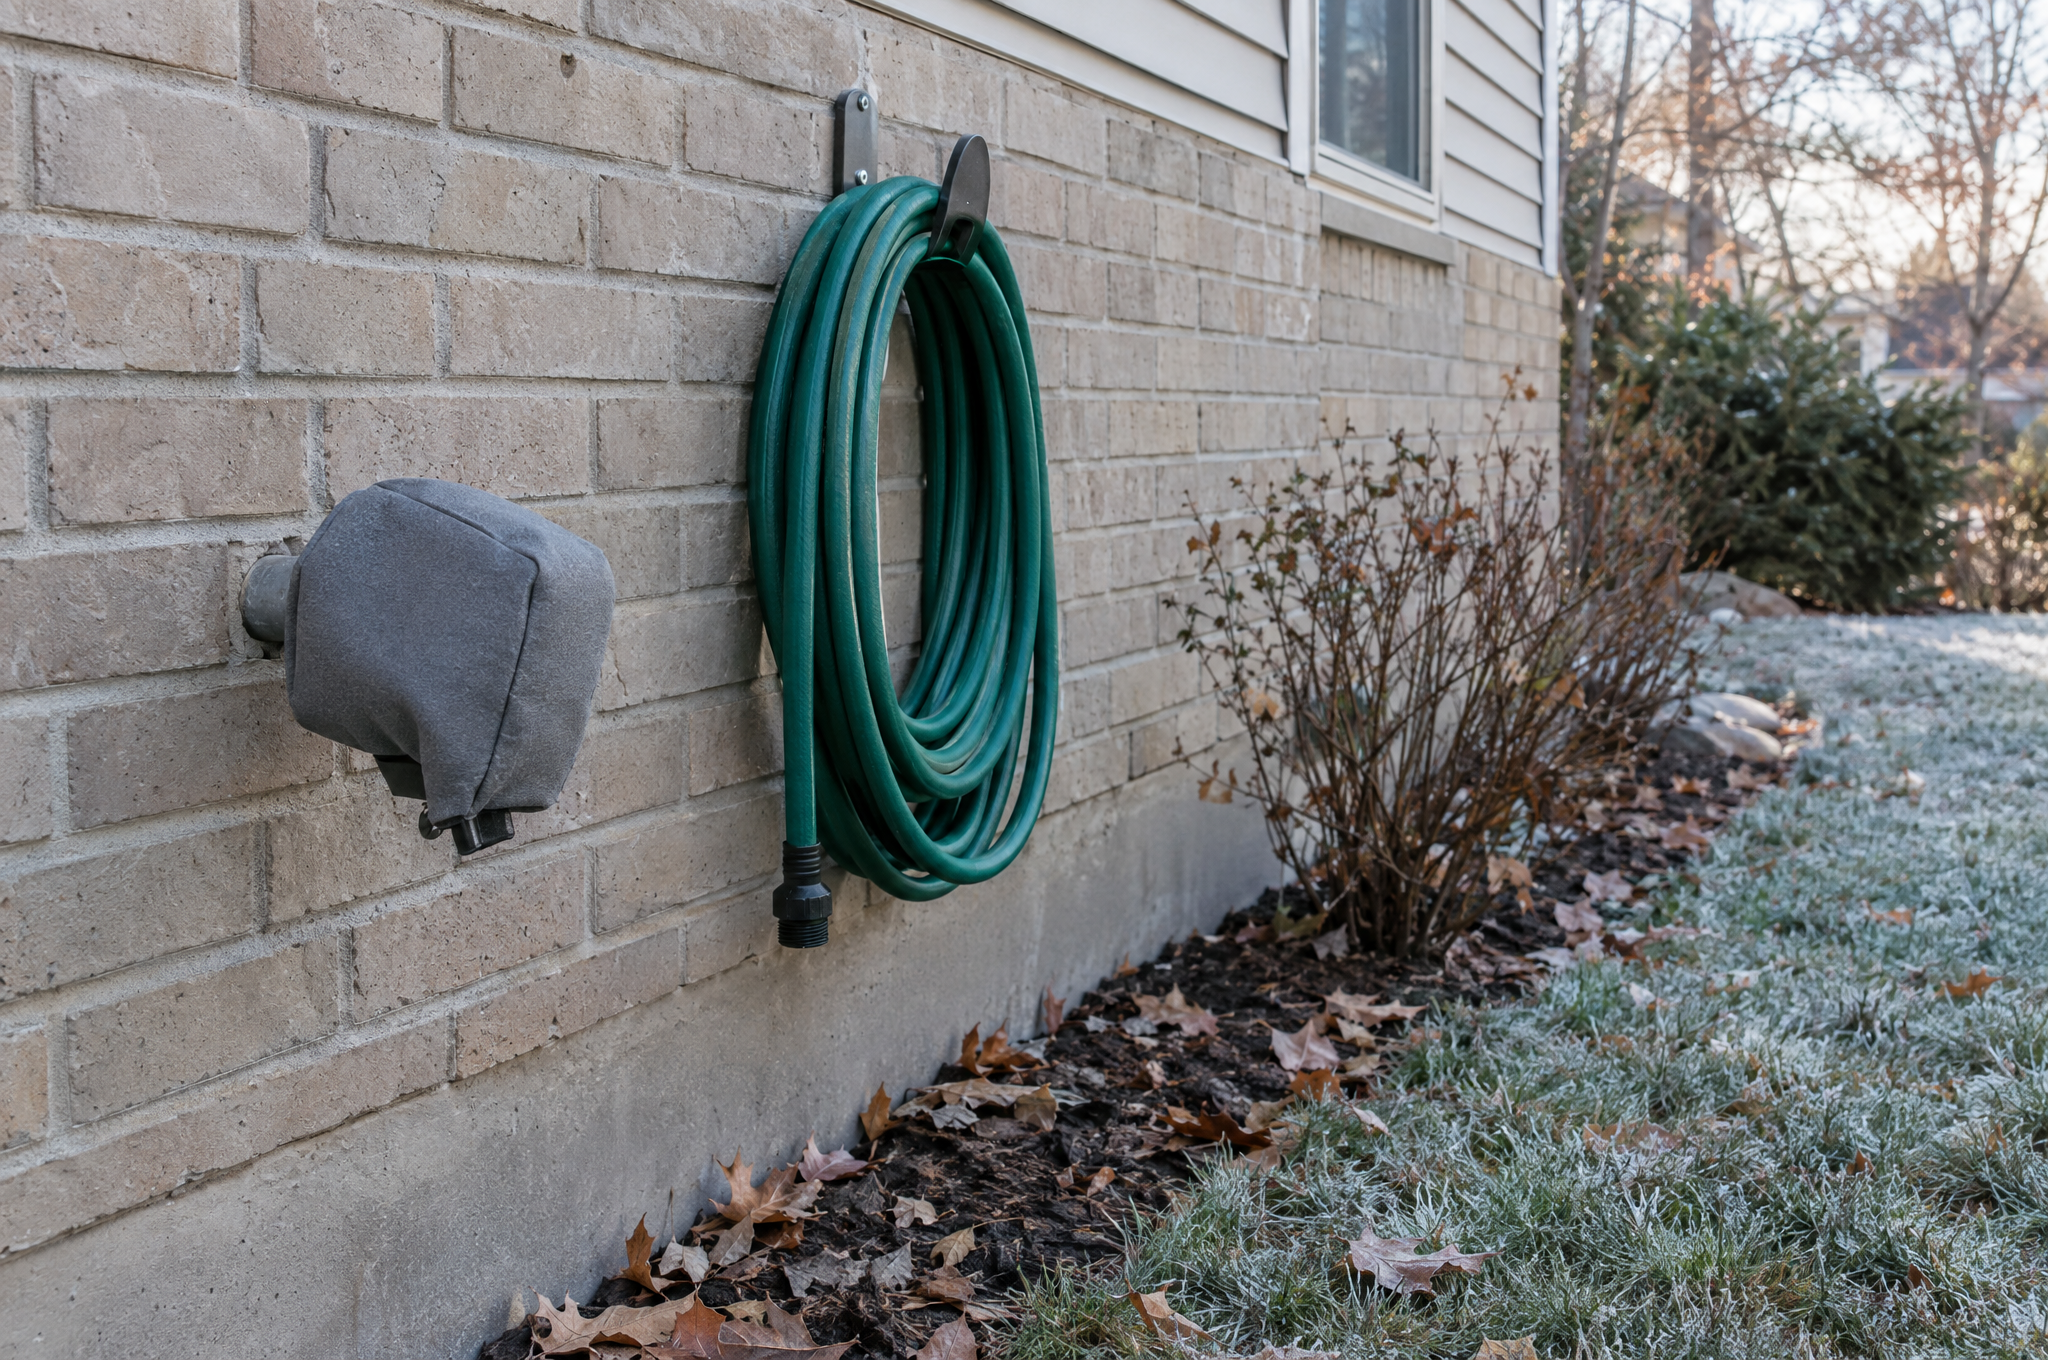
CHECKPOINT: Hoses stored. Inside valves closed. Outdoor faucets open and drained. Covers on.
Watch: shutting off and draining an outdoor faucet for winter. Video by Plumber-Tom.
Inside: exposed pipes
- Walk the garage, basement, crawl space, and under the sinks. Look for pipes on outside walls or in rooms that don’t get heat.
- Slide foam pipe sleeves over every exposed pipe you can reach. Tape the seams if they gap.
- If a pipe still freezes, a UL-listed heat cable is an option. Follow the instructions exactly. Put it right on the pipe, never on top of insulation, and never wrap it over itself unless the instructions allow it.
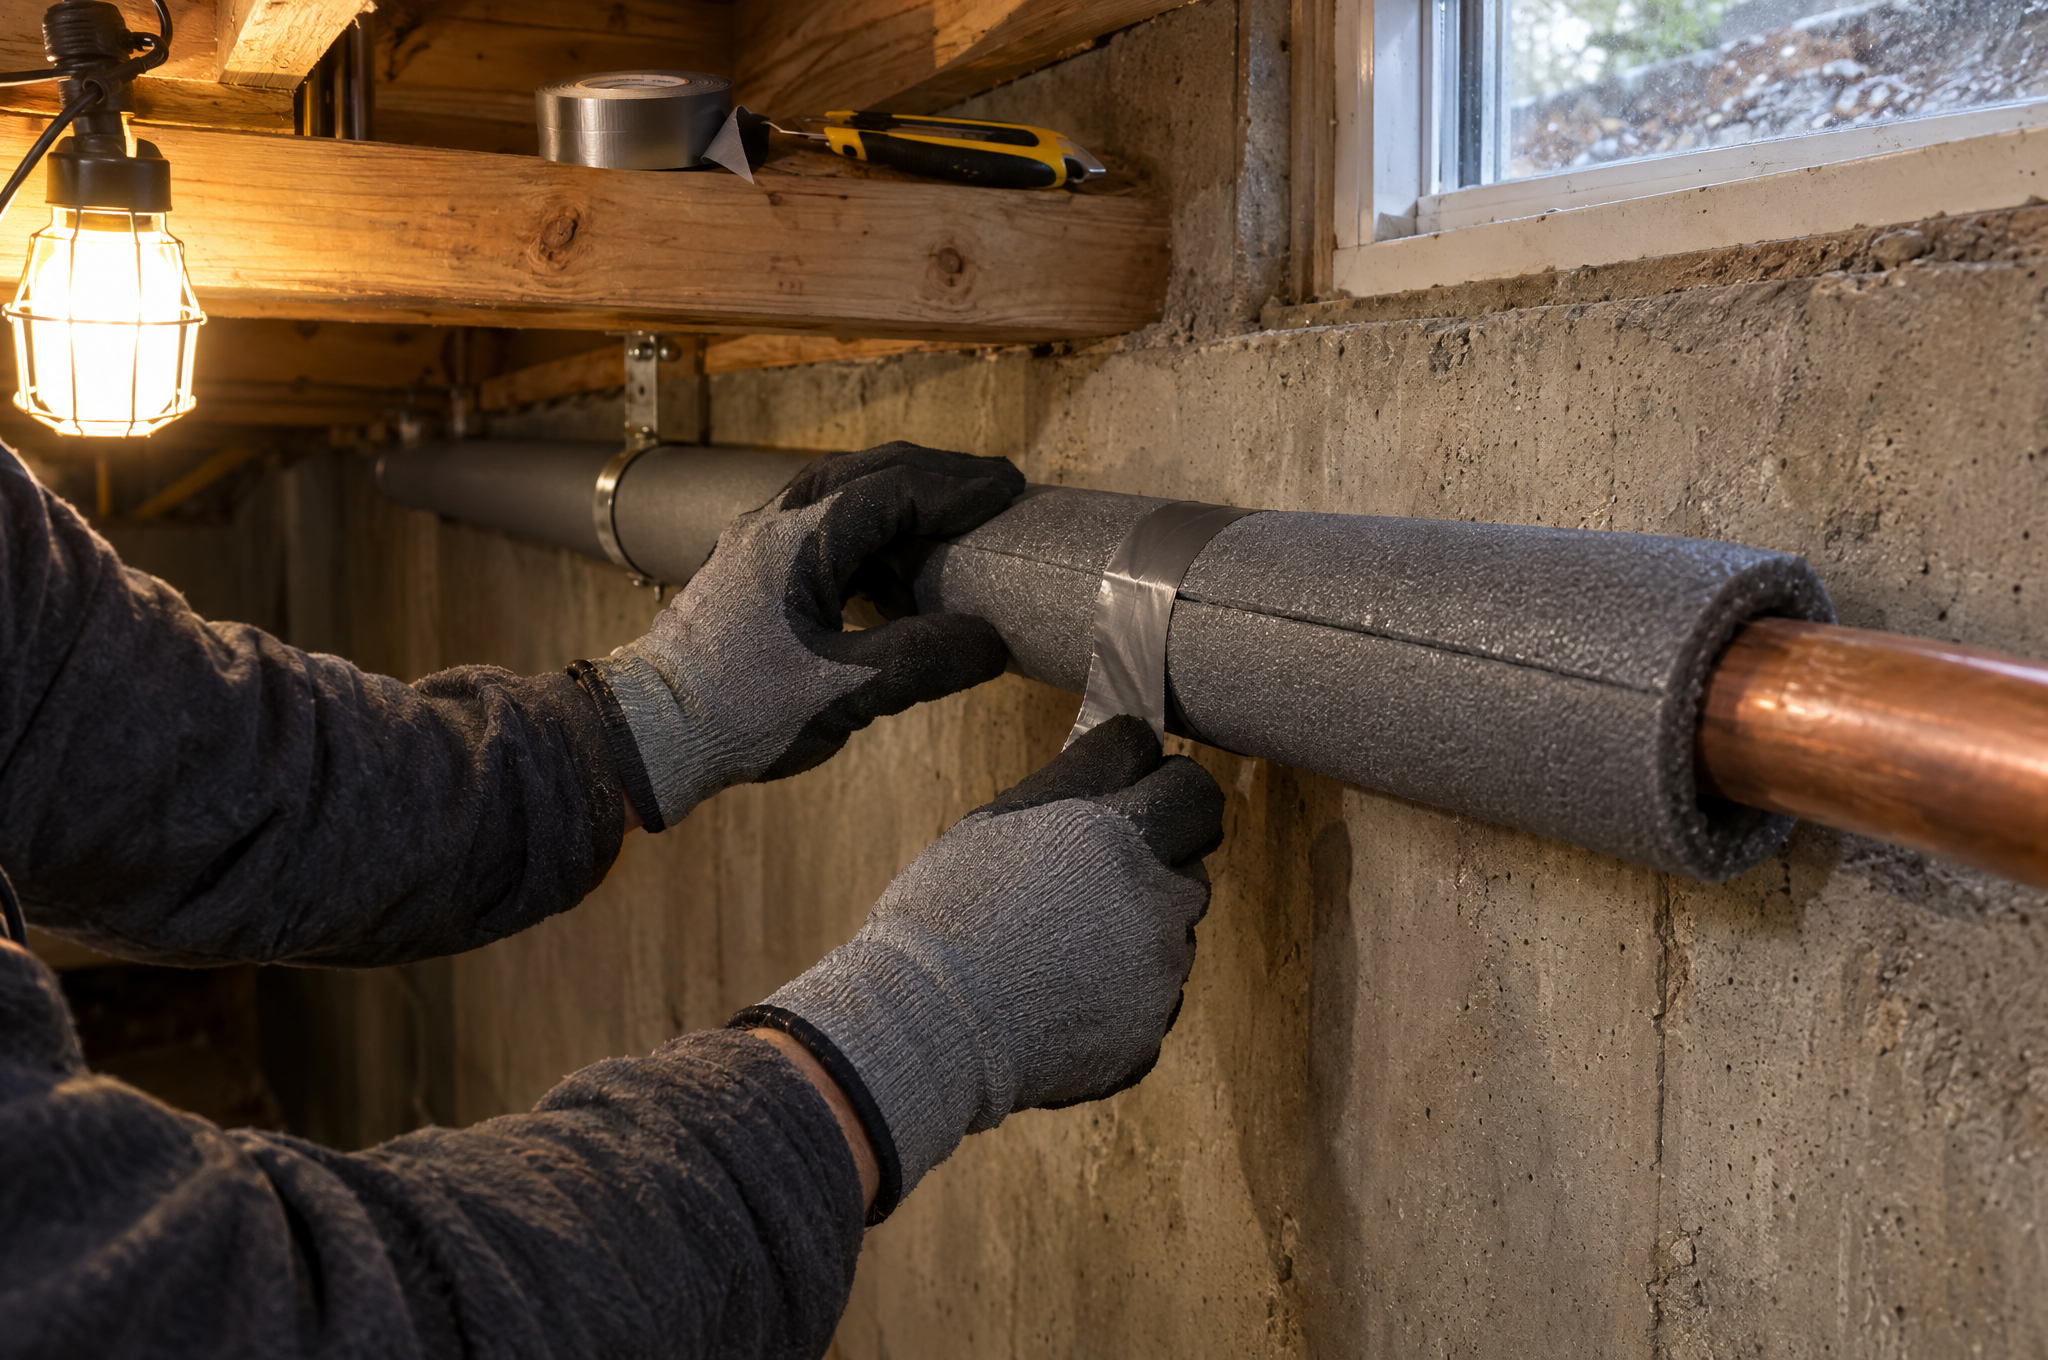
STOP POINT: Heat tape that’s worn, cracked, or put on wrong can start a fire. If you’re not sure about yours, unplug it and have a licensed plumber or electrician look at it.
On cold nights
- Let cold water drip from faucets fed by exposed pipes. Moving water is harder to freeze.
- Open kitchen and bathroom cabinet doors so warm air reaches the pipes. Move cleaners up and out of reach of kids and pets.
- Keep the thermostat at the same setting day and night.
- If you’ll be away, leave the heat on, set no lower than 55°F.
CHECKPOINT: Faucets dripping on the coldest nights. Cabinets open. Thermostat steady.
If a pipe freezes anyway
If only a trickle comes out of a faucet, a pipe may be frozen. Keep the faucet open. Warm the frozen spot with an electric heating pad, a hair dryer, a space heater kept away from anything that can burn, or towels soaked in hot water.
STOP POINT: Never use a torch, a propane or kerosene heater, a charcoal stove, or any open flame to thaw a pipe. If you can’t find the frozen spot, can’t reach it, or can’t thaw it, call a licensed plumber.
How to seal drafts around windows and doors
Find the leaks on a windy day, caulk the small cracks, and weatherstrip the parts that move. It’s the cheapest way to a warmer house, and all of it is DIY work.
Measure each gap before you shop. My eyeball has bought more of the wrong weatherstrip than I care to admit.
Find the leaks
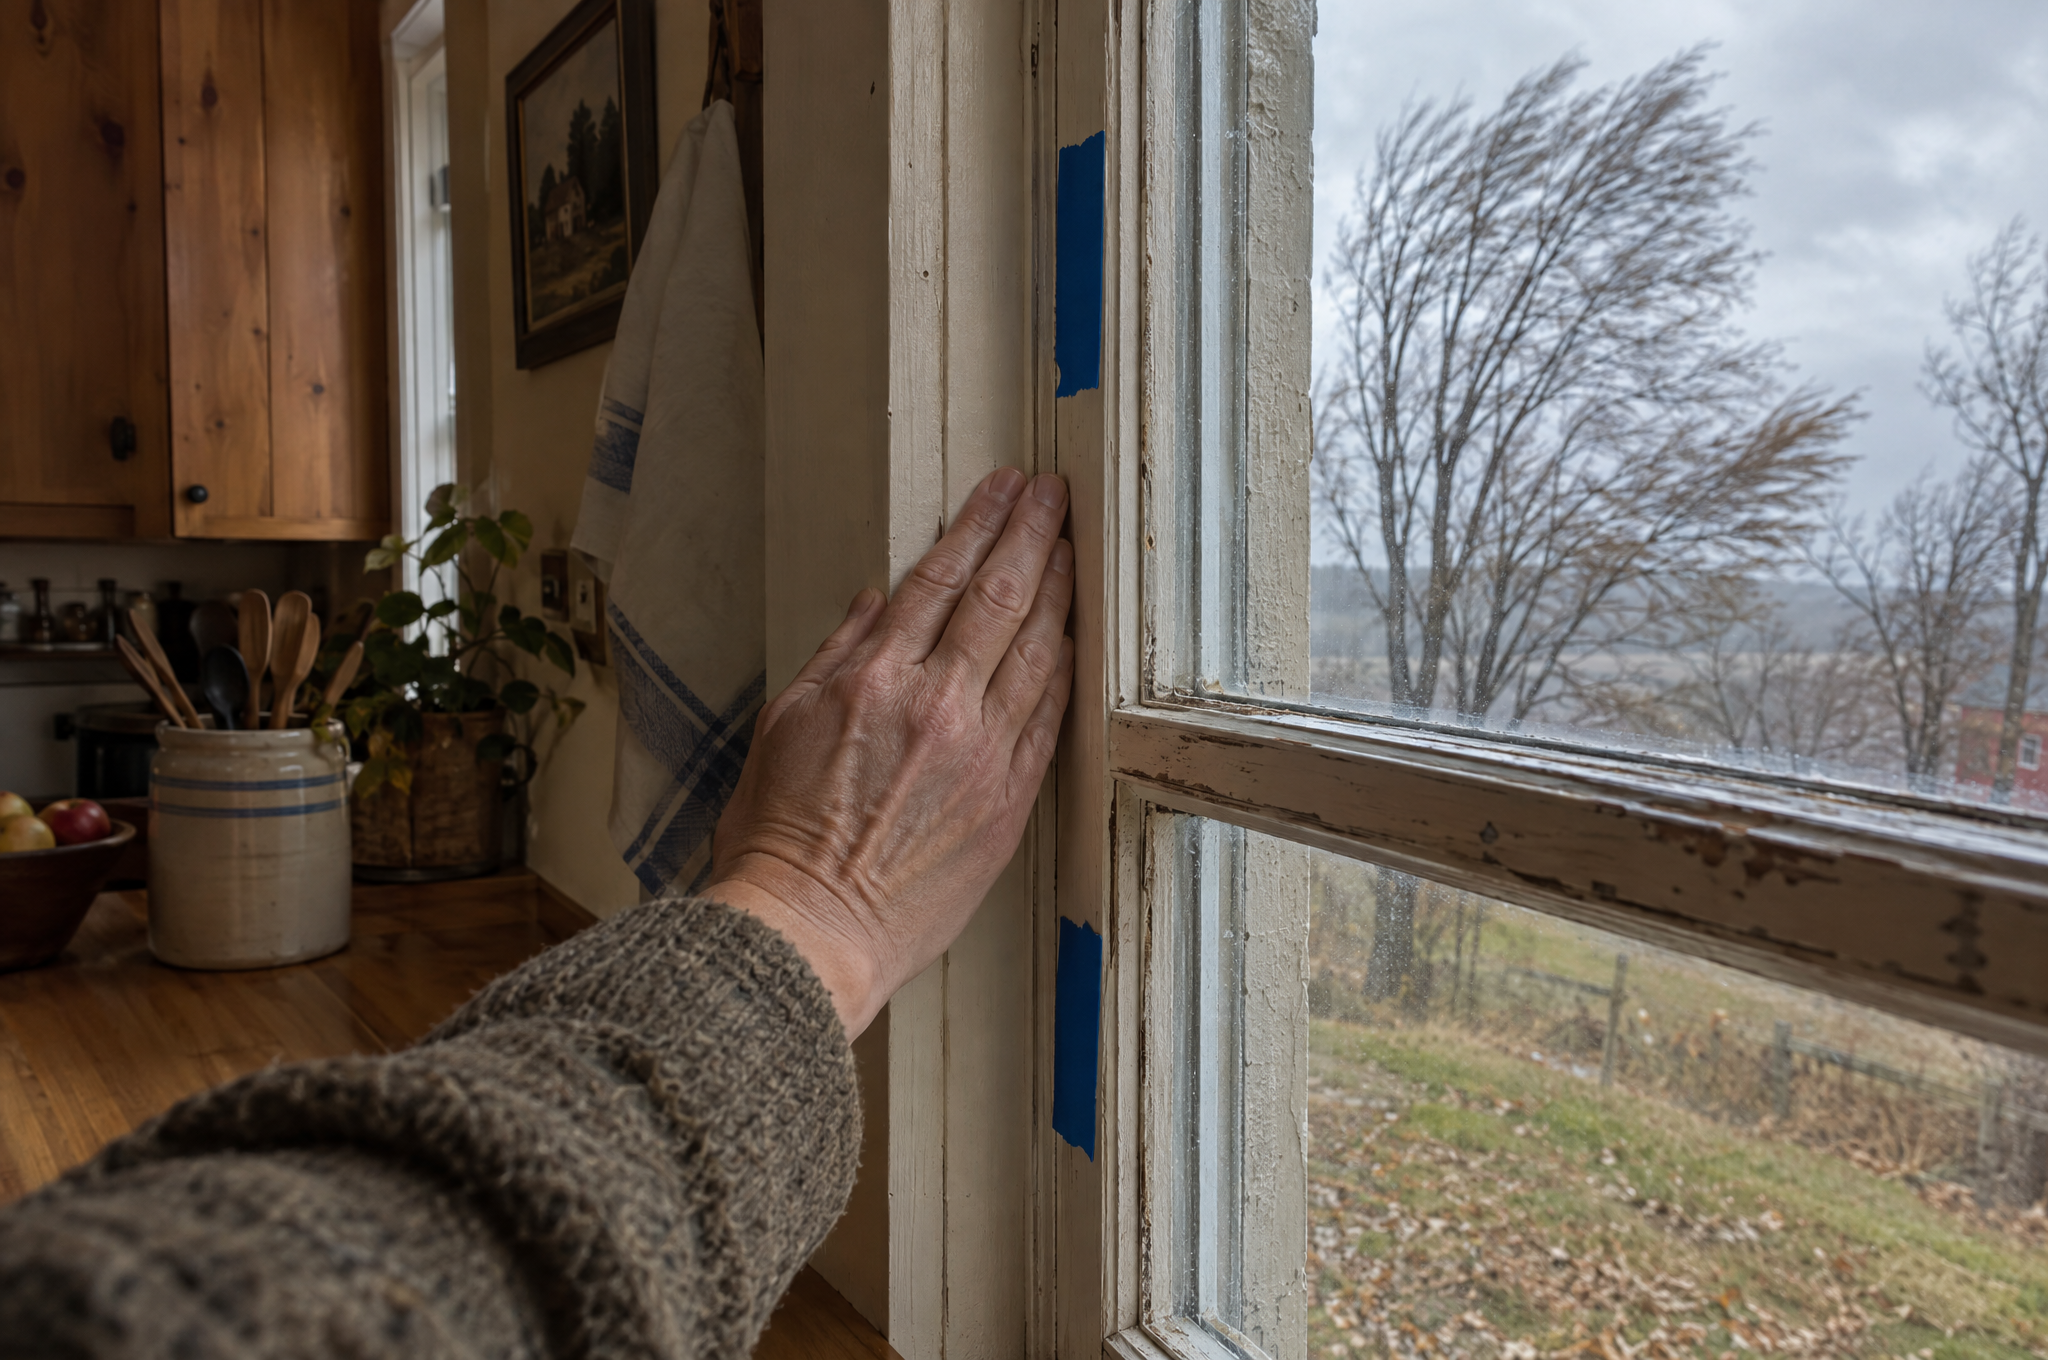
On a cold, windy day, hold the back of your hand near the edges of windows and doors, outlets on outside walls, and spots where pipes come through. Wherever you feel a chill, mark it with painter’s tape.
Caulk the small cracks
Caulk works on gaps 1/4 inch or smaller. For bigger gaps, up to about 3 inches, use low-expansion spray foam.
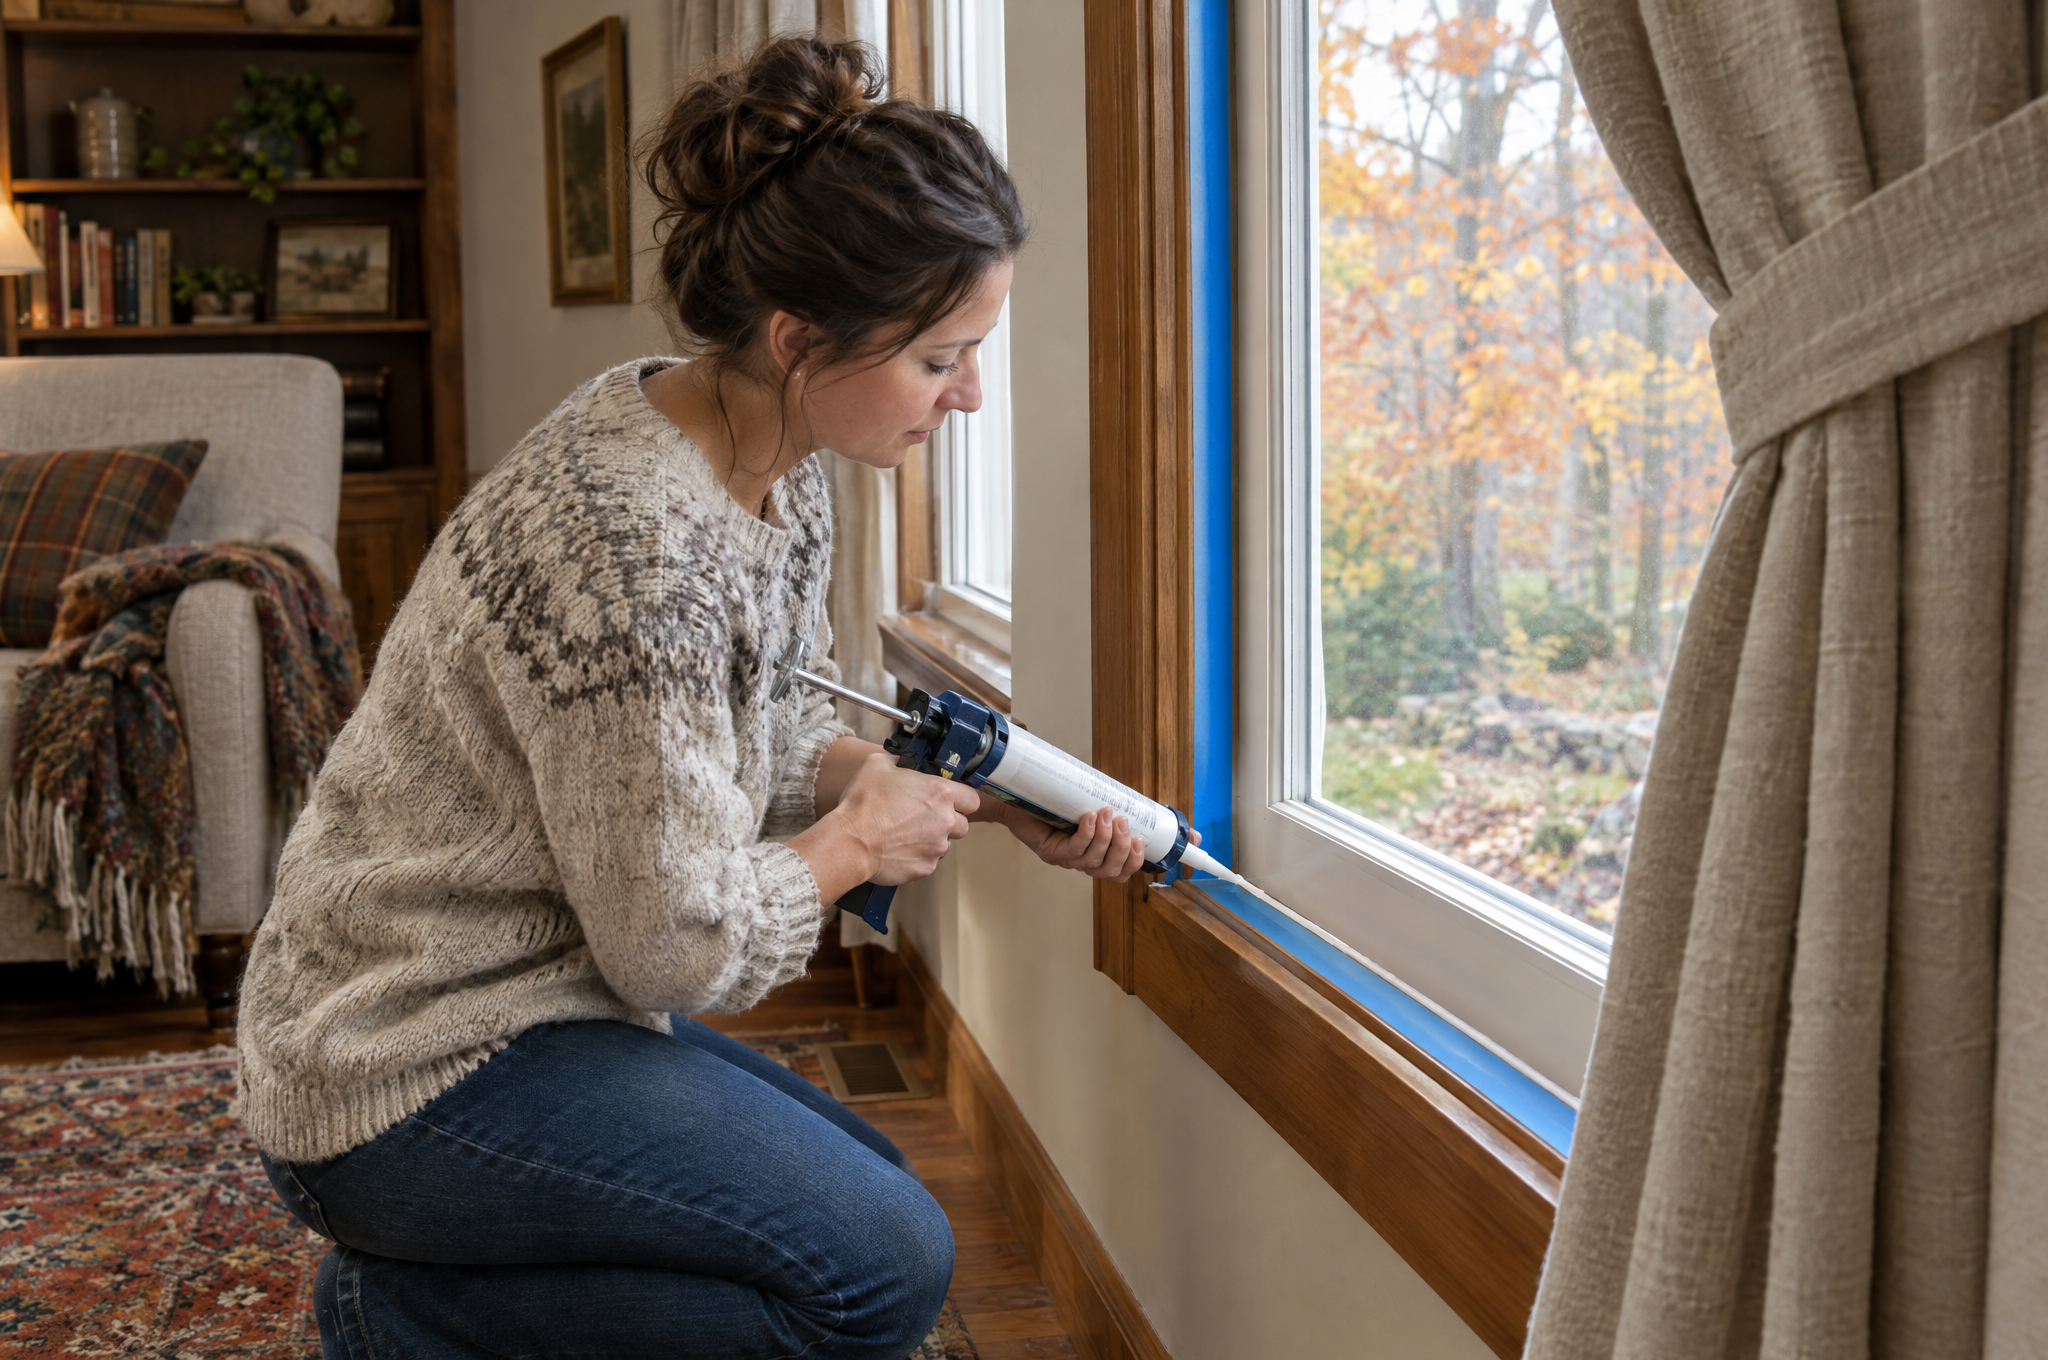
- Scrape out old, cracked caulk. Wipe the spot clean and let it dry.
- Cut the caulk tip at an angle, just big enough to make a bead that fills the gap.
- Run one steady bead along the crack, then smooth it with a damp fingertip.
- Let it cure as long as the tube says before you paint or wash it.
Weatherstrip doors and windows
- Clean the surface where the strip goes.
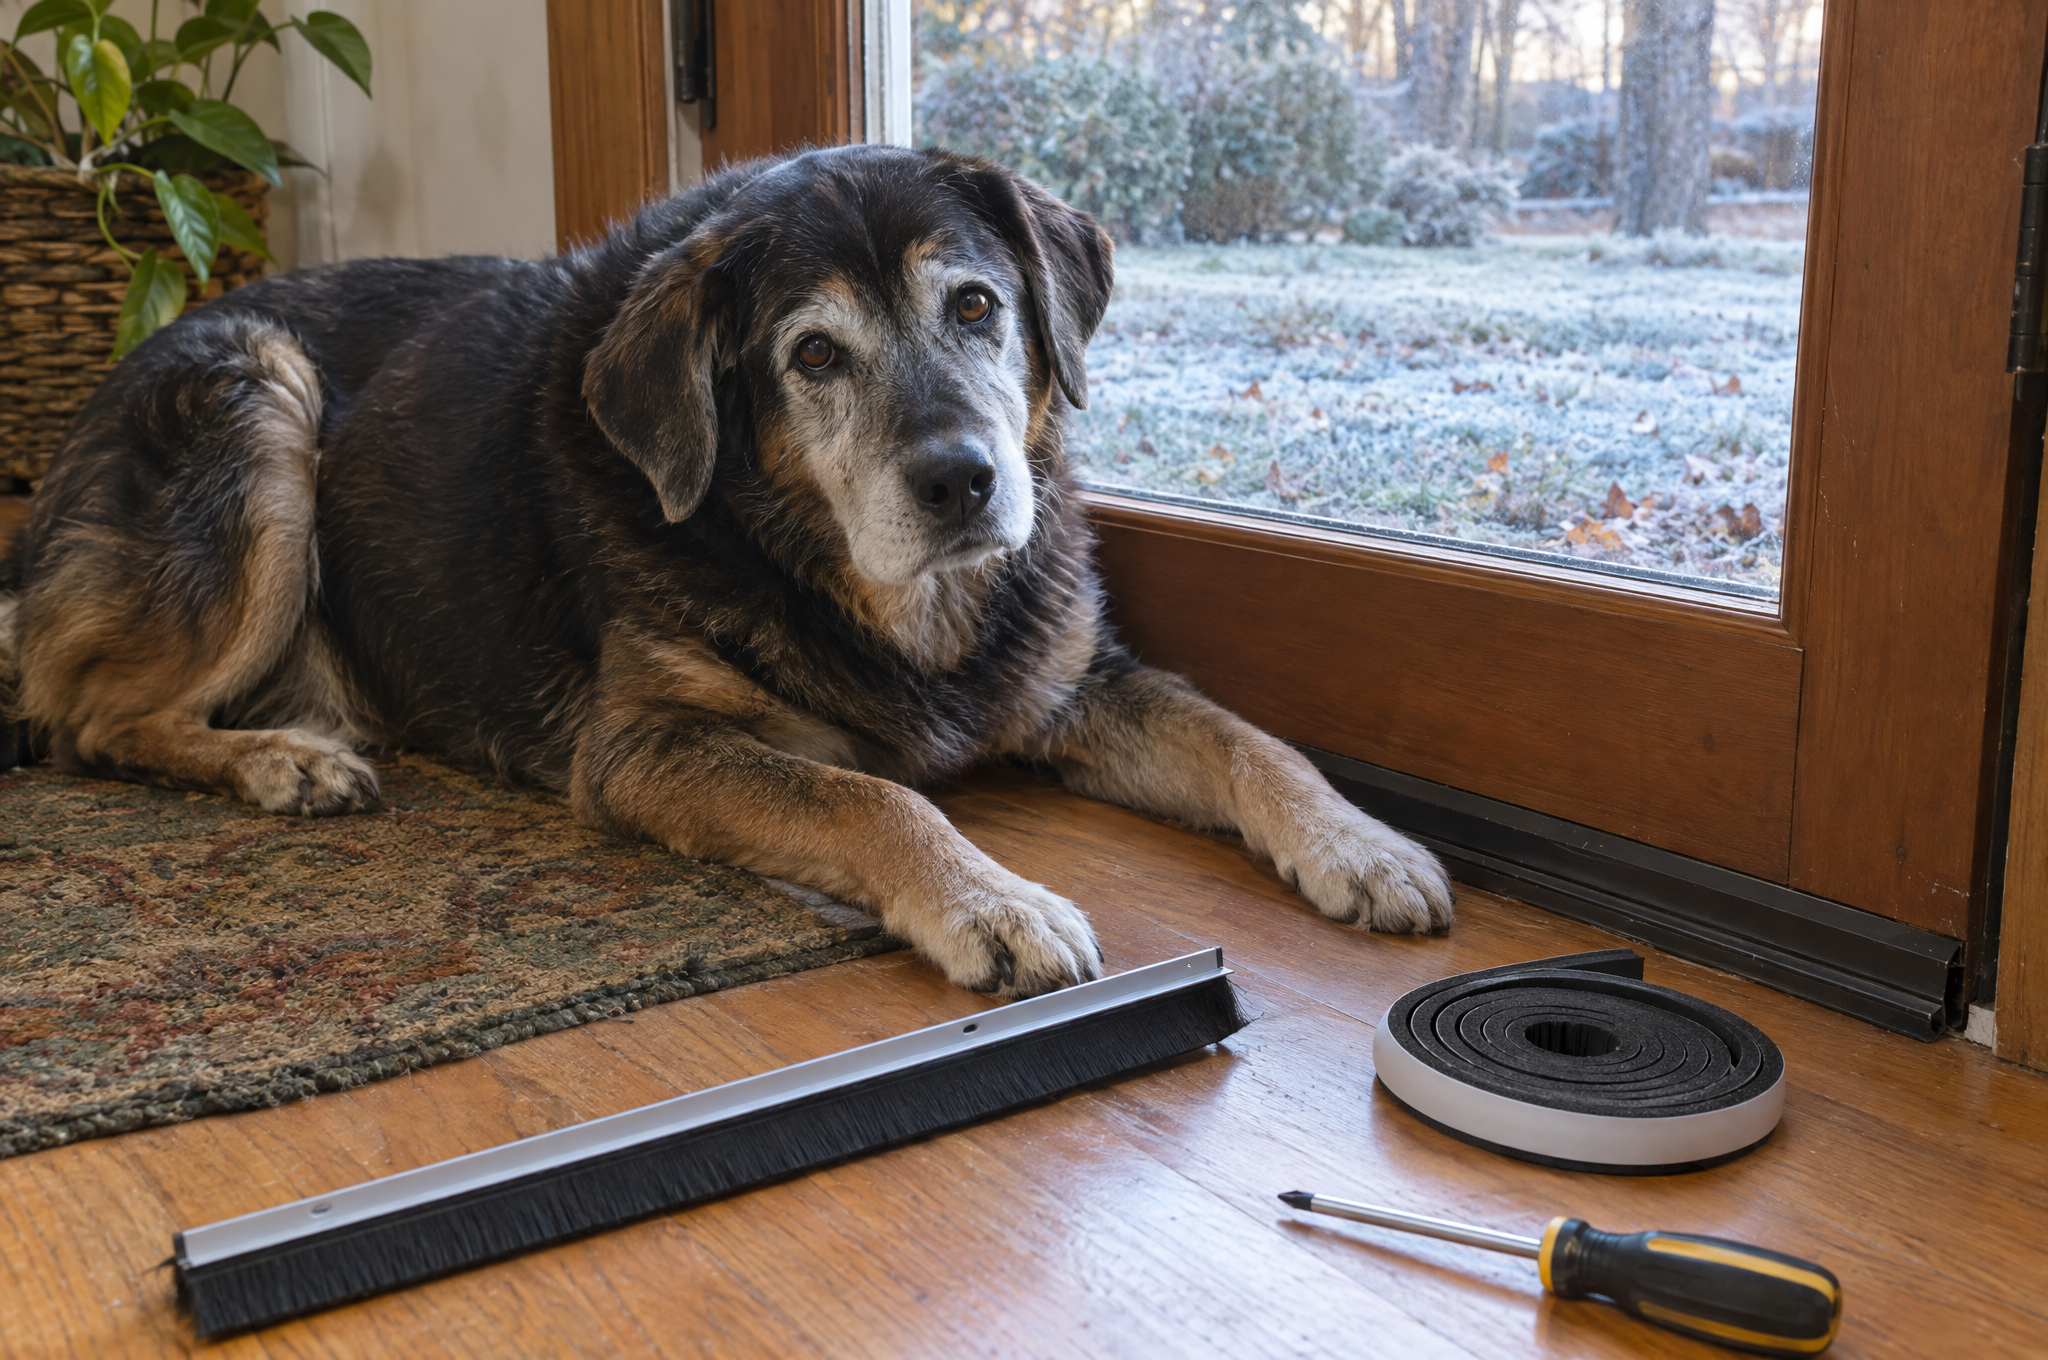
- Measure each edge, cut the weatherstripping to length, peel, and press it on.
- If you can see daylight under a door, add a door sweep.
CHECKPOINT: Close each door and window. The strip should squish a little, and you shouldn’t feel air or see light.
Watch: sealing a drafty wood door with weatherstripping. Video by This Old House.
Curtains, rugs, and draft stoppers
Plastic film on windows stops drafts, but it also blocks the low winter sun. Heavy, lined curtains do both jobs: close them at night and open them on sunny days. Area rugs warm up cold floors. An old sock or sweatpant leg stuffed with fabric scraps makes a free draft stopper for the bottom of a door, and worn-out clothes can become a rag rug.
Does your attic need more insulation?
If you can see the tops of the attic floor joists, you probably need more. Most homes with only 3 to 4 inches should add more, up to about R25 to R49 depending on your climate.
Seal the air leaks first, then add insulation. That order also helps prevent ice dams. Here’s how to check what you have and when to hand the job off.
Check what you have
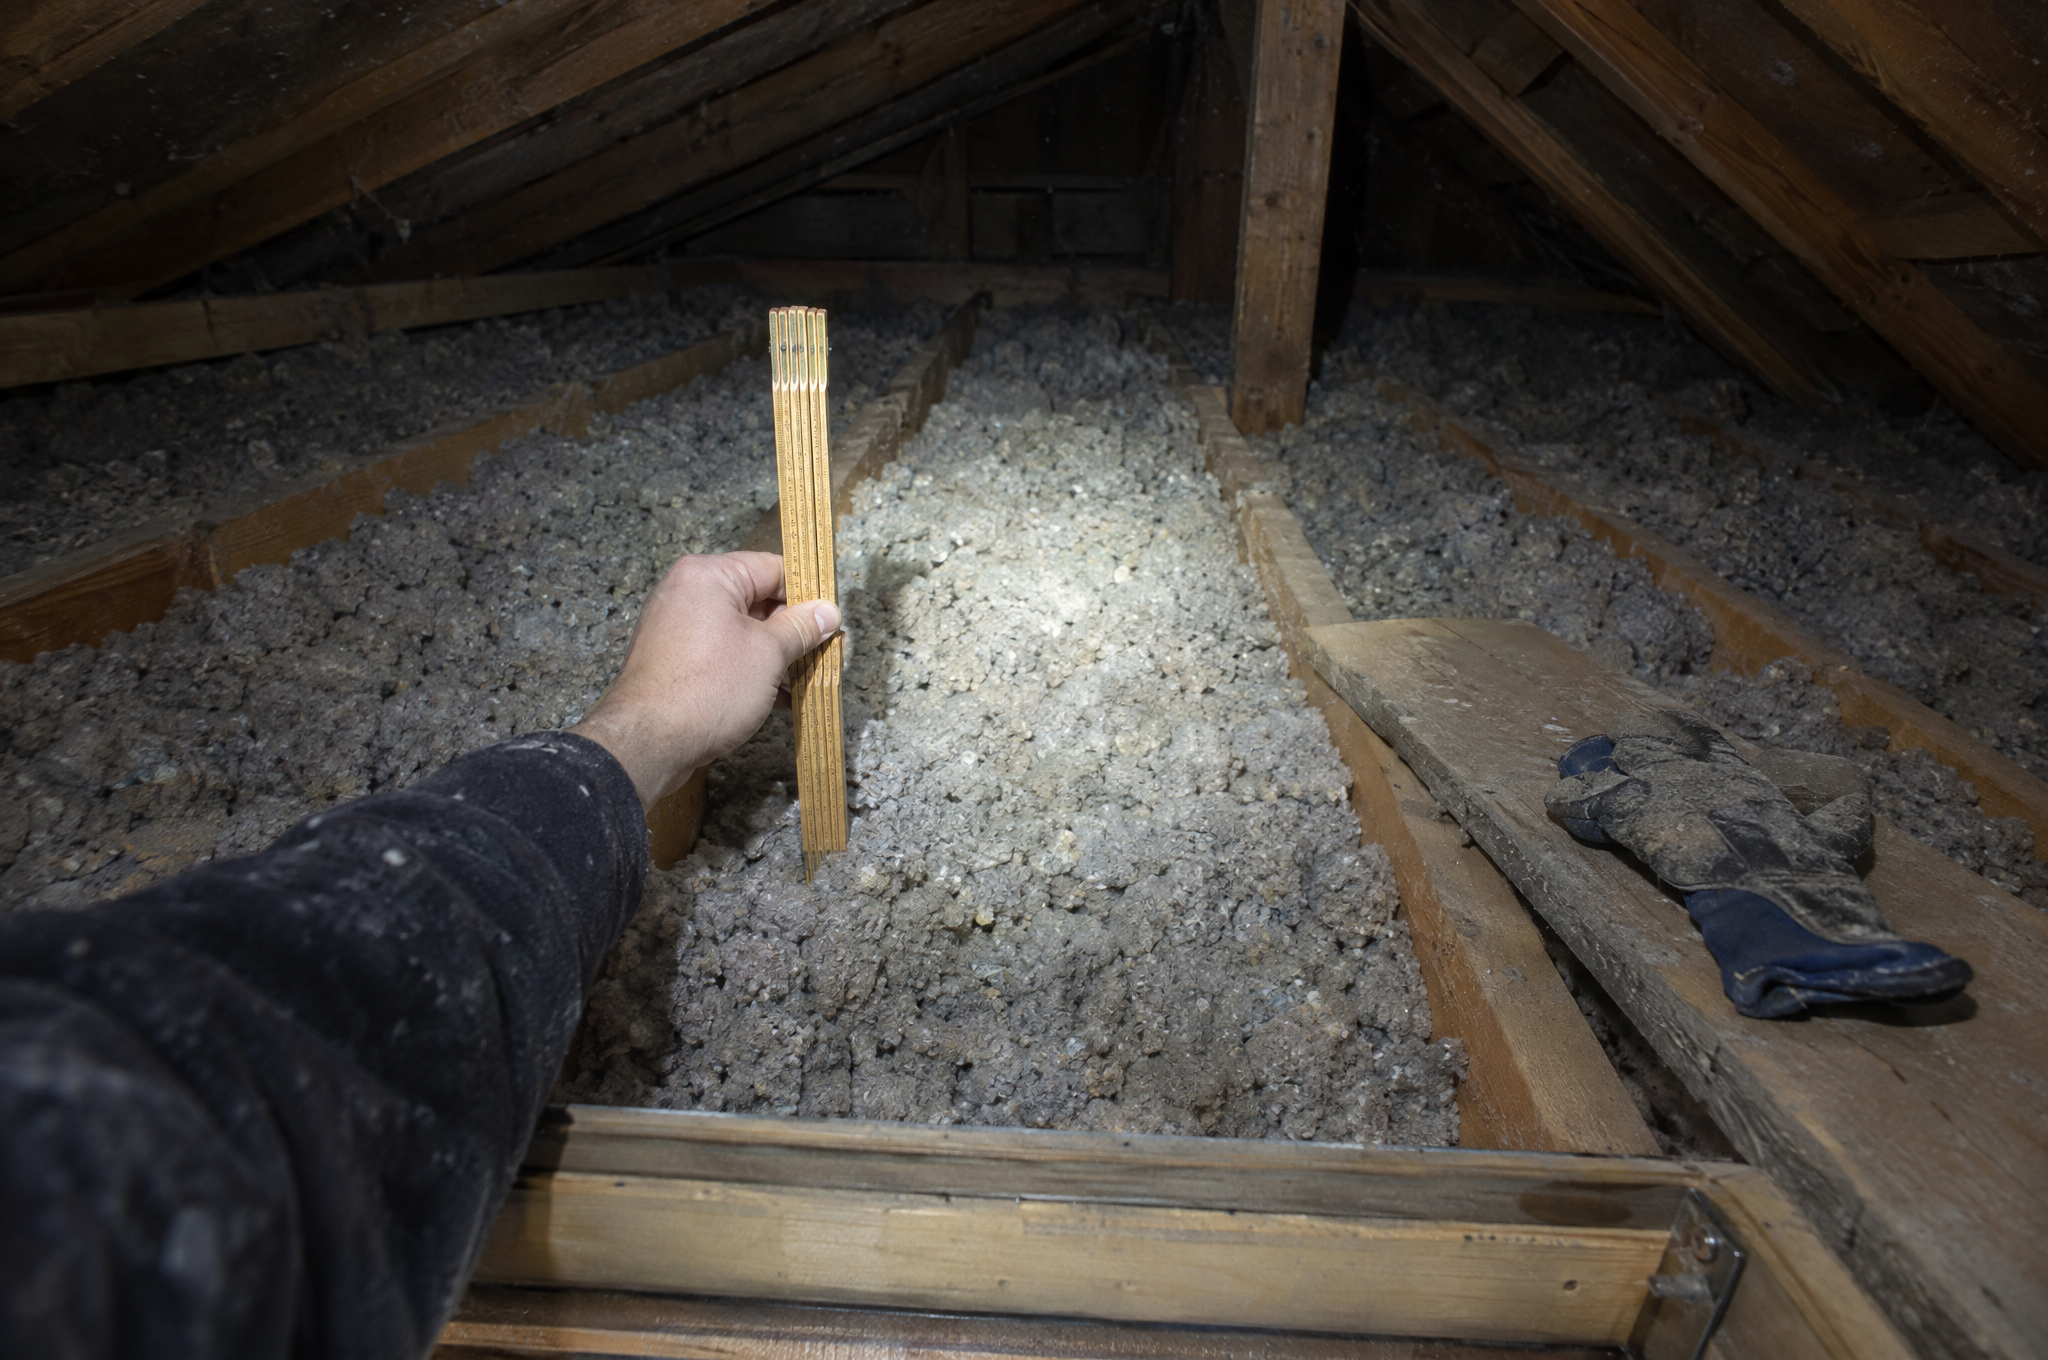
From the attic hatch, measure how deep the insulation is with a ruler. ENERGY STAR's R-value chart shows the right level for your climate zone: R25 in the warmest zone up to R49 in most of the country, for an attic that already has some insulation.
Step only on joists or a board laid across them. The ceiling between them won’t hold you. Wear gloves, eye protection, and a dust mask, because insulation itches.
Seal before you add
First seal the gaps around light fixtures, pipes, and wires that come up through the attic floor. Insulation piled over open gaps lets warm, damp air keep leaking through.
Stop ice dams at the source
Ice dams are thick ridges of ice at the edge of the roof. University of Minnesota Extension explains they’re mostly caused by heat leaking out of the house and warming the roof. The fix follows the same order: seal the ceiling, add insulation, then check ventilation.
STOP POINT: If you see old cloth-covered wiring, damaged wires, or anything you can’t identify in the attic, stop. Call a licensed electrician or insulation contractor before you disturb it. This is where the DIY part stops.
How to get heat and safety gear ready
Check the furnace filter, book a yearly inspection for anything that burns fuel, and test every smoke and CO alarm. Then make a plan for space heaters and power outages.
These checks keep a warm house a safe one. Go system by system.
Furnace
ENERGY STAR says to check the filter every month in winter, change it if it looks dirty, and change it at least every 3 months. A yearly professional tune-up keeps it running well.
Chimney, fireplace, and wood stove
Have a qualified professional clean and inspect your chimney, vents, and heating equipment every year. Keep anything that can burn at least 3 feet from any heat source, a guideline from NFPA.
Smoke and CO alarms
Press the test button on every alarm once a month. Put CO alarms on every level of your home and outside each sleeping area.
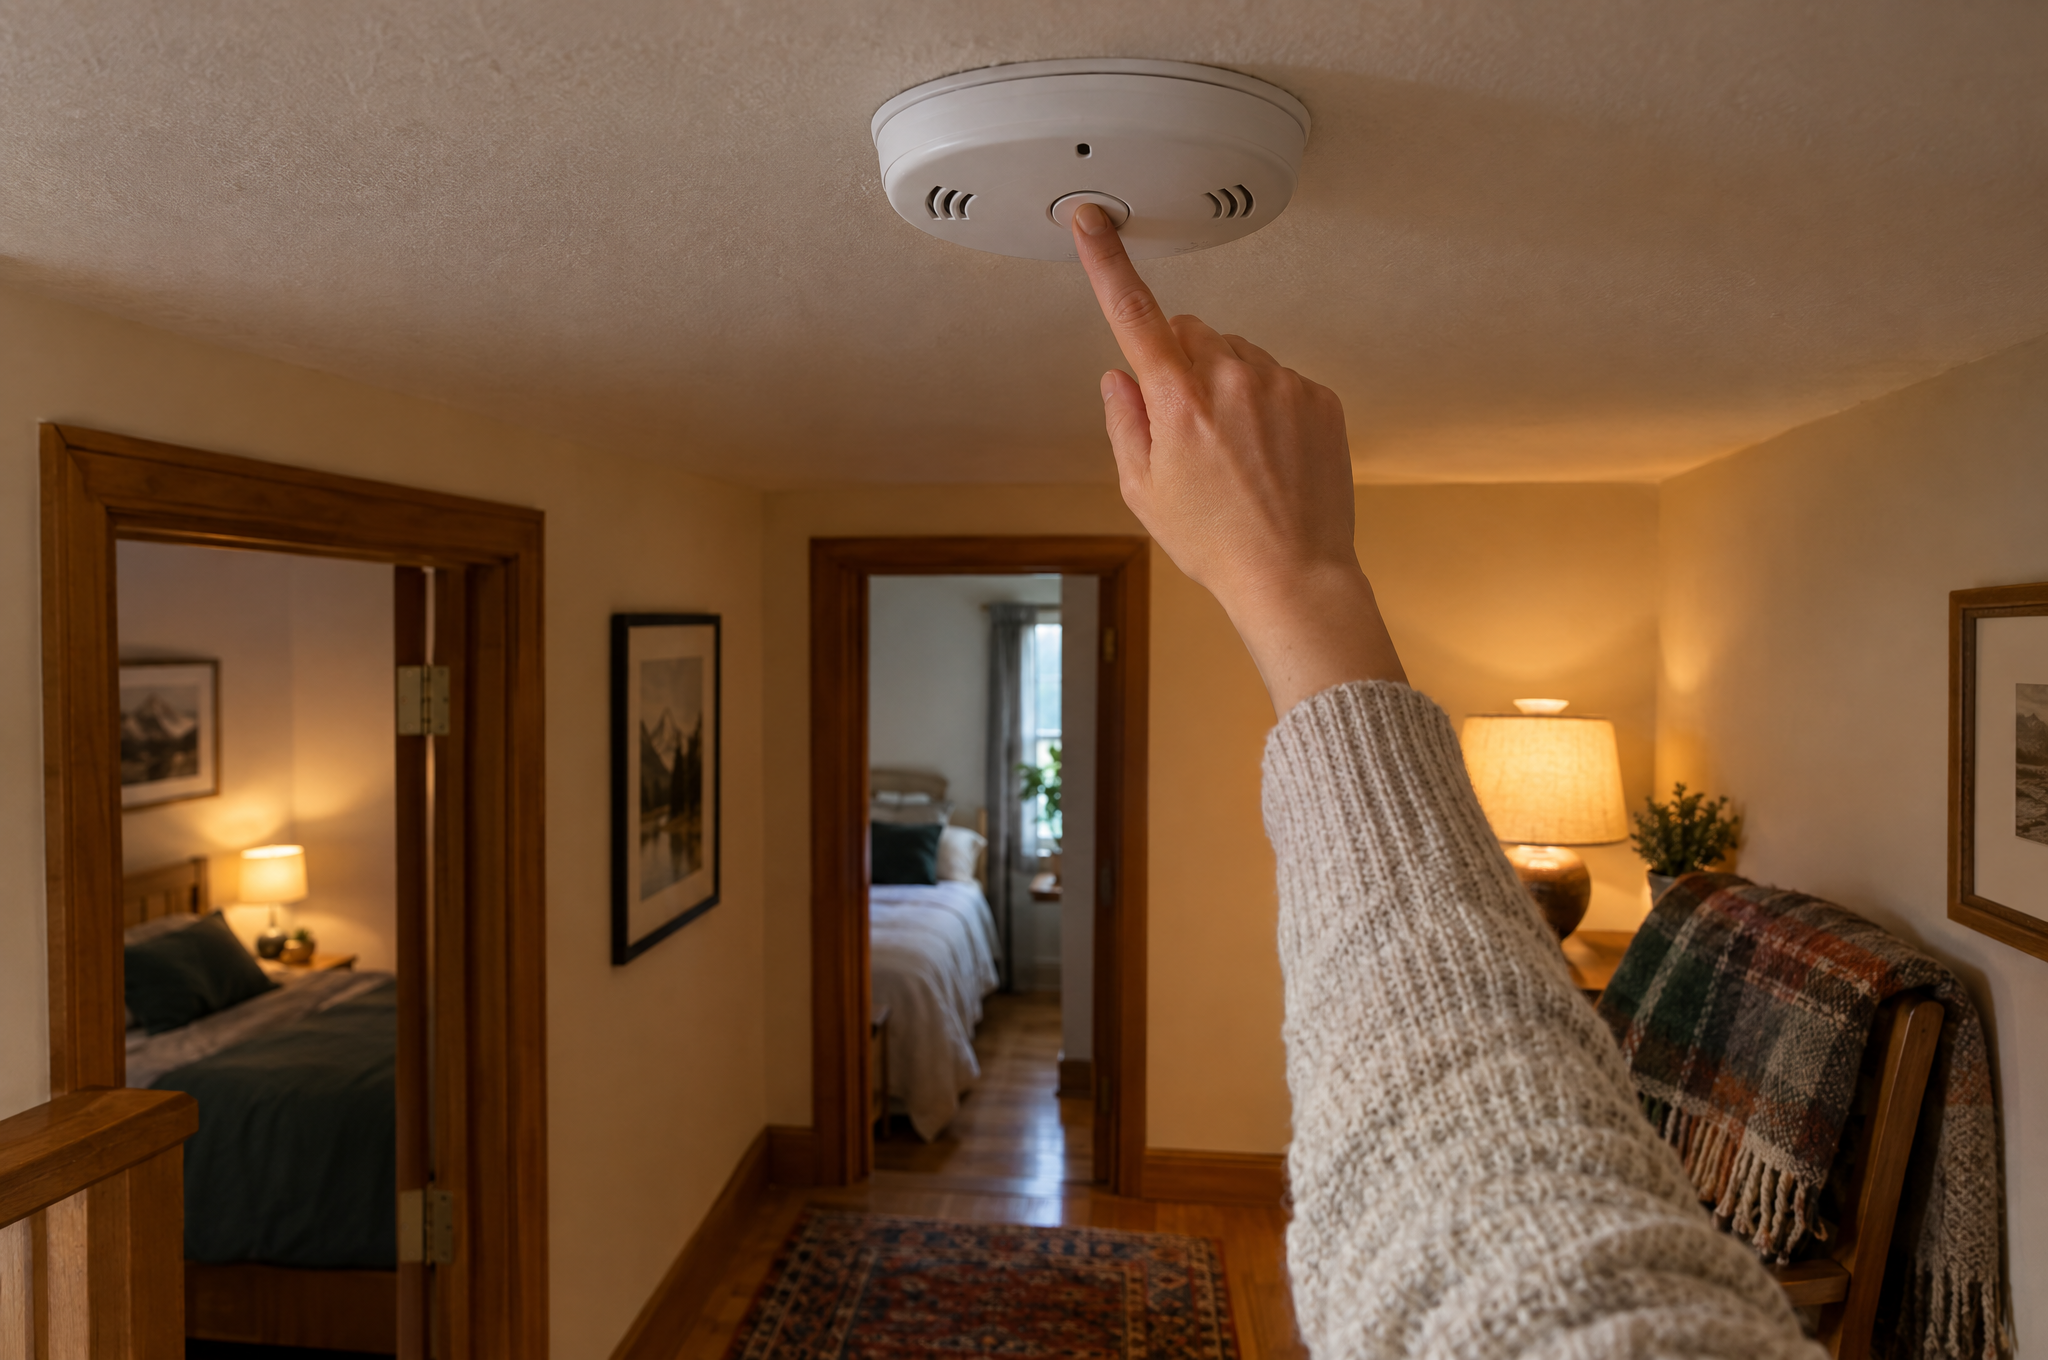
CHECKPOINT: Every alarm beeped when tested. A CO alarm sits on every level.
Space heaters and generators
CPSC gives the rules:
- Plug space heaters straight into a wall outlet, never an extension cord or power strip.
- Turn heaters off when you go to sleep.
- Run a portable generator outdoors only, at least 20 feet from the house, with the exhaust pointed away.
- Never run a generator inside your home, basement, shed, or garage, even with the door open.
STOP POINT: Carbon monoxide has no smell. If a CO alarm sounds, or anyone feels dizzy, sick, or confused, get everyone outside right away and call 911. If you smell gas, leave first and call 911 or the gas company from outside.
How to winterize your backyard coop
Keep the coop dry, block drafts at roost level, leave vents up high, and keep the water from freezing. The coop doesn’t need a heater.
Damp air, drafts, and fire risk cause more coop trouble than cold does. Here’s what to fix on the building and what to skip.
Dry and draft-free, not heated
Block drafts at roost height, but leave vents near the roof so moisture can get out. Add fresh, dry bedding. UNH Extension warns against heat lamps: with dry bedding and birds knocking things over, the fire risk is too high.
Keep water from freezing
Chickens need clean, unfrozen water all day. Use a heated poultry waterer, or swap in a rubber bucket of fresh water a few times a day. Set the waterer on a block or stand so bedding doesn’t get kicked into it.
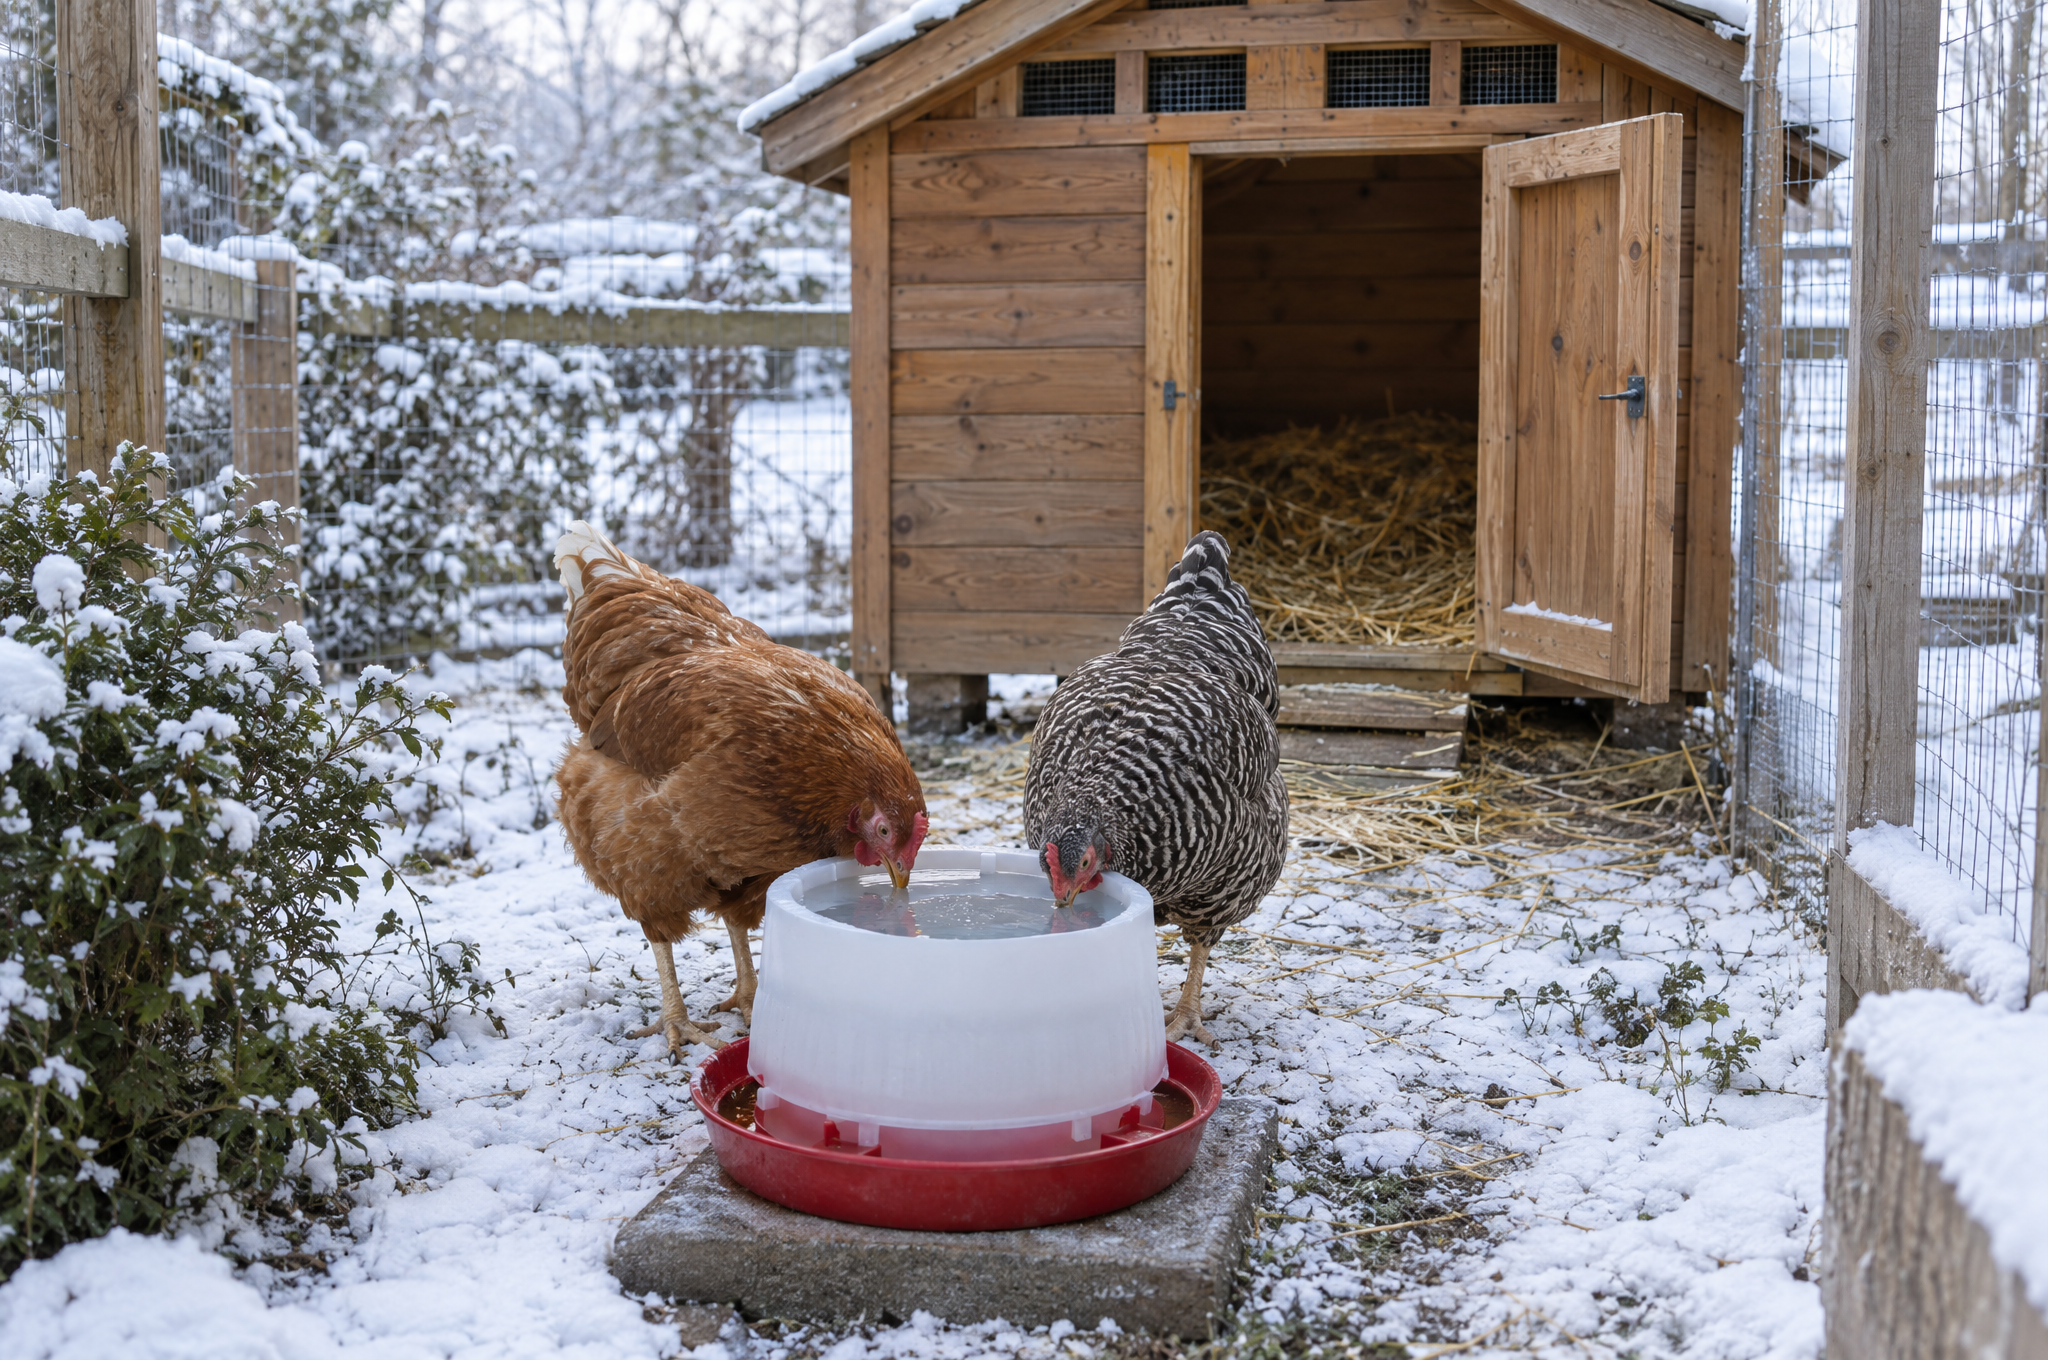
For the birds themselves, see how to keep your chickens warm in winter. For goats and bigger animals, see our livestock and barn winter tips.
What should you stock up on before winter storms?
Water, food your family already eats, and the basics for a power outage. The Red Cross suggests one gallon of water per person per day, with a two-week supply at home.
A backup system doesn’t need to be fancy. It needs to work on the third day the road isn’t plowed. Here’s what to cover.
Water and food
Plan backward from what your family really eats in two weeks: soups, beans, rice, oats, canned goods, and anything you’ve put up yourself. Keep a simple list so the oldest items get used first.
Cool storage that won’t freeze
Potatoes, squash, and apples keep well in a cool closet or garage corner, but only if it stays above freezing. Home-canned jars need the same: cool, dark, and dry. Our guide to canning the fall harvest covers what to can and what to store whole.
Power-outage basics
Flashlights, extra batteries, warm blankets, a charged power bank for phones, and a battery radio. Keep them in one bin where anyone in the house can find it in the dark.
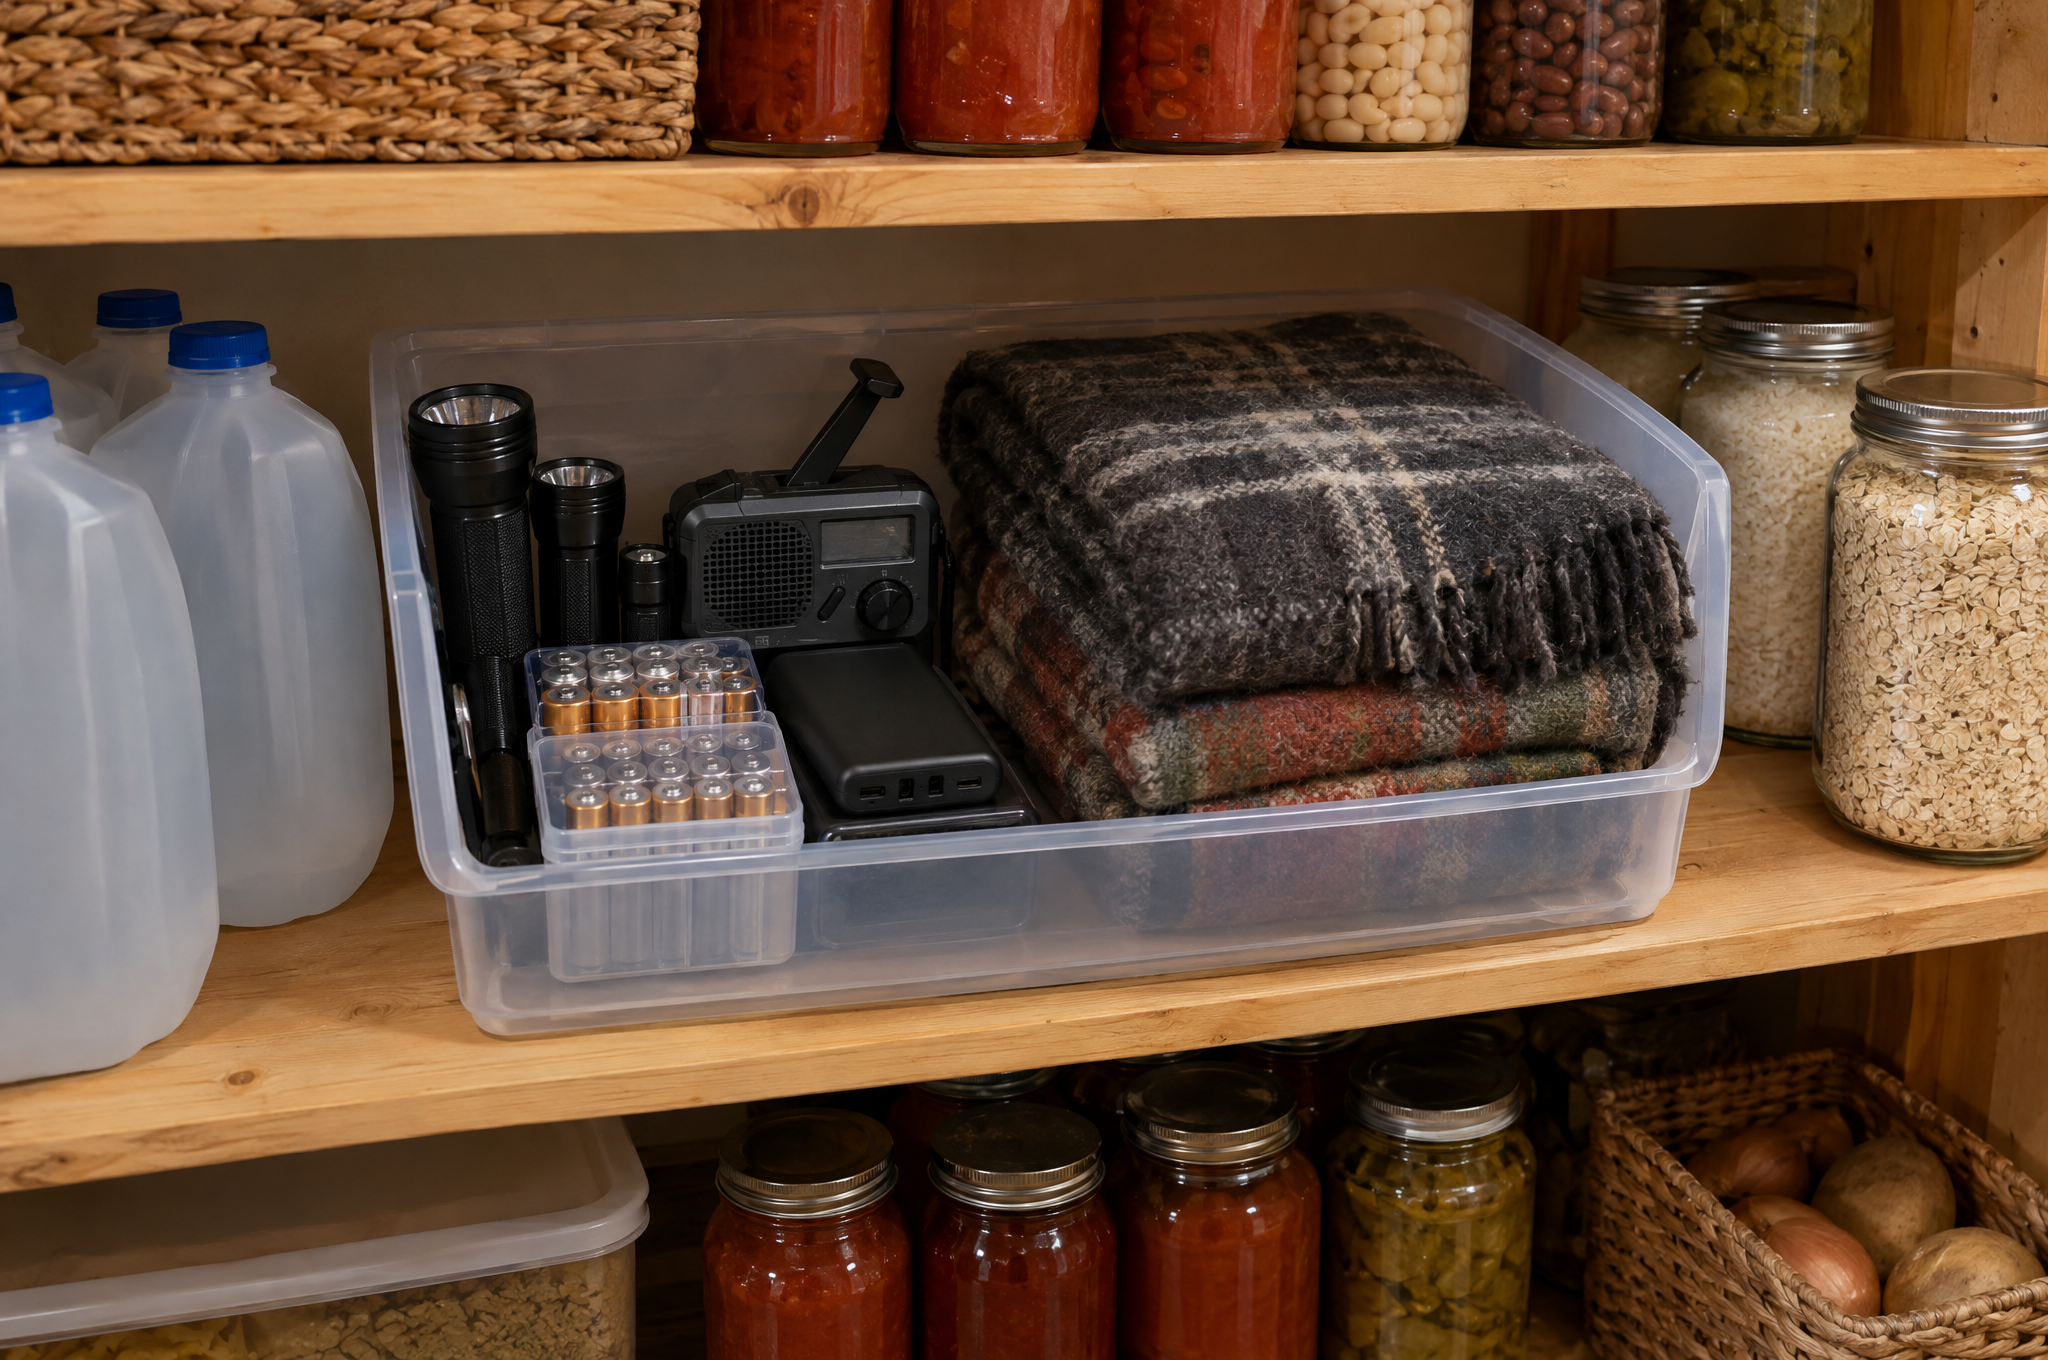
Paths and ice melt
Clear sticks and rocks off the paths before the first snow buries them. Keep ice melt or sand where you can grab it. Go easy on salt where pets walk, since it can irritate their paws.
Troubleshooting winter home problems
Most winter problems show an early sign first. Catch it then and the fix stays small.
Here’s what to look for and what to do.
| Symptom | Likely cause | Fix |
|---|---|---|
| Dark, limp leaves on tomatoes or basil the morning after frost | Frost damage, often where the cover touched leaves | Pick what’s salvageable; hold covers off leaves next time |
| Faucet only trickles on a cold morning | Partly frozen pipe | Open the faucet, warm the pipe safely, call a plumber if you can’t find it |
| Garlic cloves heaved out of the soil | Freeze-thaw cycles with no mulch | Press them back in and add 4 to 6 inches of straw |
| Water stain on a ceiling under the roof edge | Ice dam backing water under shingles | Air seal and insulate the attic; call a roofer for damage |
| Cold draft near a closed door | Worn weatherstrip or missing sweep | Replace the strip, add a door sweep |
| Heat runs constantly, house stays cool | Dirty filter or air leaks | Check the filter; seal leaks; book a tune-up |
| CO alarm chirps once a minute | Low battery or end of life | Replace the battery or the alarm per its label |
| Waterer frozen solid by morning | No heat source, deep cold | Heated waterer, or rubber-bucket swaps twice a day |
Common internet shortcuts to avoid
Winter brings a wave of quick fixes online. Some are harmless. These can kill a garden, start a fire, or make someone sick.
Here’s what to do instead.
Plastic sheeting right on the plants
Plastic touching the leaves passes the cold straight through. Use frost cloth or old sheets, and hold any cover off the leaves.
Planting grocery-store garlic
Store garlic is often treated so it won’t sprout, and it may not suit your climate. Plant seed garlic from a grower.
A heat lamp in the chicken coop
Dry bedding, dust, and birds that knock things over make a heat lamp a real fire risk. Block drafts and keep the water open instead.
Thawing pipes with a torch
An open flame can start a fire inside the wall. Use a hair dryer, a heating pad, or hot towels, or call a plumber.
Running a generator in the garage
Carbon monoxide builds up fast in a garage, even with the big door open. Generators go outdoors, at least 20 feet from the house.
When to call a pro
Most winterizing is DIY work. A few jobs belong to licensed pros, and knowing which ones saves you from doing them twice.
Call for help when:
- You smell gas or a CO alarm sounds. Get out first, then call 911 or the gas company.
- A pipe is frozen where you can’t reach it, or it has burst. Shut off the main water and call a licensed plumber.
- It’s time for the yearly check. Furnaces, chimneys, wood stoves, and other fuel-burning equipment need a qualified pro every year.
- You find damaged or old wiring in the attic. Call a licensed electrician before you add insulation.
- You need a new outdoor outlet for a heat cable or waterer. That’s an electrician’s job.
Buy once: winter home gear
Frost cloth, draft-proofing, and safety gear for winterizing your home last for years if you buy the right thing once. Thin foam strips peel off by January and get bought again.
Here’s how the options stack up.
Best
Buy once, keep for years
- Garden: Heavier frost cloth on hoops, pinned with staples
- Drafts: Door sweeps and weatherstrip matched to each gap, plus quality caulk
- Safety: Combination smoke and CO alarms on every level
Where most land
Better
Solid gear, lower cost
- Garden: Lightweight row cover draped over cages
- Drafts: Foam tape and V-strip, plus a window film kit for the worst window
- Safety: Your smoke alarms plus a plug-in CO alarm on every level
Budget
Start with what you have
- Garden: Old sheets and blankets, held off the leaves with cages
- Drafts: DIY draft snakes from old socks, heavy curtains, and rugs
- Safety: Fresh batteries and a monthly test on the alarms you have
After the first hard freeze
Winterizing your home gets one more pass once real cold sets in. Ten minutes covers it:
- Check faucet covers after wind or snow. Push any loose ones back on.
- Pull back the straw and look at the garlic bed once. Press down any cloves that heaved up, then re-cover.
- Check the furnace filter on the first of each month, the same day you test the alarms.
- Look at the ceiling near the roof edge after each big snow. A new stain means ice is backing up.
That’s the job. Questions people ask most are below.
Winterizing questions people ask
What should I do first when winterizing your home?
If frost is in tonight’s forecast, cover or pick tender crops first. Then do water: drain and store the hoses, shut off and drain the outdoor faucets, and wrap pipes in cold spots like the garage. Frozen pipes do the most expensive damage, and that job takes one afternoon.
What plants do I cover on a 32°F night?
Cover the warm-season crops: tomatoes, peppers, basil, beans, cucumbers, summer squash, and melons. Kale, cabbage, carrots, and spinach usually handle a light frost. Covers stop helping once it drops below about 28°F, so pick tender crops if a hard freeze is coming.
Can I still plant garlic in October?
Yes, in most of the country. October is prime garlic time in the Midwest and New England, and warmer states can plant into November. Aim for about 3 weeks before your ground freezes. In the far north, plant as soon as you can this month.
Do I leave the outdoor faucet open or closed all winter?
Open. Close the shut-off valve inside the house, then open the outdoor faucet and leave it open so any water left in the line can drain instead of freezing. Put the insulated cover on after. Open the inside valve again in spring once nights stay above freezing.
How much does winterizing your home cost?
For most homes, the DIY parts run about $100 to $300: frost cloth, seed garlic, pipe sleeves, faucet covers, caulk, weatherstripping, and a CO alarm. A furnace tune-up and chimney inspection cost extra and vary by area. Sealing and insulating can save about 15% on heating and cooling.
Hot-take poll
Defend your pick in the comments. Winning argument gets pinned.