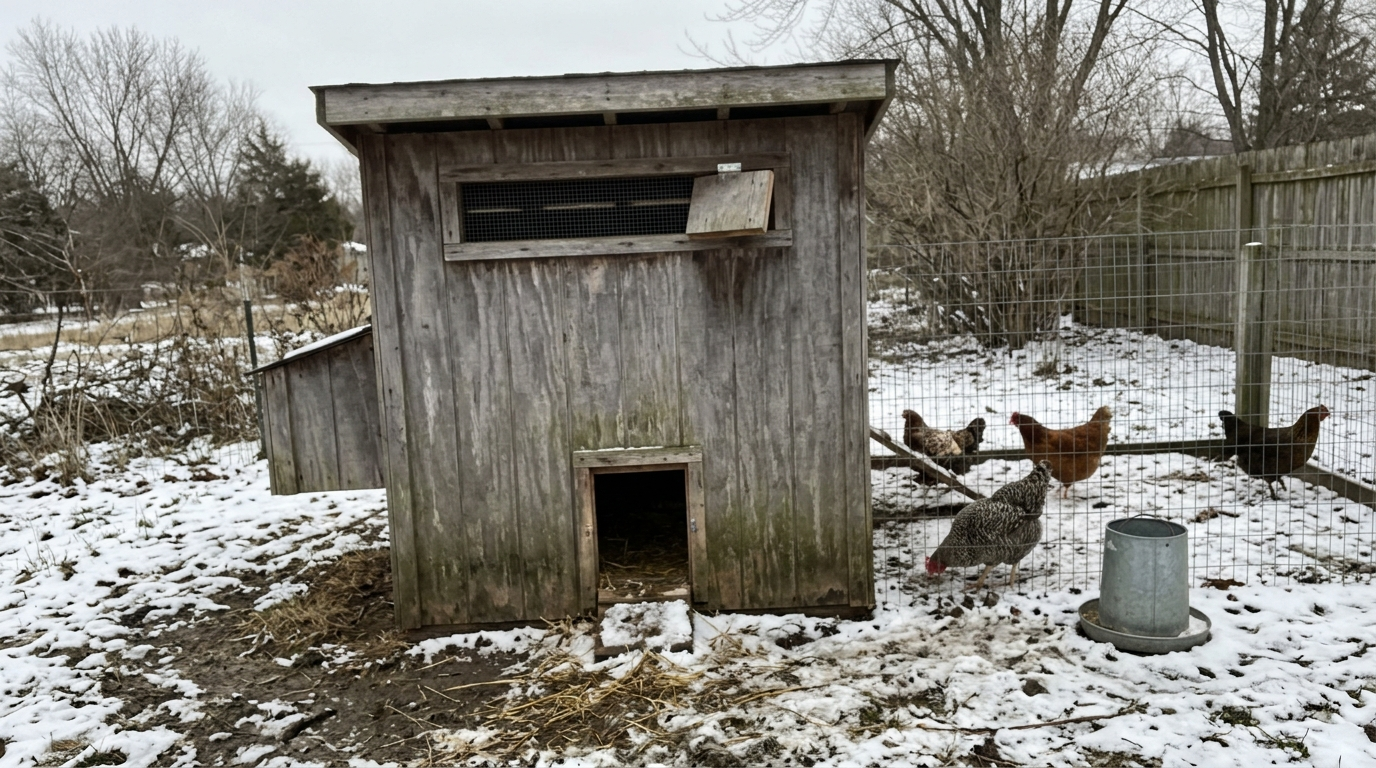

At a Glance: Keeping Chickens Warm in Winter
- How to keep your chickens warm in winter: keep the coop dry.
- Healthy hens handle cold. Damp air and bedding cause the trouble.
- Deep shavings insulate the floor. Heat lamps add fire risk.
Most winter coop trouble comes from moisture, not cold. This guide shows how to keep your chickens warm in winter by keeping the coop dry and the air moving.
Start with the two supplies and the quick check chart below. Then follow the steps and tips that come after them.
As an Amazon Associate, we earn from qualifying purchases.
Two Supplies to Get Before the First Hard Freeze
Two cheap supplies do most of the work. A thick bed of shavings soaks up moisture and insulates the floor, and a covered vent lets damp air out without letting predators in. That’s how to keep your chickens warm in winter without a heater.
University of Minnesota Extension says to keep 4 to 6 inches of straw or shavings on the coop floor, stirred and topped up as it gets damp.
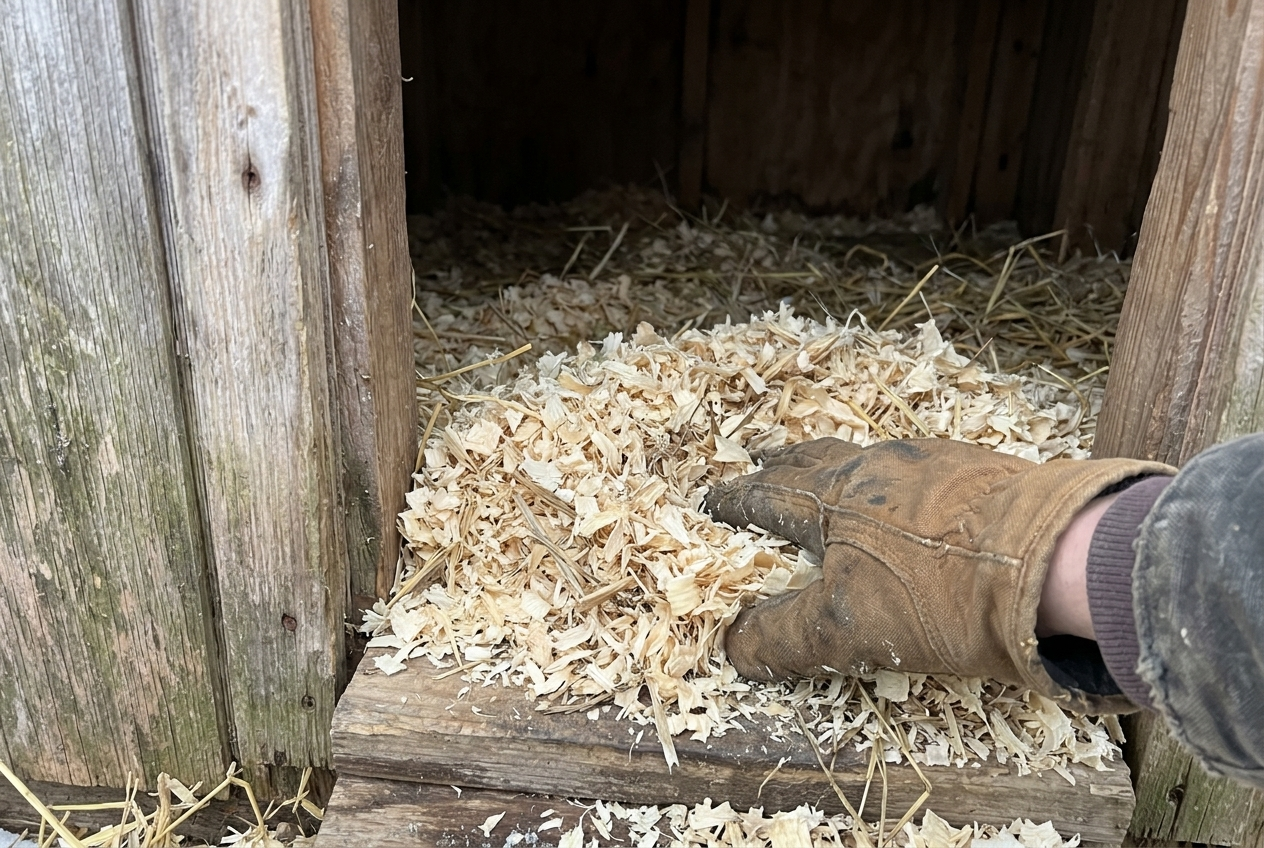
Pine shavings are soft and they soak up moisture. A 4 to 6 inch bed needs far more than a 4 quart bag holds, so treat this one as a starter bag for a nest area or a small coop. For a full floor, buy a larger bale sold for coops:

- Premium Quality Small Pet Bedding. Soft and Comfortable - The rabbit litter is soft, free of chemicals, has no irritants and won't...
- Soft and Comfortable. Perfect Bedding for Small Pet's - Small animal bedding is ideal for rabbits, hamsters, gerbils, rats, mice...
- Perfect Bedding for Small Pets. Highly-Absorbent Hamster Bedding - Ultra-Absorbent pet bedding can absorb liquid up to 2 times its...
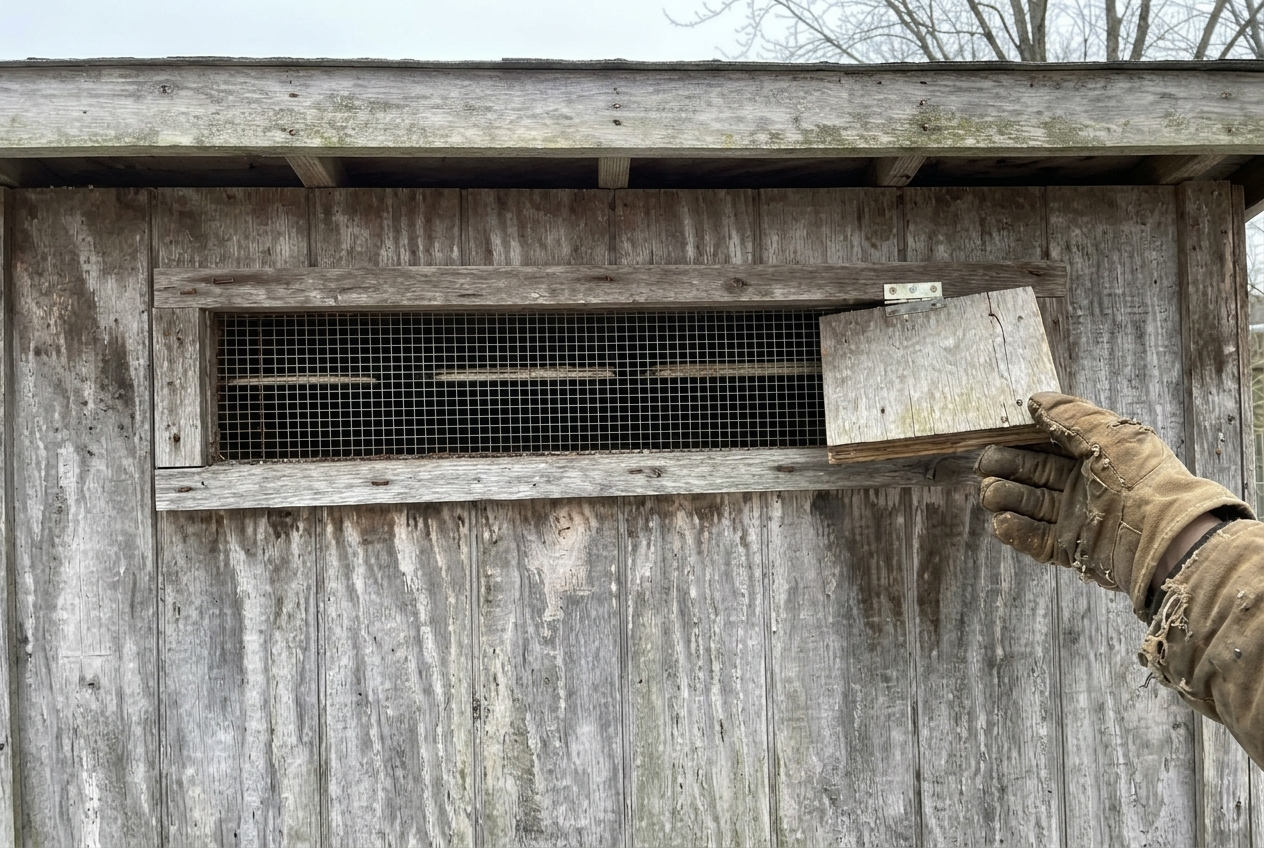
Your vent needs a cover too. Wire mesh over the opening keeps predators out and still lets damp air escape.
This roll is 1/4 inch galvanized mesh, 8 inches wide. That fits a narrow vent opening. For a wide vent or a bigger gap in a wall, buy a wider roll:
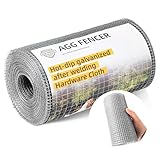
- Product details: The length of this hardware cloth is 8 inches/ 20.32cm, the width is 25ft/ 7.62m, and the hole size is 1/4 x 1/4inch...
Winter Coop Quick Check
Moisture is what you’re checking for. Run through this chart on a cold morning. The last column tells you what to change.
| Check | What you want to see | If it’s off |
|---|---|---|
| Walls and windows | Dry, with no frost or beads of water | Open the vent a little wider. Poultry Extension says water on walls means the coop needs more ventilation. |
| Smell | No sharp ammonia smell when you open the door | Stir the bedding and add fresh shavings. University of Minnesota Extension says an ammonia smell means increase ventilation. |
| Bedding | 4 to 6 inches deep and dry on top | Stir it, then top it up with fresh shavings. |
| Water | Liquid, not frozen | Swap in a second waterer. University of Minnesota Extension suggests keeping a spare on hand. |
| Combs, wattles and feet | No damaged spots after the coldest nights | Dry the coop out first. University of Minnesota Extension says frostbite comes from high moisture plus cold. |
STOP POINT: Skip the heat lamp. Poultry Extension says heat lamps are a potential fire hazard and notes coops lost to fires they caused. University of New Hampshire Extension advises against adding supplemental heat because the bedding can burn. If your coop feels damp instead of cold, fix the vent first.
CHECKPOINT: On the coldest morning this week, touch the wall near the vent and check the bedding. If either feels damp, the coop needs more air. Dry air keeps a flock warmer than a sealed box does.
RELATED: Build Chicken Nesting Boxes From Recycled Scrap Materials
How to Keep Your Chickens Warm in Winter: 6 Steps
Work in this order. Fix air and drafts first, then bedding, then the extras. Each step builds on the one before it.
Step 1: Install a Good Ventilation System
Rule: a coop needs air moving even when it is cold. Chickens breathe out moisture, and trapped moisture is what leads to frostbite.
One common mistake poultry owners make is sealing the coop air-tight. It feels warm, but the damp air has nowhere to go.
Place the vent high on the wall or near the roof so cold air does not blow straight on the birds. Face it away from the prevailing wind. Give it a hatch you can open and close.
Step 2: Patch Up Holes
Rule: air should only come in where you chose to let it. Every other gap is a draft.
A newer, well-built coop may have no gaps. An older one usually does. Patch them in this order:
- Measure the crack or hole.
- Draw those measurements on a piece of plywood.
- Saw the piece out.
- Fasten it over the hole so it sits tight.
Patching also keeps water out. Even small cracks rot when they stay wet.
Step 3: Block the Wind Around the Coop

Rule: stop wind before it reaches the walls. Wind pulls heat out of a coop faster than cold air alone.
Put a windbreak on the side the wind comes from. Stacked straw bales or a solid fence panel set a few feet back both work. Keep it clear of the vent so air can still move.
Step 4: Apply the Deep Litter Method
Rule: keep the bedding deep and dry. Deep, dry bedding cushions the floor and soaks up manure moisture.
Lay pine shavings 4 to 6 inches deep. Stir them with a rake now and then so the droppings mix in. Add fresh shavings on top when you see damp spots. Manure is about 70 percent water, so wet bedding is a sign to add air and more shavings. See the University of Minnesota Extension guide for more.
Note: Do not use cedar shavings. Cedar can irritate a chicken’s lungs.
Step 5: Build a Space for Roosting
Rule: give the flock a clean, dry, sturdy roost. Birds keep each other warm when they perch side by side.
As a poultry breeder, your job is to give them a place to settle. Use a wooden ladder or branches for the perch. Skip PVC and metal pipe, which are slippery. Set the roost at least two feet off the floor, away from the cold ground.
RELATED: Backyard Chickens Facts | 11 Chicken Facts For Homesteading
Step 6: Protect Combs and Wattles (Optional)
Rule: moisture control comes first. Petroleum jelly is an extra, not a fix.
Frostbite is most likely on combs and wattles. The University of Minnesota Extension says petroleum jelly can help insulate them, but it does not treat frostbite. Poultry Extension says it helps only in mild freezing and that coop management is the real key.
If you use it, put on a thin coat before a very cold night. Do not rub hard. If you see pale, gray, or blackened comb tips, do not rub them. Call a poultry vet.
Extra Tips for Winter Care
These small habits add up. Do them on top of the six steps, not in place of them.
Build a Small Coop
Chickens warm a space by roosting together. A snug coop holds that warmth. An oversized one feels cold and breezy.
Skip the Coop Heater
Heat lamps are a fire hazard, and Poultry Extension notes coops have burned down. University of New Hampshire Extension advises against extra heat for hardy birds. Stick to dry bedding, no drafts, and good air.
Clean the Food Bowl Often

Do not leave old feed in the bowl. It draws rodents and adds moisture to the coop.
Keep Water From Freezing
Keep a spare waterer. Each morning, swap the frozen one for a thawed one. Birds that cannot drink will stop eating, so check water first thing on cold days.
STOP POINT: Do not run an extension cord, a pet bowl, or a homemade heater in a coop with dry bedding. Cords and dust start fires. If you want a heated waterer, buy one made for poultry. Have a licensed electrician add a safe outlet.
Feed for the Cold
Birds eat more when it is cold. Keep feed full and dry. If you want to change the ration, ask your county extension office first.
Make a short checklist of the jobs above and check it every week. Pay extra attention from December to February.
A simple winter routine from Backyard Blessings:
Questions about your own coop? Post them in the comments below.
Up Next:
- If You Have A Chicken Coop Do Not Do This
- 18 Chicken Recipes To Impress Your Dinner Guests
- The Essential Benefits Of Worm Farming | Homesteading For Beginners
Follow us on Instagram, twitter, pinterest, and facebook!
FAQs
How to keep your chickens warm in winter if you can’t use a heater?
Keep the coop dry and free of drafts, give the flock 4 to 6 inches of dry bedding, and add a wooden roost where the birds can huddle. Healthy hens handle cold well when they stay dry. University of New Hampshire Extension advises against adding heat because of fire risk.
Do chickens need a heated coop?
Usually not. University of New Hampshire Extension calls chickens surprisingly hardy birds, and a dry, draft-free coop matters more than heat. If your winters are extreme, ask your local extension office before you add any heat source, since fire is the main risk.
Why does my coop feel damp in winter?
Chicken droppings are about 70 percent water, says University of Minnesota Extension, and that moisture has to go somewhere. Open the vent a little wider, stir the bedding and add fresh shavings. Damp air plus cold is what leads to frostbite.
Where should the coop vent go?
High on the wall near the roof, so cold air doesn’t blow straight onto the birds. University of New Hampshire Extension says to place vents away from prevailing winds. Add a hatch so you can open and close it, and cover the opening with wire mesh.
How to keep your chickens warm in winter on a budget?
Shavings, a covered vent and patched gaps cost far less than running a heater, and they carry no fire risk. Scrap wood can patch holes. Buy a second waterer so one is always unfrozen.
Heat the Coop or Leave It Cold?
Some keepers add a heat source for the coldest nights. Others skip it to avoid fire risk.
Tell us the coldest night your flock has handled.