
At a Glance: Vegetable Fermentation Mistakes
- Keep veggies under the brine and use the right salt ratio to stop mold before it starts.
- Chlorine, bad temps, and trapped air bubbles are silent ferment killers.
- Learn to tell harmless Kahm yeast from real mold, and taste-test to find your sweet spot.
Have you ever choppred and packed a jar of vegetables with care, only to open it a few days later and discover fuzzy mold or foul odor. Losing a batch to a vegetable fermentation mistake is something almost every preserver goes through, but it’s also the best teacher you’ll get. Instead of treating a failed jar as a defeat, look at it as your way into understanding the little micro-ecosystem happening right on your counter. Below, we’ll walk through the 9 most common mistakes, why they happen, and exactly how to fix them so your next jar turns out tangy, crisp, and full of good bacteria.
Why Vegetable Fermentation is Worth Getting Right
Proper fermentation guarantees your family’s health and safety. Fermentation preserves fresh produce the old-fashioned way, makes nutrients easier for your body to use, and loads your gut with good probiotics. Once you understand how salt, acid, and your microbial environment work together, you’ll have the confidence to turn plain roots and greens into rich, long-lasting condiments, safely and without worrying about foodborne illness.
9 Common Vegetable Fermentation Mistakes and Solutions
1. Leaving Vegetables Exposed Above the Brine
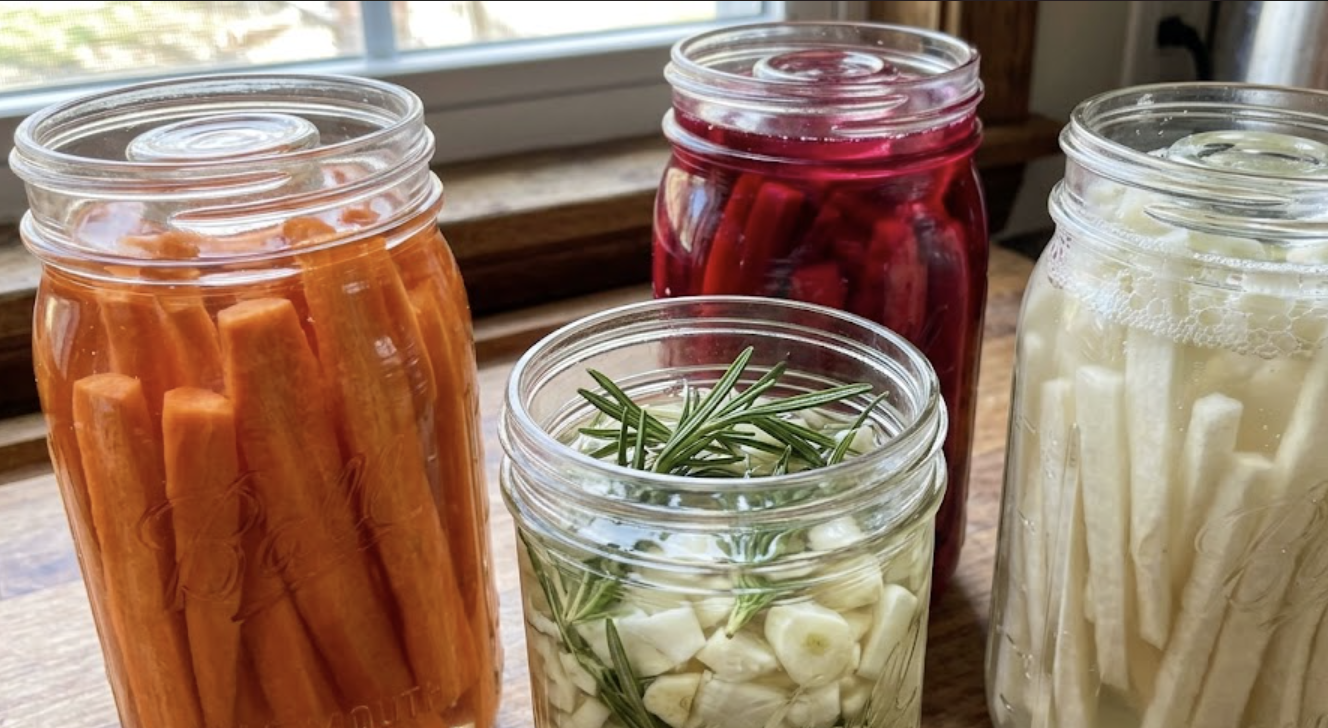
Letting little bits of cabbage or carrot poke up above the liquid line is the number one mistake home fermenters make. Good lactic acid bacteria need an oxygen-free environment to thrive, but mold spores and wild yeast need oxygen to grow. When produce sticks out of the brine, that exposed bit becomes an open door for surface mold. Fix it by keeping everything submerged with a glass fermentation weight, a small sanitized jar insert, or a clean, tough outer cabbage leaf pressed down firmly. Remember the golden rule: if it’s under the brine, it’s fine.
2. Getting the Salt Ratio Wrong
Eyeballing your salt without a scale usually ends one of two ways: a soft, mushy mess or a jar so salty you can’t eat it. Salt isn’t just for taste. It pulls juice out of the vegetables to build brine, and it creates an environment where harmful bacteria can’t survive while giving good Lactobacillus a head start. Too little salt lets bad bacteria soften your veggies into mush. Too much salt shuts down the good microbes too. The fix is simple: weigh your salt instead of guessing, and aim for 2% to 3% salinity based on the combined weight of your vegetables and water.
3. Using Chlorinated Tap Water
Filling your jars straight from the tap is an easy mistake that can quietly stall or kill a ferment before it gets going. Cities add chlorine and chloramine to tap water on purpose, to wipe out microbial life and keep drinking water safe. The problem is, those chemicals don’t tell the difference between bad bacteria and the good strains that turn cabbage into sauerkraut. Fix this by using filtered water, spring water, or by boiling your tap water for a few minutes and letting it cool all the way before you mix your brine.
4. Fermenting at Extreme Temperatures
Setting your jars on a sunny windowsill, next to a warm oven, or in a cold, drafty basement throws off the whole timeline. High heat, above 75°F, speeds up bacterial activity too fast, giving you hollow, mushy vegetables and sharp, off flavors. Cold temps, below 60°F, send the microbes to sleep and your ferment stalls out completely. The fix is to store your jars somewhere cool, dark, and steady, between 65°F and 72°F.
5. Using Non-Organic or Heavily Waxed Produce
Grabbing cheap, heavily sprayed vegetables coated in wax can ruin your ferment before you even start. Wild fermentation depends on the natural lactic acid bacteria already living on fresh produce skins, and heavy pesticide residue can wipe those good microbes out. On top of that, a thick wax coating blocks salt from pulling moisture out and stops the brine from forming right. Choose fresh, unwaxed, ideally organic produce, and rinse it well under cool running water without soap.
6. Leaving Trapped Air Bubbles in the Jar
Packing vegetables in loosely leaves air pockets scattered through the jar. Even if the very top looks covered in brine, trapped air deeper inside creates tiny pockets where mold or spoilage can hide and spread. Fix this by pressing your vegetables down firmly with your knuckles or a wooden tamper as you pack them, then run a clean butter knife or chopstick down the inside of the jar to release any trapped gas before you seal it.
7. Opening the Jar Too Frequently (or Forgetting to Vent)
Constantly twisting off the lid to check, smell, or taste your ferment lets in a fresh burst of oxygen and mold spores every time you do it. On the other hand, sealing a standard flat lid completely tight while carbon dioxide is building up can turn your jar into a pressure hazard. The fix is to use an airlock lid or a silicone valve that lets gas escape while keeping oxygen out. If you’re using basic mason jar lids, just loosen the ring for a quick daily “burp,” let the gas out, then tighten it right back down.
8. Confusing Harmless Kahm Yeast with Toxic Mold
CHECKPOINT: This is the one step where guessing wrong actually matters, so slow down and look closely before you decide anything. Kahm yeast is a wild yeast that forms a flat, dry, chalky white film across the top of the brine when oxygen gets in. It looks alarming, but it’s harmless, and you can just skim it off. Real mold looks different. It’s raised, fuzzy, and shows up in circular spots of white, green, black, or blue. Learn to tell the two apart: skim off Kahm yeast early, and if you ever see raised, fuzzy, colorful mold, throw the whole batch out. When in doubt, throw it out.
9. Ending the Fermentation Process Too Early (or Too Late)
Expecting instant sourness and refrigerating your jar after just 24 hours gives you plain, salty raw vegetables. Forgetting about it on the counter for a month in the summer gives you mushy, overly sour produce. Fermentation keeps changing as acid builds up over time, so there’s no single “done” moment that works for every batch. The fix is easy: start tasting with a clean fork around day 3 to day 5. Once it hits the crunch and tang you like, move the jar to the fridge, which slows the microbes down to a crawl.
All in all, fermentation is a living partnership with nature, and not a sterile lab experiment. A failed batch doesn’t mean you’re bad at this. It just means you got feedback on your oxygen control, salt ratio, or temperature, and now you know what to adjust. Trust your senses. Look for fuzz, smell for clean sourness, and taste for crisp acidity. Once you’ve got these 9 mistakes handled, you’ll turn out delicious, gut-friendly ferments at home with real confidence.
FAQs
Q: Is it normal for my fermented vegetable brine to look cloudy? A: Yes, cloudy brine is completely normal. It’s actually a good sign that lactic acid bacteria are active, multiplying, and turning sugars into healthy lactic acid.
Q: How long do homemade fermented vegetables keep in the fridge? A: As long as your vegetables stay submerged in their brine and stay refrigerated, most ferments hold their crunch and flavor for 4 to 6 months or longer.
Q: Can I ferment vegetables without special airlock lids? A: Absolutely. A standard mason jar works fine. Just loosen the metal lid slightly once a day to let built-up carbon dioxide escape, then tighten it back down.
Q: Why did my fermented garlic turn bright blue or green, and is it still safe? A: It’s completely safe. Garlic has natural amino acids and sulfur compounds that react with mild acids during fermentation, which creates harmless blue and green coloring.