

Are you looking to make a stock tank heater to provide your livestock with ice-free water throughout winter? Learn with us in this detailed guide on making one to keep your homesteading water trough from freezing during winter?
RELATED: Top 33 Winter Homesteading Activities To Stay Productive For Homesteaders
How to Make a Simple but Functional Stock Tank Heater
Thing You’ll Need
- 3 sheets ¾” plywood – exterior
- 6 pcs. 8-foot (2×4) studs
- 40 sq. ft. 1 ½” rigid insulation board
- 2 sheets polycarbonate glazing
- Glazing closure strips
- Black paint
- 1 can polyurethane foam insulation
- Caulk, glue, and screws
Tools You’ll Need
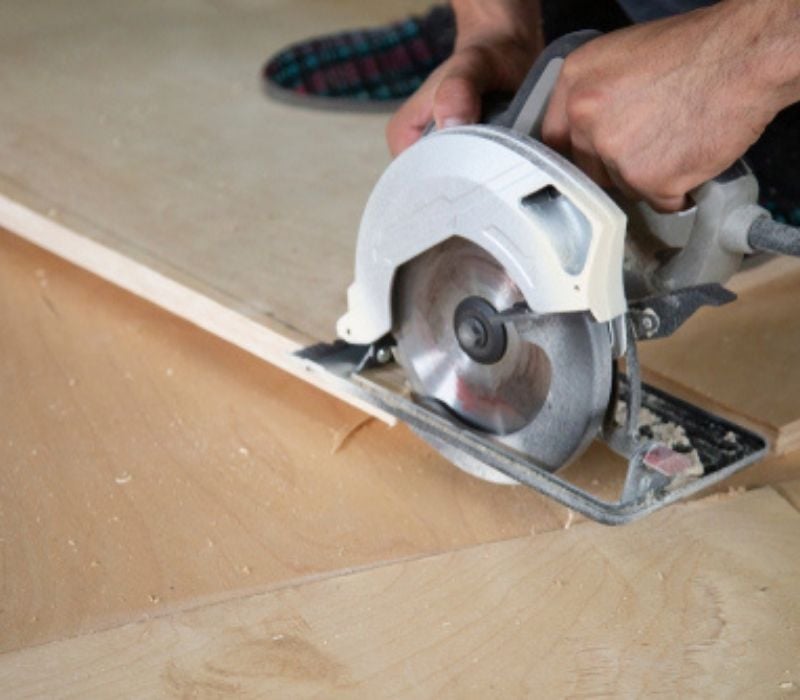
- Circular saw
- Hammer or drill
- Tape measure
- Framing square
- Safety gloves and glasses
- Paint Brush
Step 1. Build the Tank Frame
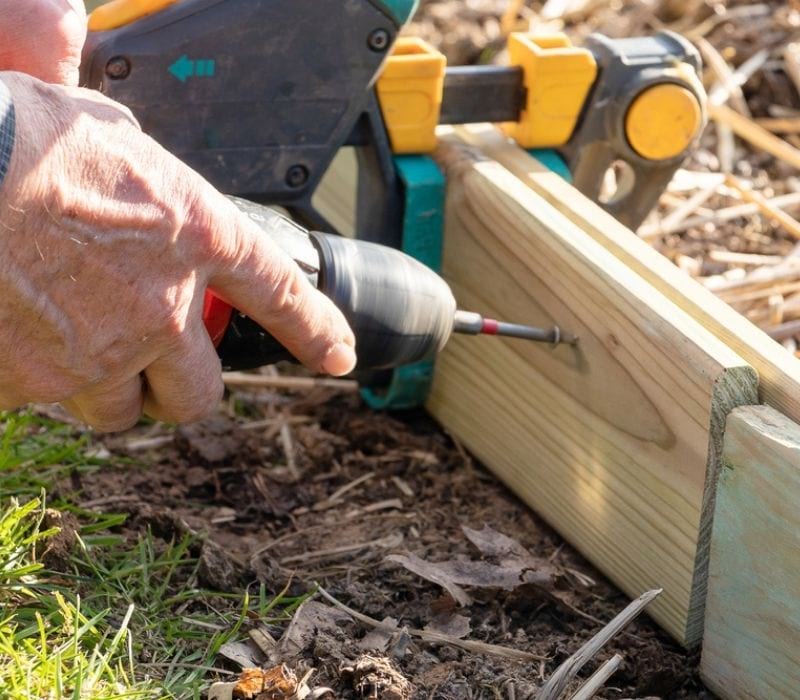
Using a circular saw, cut the 2 by 4 studs to size to make the exterior box frame that will enclose the galvanized stock tank. To get all the needed 12 pieces, it will take five of the six eight-foot (2×4) lumber.
Now, join your cut pieces using screws and glue for all the joints. This 6 ft by 2 ft by 2 ft stock tank heater frame has already taken into consideration the thickness of the insulation, which is vital.
Tips:
- Ensure that your frame’s height is enough for the lid to fit snugly on the tank’s rim for air infiltration purposes.
- Consider the height of the insulation that will go under the tank when deciding the stock tank heater’s frame dimensions.
Step 2. Attach the Plywood Exterior and Paint
Now, cut the ¾ inch plywood sheets to size following the dimensions of your frame and screw them onto the east, west and north sides of your frame leaving the front or south side open to fit the collector glazing.
Next, continue following the box frame dimensions to cut out more plywood panels for the top and bottom of the frame. Once done, invert the structure and screw in place the bottom plywood panel then wait to install the top panel in the last step.
Afterward, your stock tank heater should absorb heat, so, coat the entire box frame in black paint and seal before using caulk on all seams to prevent air infiltration.
Remember: The top of the stock tank heater will have a hole to allow your livestock access to the water.
RELATED: How To Save On Water Bill In 11 Smart Ways
Step 3. Install Insulation Board
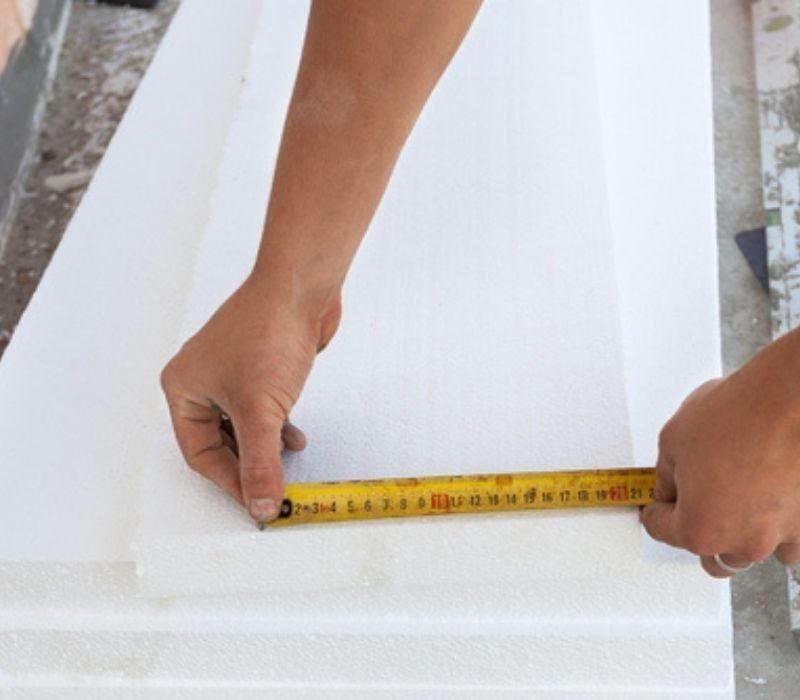
Now cut out the 1½ inch rigid insulation board to size and fit the boards to the sides and bottom of the tank enclosure. The 1 ½ inch insulation boards between the 2×4’s are enough.
However, adding a second layer of insulation inside the stock tank heater will require you to add room when building the exterior box enclosure to accommodate the insulation.
Step 4. Install the Glazing Sheets
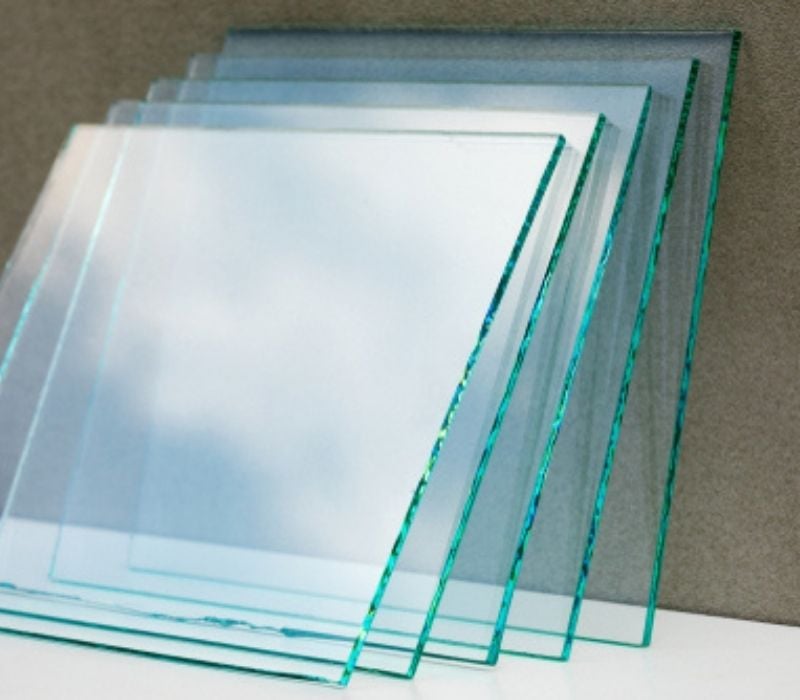
Here, install the two polycarbonate glazing sheets in front of the frame – the south side you left out and seal any open ends in the sheets with foam strips.
Tip: For an effective stock tank heater, go for polycarbonate glazing sheets that are rigid, tolerant of high temperatures, and transparent.
Step 5. Install the Tank and Lid

Finally, paint the south side of the box frame black and allow it to dry. Once dried, place your galvanized tank in the box and stuff the open spaces between the tank and foam boards with foam insulation or fibreglass. Additionally, crumpled newspapers will also work great in sealing the open spaces to prevent air circulation.
Next, fasten the top plywood panel in place with screws ensuring that it fits snugly on the frame and tank’s rim.
Lastly, paint the frame’s exterior and allow it to dry.
Pro Tips:
- Besides positioning the tank where it is not blocked from the sun between about 9 a.m. and 3 p.m., place it in such a way that the glazed wall faces south.
- Equally important is to keep the tank reasonably full during cold weather as this reduces its chances of freezing.
- Moreover, installing the tank on a level spot like on treated wood or a washed gravel base guarantees durability.
- To prevent algae growth in summer, consider removing the tank from the box frame. Alternatively, cover the heat collector and remove the lid.
- Moreover, connecting the corners of the box frame with bolts guarantees you easy dissembling for storage during summer. However, be careful to seal gaps in the corners when reassembling the box enclosure as air could leak through.
Watch this video from Life Journeys Pre Emptive & Me on a solar stock tank:
There you have it, homesteaders. Though building a stock tank heater is a technical task, but with the information herein, you are now equipped with the basic knowledge you need to plan and build a functional stock tank heater for your livestock.
Have you used a stock tank heater before? What was your experience? Let us know in the comment section below!
Up Next:
- Survival Winter Shelter: How To Build A Debris Hut
- Beekeeping In Winter: Preparing Beehives For The Cold Season
- How To Can Peaches At Home
Fellow homesteaders, do you want to help others learn from your journey by becoming one of our original contributors? Write for us!
