
Chimney cleaning is a vital skill for every homesteader for safety and functionality, especially now when fireplaces need to be at their best as winter approaches.
Here is how to clean your chimney in three simple steps.
RELATED: 9 Chemical-Free Spring Cleaning Hacks + Recipes
Chimney Cleaning in Three Simple Steps
Things You’ll Need
- Canvas tarp
- Drop cloth
- Poly sheeting
- Duct tape
- Flashlight
- Flue liner brush
- Long-handled brush
- Noodle brush
- Dust mask
- Safety glasses
- Safety harness
- Shop vacuum plus extra hoses
Step 1. Getting the Appropriate Cleaning Tools

The first step towards chimney cleaning is getting the appropriate cleaning tools adapted for that specific task. Having the right tools increases your chances of success and makes it possible to save several hundred dollars.
However, the type of liner you have in your flue will dictate the kind of cleaning tools you get. While cleaning a clay flue will be more comfortable with a metal-bristled brush, a metal flue liner will clean better with a plastic-bristled brush.
Besides these, the smoke shelf will require specialized tools like a pliable noodle brush. In contrast, the firebox will need a long-handled brush for the soot on the sides.
Tips
- Whichever brush you buy, remember to have enough rods to cover your entire chimney.
- To get the right brush for cleaning the flue liner, you will have to climb to your roof and measure the flue’s length.
Step 2. Preparing for Cleaning
Chimney cleaning can be a messy affair, hence, the need to protect your interior. Firstly, lay a tarp over the chimney hearth. The tarp should be big and long enough to spread into the rest of your living room.
Secondly, lay a poly sheeting such that it covers the fireplace and hold it in place with duct tape. Now, make a notch on the poly sheeting and insert a vacuum hose and seal with duct tape.
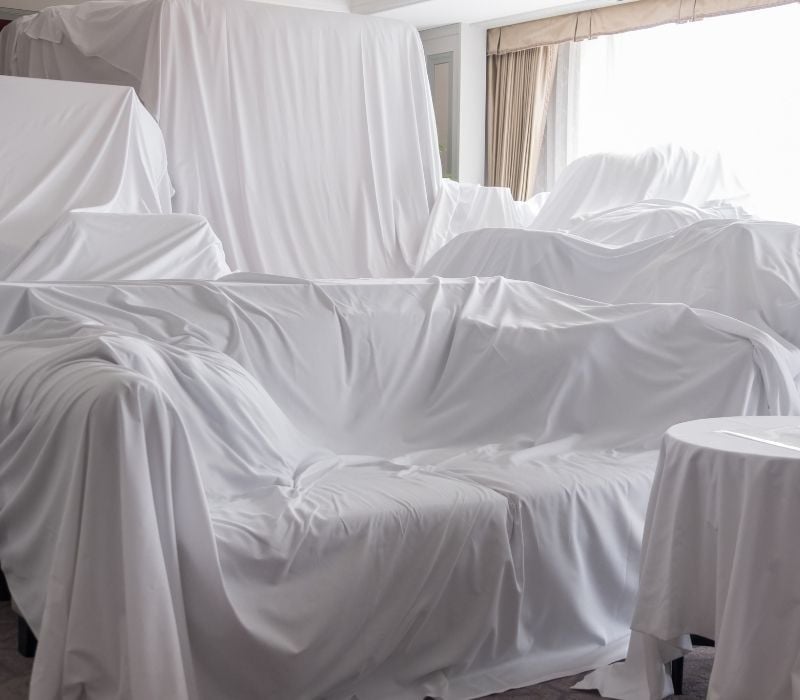
At this point, protect your living room furniture by covering the interior with drop cloths. If you do not have any, a tarp or poly sheeting will also do the work correctly.
Once your interior is completely covered, start joining the extra hoses to your vacuum hose and seal them together with tape so that it is long enough to connect to the shop vacuum outside your house.
Remember to close all windows and doors to prevent the vacuumed soot from going back to the house. Once done, you can run the vacuum as you brush the flue, but you will need to replace the filter if it clogs with soot.
Tips
- Since you need to vacuum from outside, buying the extra vacuum hoses is paramount.
- Remember that the vacuum filters will not trap all the soot, so all doors and windows need to be closed.
RELATED: 17 Homesteading Ways To Use A Vinegar Cleaning Solution
Step 3. Cleaning the Flue, Smoke Shelf, and Firebox
Firstly, run your vacuum and begin your chimney cleaning endeavor from the rooftop. At this point, you should have all your safety gears on to avoid any accidents or complications.
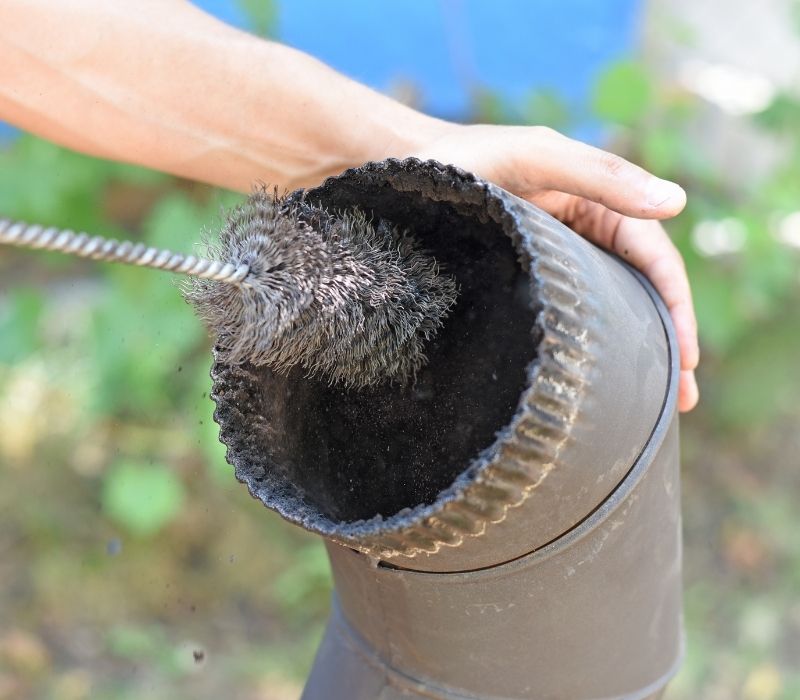
Secondly, move your metal or plastic-bristled brush back and forth severally on a section of the flue to scrub off the soot. Essentially, scrub as far as the brush can reach. Once done, use a flashlight to ensure that one section is well cleaned before moving to the next.
Now, continue adding rods and scrubbing the flue as you move down the chimney, checking your work every time until there is no more resistance as you scrub. This will mean you are at the smoke chamber, which you can clean from inside the house in the firebox.
To clean the smoke chamber, peel back a small part of the poly sheeting to make a small opening – enough to fit your hand and a brush.
Now, use the pliable noodle-brush to clean the smoke shelf after which you should use the long-handled brush again to thoroughly clean the firebox sides. Finish off your chimney cleaning experience by vacuuming the firebox.
Lastly, fold the canvas tarp and poly sheeting at the hearth and take them outside and shake the soot off before cleaning and reusing them during your next chimney cleaning DIY.
Pro Tips
- Do not skip cleaning the smoke shelf as many chimney fires start in that area.
- If your chimney’s smoke shelf area is not accessible or has no room for brush movement during cleaning, you certainly need to hire professional chimney sweeps to do the work for you.
- You might also need to contact a professional if your roof is too steep or if you can’t go up for some other reason.
- Even after cleaning your chimney, have it further inspected by a professional yearly.
- If you mostly burn wet logs, clean your chimney, and have it inspected after every 50 burns. Otherwise, clean it and have it checked after 70 burns if you use mostly burn dry logs.
Watch this from DIYwithWayne on how to clean your chimney:
Chimney fires can rapidly escalate to bigger house fires, especially if there is creosote buildup. Therefore, cleaning your vent, more importantly, is a safety measure. With the tips in this guide, you can help keep yourself safe and your chimney clean.
After how long do you clean your chimney? Let us know in the comment section below!
Up Next:
- DIY Wooden Playhouse Ideas You Can Build For Your Kids
- Top 33 Winter Homesteading Activities To Stay Productive For Homesteaders
- DIY Wooden Playhouse Ideas You Can Build For Your Kids
Fellow homesteaders, do you want to help others learn from your journey by becoming one of our original contributors? Write for us!
