

Learn how to build a survival winter shelter, called a debris hut. It can keep you dry and warm and get you through the night.
The debris hut is an extremely flexible survival shelter. You can build it in almost any environment and will not need tools or any special equipment.
RELATED: 13 Survival Tips from the Great Depression
Survival Winter Shelter To Get You Through The Night
How To Build A Cold Weather Survival Debris Hut
No matter what the season is, exposure to nature is great for the soul. However, it can also be fatal if you are unprepared. In survival, building an efficient shelter is the main priority. This could mean saving your life!
With shelters, a key thing to remember is to shield yourself from the elements above, chilly, and wet. Likewise, it is essential to protect yourself from freezing.
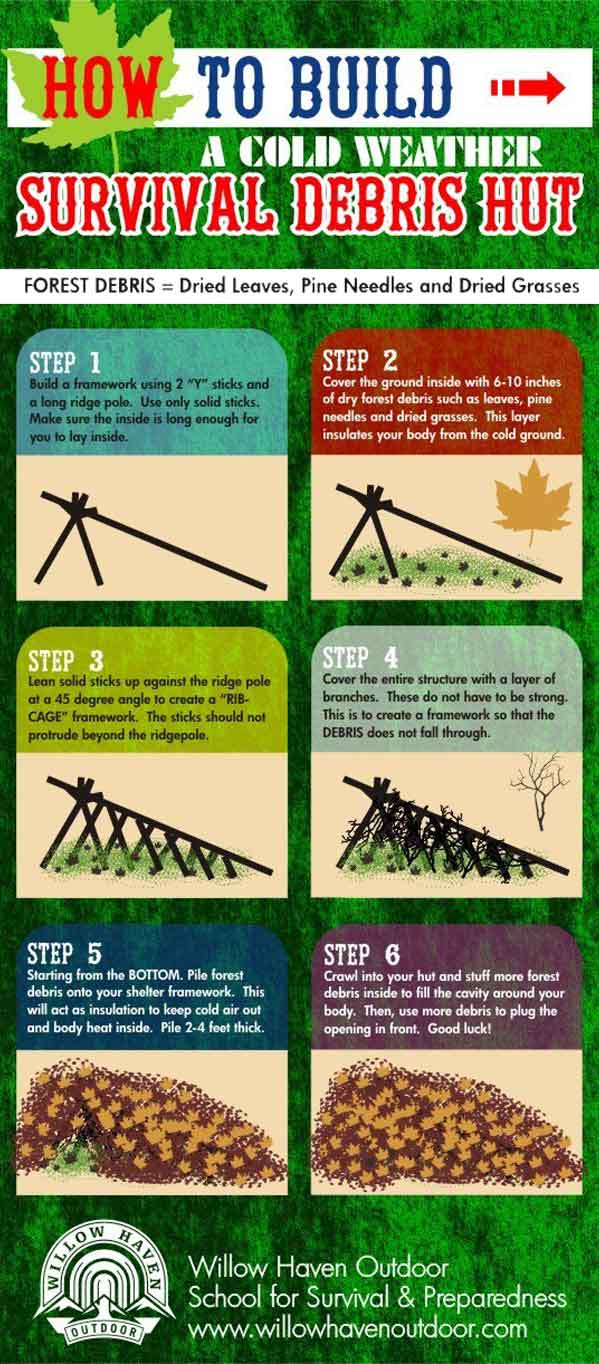
Forest Debris = Dried Leaves, Pine Needles, and Dried Grasses
Step 1. Building the Framework

Build the framework using 2 “Y” sticks and a long ridge pole. Use only solid sticks. Make sure the inside is long enough for you to lay inside.
Step 2. Creating an Insulating Layer

Cover the ground inside with 6-10 inches of dry forest debris such as leaves, pine needles, and dried grasses. This layer insulates your body from the cold ground.
Step 3. Making a Rib-cage Framework

Lean solid sticks up against the ridge pole at a 45-degree angle to create a “RIB-CAGE” framework. The sticks should not protrude beyond the ridgepole.
RELATED: “The Revenant” Survival Guide | How To Survive Like A Leo
Step 4. Laying a Layer of Branches

Cover the entire structure with a layer of branches. These do not have to be strong. This is to create a framework so that the DEBRIS does not fall through.
Step 5. Piling Forest Debris

Starting from the BOTTOM. Pile forest debris onto your shelter framework. This will act as insulation to keep cold air out and body heat inside. Pile 2-4 feet thick.
Step 6. Finishing Off the Winter Shelter
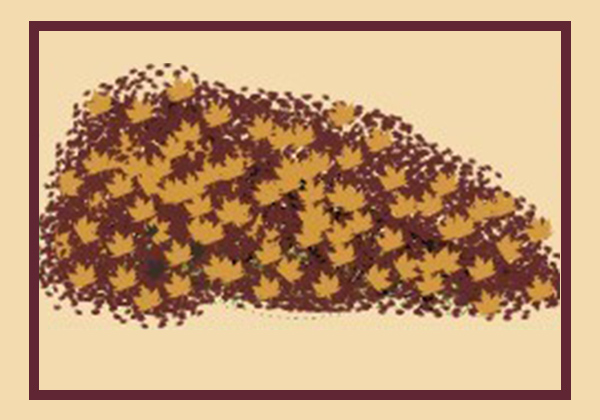
Crawl into your hut and stuff more forest debris inside to fill the cavity around your body. Then, use more debris to plug the opening in the front. Good luck!
Want to see how to build a survival winter shelter? Check out this video from Wargeh Bushcraft:
Building a completely functional winter shelter debris hut may take some practice but it doesn’t mean that you cannot do it. Until you are able to construct and sleep in it during the cold winter night without any blanket, it is difficult to know the volume of debris necessary to stay warm.
Likewise, it is a great experience to be able to sleep the night inside a comfortable and warm shelter built with nothing but your bare hands and the raw materials you’ll find in nature. Once you master this skill, you will have the confidence to travel backcountry.
Did you find building a winter shelter debris hut helpful and interesting? Will you give it a try? Let me know what your thoughts are in the comments section below.
Up Next:
- 15 Ways A Knife Can Save Your Life In A Survival Situation
- Survival Tips for Winter Day Trips
- Beekeeping In Winter: Preparing Beehives For The Cold Season
Fellow homesteaders, do you want to help others learn from your journey by becoming one of our original contributors? Write for us!
Follow us on Instagram, Twitter, Pinterest, and Facebook!Editor’s Note: This post was originally published on February 7, 2017 and has been updated for quality and relevancy.
