With leafy greens being such a productive crop, learning how to freeze kale is a great way to store reserves. What's more, frozen kale makes a nutritious, flavorful, and colorful addition to smoothies, soups, and sauces.
RELATED: How To Freeze Vegetables In Your Homestead
The Ultimate Guide on How to Freeze Kale in Your Kitchen
What You'll Need
- Fresh kale ( lacinato or curly varieties work great)
- Water and ice
Equipment You'll Need
- Large knife
- A chopping board
- A saucepan with a lid
- Colander
- A large bowl
- Kitchen tongs or slotted spoon
- Paper towels
- Muffin tin, well sprayed (a silicon pad-lined cookie sheet will do as long as it fits in your freezer)
- Food-grade Ziploc bags (containers will do great too)
Step 1. Prepare the Kale
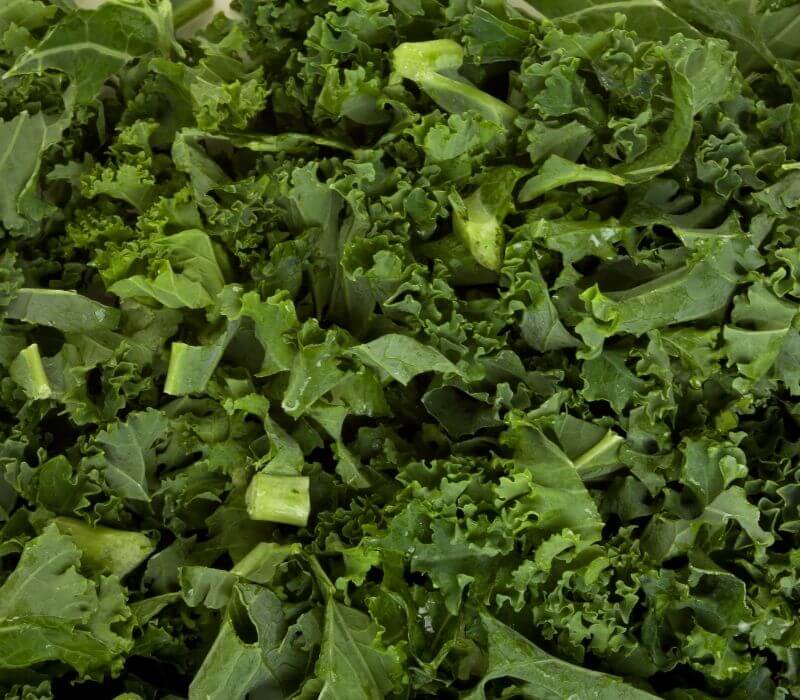
Firstly, begin by removing the kale leaves from their stems. To do this, firmly pinch the leaves' base between your thumb and forefinger, and then slide your fingers down to detach the leaves from the stem.
Once done, the next step in the preparation is to chop up the separated leaves. To do this, take a handful of the kale leaves, place them on a chopping board, and cut them into bite-size pieces.
Next, place your chopped kale in a colander and rinse with running water until there is no more dirt residue. I also find that washing the kale before removing the stems or chopping allows you to remove dirt perfectly, especially if it is stuck onto the leaves.
Tips:
- You can cut the kale leaves directly from your hand, but using a chopping board makes your work faster and allows you to keep your chops' size consistent.
- Go as far as you want with the stems. Some people love the coarse texture these add to the kale.
Step 2. Blanching the Chopped Kale
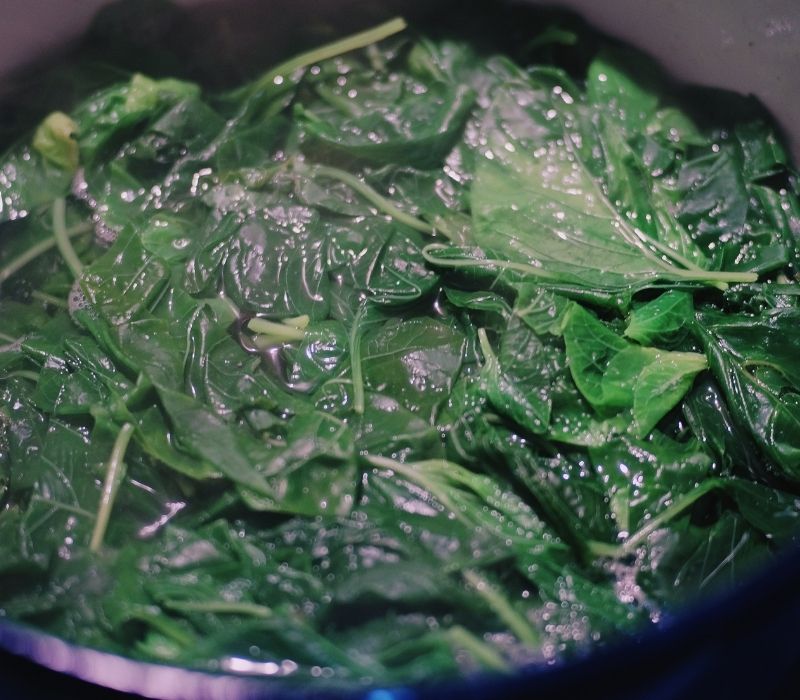
Next, place a large saucepan over high heat on a stovetop and ad water. Now, add water, then submerge the chopped kale, ensuring it is covered by at least a half to one inch of water.
Next, cover the saucepan and bring the water to a simmer. Blanch the kale for two to three minutes or until it is tender and not entirely cooked.
Tip: If you already know how you will be using the kale, you can season it at this stage.
RELATED: Canning vs. Freezing: What’s The Better Preservation Method
Step 3. Prepare an Ice Bath
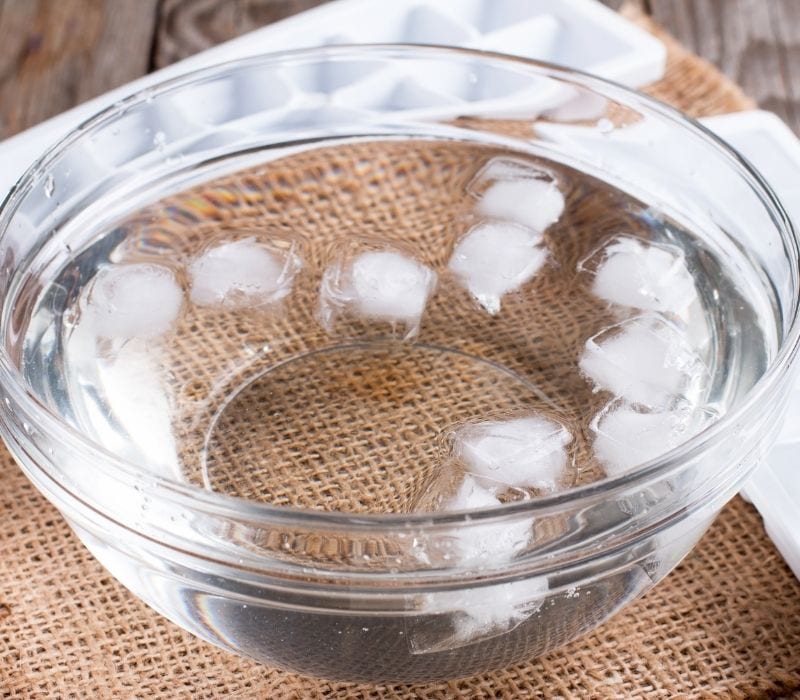
In a large bowl, mix cold or chilled water and ice. Half cold water and half ice will do, but having more ice will help as the hot kale will melt it first.
You will know the kale is ready when it becomes tender but still retain a light green color. At this point, use a colander to drain the water in a sink and immediately transfer the kale into the ice bath.
This helps stop the cooking process, which retains the nutrients, texture, and color of the kale. Now, allow the kale to sit in the water for two to three minutes or until it is cold to the touch.
Step 4. Dry the Blanched Kale
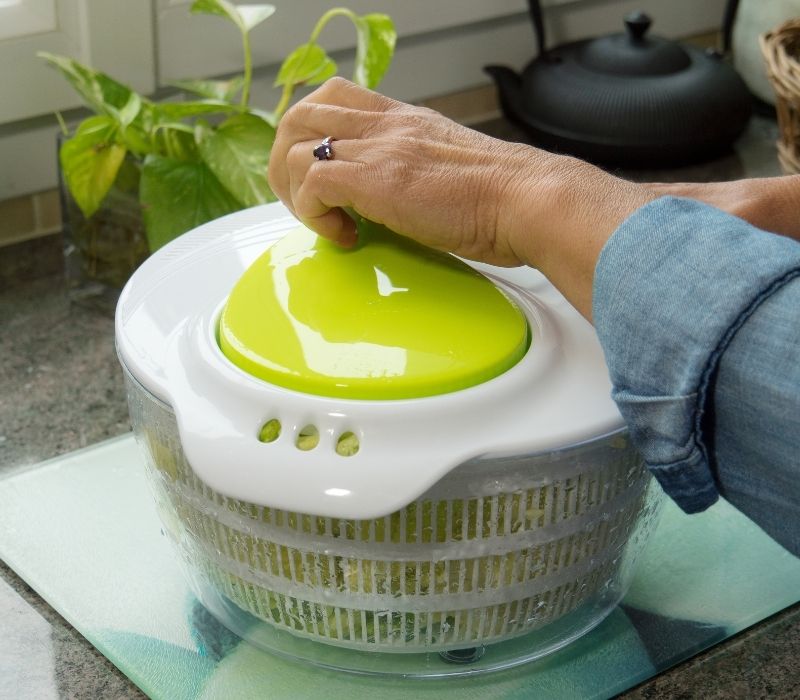
Afterward, use a pair of tongs or a slotted spoon to transfer the kale onto a clean kitchen or paper towel to dry. You can also pass the kale through a salad spinner, but you will need to lay them on a towel to dry completely.
Having a salad spinner will fasten the drying process. Otherwise, pat the kale with a kitchen or paper towel to remove excess water and leave it to air dry for roughly 10 minutes.
Step 5. Freeze the Kale
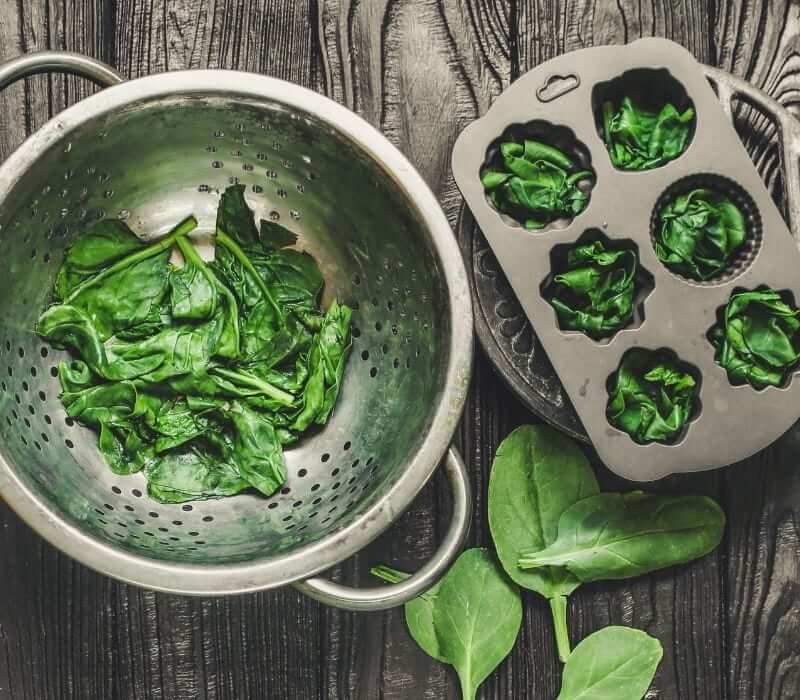
Once your kale leaves are dry, lightly spray or grease your muffin tin, divide your kale into 12 equal handfuls and gently compress each portion into the muffin tin compartments. Next, freeze the kale for at least two hours or until firm.
Now, remove the frozen kale from the freezer and transfer the kale pucks into food-grade Ziplock bags. If you choose to use a container, go for one that is airtight. This will help keep as much air as possible out.
Lastly, store your kale for up to six months.
Tips:
- If you use a cookie sheet to freeze your kale, line it with parchment paper or a silicon pad before laying the blanched kale in a single layer.
- If your cookie sheet can't fit in your freezer, consider freezing in batches.
- While you can freeze kale without blanching, you might have to consume it in one or two months at most.
- To thaw frozen kale, remove the container or Ziplock bag they are in from the freezer and leave it on your kitchen countertop.
- Freezing kale preserves nutrients in the greens.
Watch this video by horizons health on kale benefits- why kale is a superfood:
There you go, homesteaders. Do not allow your kale to go to waste. With this detailed guide, you can easily store up any surplus harvest you might have. This way, you will always have a constant of vitamins and iron.
How do you freeze your kale? Let us know in the comment section below!
Up Next:
- How To Freeze Blueberries In Your Homestead
- Water Bath Canning | Easy Step-by-Step Guide
- How to Make a Solar Oven Using A Windshield Shade
Fellow homesteaders, do you want to help others learn from your journey by becoming one of our original contributors? Write for us!

Leave a Reply