Learning how to build a well-water filtration system with naturally found filters guarantees you clean drinking and cooking water and, of course, a reduced electricity bill.
RELATED: How To Save On Water Bill In 11 Smart Ways
How to Make a Countertop Well Water Filtration System With Natural Filters
Things You'll Need
- 5-gallon water bottle
- 5-gallon food grade bucket with lid
- Valve
- Faucet
- Food grade bucket with holes at the bottom
- Charcoal
- Playground sand
- Paver sand
- Fine gravel
- Coarse gravel or river rocks
- Cheesecloths
- Cotton Balls
Tools You'll Need
- Knife or circular saw
- Drill with circular bits
Step 1. Build the Countertop Water Filtration Setup
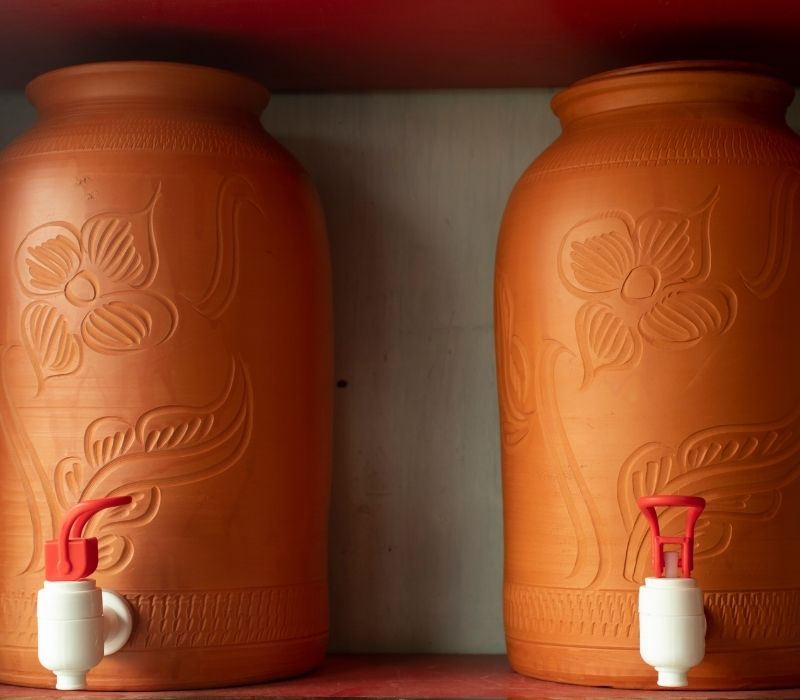
You will need a five-gallon water dispenser bottle and a five-gallon food grade bucket for this well water filtration system. The water bottle's neck will be the bottom of the filtering system, and the bucket will be a water reservoir.
Now, using a sharp knife, cut about half-inch off the water bottle's base. Next, cut off a circle on the bucket's lid that is big enough for the water bottle's neck to go through, more like how the neck fits into a water dispenser.
Next, with your circular drill bit held at an inch from the base of the bucket, make a two-inch hole where you will fix your metal or plastic tap valve. You will also need to make a hole at the top of the water bottle to fit the faucet that will connect your kitchen tap to the system
Step 2. Insert a Filter on the Water Bottle's Neck
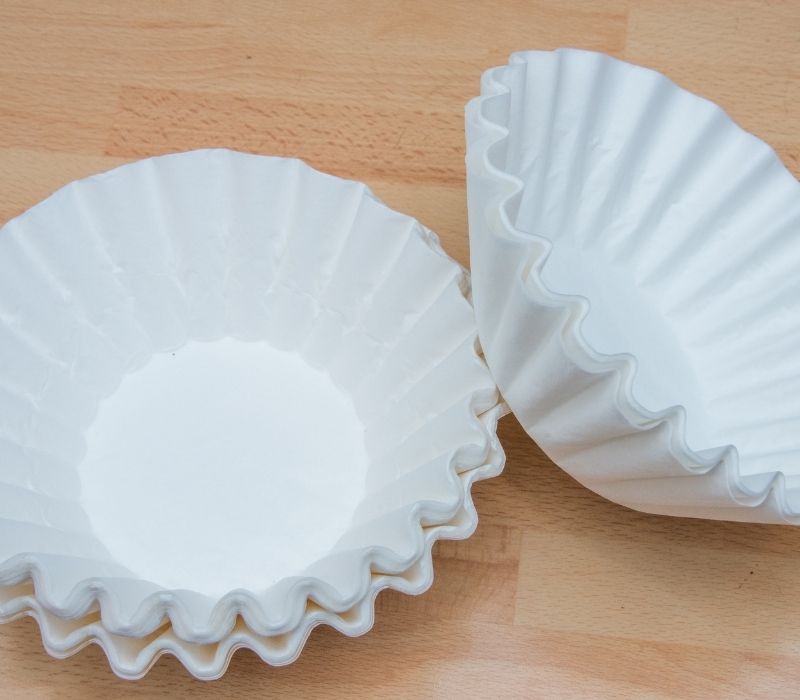
Before you start layering your filtering material, you will need to insert a filter in the neck of your inverted water bottle to ensure you get the cleanest water possible. The filter could be anything from a muslin cloth, coffee filter, cotton balls, or even a bandana, all of which are readily available.
Tip: Whichever filter you opt for, ensure it is food grade
Step 3. Rinse the Filtering Material
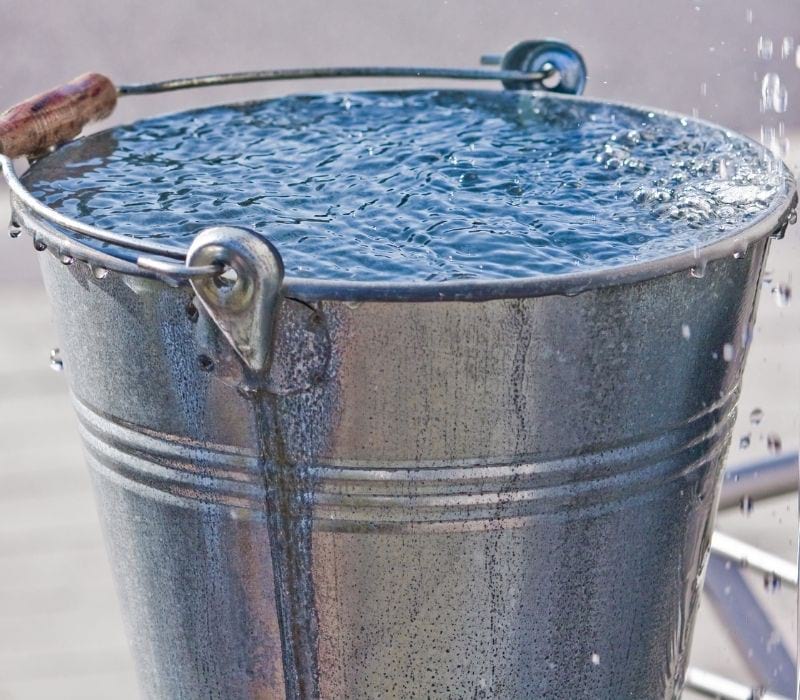
Here, the next thing you want to do is thoroughly rinsing or flashing all your filtering material individually before packing them in the filtration system. Rinsing the material individually prevents the transfer of dirt.
Run water through the filtration material until it runs clear. A bucket with holes at the bottom will make this step easier.
RELATED: Make A DIY Rain Barrel And Never Waste Water Again
Step 4. Pack Your Well-Water Filtration System
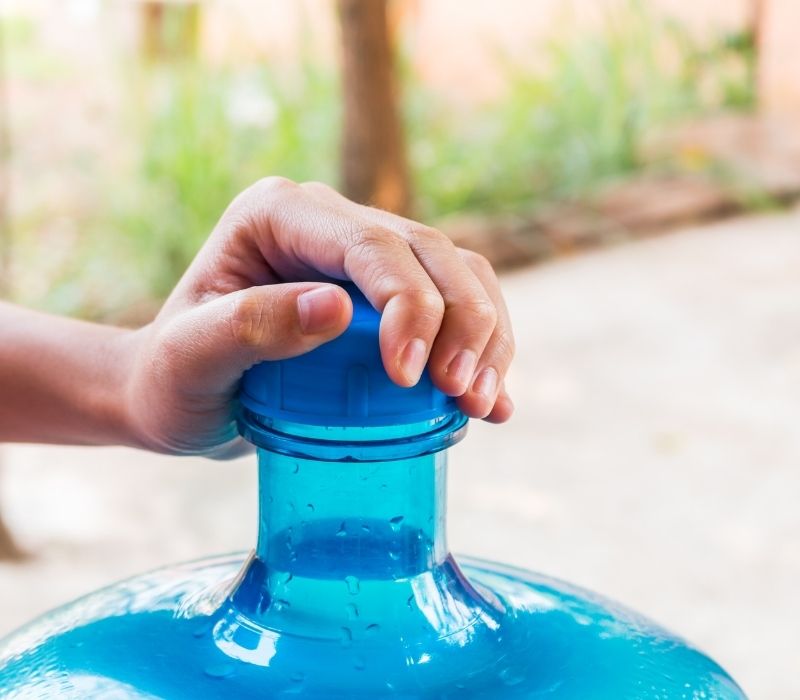
Firstly, get charcoal from your fire pit or grill and break it into small chunks using a rock or wood piece. Next, transfer the charcoal chunks onto food-grade another cheesecloth, wrap it tightly and slide it into the water bottle against the cotton balls.
Next, add a fair amount of playground sand into the filtration setup. Unlike the charcoal, you do not have to wrap the playground sand with a cloth but add enough to cover the charcoal underneath.
The third layer in your filtration system will be paver sand. While you might think that you do not need two types of sand, it vital to note that playground sand is finer than paver sand hence filtering debris at different levels.
Lastly, add a layer of fine gravel followed by coarser gravel. If you cannot find coarse gravel, consider using small river stones as they will work in the way and are also naturally available depending on where you live.
Step 5. Secure the Filtration System's Contents
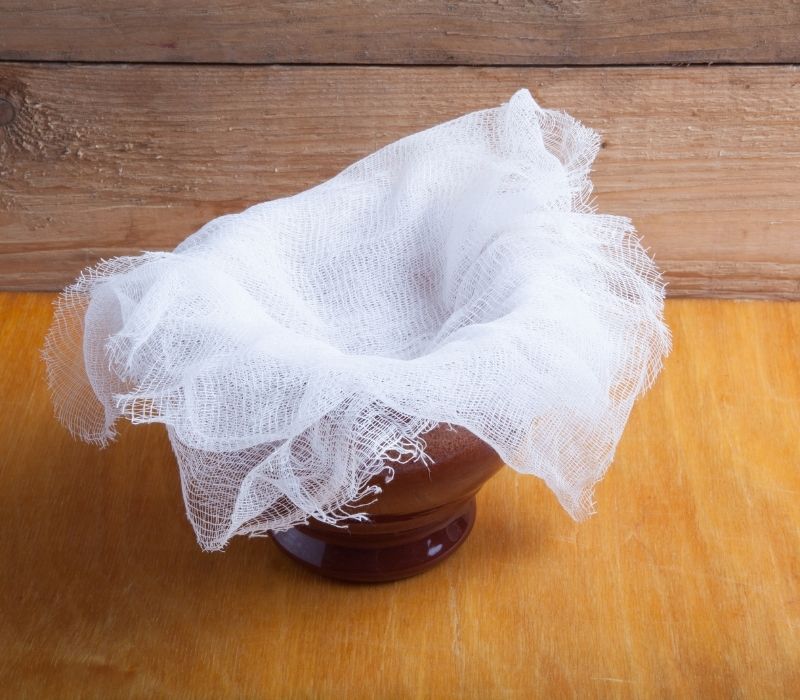
Once you have added all the components of your filtration system, tightly stretch a food-grade cheesecloth over the top of your system and keep it in place with a rubber band or knot ties.
Step 6. Run the Well-Water Filtration System
Once all the filtering material is in position, it's time to place the water bottle on the reservoir bucket where the bottle's neck will be inside the reservoir. At this point, your valve should already be attached to the hole in the bucket.
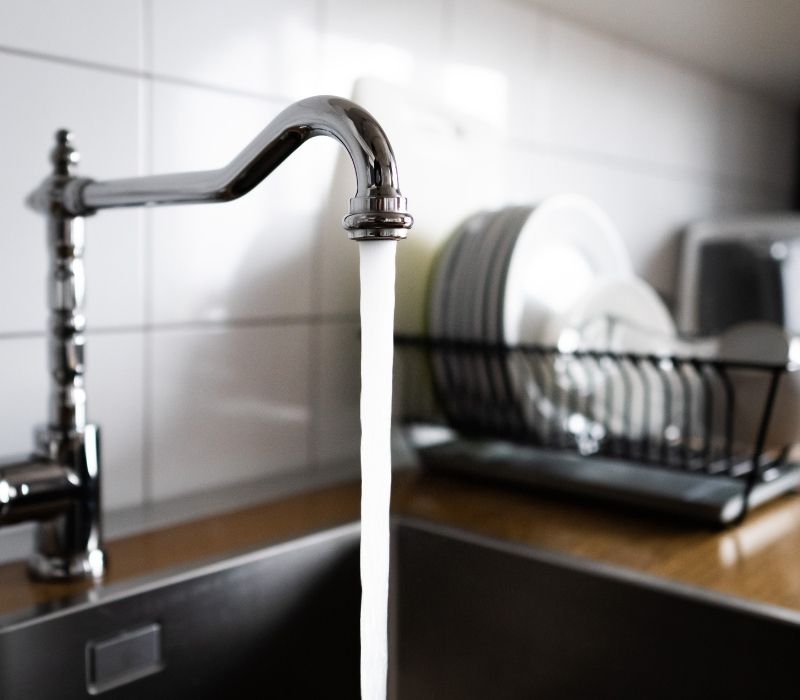
Next, connect the entire filtration system to a water source with a faucet, and you will be ready to give it a test drive. However, keep in mind that the faucet connecting the system to a water source should deliver water above the cheesecloth that has secured the filtering material.
Pro Tips:
- Though your water will be free of any dirt and debris, you will still need purification tablets to make the water potable. The way is to put these in the reservoir bucket so you can drink straight from there.
- Besides this countertop water filter, you can amplify it into a whole house filtration by using buckets to hold the individual filtering material and doing some plumbing to align it with a strategic inlet and outlet layout.
- If you choose to transform this natural system into a whole house filtration system, consider having a bypass plumbing layout that will allow you to have water even when you need to clean the buckets and change the filtering material.
- There is no timeline of how often you should change the filtering material but do it as often as possible.
- You can also make a smaller version of this system to help you when camping.
- Consider building a stand if you suspect the reservoir bucket will not hold the filtering materials' weight.
Watch this video by Pros DIY on whole house water filter installation:
Enjoying clean water doesn't have to come with a high price tag and maintenance. With these readily available components, you can make a frugal but functional well-water filtration system. In addition to this, you only need purification tablets, and you are set to enjoy clean, contamination-free well water.
What other natural ways do use to filter well water in your homestead? Let us know in the comment section below!
Up Next:
- 17 Refreshing Infused Water Recipes For Happy Hydrated Homesteaders
- What’s The Best Time To Water Plants During Summer Time
- How To Build A Root Cellar For Your Homestead
Fellow homesteaders, do you want to help others learn from your journey by becoming one of our original contributors? Write for us!


This article was short on photos. You should have provided photos of the sand, charcoal and cheesecloth prefilter so readers could visualize how to do this. As the instruction is presented it would be a crapshoot to try and construct sucn a filtration system. This could have been so much better if you provided photos on how this all goes together.