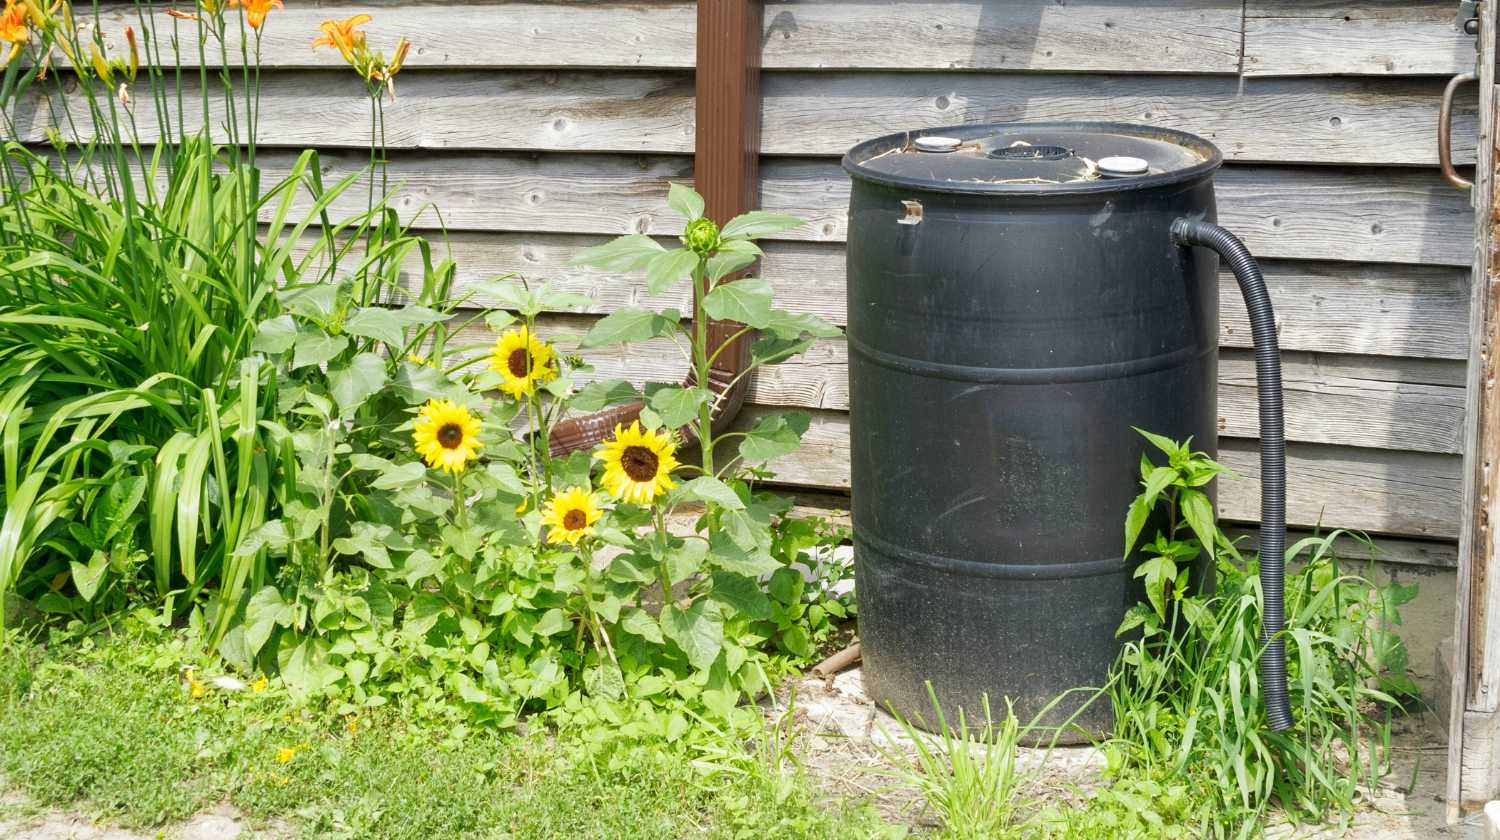

Build a DIY rain barrel and harvest Mother Nature’s natural resource whenever spring showers visit your homestead.
How To Make A DIY Rain Barrel
Did you know, for every inch of rain that falls on 500 square feet of roof, we can actually collect approximately 300 gallons of water? It’s looking like water collection is the perfect way to save some bucks on your water bill! Today, I would like to share with you how to build your own DIY rain barrel. However, it’s best to check local regulations in your area first–some places have legal restrictions against rain barrels.
What You’ll Need:
 Supplies:
- 55-gallon food barrel
- 2 6″ plastic flower pot
Bulkhead fittings:
- 1 1/2″ fitting
- 3/4″ fitting
- 3/4″ ball valve faucet
- Teflon tape
- Mosquito screen (8″x8″)
- Downspout attachment
- Overflow Hose (with valve and fittings)
Tools:
- Tape Measure
- Marker
- Flathead Screwdriver
- Rasp or round file
Hole Saws:
- 1 1/2″ Hole Saw
- 3″ Hole Saw
- 5 1/4″ Hole (or jig saw)
- Drill
How To Make A DIY Rain Barrel:
Step 1: Thoroughly Clean The Barrel
Make sure to thoroughly clean and completely dry your rain barrel before you set it up.
Step 2: Drill The First Hole
The first hole is where you’re going to insert the three quarter inch bulkhead fitting and faucet.
Start by measuring a spot 4 inches from the bottom of the barrel and mark it with the felt tip pen. Tip the barrel on its side so it’s in a more stable position for drilling the first hole.
Step 3: Drill The Second Or The Overflow Hole

Switch bits and move up to your 3-inch hole saw and cut the overflow in. Mark out the overflow, measure 4 1/2 inches down to mark the center of the bulkhead fitting for the second hole. Once again flip the barrel over so that it’s in a safe position to work on.

If there are pieces of barrel left over after drilling the holes you can always clean it with rasp or wood to make a nice clean opening.
Step 4: Drill The Third Hole
Change drill bit saw to a much bigger one. Do take note that these can have a lot of kickback and you really need to make sure that you’re in a stable position. If you could use a jigsaw instead, however, the hole saw will provide a much cleaner hole.
The third hole is where the downspout enters the rain barrel and provides the water that we want to harvest. Drill it at the top of the rain barrel so it’s nice and tight up against the hose and there’s very little room for adjustment.
Tip: Before drilling the third hole, you can use a very helpful technique called feathering it in. Allow the pilot screw to be dug in, then progressively increase the speed of the drill and allow the hole saw to start taking in. This will prevent the hole saw from getting stuck, this can torque your wrist.
Step 5: Install 3/4-Inch Bulkhead Fitting For The Faucet
If your barrel doesn’t have a removable lid, you’ll need a hockey stick and duct tape to install the 3/4-inch bulkhead fitting.
Reverse tape the duct tape at one end of the hockey stick, so that it’s sticky side out. Put the end of the bulkhead fitting attached to it and then just slide it into the hole at the bottom and you’ll be able to thread that fitting into place.
The bulkhead fitting is an adapter that comes into 2 pieces, and each side has a fitting to keep the water in and prevent leaks. This is reverse threaded so you’re going to be going to opposite direction that you used to take it apart. Attach the threaded side to the hockey stick with the duct tape. Then take the hockey stick with the bulkhead into the top hole and bring the bulkhead to the bottom hole. Slowly remove the hockey stick once the bulkhead fitting is in place at the bottom hole. Screw the knot into the rest of the bulkhead fitting. Just put the knot close the fitting and grab onto, push a finger through and put the washer on. Then, thread the knot (remember it’s reverse thread so it’s going to be the opposite way) and tighten it until it’s good and snug.
Step 6: Install 3/4″ Ball Valve Faucet

First, put some Teflon tape on its thread. This will prevent any leaks and ensure good contact between the faucet and the bulkhead fitting. Attach the faucet to the bulkhead fitting.
Everything you need to know before you start #cooking with a cast iron skillet is right here: https://t.co/EDy1qrPIpa#Happy Homesteading 🍳 pic.twitter.com/1Q8Jje4z4C
— Homesteading (@HomesteadingUSA) March 1, 2017
Step 7: Install 1 1/2″ Bulkhead Fitting Into The Overflow
Each side also has a washer. Just take the threaded one inside the barrel into the overflow hole and attach the other washer to tighten up the bulkhead fitting.
Step 8: Attach The 1/2″ Adapter
Attach The 1/2″ Adapter into the overflow bulkhead fitting. Make sure you also apply some Teflon tape to it and then simply screw that to the bulkhead fitting until it’s tight.
Step 9: Assemble The Filtration System
Make a simple filtration system with 2 6″ flower pots and an 8″x8″ mosquito screen. Attach the mosquito screen to the bottom of the first flower pot and then simply insert that into the second flower pot. Then, insert it into the top hole.
Step 10: Select A Site
When selecting a site, make sure that you’ve got a gutter the has a nice even surface. Put the cinder blocks in place and make sure it’s in an even position. Then, you can position the rain barrel over your cinder blocks, the faucet sitting out.
Step 11: Prepare The Downspout
Put the downspout adapter into the gutter, slightly above where it needs to be, and make a line marking where the gutter needs to be cut. Install the flexible adapter to get the water from the downspout into the inlet.
Step 12: Attach The Overflow Hose
The overflow hose will divert the excess water away or you can also attach it to another rain barrel so you’ll have a series of rain barrels for maximum storage. Attach the hose clamp and secure it, and your overflow hose is good to go and your rain barrel is ready.
Want to see how to build a DIY rain barrel? Check out this video from Okanagan WaterWise:
That’s it my, fellow homesteaders! That’s absolutely doable, right? You’d better make one for your homestead now and start utilizing rain water. Your plants will love it but your pocket will love it more! Happy homesteading!
Will you make a DIY rain barrel for your home? Let us know in the comments below.
Want another amazing DIY for your homestead? Check out here how to build a homemade pallet smoker and enjoy scrumptious smoked meat anytime!

Follow us on Instagram, twitter, pinterest, and facebook!
Featured Image Via GrowForageCookFerment
