Looking for the best roasted red pepper garlic chutney recipe? If you are, we've found it for you! So, get ready to try this fantastic recipe! When considering chutneys, the word ‘dry' tends to come to mind – however, this chutney will change all that. The strong fixing of broiled garlic, chilies and peanuts is a perfect spicy marinade for fish, poultry, or any meat prior to grilling. Dip, or blend it with cream cheddar for an appetizing sandwich spread. Prepare your tongue for that extraordinary flavor with this roasted red pepper garlic chutney!
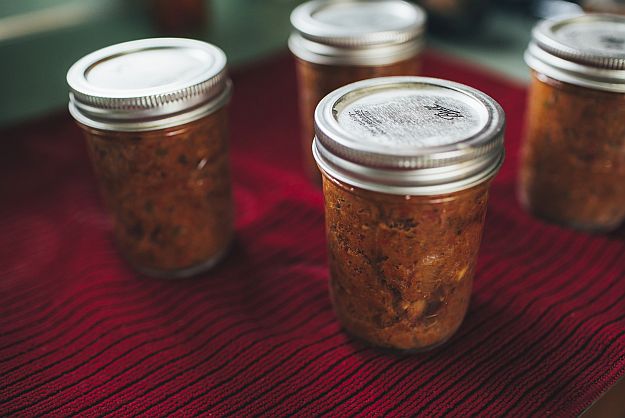
Roasted Red Pepper Garlic Chutney | Homesteading Recipe
Confession: I have not ventured out past my basic pickling recipe — partly because of time, partly because it’s so stinkin’ easy. I know, I know. There are SO MANY other recipes to try, but for an entrepreneur like myself, time is of the essence. Can I get an amen? I digress.
My hubby and I receive a small CSA box of vegetables every week from a nearby farm (yay, local!), and we always seem to have a plethora of veggies leftover; even though we get the smallest box! I decided, “no more wasted veggies, we’re gonna start canning!” And that’s exactly what we did.
Lately, we have been getting OODLES of sweet peppers in our vegetable delivery box. I mean…every delivery for the last month. We are overflowing with sweet peppers, it’s pretty crazy. Instead of heading straight for my go-to pickling recipe (does anyone really eat pickled sweet peppers anyways?), I decided to try a new recipe. Chutney!
Mind you, I have never made chutney before. I’ve tried and not quite succeeded at a jam, but chutney seemed manageable. I decided to save up all my red peppers and jalapeños from our box and try a roasted red pepper recipe. I found one online that I absolutely adored, and tweaked it for our taste buds.
If you have ever had Muhammara (a Middle Eastern red pepper spread), you are absolutely going to love this roasted red pepper garlic chutney. If you’ve never had Muhammara… I know you’ll love it too! My mouth is watering just thinking about it, let’s get started!
Roasted Red Pepper Garlic Chutney – Ingredients
- 6 Large Red Bell Peppers (or 12-14 small)
- 1 ½ C Peanuts (Unsalted)
- 2.5 Small Onions
- 3 Small Tomatoes
- 2 Jalapeños
- 1 ½ tsp Coconut Oil
- 6 Garlic Cloves
- 1 tsp Cayenne
- 1 ½ tsp Curry
- 1 ½ tsp Paprika
- 2 TB Brown Sugar
- Salt & Pepper to taste
- Citric Acid to taste (optional)
Chutney Preparation :
Roasting The Red Peppers
Step 1 :
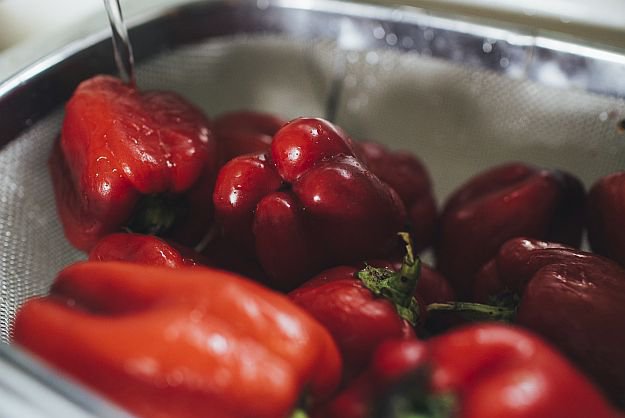
First, we need to wash our veggies. This is really important folks, even if they do come from an organic local farm.
Step 2 :
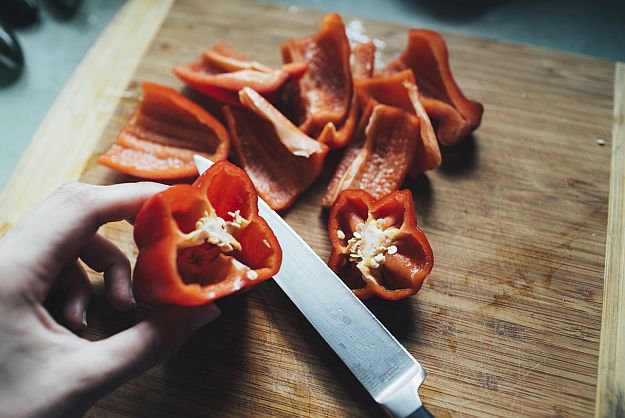
Preheat the oven to 500 degrees and quarter those babies. Remove the seeds, membranes… you know the drill.
Step 3 :
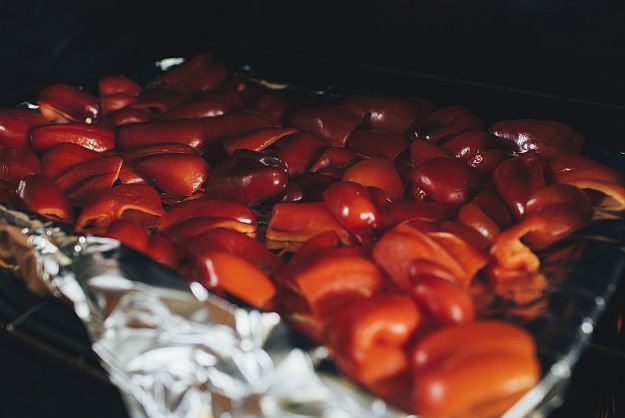
Lay on a pan covered in foil and roast the peppers until the skin starts to char or turn black, about 30 minutes
Note : I’m going to be turning them halfway through roasting, so I lay them all on the foil facing the same direction. Roast the peppers until the skin starts to char or turn black, about 30 minutes.
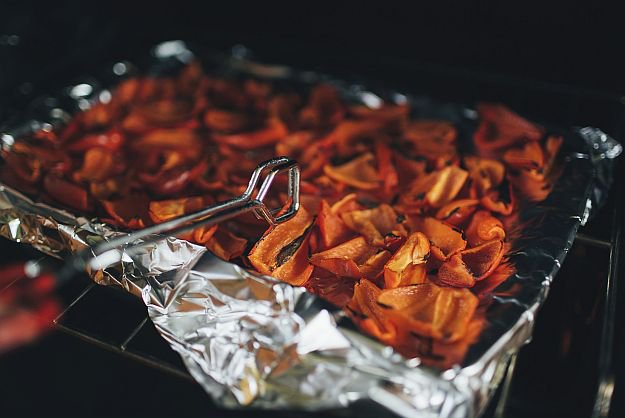
Rotate halfway through and roast for another 15-or-so minutes. Remove from oven and cool.
Yum! Here's 15 dehydrator recipes to make this weekend –> https://t.co/7ZllzkD7YA pic.twitter.com/5tCBv0ItQm
— Homesteading (@HomesteadingUSA) August 20, 2016
Prepare The Rest Of The Ingredients
Step 1 :
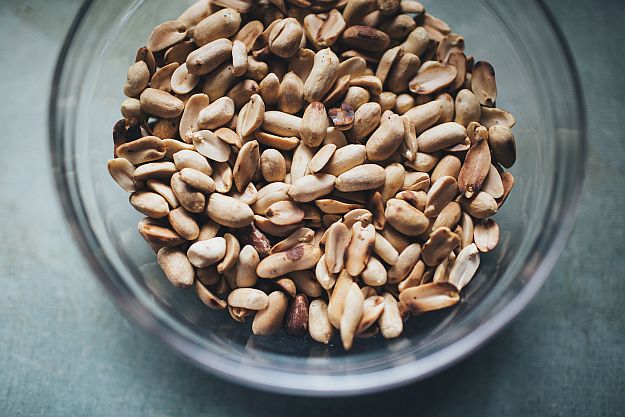
Next, roast the peanuts! If you have a peanut allergy, get outta here! Just kidding. You can substitute walnuts, but peanuts really do add something exquisite to this recipe. Add the nuts to a medium saucepan and stir for 2-3 minutes, until slightly golden, and set aside. Like this!
Step 2 :
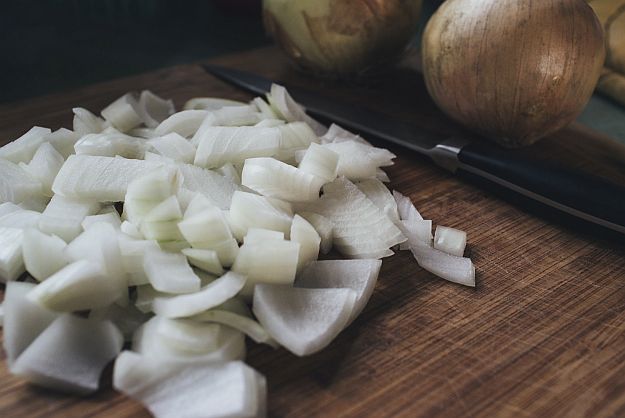
Chop, chop, chop the onions! In the same saucepan (because God forbid we make more dishes for ourselves), add your chopped onions with coconut oil and a pinch of salt. I have a bad habit of spending time breaking apart the onions piece-by-piece until my hubby showed me they’ll break apart in the pan when cooking. Alas, men do have good ideas!
Step 3 :
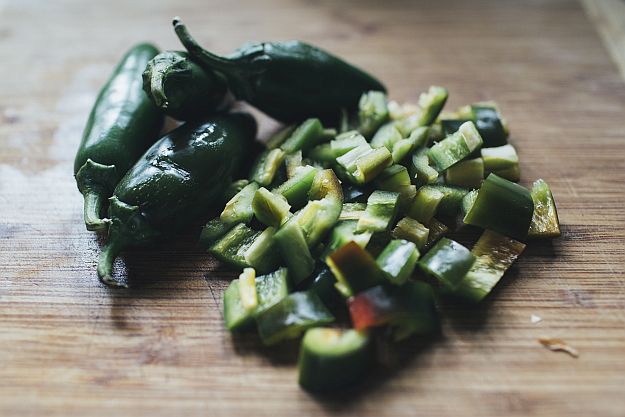
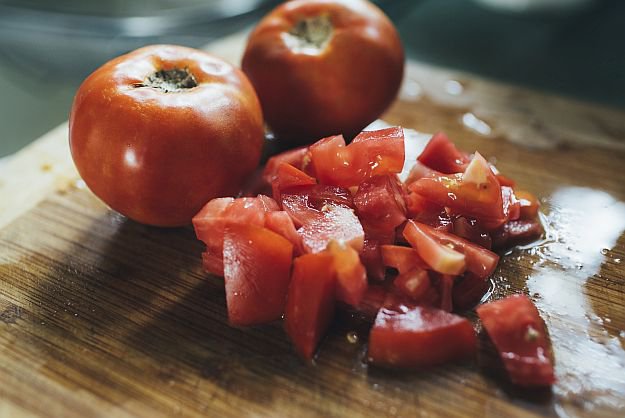
While the onions are becoming a beautiful translucent color and making your eyes water, prep the jalapeños and tomatoes.
Step 4 :
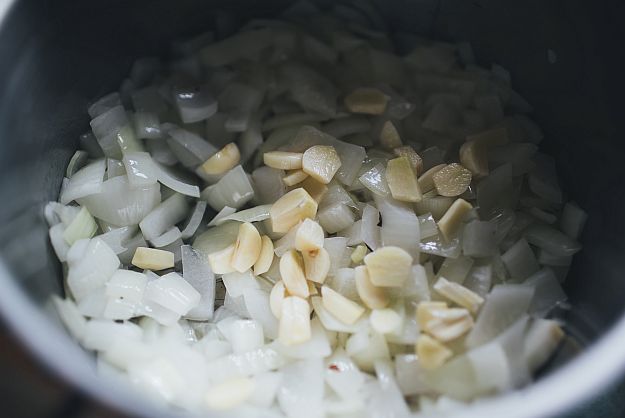
By the time you’ve finished prepping the other veggies, you can add your jalapeños and garlic to the saucepan. Cook for another minute.
Note: We’ll be processing everything together later, so there’s no need to mince the garlic, simply cut them up in bits to release their goodness.
Step 5 :
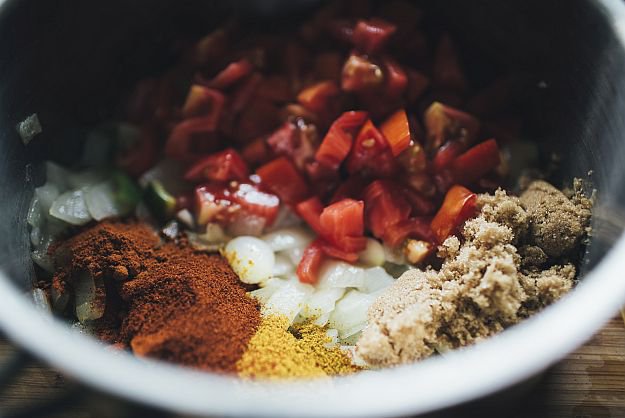
Add the tomatoes, brown sugar and spices to the saucepan. Look at all those beautiful colors! I would stop right there if I could.
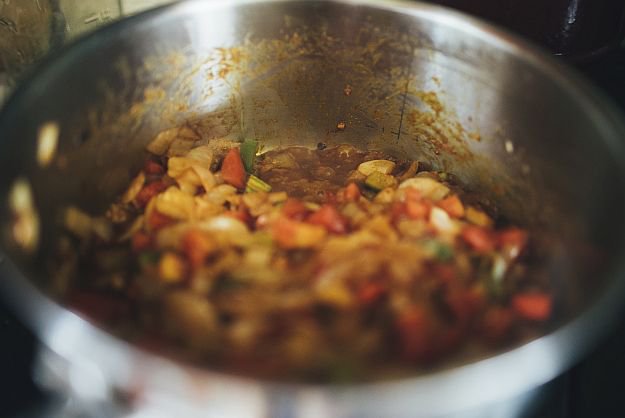
You see that water in the corner? We need to cook that down. Keep that spoon constantly stirring to avoid sticking and cook until most of the liquid has reduced. Remove from heat.
Step 6 :
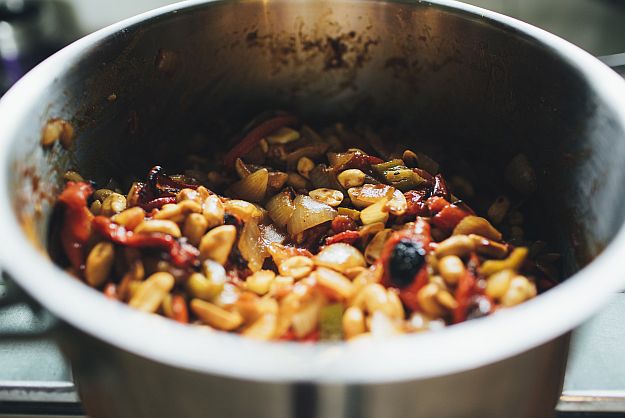
Stir the roasted red peppers and peanuts into the mixture. When you’ve reached this point, this concoction smells absolutely divine.
Step 7 :
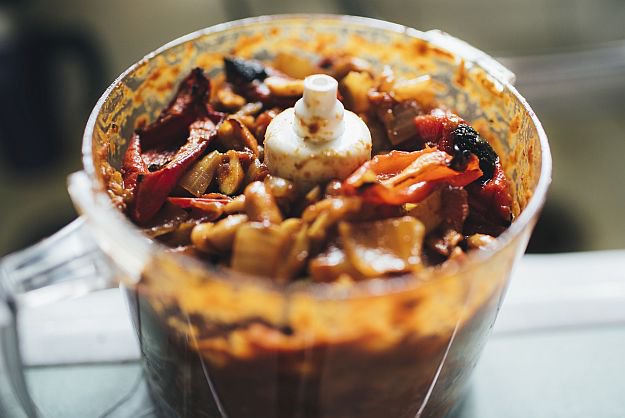
Add the mixture to a food processor and blend to your desired texture.
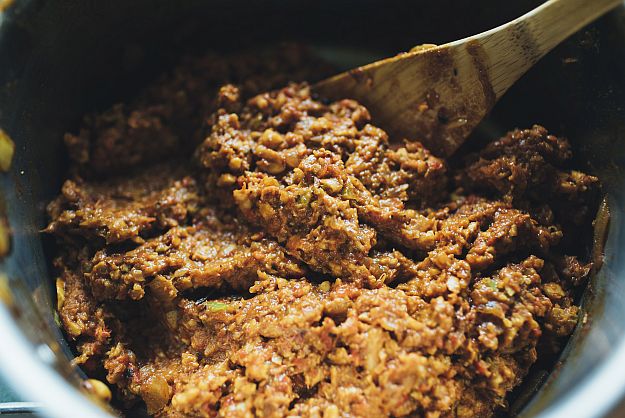
I personally like it mixed down pretty well, but still with a good crunch. I actually had to use the “ice” setting on my blender to get this consistency.
Step 8 :
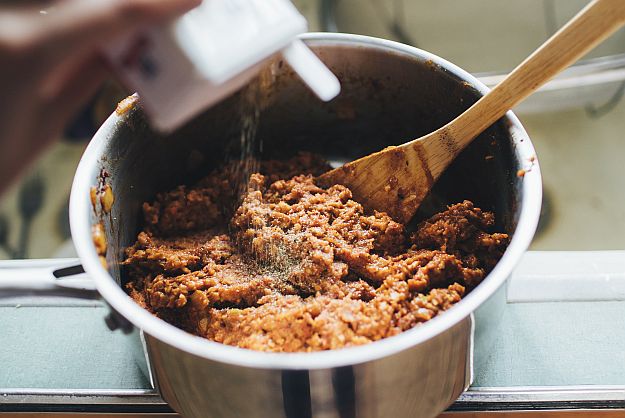
Once blended (which you may have to do in batches), add everything back into the pot. Mix together, and add your salt and pepper. I like to wait until the other spices are harmonizing together before adding the salt/pepper, so I know exactly what it tastes like.
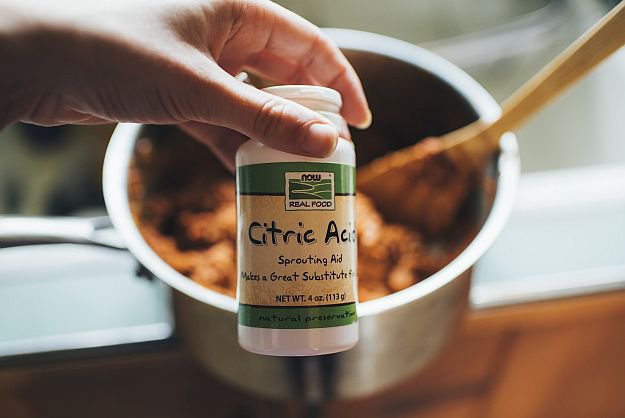
Now THIS is my secret tip. Any recipe that calls for tomatoes, you will find me adding citric acid. This helps bring out the natural acidity in the tomatoes. A little goes A LONG way! Too much can take you way off course, so try this in tinsy little sprinkles.
And that’s it! I personally will be preserving our chutney, so if you’d like to continue following along, please do so! If not, you can refrigerate the chutney in mason jars for a few weeks or serve right away! It is irresistible.
If you're wondering how to can your own food, look no further. https://t.co/2A573NdVwF pic.twitter.com/Gsl8DjXDOT
— Homesteading (@HomesteadingUSA) July 25, 2016
Canning :
Step 1 :
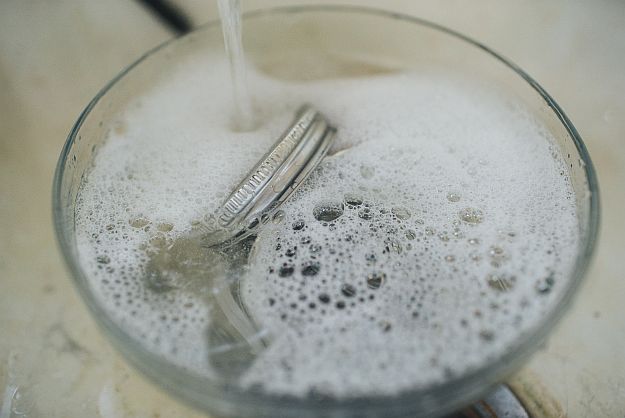
Wash your jars and lids very well! I sadly have tried to skip this step before and it was no bueno.
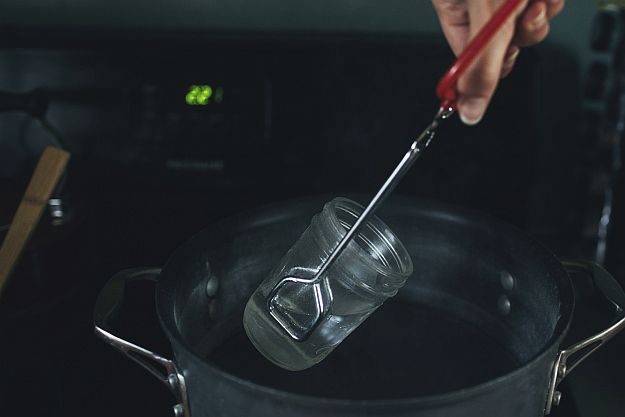
After you’ve washed your jars, heat them in the canning water until you’re ready to fill them with chutney. I recommend heating them while you’re making the recipe so they’ll be ready when you’re ready.
Step 2 :
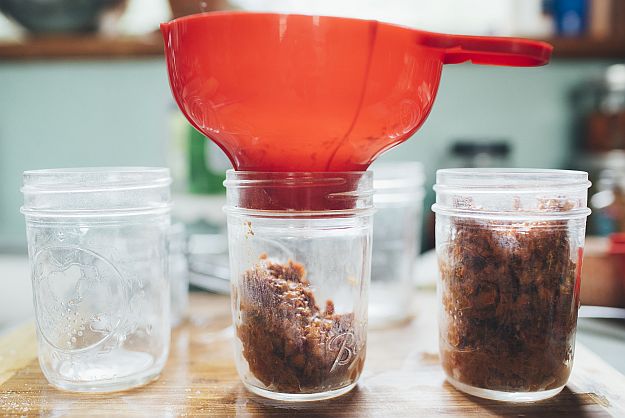
This funnel has literally been my lifesaver when preserving. It is included with Homesteading’s canning kit. It is designed specifically for filling jars and helps keep the mess off the rim. HIGHLY recommend!
You can buy the Homesteading’s canning kit here.
Step 3 :
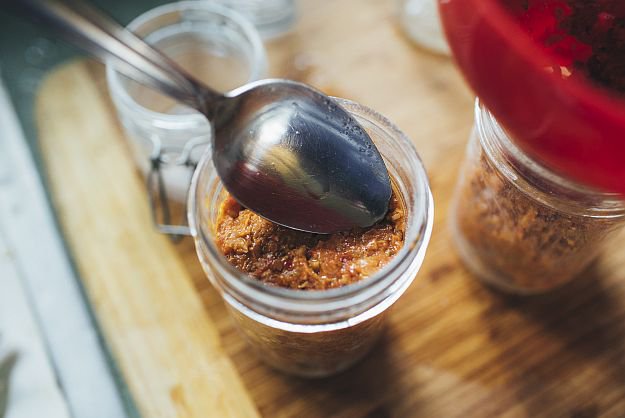
Using a spoon, compact the chutney. You want to not only fill the jar to the bottom of the rim but also eliminate any extra air bubbles.
Step 4 :
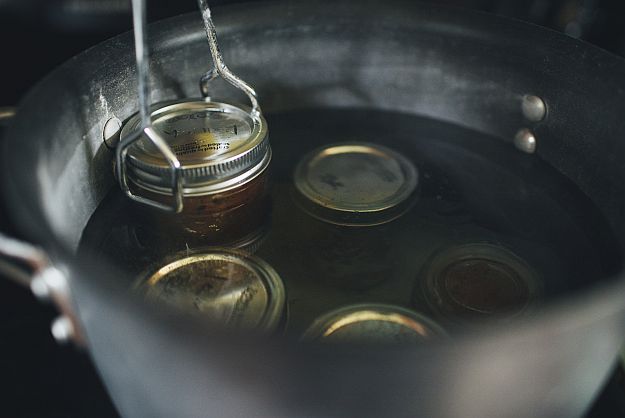
Using your tongs, carefully lower the jars into the water; the jars should be covered with at least 1 inch of water. Wait until the water starts to boil before starting a 10-minute timer.
Step 5 :

Remove from the water and allow to cool at room temperature for 24 hours. These little roasted red pepper garlic chutney mason jars are perfect for gifting, or simply keeping preserved until your next get-together. Enjoy!
Thanks for checking our Roasted Red Pepper Garlic Chutney post! Will you try to make this recipe on your homestead? Let us know in the comments below.
Follow us on instagram, twitter, pinterest, and facebook!
Like this? Then, you’ll LOVE!
Ditch The Box – Homemade Mac And Cheese
Healthy Banana Bread Recipe (Easy To Make From Scratch)


[…] Roasted Red Pepper Garlic Chutney | Homesteading Recipe […]