
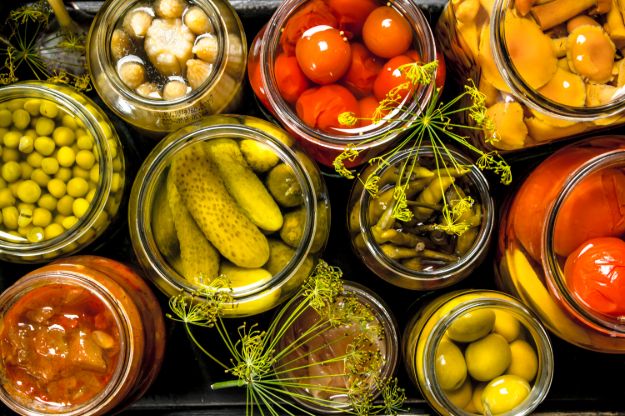
Need to learn how to can food? You came to the right place. All you’ll need is a pressure cooker and follow these 13 easy steps!
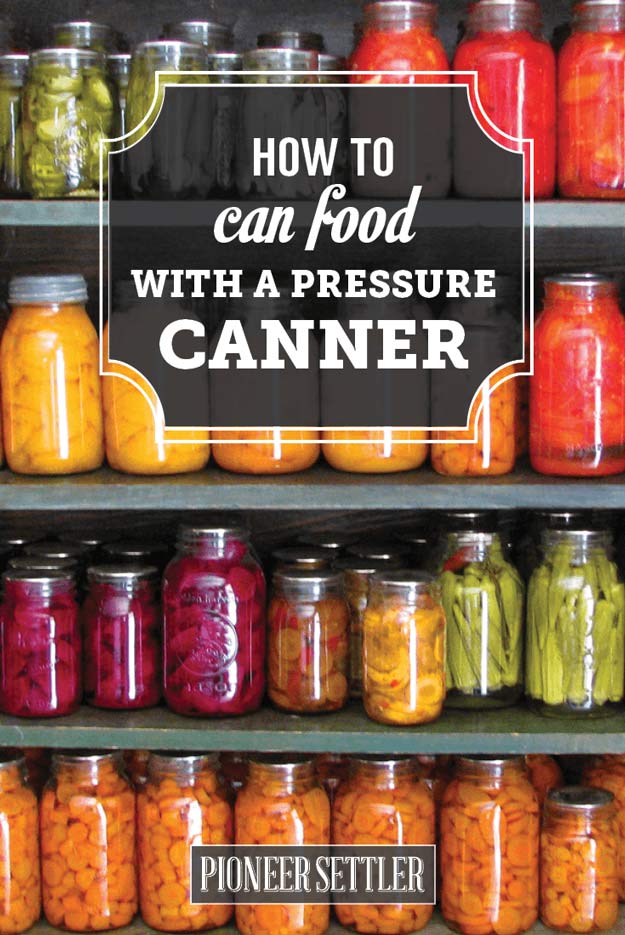
How to Can Food in 13 Easy Steps
Need a canning kit before you start? You’ll love this one.
Supplies:
- water bath canner
- canning kit
- canning scoop
- spoons knives etc.
- food to be canned
- other ingredients
Click here to buy our very own canning kit for beginners: The Can Do Canning Kit
NOW Watch This Video:
Steps are also written out below
How to Can Food in 13 Easy Steps
Step 1. Clean jars and lids with hot water
Clean your lids and jars first. Since we will be preserving food, cleanliness is a must.
Step 2. Preheat jars in boiling water
It’s not enough to wash your jars, to ensure that the food you will be canning lasts longer, you must also sterilize them.
Step 3. Prepare the ingredients
Prepare the food you are going to can.
Step 4. Remove jars from heat
Keeping your canning jars hot will keep them from breaking or cracking when you place hot food inside. You can keep the jars hot until they are ready to be filled by placing them upside down in a large pot with 2 or 3 inches of hot water. Bring the water to a boil and turn off heat. Leave the jars in the water until you need to use them.

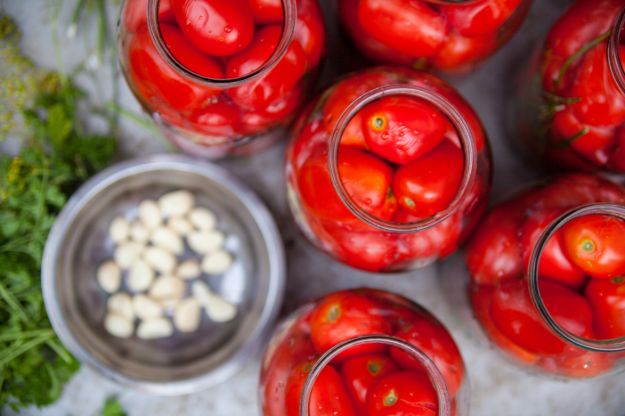
Step 5. Add citric acid
Citric acid is something you can add to increase the acidity of food. Not only does it improve flavor and color but it also helps minimize the risk of growing bacteria especially when canning tomatoes. Get more information on citric acid for canning here.
Dehydrate #foods this weekend to preserve their freshness for weeks! Learn how: http://t.co/bQqkJJYnhl #preserving pic.twitter.com/OSp8ObJgnZ
— Homesteading (@HomesteadingUSA) June 19, 2015
Step 6. Pack the food
Fill each jar and make sure to leave the recommended head space. If you’re recipe does not have any recommended head space, leave ½ to 1-inch head space.
Step 7. Remove air bubbles
Remove air bubbles by running a non-metallic spatula around the inside of the jar. Also, don’t forget to wipe the rim to make sure there are no excess food.
Step 8. Seal the jars
Center the hot lid on the jar using your magnetic lid lifter and tighten the lid until fingertip tight.
Step 9. Lower jars into the water
Now that you have all the jars filled and sealed, lower them gently into the water.
Step 10. Fill canner with water
Fill your water bath canner with water. Make sure that the water is about one inch above the jars.
Step 11. Place the lid and start the process
Place the cover securely and start processing timer when the water begins to boil.
Turn the heat on high and allow steam to exhaust for 10 minutes. This pushes all the air from the canner. While waiting, check your recipe for how many pounds of pressure the particular food needs to be processed at and how long you need to process it. Be sure to adjust the numbers based on your altitude. Some manufacturers require 15 pounds of pressure when processing foods at 2,000+ feet above sea level regardless of what the recipe says.
Step 12: Remove jars and cool for 24 hours
Remove the jars using your jar lifter, making sure not to tilt them. Allow them to cool for about eight hours or more. You can leave the jars in your kitchen counter top overnight.
Once the jars have cooled, the seals should be sucked down and not pop up. Press the top of the lids to check whether they are up or down. Remove the screw caps and label each jar with food type and date.
When storing jars, make sure to place them in a cool, dark, dry environment. Avoid storing in direct sunlight or high humidity.
Step 13. Enjoy your homemade preserves!
Store them at room temperature until you are ready to use them!
That’s it! Now wasn’t that easy? Pressure canning is intimidating at first but once you get the hang of it you’ll be hooked!
Looking for a good kit to get you started? Check out our Can-Do Canning Kit Here:
Do you have any questions or comments? Leave them in the comments section below and I’ll be sure to get back to you.
Now that you can CAN, you’ll love this recipe.
Follow us on Instagram, Twitter, Pinterest, and Facebook!
![]()
LIKE this? I’m sure you’ll LOVE:
How To Use Your Canning Supplies
