Learn how to make a DIY greenhouse to starting seeds in using recyclable materials and become more self-sufficient!
5 Quick Homesteader Tips For Starting Seeds
Regardless of the level of expertise, anyone can start seeds all year round. Seeds basically need two things to get them started: moisture and heat. Sources vary on techniques, proper conditions, and soils required for healthy plant growth; however, moisture and heat alone can get you started immediately. Following are a few tips and methods I used to start my patio garden.
Tip 1: Simplify Your Choices | Don’t Over-Think It
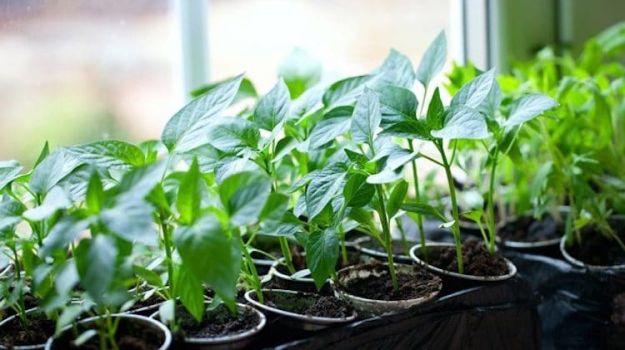
My first seeds were germinated during the winter. I did not have a plan for what I wanted to grow or the supplies needed to get started. I simply used what I had around my home. I used seeds from peppers that I had in my freezer, given to me by friends. I also used a few lemon seeds I saved from a delicious glass of iced tea I ordered at a local restaurant. I started saving seeds from fresh fruits and peppers as they were given to me. Months later, I began to purchase seed packets from the store.
Caution: Seeds harvested from fresh produce should be cleaned off and allowed to dry completely before planting. This helps reduce early rot and mold that could hinder the seeds from sprouting and maturing.
Tip 2: Choose to Recycle
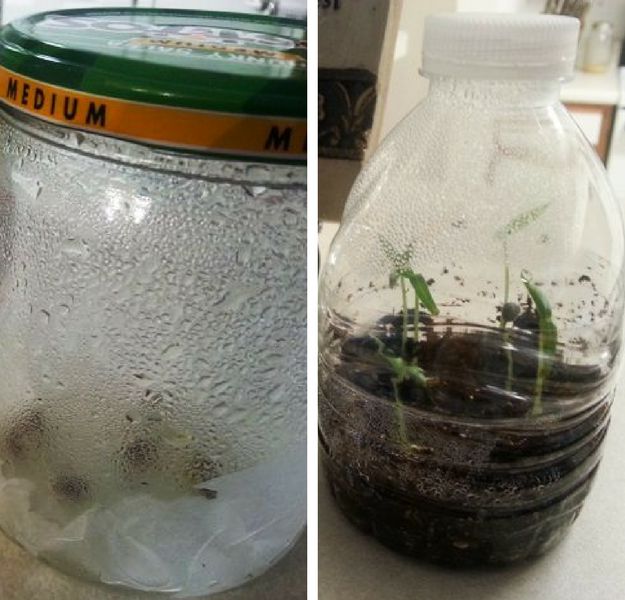
There are few rules to selecting a container to start seeds. I did not have soil or pots ready, so I recycled salsa jars lined with moistened coffee filters to jump start my seeds. These jars served as a mini greenhouse, trapping moisture and heat, forcing the seeds to sprout. The jars were kept on my kitchen counter until the seeds sprouted. Once roots and leaves were visible, I opened the jars and set them on a sunny windowsill for a few hours throughout the week.
When I determined the seeds were ready for soil, I moved them into small recycled water bottles. The tops of the bottles were removed and seedling soil was used to allow the seedlings to acclimate to the new growing conditions. The bottle tops were placed over the seedlings to maintain the greenhouse effect but were later removed throughout the week. Sometimes the tops were removed when the seedlings were placed on the windowsill.
Last year’s potting soil can also be used, but there are several things to be aware of when doing this.
Tip 3: Choose A Growing Method
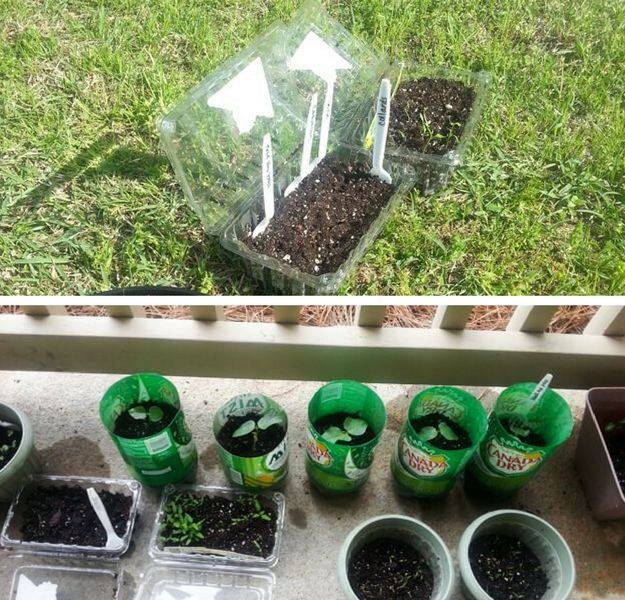
Whether you decide to start your seeds inside, outside, in containers, in raised beds, or haphazardly on the ground, it really doesn’t matter; at least initially. Since I live in an apartment community, my choices were a little limited. I started several seeds indoors and transplanted them into pots outside when the warmer weather was more consistent. I have also planted seeds outside in store bought pots, recycled bottles, strawberry containers, and cookie dough tubs.
Seed packets provide a guideline for optimal growing conditions. You can choose to follow them exactly or be a little adventurous. I chose to be adventurous with many of my seeds since I wanted to grow the most produce for the size area I had available. I simply filled a container with seeds to see how many would grow. Surprisingly, they all did.
Tip 4: Prepare For Future Needs
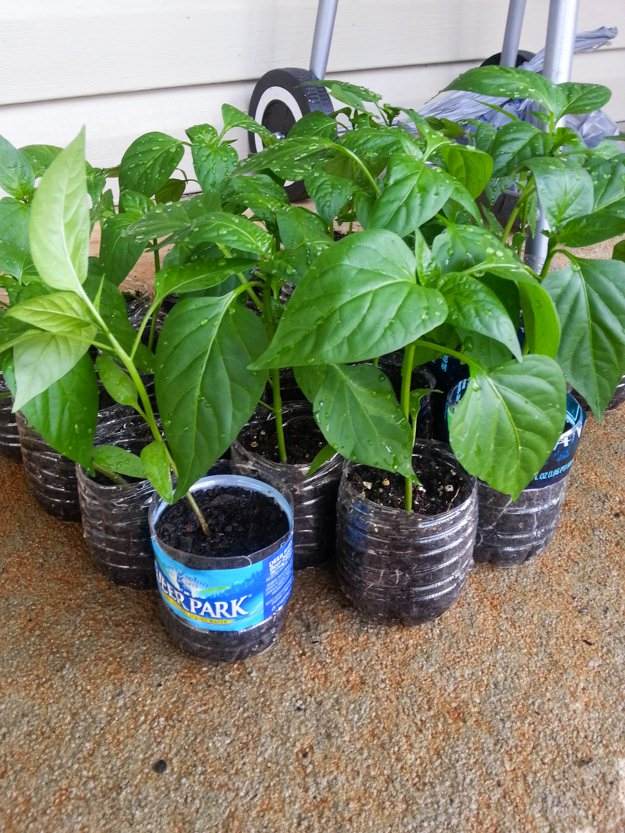
The ultimate goal is to produce healthy plants. It’s never too early to gather essentials now for the different stages of growth. The more supplies you have on hand, the faster you can be available to supply the need.
I started saving plastic bottles for when my plants were to be transplanted outside. I knew I wanted an outside container garden, so I recycled different sizes and styles. Now I have a selection to choose from. I also saved egg shells, coffee grounds, and other natural substances that could be used as fertilizer and pest deterrents. Now is also a good time to save organic matter for a DIY compost.
These four tips should help you have a successful start with starting seeds during any season. If you are still in doubt, follow this extra tip.
Tip 5: Don’t Be Ignorant | Do Your Research
Only you know your limitations. If you are the type that requires detailed information before venturing out on a new gardening quest, by all means, research your heart out. There are millions of YouTube tutorials, blogs, gardening clubs, local farmers, libraries, friends, family, and acquaintances that can provide the information you need to feel comfortable. It is beneficial to stay connected to a local gardening community that status abreast of changes that may affect your ability to grow certain plants. I just found out that my city government had initiated a watering restriction several months ago to regulate water usage. Lucky for me I chose a container garden.
Still in doubt? Continue below to see how I put these tips to use for my bell peppers…
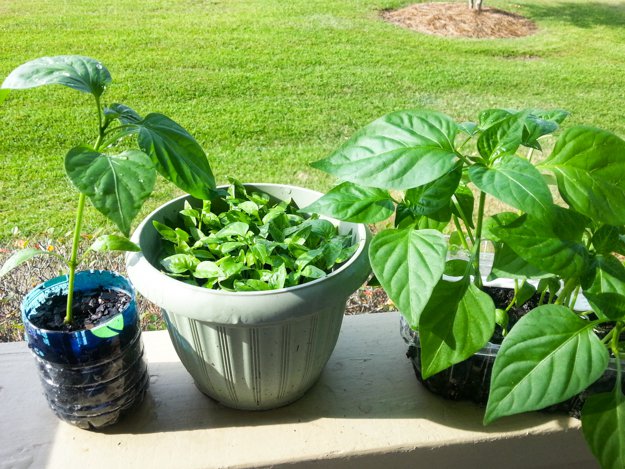
I love bell peppers, especially sautéed in a skillet with fresh onions. That was exactly what a friend was preparing for a dinner party to which I was invited. We were discussing the success of my citrus seeds when she asked if I wanted the seeds from her bell peppers. This was a no-brainer. I gladly placed them in a Ziploc bag (tip 1). I washed off the seeds, but placed them back in the bag and kept them on the dining table. The next day, I decided to plant a few of the seeds. I chose a recycled strawberry container (tip 2) and sprinkled a few seeds on the top, loosely covering them with soil (tip 3).
A week later I saw the seeds were sprouting in the plastic bag and decided to plant all of them. All 150+ seeds. I was feeling a little adventurous. Surprisingly, most of the seeds quickly sprouted. I watched amazed as my containers filled with little plants. I began collecting extra bottles as I realized more seedlings were growing (tip 4) and searched YouTube videos on growing bell peppers (tip 5). I especially wanted to know how big these plants could get. I quickly realized I may have a small forest on my apartment patio.
Want more tips for starting seeds? Check out this video from SSLFamilyDad:
Starting plants from seed has many practical benefits: You save money, get a head start on the growing season, and choose from varieties far beyond those locally available. By starting seeds, you also get to experience the joy of watching a seemingly lifeless seed sprout into a living plant. I hope these tips have helped you in starting your seeds from now on.
Have you ever started seeds before? Have you had luck with starting seeds indoors? Were you able to make your own mini DIY greenhouse? Why not share it with us! Share your thoughts and comments in the comments section below.
Want to get started with seed saving? Learn the art of seed saving and never run out of seeds again!
Follow us on Instagram, twitter, pinterest, and facebook!
This post was originally published in May 2015 and has been updated for quality and relevancy.


I started with the bought containers with a lid and it has a light source from blue to red etc. I’ve planted the seeds and they are in a window that provides sun. Since it looks like a greenhouse how often do I water before I see sprouts. Also these are tomatoes from Norh Carolina. What light should I use . Thanks in advance
I live in Florida