

Want to know how to do soil testing without using any equipment? Test your loam soil with this proven pioneer method.
Soil Testing
Testing your garden soil is very important, as it tells you what needs to be added or improved. I test my soil quality every year before transplanting fruits and veggies into my garden beds. Often, and almost always, these test save my crops because my soil quality is very low after the previous summer.
All soil consists of three main layers: 20% clay, 40% silt, and 40% sand.
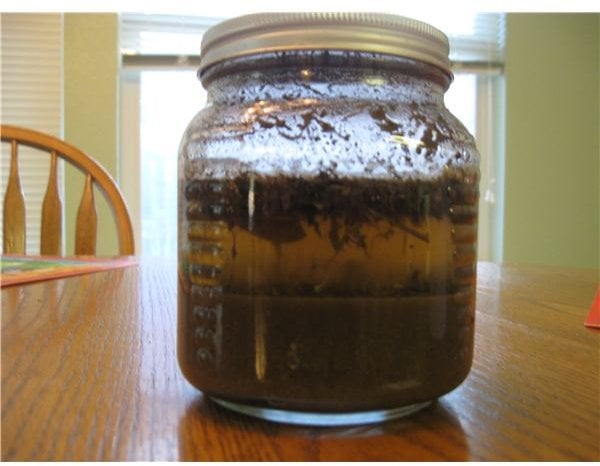
Once you perform the steps below your jar should ideally look like this: lay should float at the very top, with silt next, and sand at the very bottom.
Simple Soil Testing: Old School Farming Method To Test Your Loam Soil
To test the quality of the soil in your garden take a mason jar and fill it halfway with your garden’s soil. Fill the rest with water leaving a couple inches from the top for shaking space.
Put a lid on the jar and shake vigorously for about 5 minutes and separate the soil layers. Let it stand untouched for about 1 day until you are able to see 3 clear distinct layers.
How to read your loam soil test results:
The bottom layer will be sand. This layer will be rocky and heavy.
The middle layer will be silt.
And the top will be clay.
If the soil is about 30% clay, 40% silt, and 40% sand, then your soil is perfect quality! Keep it up!
Repurpose a strawberry container to sprout your own seeds. Click for 32 more Seed Sprouti… https://t.co/gJtKhD5nBh pic.twitter.com/9XlZrKxpK0
— Homesteading (@HomesteadingUSA) April 2, 2016
How to balance your soil:
If your soil is about 10% clay, 70% silt and 20% sand, your soil is called Silty Soil. This can be improved by adding more organic matter.
If your soil is about 30% clay, 60% silt and 10% sand, you have Silty Clay Soil. Do not add more sand, but improve by watering your soil more and exposing it to more water.
If your soil is 15% clay, 20% silt, and 65% sand, your soil is called Sandy Soil. This can be improved by adding more organic matter.
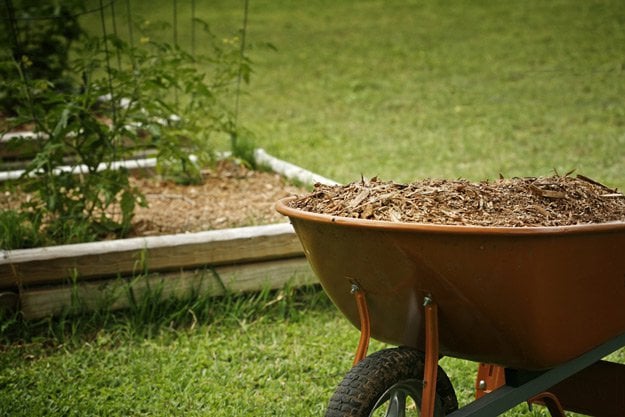
Organic matter in soil such as compost, or manure is able to be spotted as your soil will be darker than normally. Garden mulch is also a great solution. Adding a thick layer every spring is great.
Here’s a wonderful infographic to sum things up from Fix.com!

Source: Fix.com Blog
Make sure to test your garden soil this way every year before planting season to avoid ruined crops by poor quality soil. Good luck and happy homesteading! 🙂
Do you think you’ll give this soil testing method a try? Let us know below in the comments!![]()
