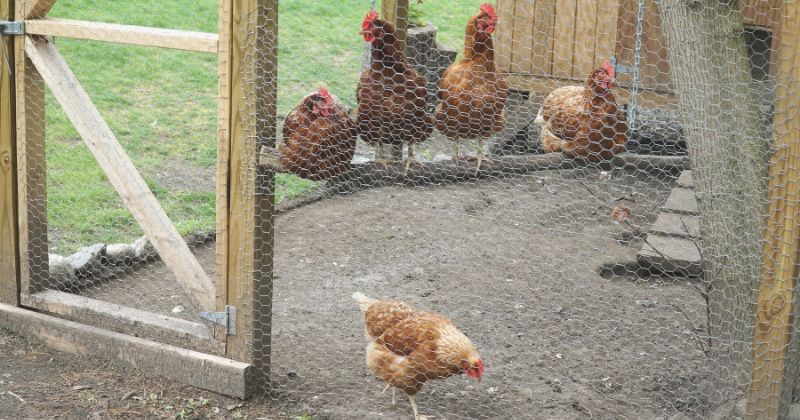
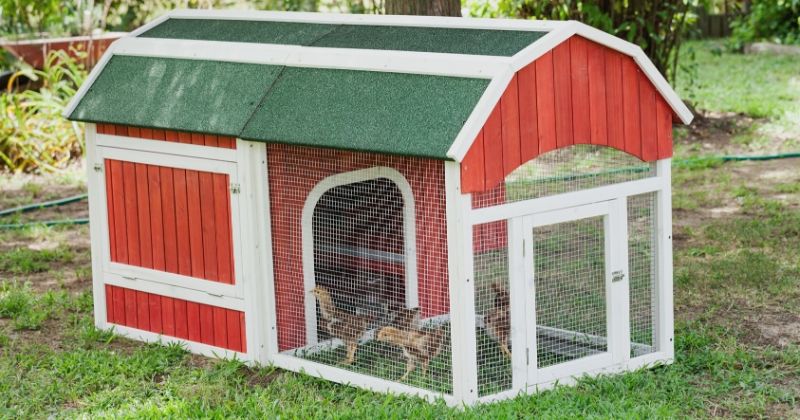
A great way to spend your days confined at home is to build your own chicken run! Remember, you not only need to protect yourself during these trying times, but it's also vital to protect your animals.
One of the challenges of homesteading is making sure your chickens are protected from predators. Don't wait for the situation to escalate especially now that President Trump has declared a national emergency. You can't afford to lose even just one chicken.
RELATED: How To Keep Your Chickens Warm In Winter
In this article:
- Why Do Chickens Need a Run?
- What Are the Things to Consider Before Building a Chicken Run?
- How to Build a Chicken Run
Protect Your Chickens With This DIY Chicken Run
Why Do Chickens Need a Run?

- Chicken runs encourage natural behaviors
You all know that chickens want to be free, and that free-range is important. But if that is not possible, building a chicken run can also encourage your chickens to partake in some exercise, bathe under the sun and sniff the fresh air. By building a hen house for your chickens, you get to direct them to a particular grassy area where they can get all the nutrients that they need.
- Chicken runs help in beautifying or landscaping your garden
Part of building a chicken coop involves beautifying your landscape by putting in some plants and flowers in and around the chicken run. This move won't only give your chickens the needed extra security but also helps in attracting bugs and insects that your chickens can feast on.
What's more, your chicken run can also keep your lawn or garden safe and protected as well, because chickens may munch on your leaves or dig up small plants.
What Are the Things to Consider Before Building a Chicken Run?

1. Location
Place your chicken run in a location that's lush and grassy so your chickens can have plenty to peck at. Also, avoid placing it in an environment that's muddy and boggy since these might make your chickens sick.
2. Advisable Materials for Your Chicken Run
An ideal chicken run is made up of sturdy and weatherproof pine or timber and fitted with a tight, galvanized wire mesh which is fixed to the sides. This guarantees your chickens have enough sunlight and air.
Additionally, this guarantees that they stay inside while predators stay outside. As an additional fixture, provide a chicken coop door filled with bolts and locks that can give you easy access to the chicken run.
3. Size
How big should your chicken run be? It depends on how many chickens you have. But your chicken run should of considerable height and space so your chicken can freely flap their wings, and they can move and run about. Just make sure that your chicken run is not too overcrowded!
So let's get started!
How to Build a Chicken Run
What You'll Need to Build a Chicken Run:

- 4×4 fence posts
- 2×4 boards or 1×6 boards
- 1/2” welded wire fencing or 1” welded wire fencing
- Staples (U-shaped nails)
- Wood screws
- Shovel
- Post hold digger
- Saw
- Hammer
- Cordless screwdriver
- Level
- Framing Nailer
- Shingles
Step 1: Cut Plywood to Build a Wall
Cut some 2 x 4 plywood to make a wall. You can cut the wood at your chosen location or you can cut the wood inside your home on a hard wooden floor. If you do that, you can just transport them after.
Step 2: Attach the Wood Together to Create a Wall
After cutting each of the plywood in length, quickly mark off where each needed to go on the bottom plate. Use the speed square to transfer the location to the top plate, and then start attaching the wood with a framing nailer. If you don't have a nailer, you can also go with screws or drills. Repeat the same steps to make a second wall.
Step 3: Paint the Run
Use whatever color you desire on your chicken run. It is much easier to paint your run in the midst of building it rather than painting your run when it has already been built.
Step 4: Build and Paint a Chicken Coop Door
While you are waiting for the paint to dry, start building your chicken coop door. Once again, you can use a nailer for this one. You can also use extra wood that you haven't used for your walls. Once done, you can also paint your chicken coop door.
Step 5: Cover the Walls With a Screen
Use hardware cloth to cover the walls. Start on one end of the wall while you unroll the needed amount to stretch to the other side. When you are done, staple the wood and the wire together. Cut off any excess wire using a grinder.
RELATED: Backyard Chickens Facts | 11 Chicken Facts For Homesteading
Step 6: Dig Holes for Your Fence Posts
Use your shovel to dig a hole. Make sure that your holes are equidistant from one another, and not too far or near one another. Use a measuring tape to check the distance. Six or eight feet apart from one another is already a good distance.
Step 7: Move in the Fence Posts
Use the walls that you have created to ram into the holes. Sink them in concrete to ensure that they stay put. Use a nailer to make sure they are in place.
Step 8: Screw Boards on the Tops
For the roof, screw boards across the tops. Drill and screw your roof. Take note that if you don't want to be ducking while you are in the run, you can also adjust the height by simply making the studs in the walls taller. Attach a few cross bracers in between the rafters. Add plywood to the roof and nail it down.
Step 9: Add Some Shingles to the Roof
To protect your chickens from the rain, attach some shingles by screwing them to your roof. Start at the lower part of the roof and work your way to the peak. By doing so, water will not have its way under and will stay on top of the material once the rain starts pouring.
Step 10: Install the Predator Apron
Add an additional frame in your coop where you can attach the predator apron. Make sure to attach apron all around the coop and your run. You can use the same hardware cloth you used in your walls. This will keep bobcats, foxes, and raccoons out!
Step 11: Pop the Door
Using your grinder, cut the wire mesh at the far right of the chicken coop. Attach your door using hinges and bolts. Put one at the top and one at the bottom.
Step 12: Bring in Dirt to Your Chicken Run
Once you’re done with the build portion of the run, it’s time to start bringing in some dirt! This will be the last step for your predator-proof chicken run.
Cover your predator apron with dirt. Make sure to put a nice coat on top of the apron to hide it. When you think everything’s secured, you can now step back and see your chickens enjoy their run!
Here's the step by step DIY chicken run tutorial from April Wilkerson:
With COVID-19 hitting the U.S. we should do our best to protect our resources in our homestead. While building a chicken run is not an easy DIY project, this is something you need for times like this.
What do you think of this step-by-step guide to building your own chicken run? Do you have any other great ideas to protect your animals? Let us know in the comments below!
Fellow homesteaders, do you want to help others learn from your journey by becoming one of our original contributors? Write for us!
UP NEXT:

We have a small home flock. We built a movable pen when protects them and allows them to be moved to get fresh grass. It works for us.
That is good too