
Mason jar beekeeping is ideal for small spaces. With a little bit of research and planning, even a common suburban backyard can be a perfect place for honey bees to build hives. You’ll just need a few supplies to get started: some wood, the bees, and, you guessed it, mason jars! There are many self-sustaining beekeepers these days. Perhaps, you’ll be one of them! Check out this post so you can get started on mason jar beekeeping.
DIY Mason Jar Beekeeping Tutorial
In this post:
Mason Jar Beekeeping: Structure 1
 What You Need:
-
- 1 piece thick plywood, where you insert the honey jars
- 4 pieces of wood for the top frame, one inch in height
- 4 wood panels for all sides the hive, height varies
- Beehive bottom board
- Brood box
- Queen excluder
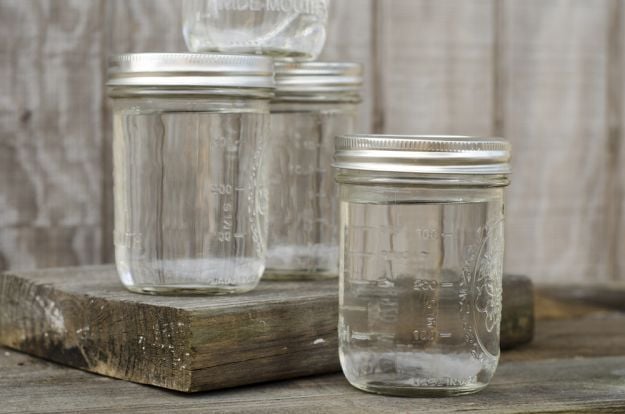
- 12 wide-mouth mason jars
- wood screws
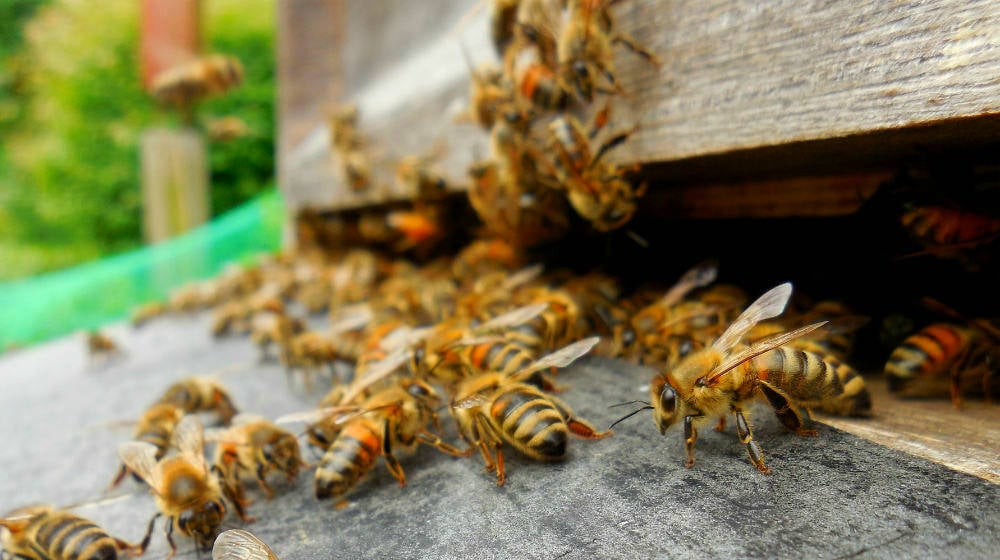
- bees
Note: The size of the structure varies, depending on the size of the beehive bottom board and brood box combined. You can customize as you please. But, the idea is the structure covers the hive like a box.
Step 1: Cut a piece of thick plywood.
The plywood is ideally a bit smaller than the surface area of the brood box. Then, assemble 4 pieces of wood around the plywood, creating a frame around it. Screw everything together.
Note: Make sure the plywood is thick enough to carry the weight of the mason jars. Factor in the weight of the honey and the colony bees as well.
Step 2: Create the holes for the mason jars.
Trace one circle at the corner of the plywood using a mason jar lid. Then, with a hole saw, cut through the plywood to make the first hole. Cut inside the circle you traced, not outside, to ensure the hole is not too big. Find out if the mouth of the mason jar fits the hole snugly.
After which, create more holes. Make sure they are not too close.
Step 3: Attach the wood panels.
Before attaching the wood panels, assemble the hive first. Set the bottom board, followed by the brood box. Then, place the queen excluder at the top.
You can finally attach the wood panels and the frame. Once they are screwed together, the result is a box-like structure. The plywood with the holes is on top while the bottom is open.
Build your own #bee #hive for great tasting #honey http://t.co/qEgW5AIS6n pic.twitter.com/p9wgdPDrnv
— Homesteading (@HomesteadingUSA) May 27, 2015
Step 4: Arrange the mason jars.
Arrange wide-mouth mason jars and make sure they all fit properly around the holes. You may need to add some shims to support the glass jar, so it won’t sag with the weight of the honey.
Step 5: Let the bees fill the jar with honey!
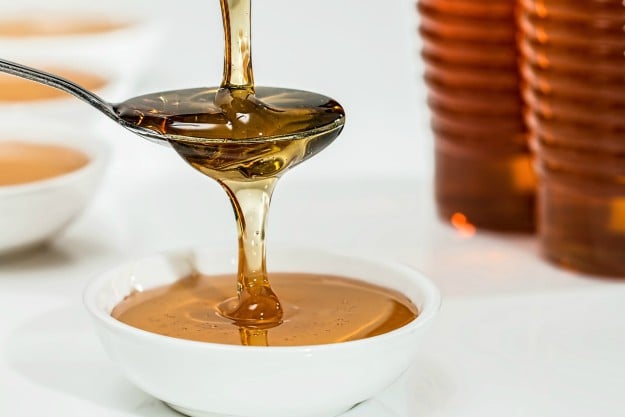
Put starter strips or empty combs inside the honey jars. Let the bees do their job filling the jar with honey. Once filled, you can pop the jar lids back to cover them.
Note: Remember to leave enough honey so that the bees survive in winter.
Mason Jar Beekeeping: Structure 2
What You Need:
- 1 piece thick plywood, where you insert the jars
- A beekeeping box (complete with honey supers, covers, brood box, etc.)
- An empty super box
Step 1: Cut the plywood.
Make sure the plywood or wooden board is thick enough. The size is ideally the same as the surface area of the box of honey supers.
Step 2: Create the holes and arrange the mason jar.
Follow the second and the fourth step of the first structure above. Make sure the mason jars are snug around the holes.
Step 3: Assemble everything.
First, remove the queen excluder from the beekeeping box. Then, place the mason jars on top of the box of honey supers.
Step 4. Cover the hive.
Set an empty honey super box at the top, enclosing the glass jars from all sides. Then, place the lid of the beekeeping box on top of it. Covering the top ensures the bees won’t get inside and build hives in between the jars.
Tips for Mason Jar Beekeeping
- The jars will get hot easily because there is no ventilation. It is best to keep them away from the sunlight or put a screen over them.
- Get bees from a farm. You can find one near you online.
- To lure the bees into the jars, place a comb inside them.
- Don’t allow your bees into the area surrounding the jars. Otherwise, they will build a mess for you to clean up, and they may decide it’s easier to construct combs between the jars rather than in the jars.
- Always sanitize the mason jars before using them to keep your bees.
- You can also insert the mason jar lid. Removing the jars from the board is easier with the lids on.
- Take a beekeeping class if you’re an absolute novice.
- Choose a bottom board with a screen to keep mites, like varroa mites, away.
Do you need more mason jar beekeeping tips? Watch this video from Shepherd School:
In mason jar beekeeping, the idea is not to create a beehive in a jar. The jars are only extensions to the honey supers, where the honey from the bees is collected. The whole process is challenging, especially for beginners. Sometimes, it will take the bees a long time before they get used to depositing honey inside the jars, but mason jar beekeeping really is possible. Once you master the process, the reward is truly awesome.
Are you going to give mason jar beekeeping a try? Let us know below in the comments!
Up Next: Best Bee Hive Plans | Build a Hive & Help the Bees
Editor’s Note: This post was originally published on March 26, 2017, and has been updated for quality and relevancy.
Disclaimer: All content on this site is for informational purposes only. Please read our full disclaimer here.
