Whether you bought chicks from a feed store or hatchery or hatched your own eggs in an incubator, you’re going to need a chicken brooder until they are big enough to venture outside alone. Learn how to make one here!
Easy To Make Chicken Brooder
Young birds, which have not yet feathered – those under around 6-8 weeks, depending on the breed – will need to be housed in a secure, warm area, with access to food and water 24/7. Building your own chicken brooder is easier and a lot cheaper than you might think. So if you are considering increasing your flock, or getting started with keeping chickens, here's a simple tutorial that you can follow along for setting up your own chicken brooder.
What You Need For Your Brooder:
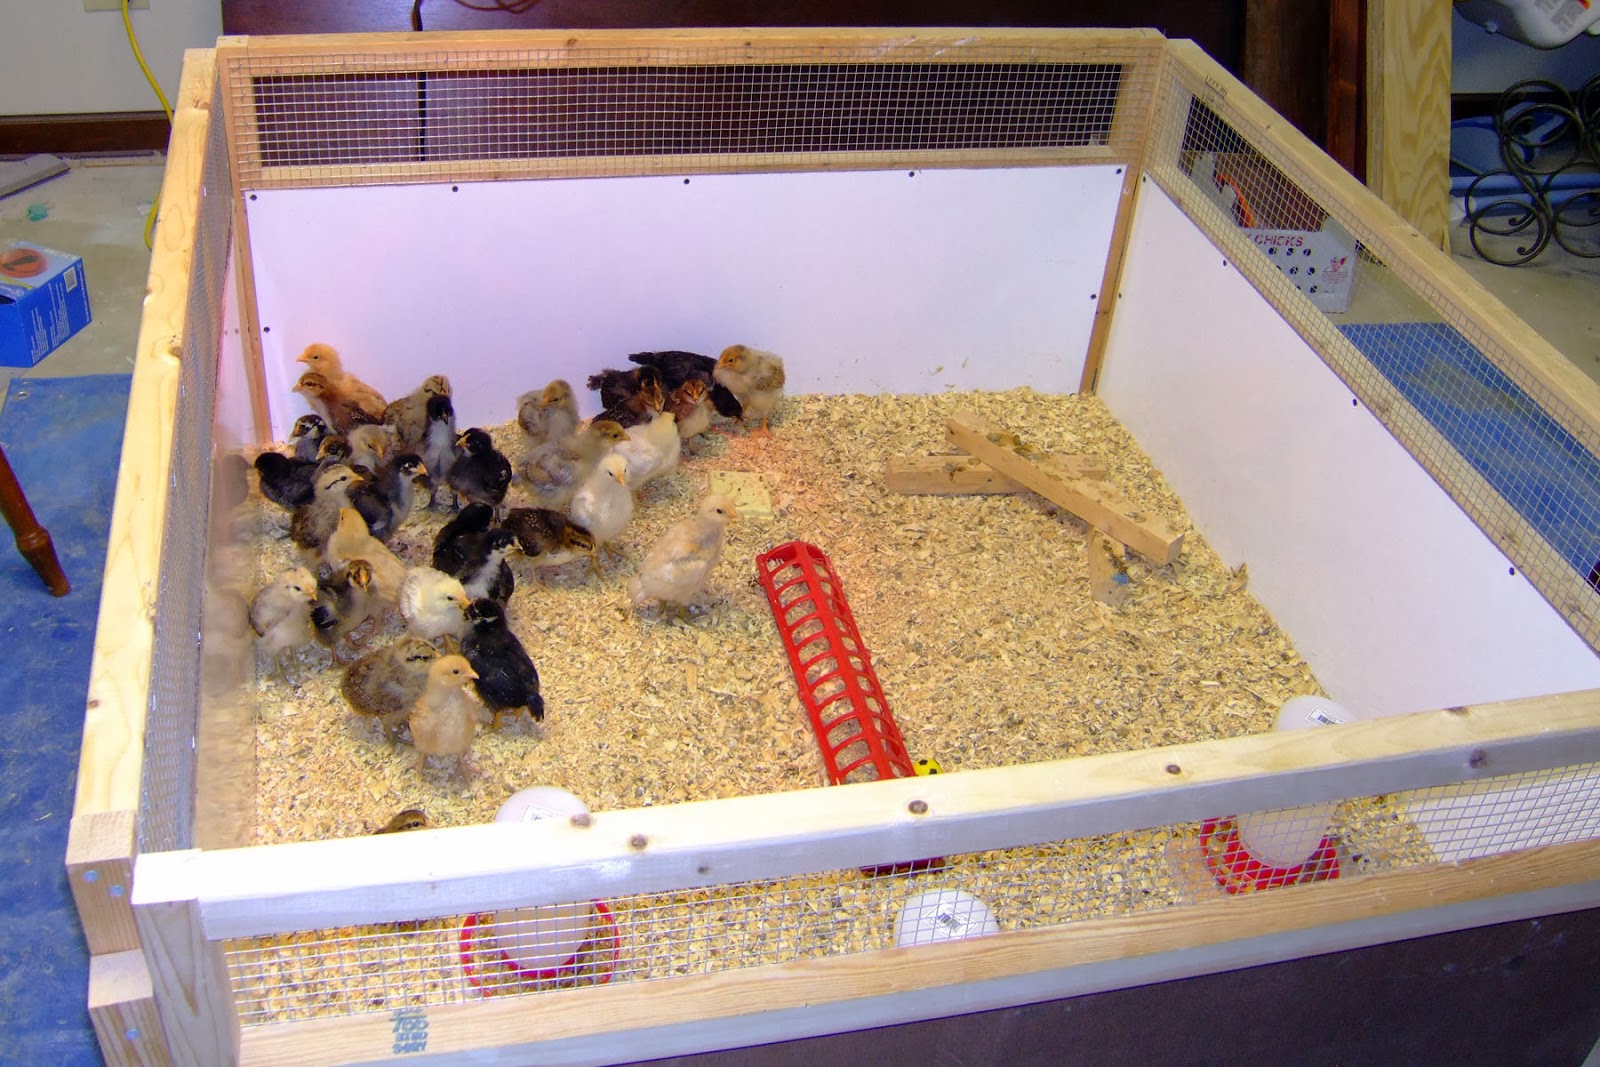
What you use for a brooder is up to you and your circumstances. Many people have custom-built wooden brooders, made with 2×3's and hardware cloth. Personally, I do not like to use wood, because I like to super-disinfect every so often, and thus I prefer plastic.
Others use Rubbermaid tubs, an excellent option if you don’t have cats. It’s hard to put a secure lid on a Rubbermaid tub, though I have seen some great ones constructed from the actual lid of the tub and hardware cloth. These make me nervous though when used in conjunction with a heat lamp. Too much potential for melting!
You could, of course, spring for one of those amazing GQF brooders. You’ll sometimes find them second hand on Craigslist, but you’ll have to be quick. They go fast. They’re all singing, all-dancing, top of the line brooders – and they're priced accordingly.
My personal favorite is to use an old rabbit or guinea-pig cage, such as what you see in the picture. They’re often at thrift stores, Goodwill, on Craigslist, at yard sales; the bottom line is, you can pick them up cheap. They’re plastic, so they can be scrubbed and disinfected, which should be done after every batch of chicks. They also have nice secure wire tops, which make it harder (I hesitate to say impossible) for marauding barn cats to gain entry. Lastly, should the wire top come into contact with the heat lamp, there’s little to no chance of fire. In an environment where there is hay and bedding, this is of paramount importance.
What You'll Need To Set Up A Brooder:
- Brooder box
- Heat source
- Starter feed
- Feeder
- Waterer
- Bedding material or sand
Here's How To Set Up A Chicken Brooder:
Step 1: Disinfect
|
Start with your freshly washed and cleaned brooder, whatever it is you choose to use. A great way to disinfect is to leave it in the full sun to dry – the sun is the world’s most natural bleach.
Step 2: Fill It With Bedding Material Or Sand
Fill it with sand. I use play sand from Lowe’s, and I buy a bunch of it when it’s on sale. I like sand because it is naturally draining, it clumps if one area gets overly wet (such as if they dump their water over), and it doesn’t create the vast clouds of dust on everything that shavings do. Sand can also be very simply cleaned with the aid of a kitty litter scoop every couple days.
Step 3: Set It Up Above The Level Of The Sand Or Block
Take your freshly washed brooder, and set it up above the level of the sand on a block or an upturned dish. Don’t set it too high, or the smaller chicks won’t be able to reach it. Again, I like to use ceramic dishes for this purpose because they are easily cleaned. If I can’t find one, I use a brick or something, because wood is too porous. Setting it up like this prevents bedding and poop being kicked into the water as the chickens scratch around, and also limit the chance of drowning.
Step 4: Put A Dish Of Food
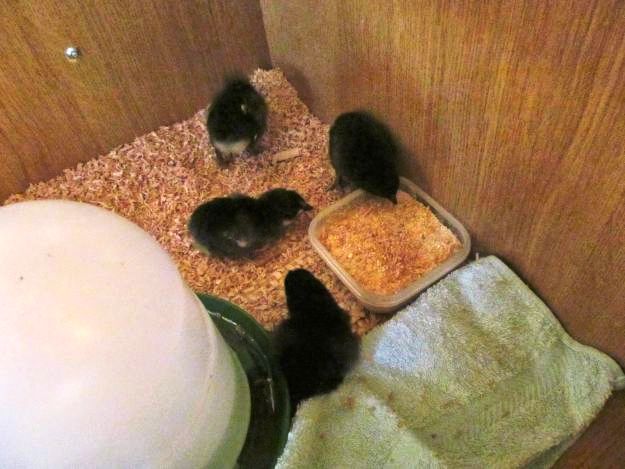
Put your dish of food at the other end of the brooder. The chicks will stand in the dish and scratch about, and this stops them kicking their food into the water. You could also use one of those long red plastic chick feeders, which prevents them from standing in the food, but I find these frustrating and too hard to clean.
Step 5: Set Up Heat Lamp
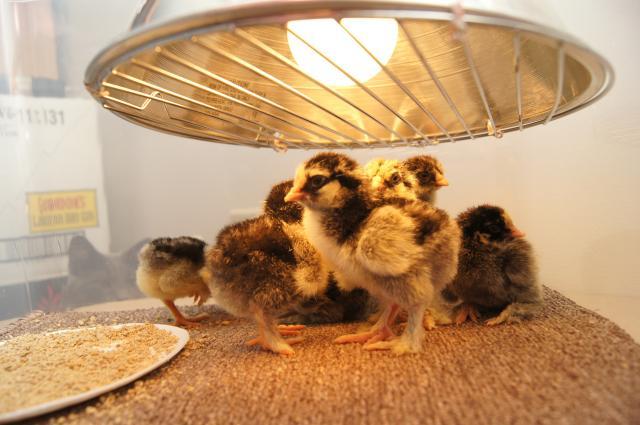
Set up your heat lamp above the food, at the opposite end to the water. If you put it over the water, it will heat it and cause algae to grow. Be sure to double-secure your heat lamp, so it cannot fall.
Step 6: Set Temperature
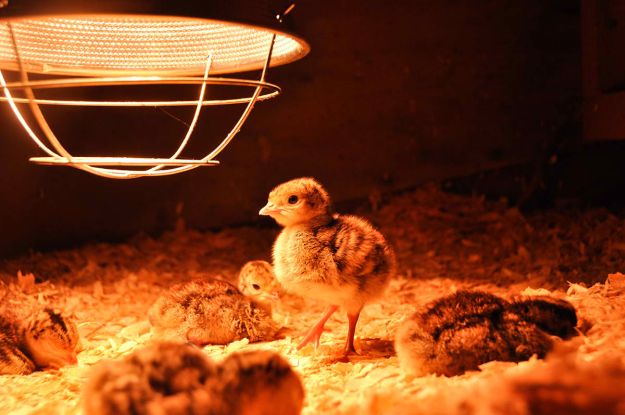
The temperature should be around 90F for the first week for chicks, and fall 5F a week until they are roughly at room temperature. When they can go outside really depends on the time of the year.
Step 7: Add Your Chicks
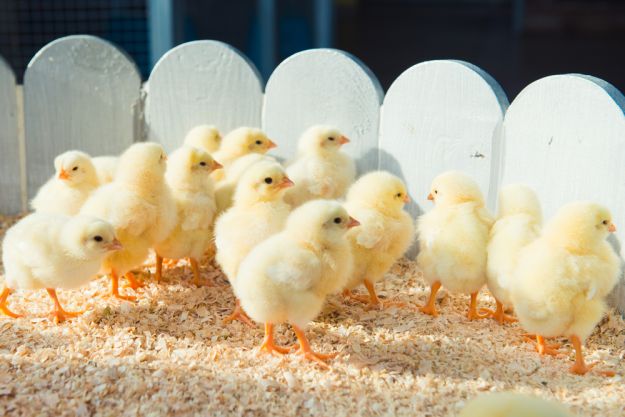
Finally, add your chicks!
Want more tips on setting up a brooder? Check out this video from MOTHER EARTH NEWS and Friends:
That's it! But be very cautious when setting up your heat lamp! Every year, there are horror stories of people losing their entire barns, sometimes their houses and most if not all of their livestock too, in fires. Nine times out of ten, they were started by heat lamps that were not properly secured. There’s no such thing as being over-cautious with a heat lamp. Always take extra precautions!
Will you make your own chicken brooder? Let us know in the comments section below.
Want to know what are the best egg laying chickens? Check out here, The Best Egg Laying Chickens For Your Homestead!
Follow us on Instagram, twitter, pinterest, and facebook!
This post was originally published in June 2014 and has been updated for quality and relevancy.


As a hobbyist…with a coop full of hens,
this great article grabbed my eye. THANK YOU.
My homestead has multiple species, a small budget, and
this means….I use whatever is already here and available.
Thus, I use one of the tall stock tanks (metal or composite),
which are tall enough for NO drafts and some “flight room.”
These are old tanks that no longer can hold water. *S*
I use an old broom stick, set at about 1/2 height, to hang
………..both the water font and feeder, via baling twine,
like one hangs up a garden plant. Hanging these up
keeps the chicks from knocking these over and as the
chicks become feathered…provide a ‘beginner roost.’ *S*
With ALL my kitties “enjoying their live TV”….from above,
I use chicken wire and open wire shelving as the top cover.
Since the porch is not always heated….I also partially cover
the top…when the temps drop, but not close to the heat lamp.
In 20 years…I have not lost even one of my day old’s. *S*
How can I set up a commercial brooder house?