
Looking for something to make out of those old palettes lying around your homestead? Why not make a rustic coffee table! This diy project has handy craftsman written all over it!

Rustic Reclaimed Wood Coffee Table
Isn’t it always better when you can find a way to repurpose something instead having to throw it away? We love this pallet coffee table that is made using only three wood pallets. The unique design of this table is sure to be a conversation piece. The top of this table is stable, smooth and flat, unlike many pallet furniture projects we have tried. This piece is a statement, but definitely still useful and would make a great addition to any rustic space.

Supplies for this wood pallet project:
- 3 Wood Pallets (amount will vary based on your size and number)
- Hammer
- Chisel
- Nail Remover (or a reciprocating saw if you know how to use one)
- Circular Saw (or a handsaw if you’re old-school)
- Basic Drill
- 4 Clamps (C-Clamps or any other variety)
- 5/32 inch drill bit
- 2 ½ inch screws (small box)
- Wood Glue (see tutorial for recommendations)
You can watch the video tutorial here from DIY Ready:
Step 1 – Deconstruct Pallets
First, get yourself some pallets. The more pallets you have, the bigger the table you can make. We only had three pallets lying around, so we decided to make a low sitting coffee table.
Start by deconstructing the pallets. You could use a power saw for the fastest deconstruction. But if you don’t have one, then you can use a hammer, a chisel and a nail remover to pry the boards apart.
Select the board you want to remove from the pallet and place the tip of the chisel in the crevice between the board and one of the side rails. Lightly tap the back end of the chisel with the hammer to wedge it between the two pieces of wood. Get the chisel in deep enough so that it will stand on its own without your support.
Now, using the rail as leverage, pry the board from it.
Repeat this process for the middle and the bottom sections of the board until the board detaches completely.
Once you have a pile of boards on the floor with nails sticking out of them, use the nail remover to pull the nails out.
Use the hammer to strike the tip of the nail until you create enough space to fit the nail remover between the nail and the board.
Insert the nail within the notch of the nail remover.
Use the bar for leverage to pull the nail out. The nail will bend as its being removed.
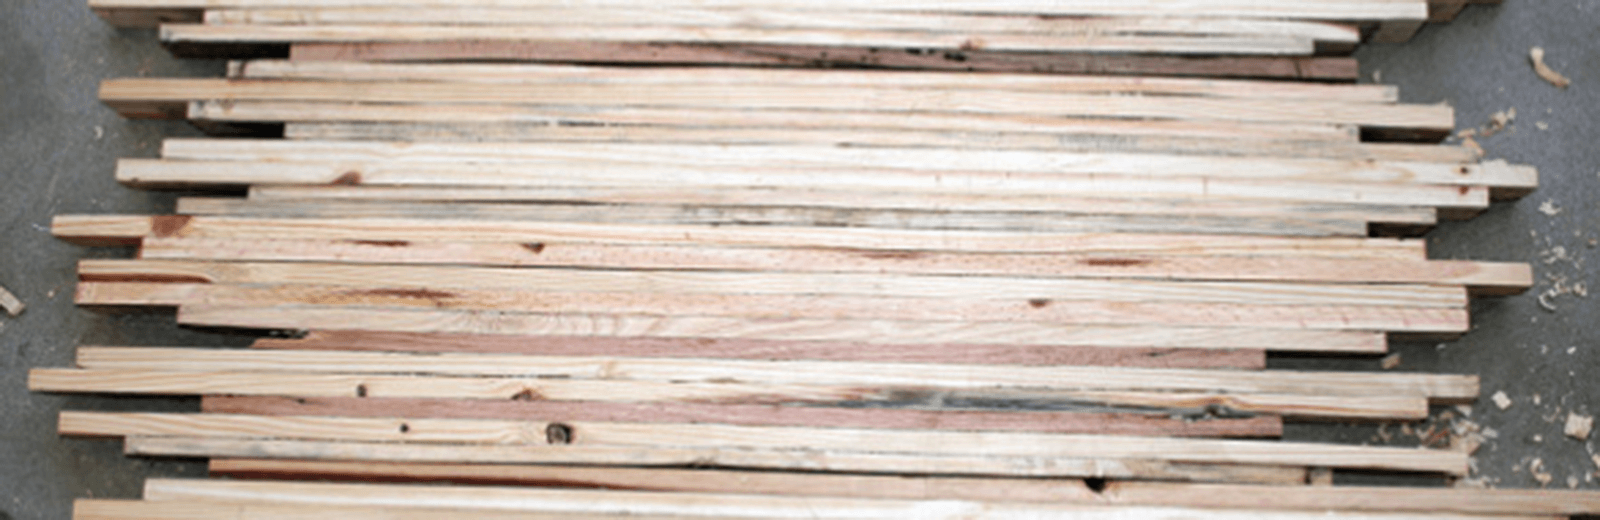
When all of this is complete, you will have a pile of nail-free wood to make your table out of!
Step 2 – Prepare legs for assembly
Set aside the four best looking boards and two rails. These are going to be used later on to make the legs of the table.
Glue two of the boards together to make a single board with double thickness. Do this with the other two boards as well. When the glue dries, you will have a pair of double-thick boards that you can cut your legs from. You’re going to need some clamps and some glue. For our table, we used Gorilla Glue, but any high quality wood bonding agent will work.
Place glue on the inside edge of one of the boards and stack the other on top of it. Repeat this with the other two boards.
Place the two glued pieces side by side and clamp them together.
Step 3 – Cut the rest in half
While the legs dry, take the rest of the wood and cut it in half. Use a measuring tape to find the midway point of the board’s width and mark that spot with a pencil. Make another mark at the same length somewhere further down the board.
Connect the two dots by making a line between them with your pencil. You can use another board as a straight edge to guide you.
Once you have your line drawn, you will need to cut the board in half along the line. We used a power saw to cut our board in half, but if you don’t have one then you can cut it with a handsaw. If you’re using a power saw, you can stack the boards and cut many at one time. Repeat this step for all of the boards. The cuts do not have to be perfect since they will be on the underside of the table.
Step 4 – Glue the table top together
Once all the boards are cut, arrange them by color and size. Position them into a configuration that you like – this is going to be your table top.
Flip the boards over so that your tabletop is now facing the ground. The part facing you may look uneven, but don’t worry. The other side is flush with the ground and will look great after you glue the pieces together and flip it over.
With your vice grips, determine how many boards you can clamp at one time and split the table top into the least number of sections that you will need to get all the pieces glued together. With our vice grips, we had to break the table top into four sections.
Once you have the tabletop partitioned, take one of the sections and glue all of the touching pieces together. Keep in mind that if you’re gluing two pieces that are different sizes, you should put the glue on the smaller piece.
When the table legs have finished drying, remove the clamps and use them to clamp the first section together. Start your clamping at the middle and work your way outward, spacing the clamps as even as you can throughout the piece. This will help you to get a straight and tight fitting chunk that should hold shape after the glue has cured.
Flip the clamped piece over and wipe all excess glue away. If you used Gorilla glue like we did, it will continue to seep out and foam up even after you’ve wiped it away. You can wipe the glue away periodically, or chisel off after the after it has dried.
Step 5 – Assemble legs
Once the glue has cured, repeat the same steps for the remaining sections of the tabletop. In the meanwhile, you can assemble the table legs.
Begin by taking one of the rails that you’ve set aside and measure out a length that’s approximately the same width as the table. Repeat this with the other rail. Our table was narrow enough that we were able to cut both sections from one rail, but you’ve set aside two just in case.
Cut these sections from the rails with your saw.
Take the two boards that you made and measure out how tall you want your table to be. We decided to cut ours right down the middle which was at about 19 inches.
The legs can be whatever length you want. However, they all need to be the same length and so making additional cuts may be necessary until you get the lengths as close to perfect as you can.
Take one of your legs and screw it into one of the rail sections that you’ve cut. To ensure that the leg is properly aligned with the rail, you may use scrap pieces from the pallet that you didn’t use (or even one of the other legs) to do this. Just make sure that the leg and the rail are flush with the surface of the scrap wood on both sides. Use the other rail section to prop up the foot end of the leg so that it is level with the rail you are fastening it to.
Begin by drilling two pilot holes through the leg and into the rail section. We used a 5/32 drill bit for this.
Take your screws and use the drill to fasten the leg onto the rail.
Repeat these steps to attach the other leg to the opposite end of the rail. Then repeat these steps to build the other leg section.
Step 6 – Attach legs to tabletop
Once your legs have been assembled and all of your tabletop sections have cured, place the tabletop sections in the order that you want to assemble them in.
Push them together so that they appear to be a single piece.
Flip them over and place the legs on the bottom side of the tabletop exactly where you want them. Make sure that the table pieces stay pushed together.
Fasten the legs to the tabletop by driving screws through each rail and into each of the four sections of the tabletop, securing them into place. Start by attaching the two middle sections of the tabletop. Use a 5/32 drill bit to drill the pilot holes.
Fasten the rail with a 2 ½ inch screw.
For the corners of the tabletop, drill the screws through the rail at an angle as shown.
Drill a diagonal pilot hole.
Fasten a screw through the leg and into the tabletop.
Do this on the inside of the rail as well. If you did this correctly, you should have used 6 screws for each set of legs.
Repeat these steps for the other three corners until both leg sections are firmly secure. If the legs feel wobbly at all, don’t hesitate to add more screws for extra stability.
Now flip your table over and enjoy it!
If you want to remove any uneven sections from the table top, you can use a plane shaver to shave it flat.
You can hide the underside of the table if you want by taking a piece of scrap wood and screwing it to the front of the table.
Now you have a cool table with a staggered top made from pallet wood! Sand it and stain it for you living room, or stack tools on it in your garage.
Happy Table Making!
Now you can start using your gorgeous new reclaimed wood table once your stain, sealer, or paint has set. Enjoy!
