Want to know how to make a wooden beam? If you're planning to start a big project, it's important that you have a sturdy beam in place. See how here.

How to Make a Wooden beam
Did you know there are still people out there in the world today who still harvest their own wood? Yes, even in this day and age. Wood is one of the main foundations of building, and while it's fairly simple to run over to the nearest lumber yard or home improvement store to pick up whayou need, wouldn't it be cool to create your own wood beams from logs completely from scratch?

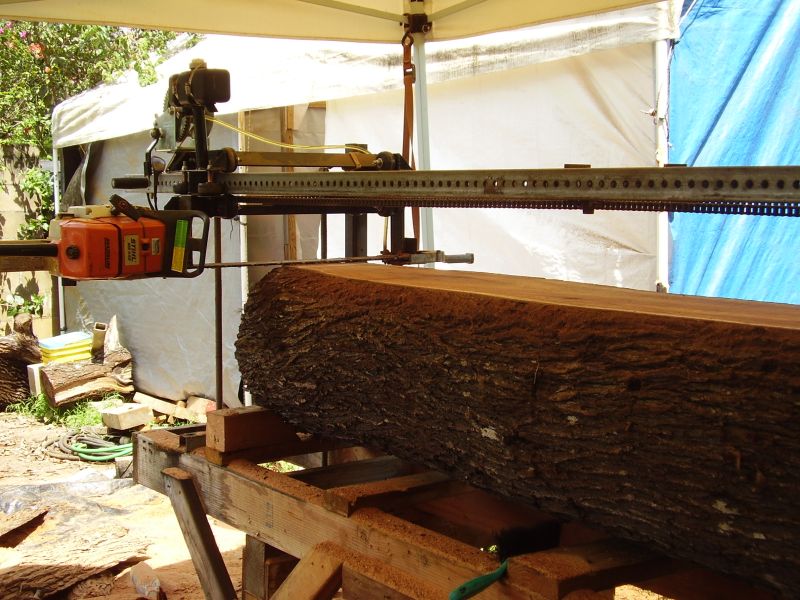
I am aware that there are several great products you could buy to convert logs into lumber. There are band saws and sawmills available to use. I also have seen how most of these work and I cannot deny it; they are fantastic pieces of equipment. More so if you are the type of person that is looking to make a large amount of lumber. However, if you are not one of those people and you do not need to cut a surplus amount of wood, buying these gadgets would be a complete waste of money that you unknowingly throw away.
Here is a great and cheap alternative to creating the wood beams you need
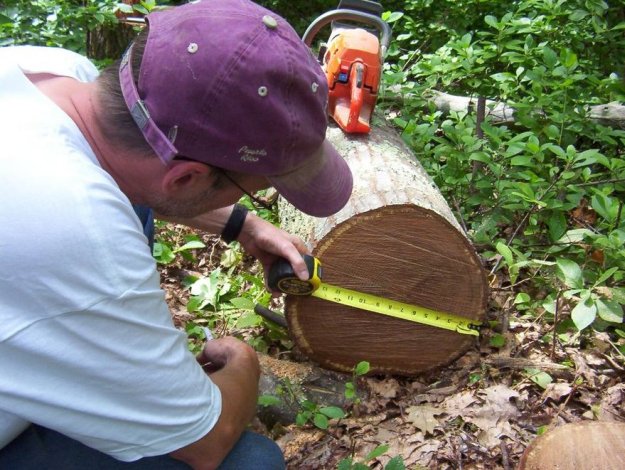
Step 1: Locate and mark the middle of each of end of the log

Step 2: Use a level that will mark a vertical baseline for you at either side of the log
Step 3: Locate a square shaped object or material to mark the dimensions of the beam on either side
A lot of the older barns that remain standing and other post and beam type buildings were built without the help of any machine. All of the shelters built back them were pretty much made from scratch using hand powered equipment only.
Making timbers and beams from scratch on your own with logs is not complex. It is very simple to do and is a straightforward process that almost any able-bodied person can do. If you can make your own wood beams, the rest of your project will be a walk in the park. I am positive that after you do two or three jobs, you will already become an expert. You will know how to get the job done right following the steps here.
When you split the waste slabs away from the outside of the log, use an old style hewing ax. But any chopping ax will do. Some people have a double bit ax that work alright, but honestly if you have a single bit ax, I would recommend that more for safety reasons. That is unless, of course, you are already some master at the double bit already.
Step 4: Snap the chalk lines on either end of the log.
Step 5: Begin to saw the notches down to the chalk line, about six to eight inches from each other, using your chainsaw.

Now, I never mentioned that this sort of task would be easy to do, but nonetheless, using even the most costly of mills would not make the job any easier. Between the two, I would say the level of difficulty is tied, so you are not missing out on anything that is “easy”. For the speed of making usable timbers, doing this method as a minor advantage compared to machines. If you are looking at both ways economically, this method is the winner without a doubt. From what I have noticed, most people who look for guides like this are not afraid of a little bit of hard work and getting sweaty so long as it is productive. There are also people, like me, who do not want to toss over good money on gadgets they do not even need. Information like this is always valuable.
Step 6: Split away the pieces you will not use an ax or with a maul.

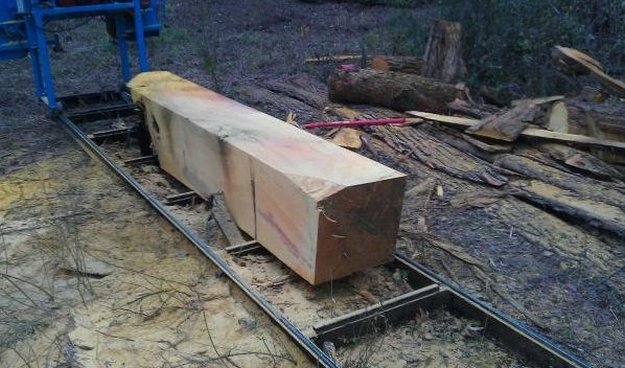
Done! The completed beam

Watch this video for a traditional log hewing from Harry Rogers:

Leave a Reply