Want to know how to trim goat hooves? Trimming the hooves yourself is one of the next steps in becoming a self-sufficient homesteader. Carefully follow the steps below!
RELATED: Raising Goats For Milk, Meat, and Profit | Homesteading Handbook
How to Properly Trim Goat Hooves | Homesteading Tips
Goat Hooves
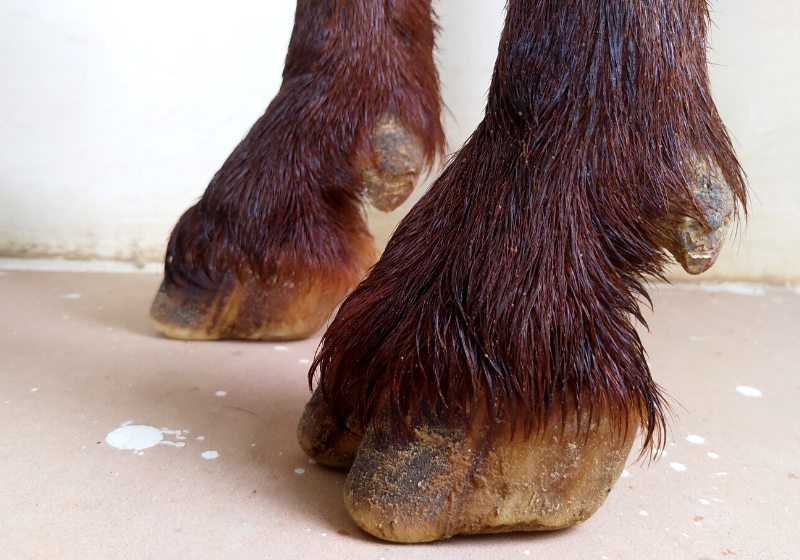
Goats are one of the most low-maintenance animals you can have, and one of the most delightful and rewarding.
As with any animal or even with children, there are conflicting opinions on what must be done and the timing and techniques involved. However, one aspect of goat care is indisputable. Their hooves must be trimmed.
No matter if your goats are large or small, pets or dairy animals, or are allowed to free-range or not, their hooves need to be done. While it is possible to hire someone to do it for you, most goat owners learn to do it themselves.
If you are new to goats and a little nervous about getting started on hooves, here is a how-to to get you going in the right direction.
Materials You'll Need:
- Hoof Trimmers
- An Animal Stand
- Hoof Pick with Brush
- Blood Clotting Antiseptic Agent (emergency use only)
- Rasp (optional)
Step 1: Assemble Your Equipment
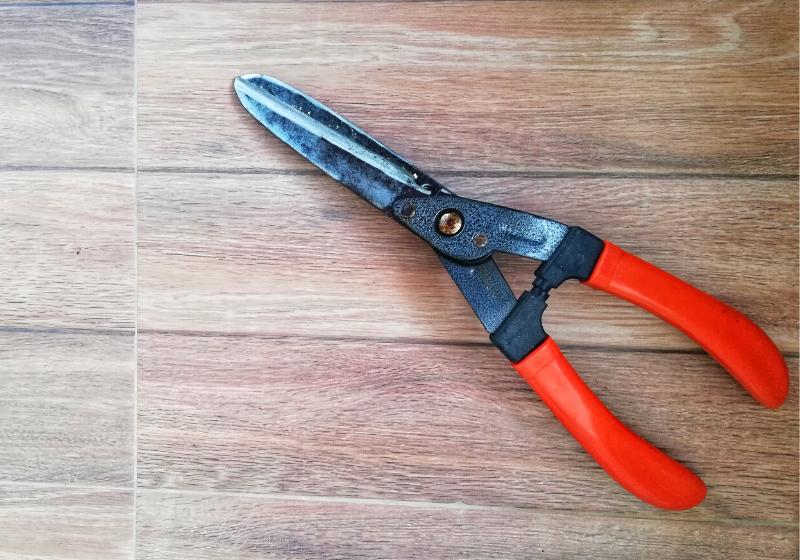
You will absolutely need scissors of some kind. It is probably best to purchase specialty hoof trimmers from a livestock supply store or catalog, but you can get away with other types of scissors as well.
I had very good luck with a pair of small serrated-edge poultry shears with blunt ends, but they broke after a few years of barn use. You will need to restrain the animal. A stand is a very best way to do this.
If you do not have a stand, try tying the goat to a very short lead and attaching it to a wall or post. A corner is best because the goat will back away from you and wedge itself into a corner, where you will have more control.
If you have someone to help you limit the goat's mobility, that's better. You also should have antiseptic blood stop spray or powder on hand. You probably will not need it, but it is important to have it available.
A rasp is a plus but is not necessary. Ours is a flat metal tool that looks something like a fine cheese grater and was purchased inexpensively from a hardware store. A rasp works nicely for keeping the hooves smooth.
If you have only a few goats, it is easy to pop them on the stand every week and simply rasp their hooves without ever having to actually trim them.
Think of it this way, if you use a file or emery board on your toenails every day, you probably won't ever have to clip them.
It is nice to have a little tool with a small brush on one end and a pick on the other. You can use this to clean up the gunk inside the hoof, but it is not essential to have.
Step 2: Set up the Goat on the Stand
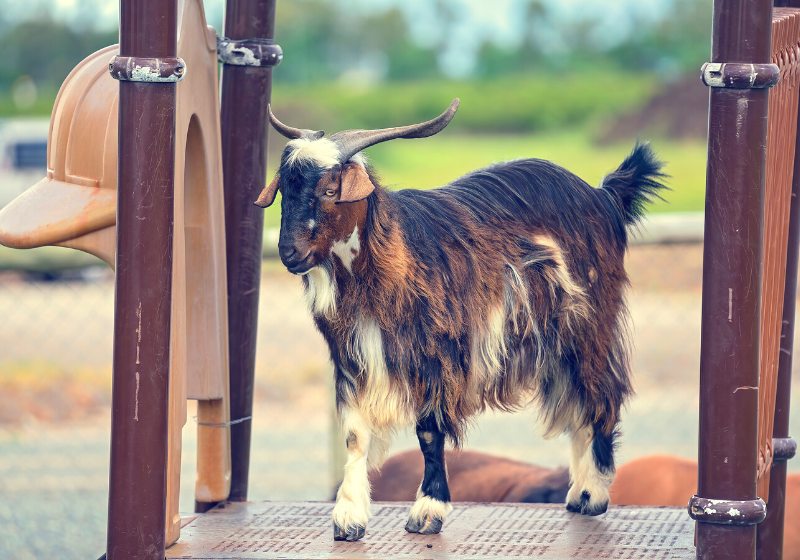
Set up your stand in an area separate from the goat herd so that you can work with one animal at a time. Get your first goat up onto the stand, which will be easier if you have already trained it to do so.
We have often worked stand training into our regular feeding schedule, teaching one goat at a time to eat its evening meal on the milk stand instead of in its usual spot.
Then when it comes to doing hooves or other treatments or if it is a female you intend to milk at some point. The animal will hop right up onto the stand. Give grain or hay and secure the goat in the stanchion.
Tip: Begin working with your goat as a young kid or as soon as you acquire it, teaching it to jump up on the stand and put its head through the stanchion for grain or treats.
Step 3: Do One Hoof at a Time
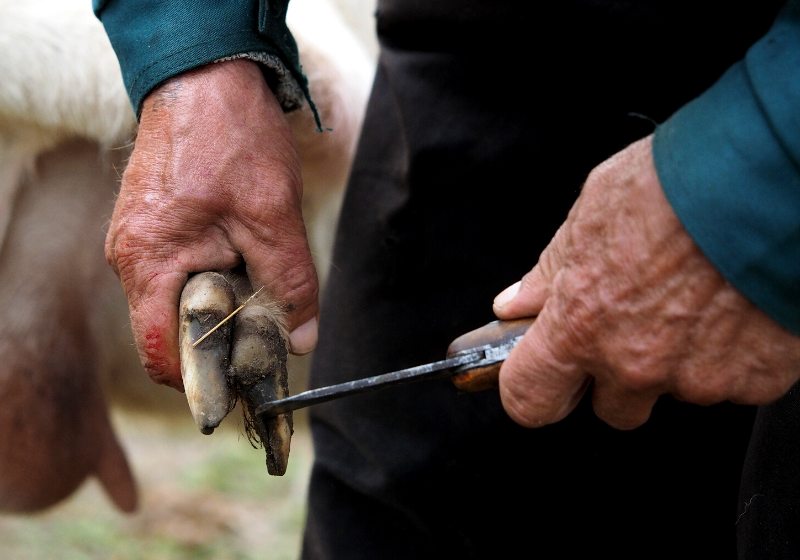
Pick up the foot and examine the hoof for injury, cuts, lameness, unusual texture, or anything out of the ordinary. Try to maintain the animal's natural range of motion.
Remember that the more stress or discomfort you cause the goat, the more it will fight your efforts and make the experience miserable for both of you.
Speaking of discomfort, rest assured that hoof trimming does not hurt a goat if done properly. Having badly neglected hooves can cause the animal to suffer, but regular hoof-trimming is just like cutting fingernails.
RELATED: The Goat House & Goat Shelters [Chapter 2] Raising Goats | Homestead Handbook
Step 4: Check the Dewclaws
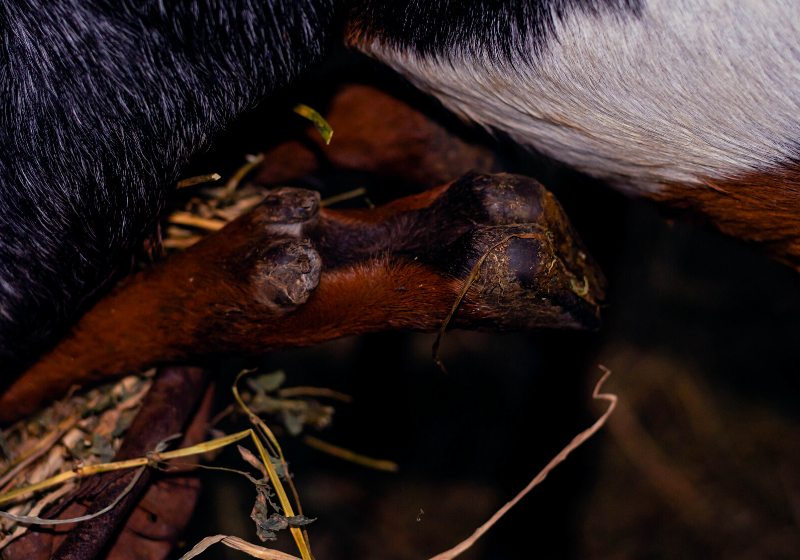
These are the two tiny appendages above the hoof on the back of the leg. Many goats' dewclaws do not grow out enough to worry about. Older goats tend to need more dewclaw attention than do younger ones.
If they are a little long, or dry and crusty, give them a little nip with the scissors. It is important to note that you should take very small bites with your scissors, especially when you are inexperienced.
Take a little off at a time. You can always take off more, but you cannot put it back.
Step 5: Start on the Hoof Itself
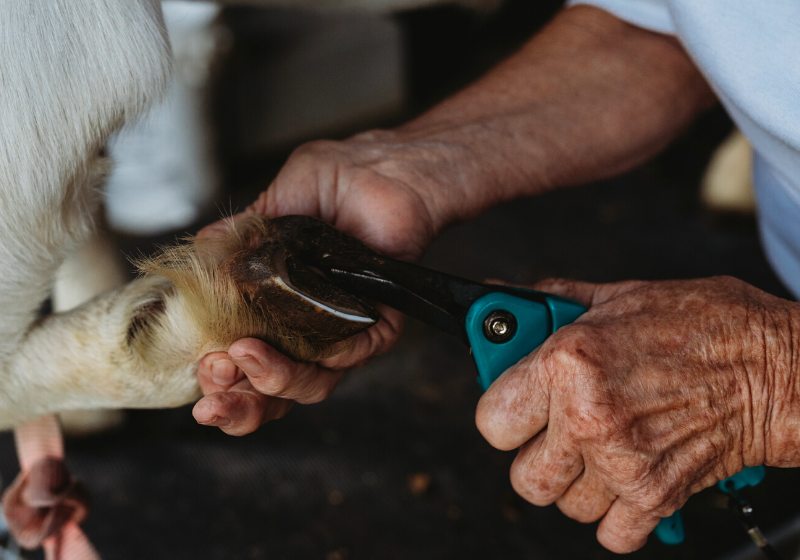
The part you want to focus on is the hard outer shell. When it needs trimming, it will extend below the bottom of the hoof surface like this.
Clean up the excess dirt in and around the hoof, using your brush and pick tool or the end of your scissors. Using the scissors, cut away the excess shell material.
Do one toe at a time. Be sure to get all the way around the toe, including the area in between the toes.
Step 6: Trim Rubbery Flesh
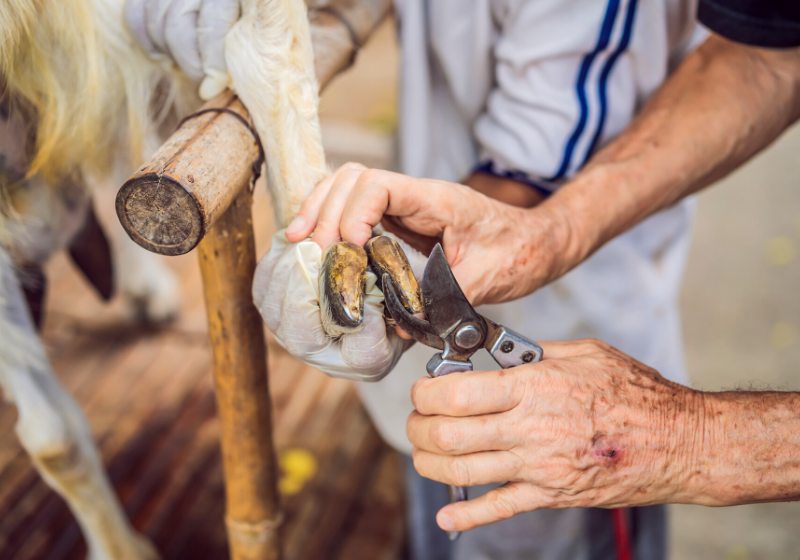
Next, trim the heel, the fleshy rubbery part on the back of the hoof surface. Again, take small slices. If the rubbery inner part of the rest of the hoof is elevated, you can trim that back too.
Your goal is for the bottom of the hoof to line up with the horizontal lines in the outer shell. I always like to joke that Mother Nature put those lines there just for me, to use as a guideline, but that might not be quite true.
If the hoof is badly overgrown, do not try to remedy it all in one session. Take off a little at a time and revisit it often.
This allows the goat to become adjusted to the new hoof shape gradually and ensures you will not inadequately injure the animal.
Step 7: Smooth the Hoof
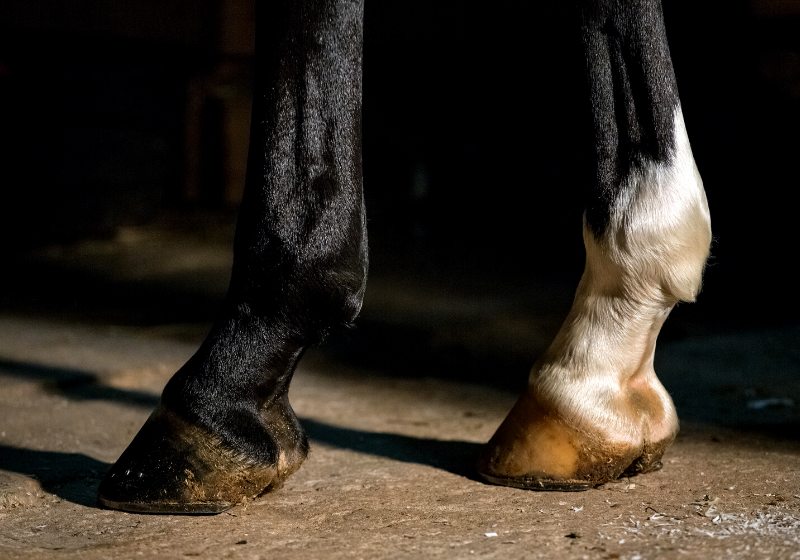
Your finished hoof should look something like this. You can use your rasp to smooth it out, but you don't need to.
It is important to watch for pink, and stop cutting when you see it. That is blood near the surface of the hoof, which is completely natural, but you do not want to go deeper and cause the hoof to bleed.
If you do get a little blood, do not panic. My experience is that a small cut does not bother the goat at all, often it will not even flinch. Spray the cut thoroughly with antiseptic spray, and keep an eye on it for a few days.
If the goat seems lame or is favoring the foot, or if you see any signs of infection, call your vet. When the hoof is done, it will stand all nice and flat.
Watch this video by OSUMeatGoat for a basic hoof-trimming tutorial:
Once you develop a regular routine, you will be able to tend your goats' hooves quickly and easily. It can become a very pleasant experience for all involved.
Your goat will enjoy the extra grain and attention, and you will be satisfied to know that you are taking good care of your animals!
Have tried trimming your goat's hooves before? Share your experience with us in the comments section below!
Up Next:
- 19 Goat Milk Soap Ideas To Soothe The Skin | Homesteading
- Goat Gestation and Kidding [Chapter 7] Raising Goats | Homestead Handbook
- How To Make Essential Oils At Home | Homesteading Skills
Fellow homesteaders, do you want to help others learn from your journey by becoming one of our original contributors? Write for us!
Follow us on Facebook, Instagram, Pinterest, and Twitter!
Editor’s Note – This post was originally published on November 8, 2019, and has been updated for quality and relevancy.

[…] of blood-clotting bandage or antiseptic on hand. As a homesteader I keep it handy when I’m trimming my goats hooves, it works wonders. Learn more about it […]