
Can’t have ice cream because of lactose intolerance? Opt to make your own low-lactose cold treats! Keep reading for a step-by-step guide on how to make rich, creamy goat milk ice cream straight from your kitchen.
RELATED: How to Milk a Goat [Chapter 8] Raising Goats | Homestead Handbook
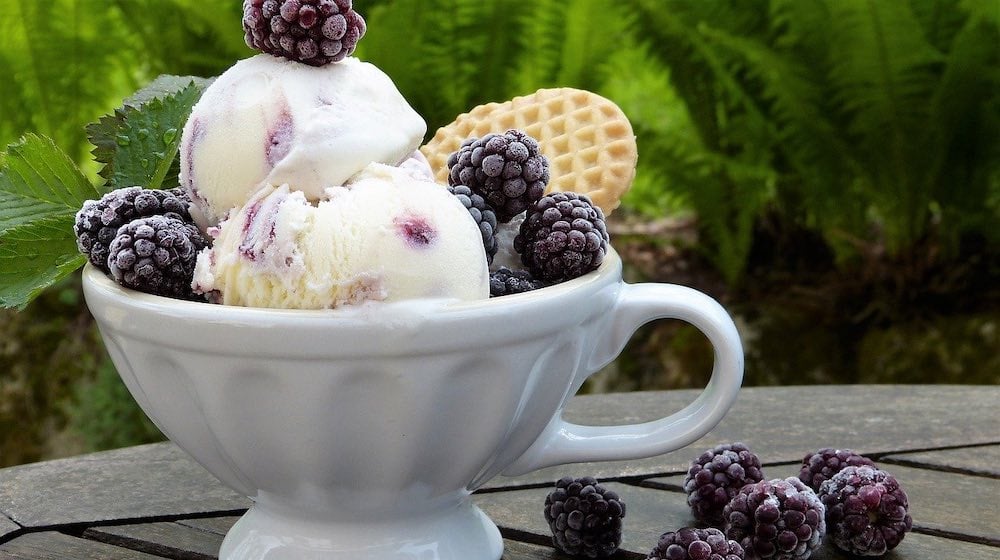
Rich, Creamy Homemade Goat Milk Ice Cream Recipe
Ingredients:
- 2 to 4 Tbsp goat’s milk powder
- 2 large eggs
- 3/4 cup granulated sugar
- 3 cups goat milk
- 1 tsp. vanilla
Step 1: Separate the Yolk from the Whites
View this post on Instagram
Crack open the two large eggs and separate the yolks from the whites. Set aside the egg whites in a container for future use because we won’t be needing them for this goat milk ice cream recipe.
Step 2: Prepare the Saucepan
Take out a medium-sized saucepan, place over low heat, then add in everything save for the tablespoons of vanilla. Slowly increase the heat to medium as the ingredients start to bubble.
Note: To prevent the eggs from frying, make sure you frequently whisk the goat milk ice cream mixture.
RELATED: 19 Goat Milk Soap Ideas To Soothe The Skin | Homesteading
Step 3: Keep Cooking the Milk Mixture
Do not rush the cooking process by bringing up the fire. The goal is to scald the milk mixture without having it bubble or boil.
Keep cooking the milk mixture over medium heat for eight minutes until it reaches 170 degrees Fahrenheit. If you don’t have a cooking thermometer, however, opt to use a spoon.
Stick the spoon in the milk mixture after eight minutes of scalding and see if the liquid sticks to it. You’ll know the milk is ready if it’s already rich and thick enough.
Around two minutes before removing the milk mixture from the heat, scoop in the vanilla. It’s important to add the vanilla only toward the end because doing so from the start will cause its alcohol extracts to make the milk mixture taste bitter.
Remove the milk mixture from the heat, let cool, then immediately dump in an ice bath. If no ice bath is available, you can opt to store the mixture in the refrigerator overnight.
Step 4: Churn the Milk Mixture
View this post on Instagram
Turn the stand mixer on and set it to stir, slowly pour the chilled goat milk ice cream mixture in, then churn the mixture for around 30 minutes.
Make sure to switch the stand mixer on before pouring in the milk mixture. Otherwise, you’ll find chunks and stains of milk on the sides of the bowl.
Also, feel free to experiment with the speed of the stand mixer. See how setting the speed one level above the stir mode will affect the consistency of your goat milk ice cream mixture.
Note: If you’re adding mix-ins, scoop them in 20 minutes into the churning process.
Step 5: Serve and Enjoy!
View this post on Instagram
After churning the mixture, transfer the mixture to a freezer bowl then refrigerate for a few hours before serving. However, if you want to enjoy your goat milk ice cream soft serve-style, then opt to serve the treat directly after you churn it.
Check out this easy five-ingredient goat milk ice cream recipe by Copperhead Road Homestead:
What makes goat milk ice cream so great is that it has lower lactose levels than cow milk, so most lactose-intolerant patients can safely eat this delicious cold treat. If symptoms arise, however, we advise consulting with a medical professional.
Also, don’t be afraid to modify the recipe. Feel free to mix in some chocolate bites, sprinkles, syrup, nuts, berries, or whatever toppings you want.
Have you ever tried goat milk ice cream before? Share your dessert experience with us in the comments section below!
UP NEXT:
- Raising Goats For Milk, Meat, and Profit | Homesteading Handbook
- How to Make Goat Cheese | Goat Cheese Recipes [Chapter 10] Raising Goats
- Can You Eat Honeycomb? 9 Benefits and Uses of Honeycomb
Fellow homesteaders, do you want to help others learn from your journey by becoming one of our original contributors? Write for us!
