
Want to learn how to make feta cheese? Look no further! We prepared a simple guide for you where you can make homemade feta cheese in just 10 easy steps.
RELATED: Doing Dairy: Why Homemade Feta is Always Bettah!
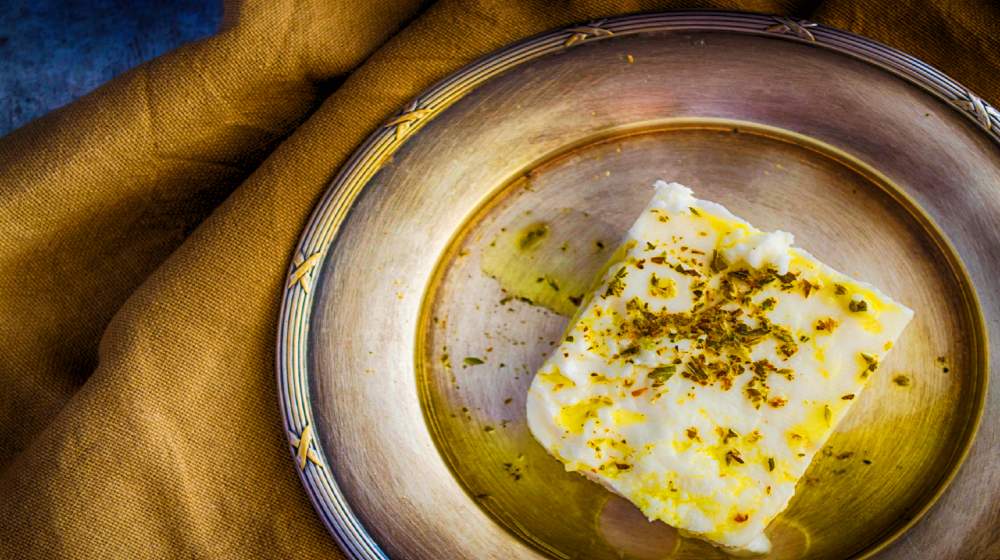
Quick Feta Cheese Recipe in 10 Easy Steps
Total Cooking Time Estimates
- Preparation time: 10 to 15 minutes
- Cooking time: 3 hours
- Brining and air-drying time: 48 hours
- Total servings: 16 to 24 servings
Ingredients Needed
- 1 ½ teaspoons of calcium chloride
- ½ vegetable rennet tablet (dissolved in ¼ cup of water)
- 1 gallon of goat milk (if goat milk is unavailable, any type of whole milk will do)
- 1 pack of Mesophilic starter culture
- 1 ½ pounds of Kosher salt (any non-iodized salt will do)
Materials Needed
- Large stainless steel pot
- Cheese mold or colander
- Cooking thermometer
- Cheese knife or any long-bladed knife
- Cheesecloth or butter muslin
Step 1: Pour the Milk Into the Pot
Begin the cooking process by heating the milk in a medium-high heat setting so the milk will heat up gradually. We recommend getting the milk out of the fridge that at least 30 minutes before cooking. This will help avoid the milk from getting shocked by the sudden change in temperature.
Step 2: Increase the Heat up to 86 Degrees Fahrenheit
For the next five to ten minutes, gradually increase the heat setting it already reaches 86 Degrees Fahrenheit.
Step 3: Add the Mesophilic Starter Culture
Once the milk reached the desired temperature, add the starter culture. This will help ripen the milk and give feta cheese it’s unique flavor.
Stir the culture gently, until it is evenly distributed and fully dissolved. Keep the temperature at 86 Degrees Fahrenheit for one hour.
Step 4: Add the Calcium Chloride
Stir the calcium chloride gently until it is completely dissolved in the milk mixture. Leave the mixture alone for around 30 minutes.
What is Calcium Chloride? Calcium Chloride is a kind of salt solution. It is used to restore the amount of calcium that is lost during the pasteurization process of the milk.
RELATED: Ricotta Cheese Recipe
Step 5: Add the Dissolved Rennet Into the Milk Mixture
Once the milk mixture is ready, add the dissolved rennet into the milk mixture. If you see some leftover rennet bits on the surface of the milk, dip it back. Give it a good stir, and cover it for an hour.
REMINDER: We advise that you dissolve the rennet tablet in water in advance, because it may take some time to release its active ingredients. Alternatively, you can also buy liquid rennet and mix it directly into the mixture.
What is Rennet? Rennet is a type of enzyme that can help curd milk and separates out the liquid from the milk.
Step 6: Cut the Curd Into a Grid and Stir
After an hour, you will find that your milk mixture has already turned into one solid mass of curd. If the curd hasn’t solidified yet, you can wait for another 30 minutes.
The next step is to slowly cut the curd into small squares, about an inch thick. Each time you cut, wait for around 30 seconds before making another cut. Doing this will help release the whey from the curd. Remember to make sure that your slices should reach the bottom of the cooking pot.
Stir the curd gently, until the yellow whey is already released from the small solid curd squares. If you want to make it more solid, heat the pot back at a low temperature, and stir it for about five to ten more minutes.
Step 7: Pour the Curd Into the Cheese Mold
Line your cheese mold with cheesecloth. Scoop the curb and pour it into the cheese mold. Once all the curd is already in the cheese mold, fold the cheesecloth on top of the curd.
TIP: If your curd is fairly weak, you may want to double the cheesecloths you are going to use. Then, get a bowl that is big enough to catch all the whey that will drip from the curd.
Step 8: Drain the Curd
For the next 12 to 24 hours, you will see that the yellow whey will already drain from the curd. To help release the whey faster, you can put a bit of weight on top of your wrapped curd.
You can fill a cup of water, and put it on top of the curd. Alternatively, you can also use other heavy cooking materials as weight. To evenly distribute the weight, you can also flip the cheese every two hours.
Step 9: Salt the Cheese
After around 18 hours, your curd will now be a firm cheese. If you want a really dry feta cheese, you can unwrap your cheese and place it on a cutting board for around three to four hours to dry. Once you have already achieved your desired cheese firmness, you can already cut it and rub it with salt.
Step 10: Store the Cheese in the Fridge
After sprinkling some salt, store the cheese in the refrigerator for around three to five days.
Congratulations, you just made feta cheese!
If you are curious on how to make Persian feta or marinated feta cheese, follow this YouTube video made by Gavin Webber:
Indeed, learning how to make feta cheese at home is easy. It requires basic and inexpensive ingredients that you can readily buy from a grocery store. And if you’re in the mood to experiment, you can also explore making marinated or spiced feta cheese at home.
Where do you usually use your feta cheese? Share some of your recipes in the comments section below!
UP NEXT:
- Where Does Cheese Come From? A Cheese and Animal Guide
- How to Make Goat Cheese | Goat Cheese Recipes [Chapter 10] Raising Goats
- How To Freeze Blueberries In Your Homestead
Fellow homesteaders, do you want to help others learn from your journey by becoming one of our original contributors? Write for us!
