
Do you think strawberries go bad too quickly? Good news! Here’s a complete guide on how to freeze strawberries so you can boost their lifespan to over a year! It’s easier than you think.
RELATED: How To Freeze Blueberries In Your Homestead
Step-By-Step Guide on How to Freeze Strawberries and Keep Them Fresh
What You’ll Need:
- fresh strawberries
- strawberry huller
- baking sheet
- colander
- paper towels
- sharp knife
- plastic or silicone freezer bags
- wooden spoon
Step 1: Prepare the Strawberries
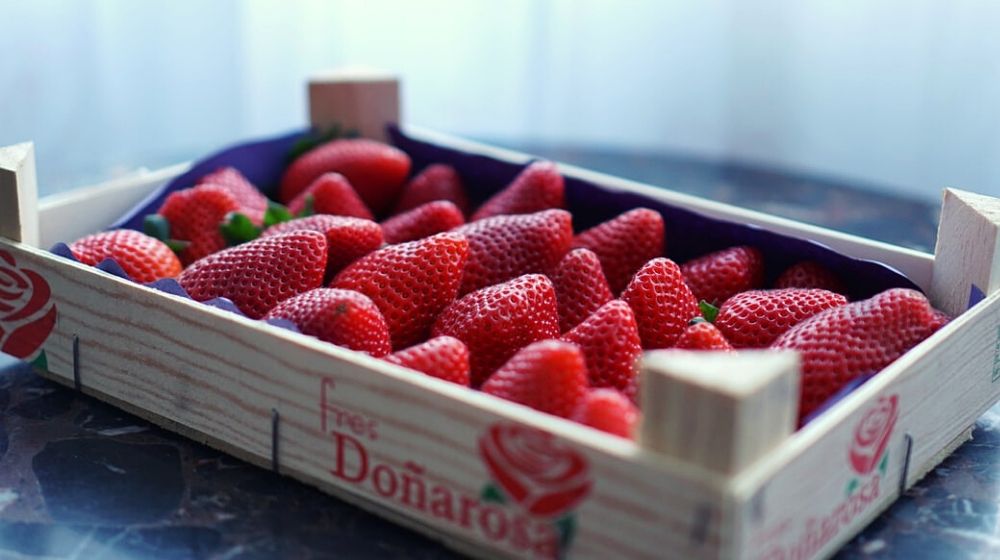
First thing’s first, clean the strawberries. Even if you grew them yourself, there’s no saying what kind pests and insects crawled into your sweet little crops.
Place the freshly picked strawberries in a clean colander then run thoroughly with cold water. Gently rinse and scrub every individual berry until they come out looking bright red.
Afterward, lay them out on clean paper towels to dry.
Note: If you’re storing the strawberries normally in the refrigerator, only wash them before consumption. Washing then refrigerating strawberries increases the risk of mold growth.
Step 2: Remove the Strawberry Hulls
Don’t slice off the strawberry hulls! It’s a very inefficient practice that wastes a lot of the strawberries’ juices. Remember that these are responsible for giving berries that sweet, zesty flavor you love.
Instead, opt to hull them. Take your strawberry huller and drive them through each individual berry.
If you don’t have a strawberry huller, you can opt to use a sharp knife. Drive the tip of the knife at the edge of the hull, the leaves at the top.
Then, slice in a circular motion to cut it off. Make sure to remove not just the leafy part, but the stem and core as well. Throw the discarded hulls out.
Step 3: Slice the Strawberries in Half
Technically, when you choose to slice the berries doesn’t matter. However, slicing before storing them in the freezer is so much easier since it’s tricky to cut frozen berries.
When it comes to the actual slicing, note that you have the freedom to do whatever kind of cut you want. You can slice them as thick or thin as you want.
However, it’s best to stick to halves and quarters for versatility. After all, most smoothie and pastry recipes require evenly halved fruits and berries.
RELATED: A Gardener’s Guide On How To Grow Strawberries
Step 4: Spread Them Out on a Baking Sheet
Take the prepped strawberries and lay them flat on your baking sheet. Make sure they don’t touch each other. Otherwise, you’ll run the risk of rotting or infecting them.
So if you have too many strawberries, we suggest using multiple trays instead of forcing them to fit in just one container.
Step 5: Freeze the Strawberries
After laying down the cleaned, hulled, and sliced strawberries properly on the baking sheet, it’s time to freeze them. Generally, one tray should take around one to four hours to freeze.
If you have multiple trays, however, extend the freezing time. The strawberries should look iced and frozen solid.
Tip: Freezing more than three trays? Do the prep work late in the day so you can freeze the batches overnight.
Step 6: Store the Strawberries
Finally, it’s time to store your strawberries! Grab the plastic/silicone bags, squeeze as much air out of them as possible, then transfer the berries into them using a clean wooden spoon. Avoid touching the frozen berries with your bare hands.
The kind of freezer you store them in doesn’t matter. However, we advise against stacking them with raw meats and fishes. Otherwise, the stench might affect your frozen batches.
Also, try not to store them in the freezer’s door. Doing so will expose them to different temperatures as you open and close the freezer.
Note: Freezing strawberries allows you to keep them fresh for around a year. For maximum freshness, however, we suggest consuming them within six months of storage.
What to Do With Frozen Strawberries?
You’re now ready to eat your frozen berries! Now, the only problem is figuring out what the best way to enjoy these sweet, frozen treats is. Here are some suggestions:
1. Eat Them As-Is
Enjoy your frozen delights just the way they are! No need to worry about blending, baking, or boiling them. All you need to do is to rinse them in cold water, transfer to a clean bowl, and you’re good to go.
Pro Tip: Thaw them out for a few minutes prior to consumption. Frozen berries are nice, but they might be a bit hard to chew. Or you can opt to let them melt in your mouth like candy.
2. Bake Into Cakes
Whip out your apron, bust out some pastry recipes, and get ready to bake some warm, decadent baked goodies topped with sweet, zesty, fun-sized berries!
For most cake recipes, you can opt to mix the frozen berries in the batter. No need to thaw them out first. They’ll soften on their own when you place the batter in the oven.
3. Pulse Into Smoothies
For your breakfast-on-the-go, opt to blend a delicious, zesty strawberry-infused smoothie! Some ingredients might go well with strawberries include vanilla, yogurt, ice cream, and various sweet fruits.
4. Turn Into Pies
Add a bit more flavor and color to your fruit pies by mixing in some sweet, zesty, and tangy strawberries! Similar to cakes, you don’t have to thaw out the berries prior to baking. Simply fold the frozen berries as-is in the batter and wait for them to melt on their own once you bake them.
Check out this video by Frugal Family Home where they explain three different ways how to freeze strawberries:
Strawberries are notorious for having a short shelf life. In fact, a fresh batch will only last one to two days if left on the counter. But by freezing them, you’ll be able to prolong their lifespan to around 12 months!
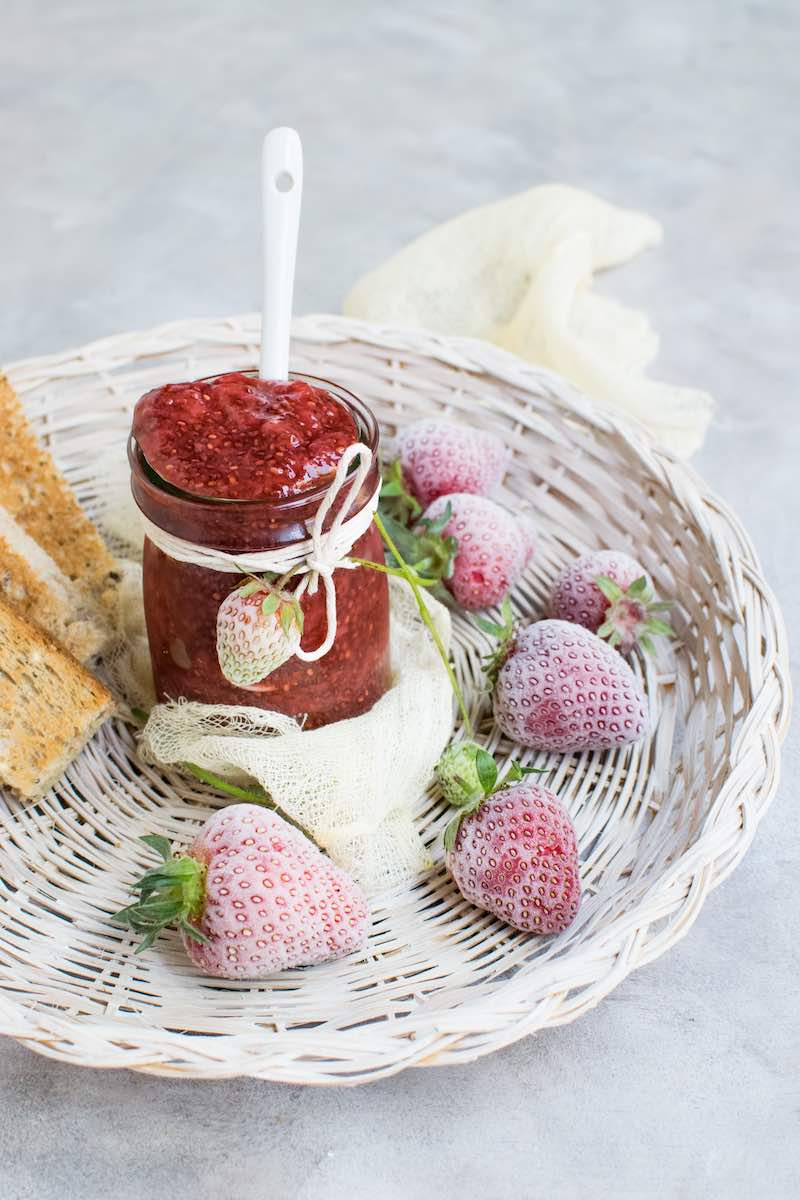
Apart from learning how to freeze strawberries, we encourage readers to explore the other ways you can extend their shelf life such as canning them into sweet preserves. Although, keep in mind that this technique might be a bit difficult for beginners. So practice with caution!
Did this guide help you learn how to freeze strawberries the right way? Post any questions you have in the comments section below!
Fellow homesteaders, do you want to help others learn from your journey by becoming one of our original contributors? Write for us!
UP NEXT:
