


Quick Look at Tanning Hides at Home
- Hide tanning preserves animal skins so they don’t rot and can be used as leather.
- Proper fleshing and salting are the most important steps for success.
- Alum tanning is one of the easiest and safest methods for beginners.
- The process takes several days, but active work time is minimal.
- Softening the hide while it dries determines whether the leather stays flexible.
Related: 145 Homesteading Skills
How to Tan a Hide at Home (Beginner-Friendly, Step-by-Step Guide)
Tanning a hide at home is one of the most rewarding traditional skills a homesteader can learn. When done correctly, tanning transforms a raw animal hide into durable, usable leather or soft buckskin that can last for decades.
This guide walks you through a simple alum tanning method, explains why each step is important, and highlights common mistakes that can cause hides to rot, stiffen, or lose hair.

What Is Hide Tanning?
Hide tanning is the process of preserving animal skin to prevent decay. Raw hides naturally contain moisture and proteins that bacteria love. If left untreated, a hide will rot within days.
Tanning:
- Prevents decomposition
- Strengthens the hide’s fibers
- Creates flexible, usable leather
There are many tanning methods, some ancient, some modern, but all successful tanning follows the same principles: cleaning, stabilizing, and softening the hide.
What you’ll need to tan a hide:
Before starting, gather everything first. Interruptions during tanning often cause failure.
Supplies
- Fresh or properly salted animal hide
- Non-iodized salt
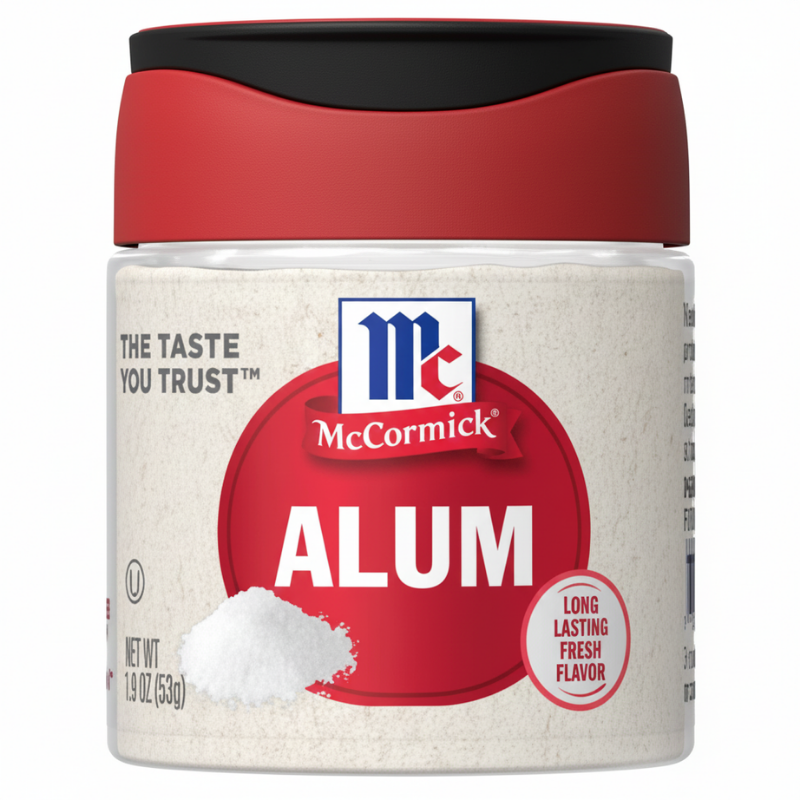
- Alum (potassium aluminum sulfate)
- Washing soda (or baking soda)
- Large plastic bucket or tote
- Clean water
- Rubber gloves
- Wooden stick or spoon
- Fleshing knife or dull scraper
Tip: Avoid metal containers, as alum reacts with metal and can damage the hide.
Step 1: Flesh the Hide (Most Important Step)
Lay the hide flesh-side up and remove all meat, fat, and membrane. Any tissue left behind will rot and cause hair slippage later.
Why this matters: Fats and meat trap bacteria. Even a small patch can ruin the entire hide.
Common mistake: Rushing this step.
Step 2: Salt the Hide Thoroughly
Cover the flesh side completely with a thick layer of non-iodized salt. Let it sit for 24–48 hours, then shake off wet salt and reapply fresh salt if needed.
What salt does:
- Pulls moisture out
- Slows bacterial growth
- Buys you time before tanning
Let the hide stiffen slightly but not dry rock-hard.
Step 3: Rehydrate the Hide
Before tanning, the hide must be flexible again.
Soak it in clean water for 30 minutes to 1 hour, until soft but not slimy. Rinse thoroughly to remove salt residue.
Step 4: Mix the Alum Tanning Solution
In a large plastic container, dissolve:
- 1 pound alum
- ½ pound washing soda
- 4–5 gallons of warm water
Stir until fully dissolved.
This solution stabilizes the hide’s proteins so they resist decay.
Step 5: Soak the Hide
Submerge the hide completely in the solution. Use a stick to push out air bubbles.
Soak time:
- Small hides: 3–5 days
- Large hides: up to 7 days
Stir once daily to ensure even penetration.
Step 6: Rinse and Neutralize
Remove the hide and rinse thoroughly in clean water. If it feels slick or slippery, rinse again.
This step prevents the hide from becoming brittle later.
Step 7: Dry Until Damp (Not Fully Dry)
Hang or lay the hide flesh-side up until it feels cool and damp, not dripping wet.
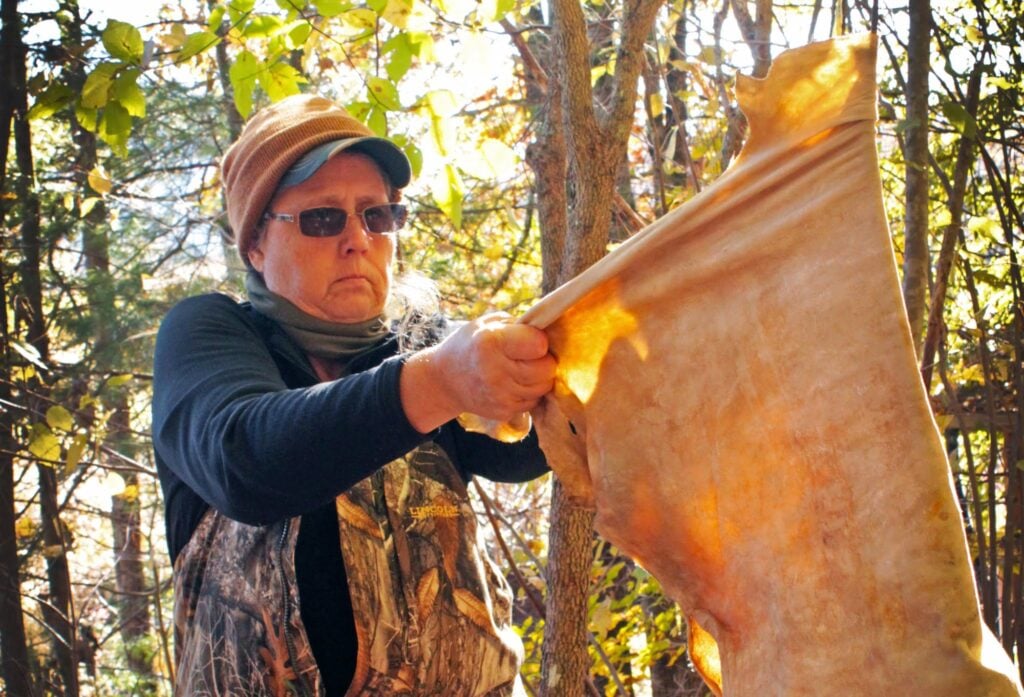
Step 8: Soften the Hide (Where Leather Is Made)
This step determines whether your hide becomes soft leather or stiff rawhide.
Work the hide continuously by:
- Pulling
- Stretching
- Rubbing over a rounded edge
Do this until the hide dries completely.
Expect effort. Soft leather is earned, not soaked.
How Long Does the Process Take?
| Stage | Time |
|---|---|
| Fleshing & salting | 1–2 days |
| Rehydrating | 1 hour |
| Alum soak | 3–7 days |
| Drying & softening | Several hours |
Common Problems in Tanning Hides (and How to Fix Them)
❌ Hair Slipping
Cause: Poor fleshing or bacterial growth
Fix: Flesh more thoroughly; keep the hide cool
❌ Stiff Leather
Cause: Not softening while drying
Fix: Re-dampen slightly and continue working
❌ Bad Odor
Cause: Incomplete salting or rotting tissue
Fix: Discard; odors rarely go away
Alternative Tanning Methods (Brief Overview)
- Brain tanning: Traditional, very soft buckskin
- Vegetable tanning: Uses bark tannins; longer process
- Commercial tanning: Requires professional equipment
Alum tanning is ideal for beginners because it’s forgiving and accessible.
Safety Notes
- Always wear gloves when handling raw hides
- Wash your hands thoroughly after each step
- Keep hides away from pets and food areas
Raw hides can carry bacteria; respect the process.
Mastering the Skill of Tanning Hides at Home
Learning tanning hides is more than just a practical homesteading skill; it’s a connection to a tradition humans have relied on for thousands of years. With the right preparation, patience, and attention to detail, anyone can turn a raw hide into durable, usable leather. The key is respecting each step of the process: thorough fleshing, proper salting, careful tanning, and consistent softening. Don’t be discouraged if your first hide isn’t perfect; each attempt builds experience and confidence.
Take the Next Step in Your Homesteading Journey
Ready to put this knowledge into action? Start with a small hide, follow the steps carefully, and document what you learn along the way.
👉 Bookmark this guide, share it with a fellow homesteader, and try tanning your first hide this season.
If you want more hands-on tips, printable checklists, or advanced methods, explore our other homesteading guides and continue building real, self-reliant skills, one project at a time.
If you’d like to see how to tan a hide, you can watch this video tutorial from Marsh Prepper.
What do you think of this tutorial on tanning hides? Let us know in the comments section what your thoughts are on this homesteading skill. Do you think you’ll give it a try? Let us know how it went and share your experience with us in the comments section below.
Have any homesteading projects you’d like to share? Share it with us, and we’ll give it a try. We’d love to know what you think!
Want more? I’m sure you’ll LOVE these other posts:
- How to Grow All The Food You Need In Your Backyard – Homestead Handbook
- 9 Things I Always Have at the Barn | Homesteading Essentials
- Livestock Options for Meat on a Homestead
Frequently Asked Questions
How long do tanning hides take at home?
Tanning a hide at home typically takes 4 to 10 days, depending on hide size and method. Most of the time is passive soaking, while hands-on work happens during fleshing and softening.
What is the easiest way to tan hides for beginners?
The alum tanning method is the easiest option for beginners because it uses inexpensive materials, doesn’t require special tools, and produces reliable results when steps are followed carefully.
Can you tan a hide without chemicals?
Yes, hides can be tanned using traditional methods such as brain tanning or vegetable tanning with tree bark. These methods take longer and require more experience but avoid manufactured chemicals.
Why is my tanned hide stiff instead of soft?
A hide becomes stiff if it is not worked and stretched while drying. Continuous softening as the hide dries is essential to produce flexible leather instead of rawhide.
Is it safe to tan hides at home?
Tanning hides at home is safe when basic precautions are followed, including wearing gloves, keeping hides cool, and washing hands thoroughly. Raw hides can carry bacteria, so cleanliness is critical.
What animals’ hides can be tanned at home?
Common hides tanned at home include deer, goat, sheep, rabbit, and cow hides. Smaller hides are easier for beginners to manage.
