Want to know how to make seed tape? If you want an easy way to space your seeds when you grow them, this is it!
How to Make Seed Tape
The hardest thing about growing seeds is spacing them apart when sowing. The spacing cannot be too far apart to prevent unused space, and at the same time cannot be too close, to prevent the crops from touching each other when they grow. It is always such a pain trying to dig the holes and dropping them in, and it's really time-consuming as well.
So I encountered something called “Seed Tape” at the store, I really wanted to buy it, but noticing the price, I restrained. The price was over $5 for a small pack of only 3 ft. of seed tape! That was far too much.
So at home I thought of a cool way to make seed tape yourself. It is really easy and a great project for kids! I also really enjoy making these in the winter when I have nothing better to do than to read seed catalogs …or order them online.

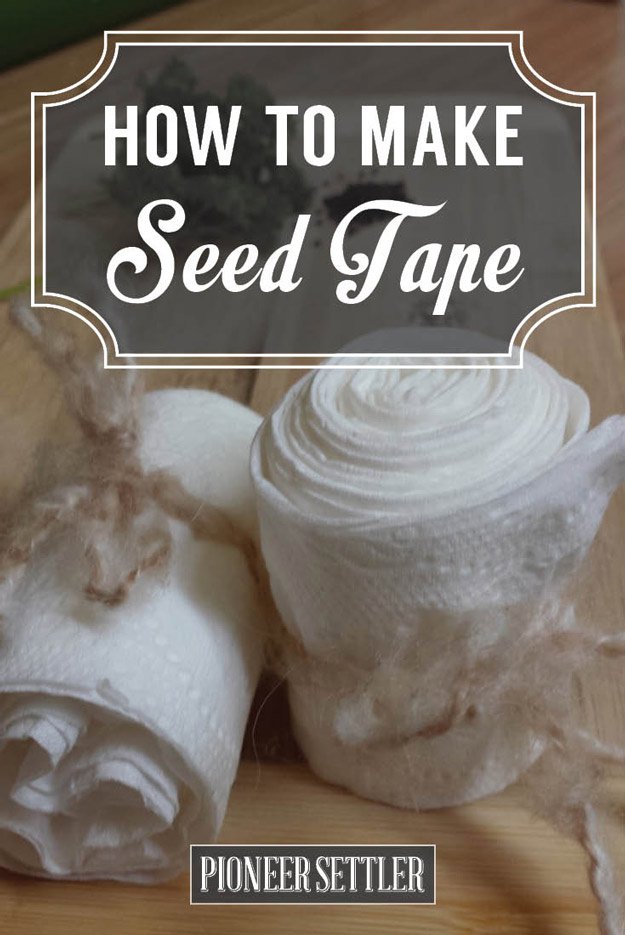
This is what seed tape looks like. We're about to make something very similar, but a lot cheaper. Follow along below!
How to Make Seed Tape
You will need the following to make DIY seed tape:
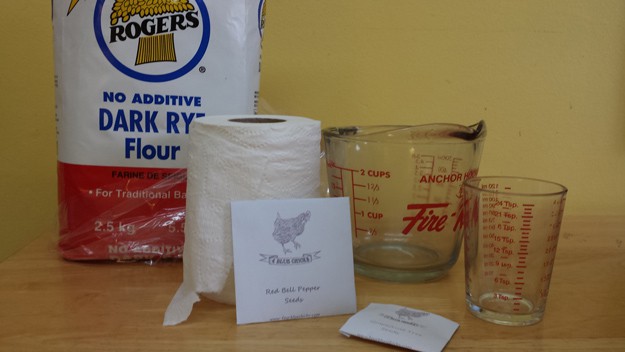
- flour
- measuring cup
- liquid measure
- spoon
- thin paint brush
- toilet paper
- seeds of your choice
Step 1
Roll out as much toilet paper as needed. Don't worry if you make too much, as you can always cut it if needed. I like made these seed tapes go all the way across the length of my raised garden beds, so I need 8 feet of toilet paper.
Step 2
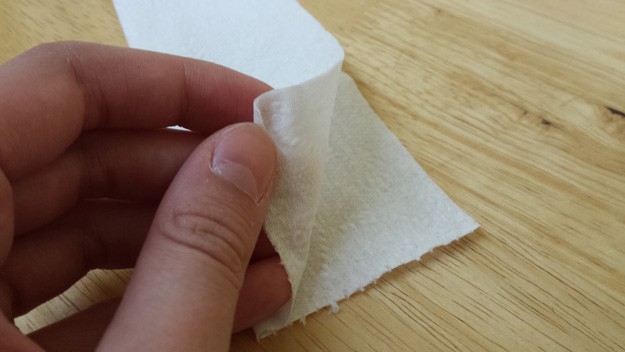
Crease the toilet paper in half, and unfold. Make sure that you have left a visible fold down the middle of the toilet paper. You will have to fold the toilet paper like that again, so the crease will tell you where to fold.
Repurpose a strawberry container to sprout your own seeds. Click for 32 more Seed Sprouti… https://t.co/gJtKhD5nBh pic.twitter.com/9XlZrKxpK0
— Homesteading (@HomesteadingUSA) April 2, 2016
Step 3
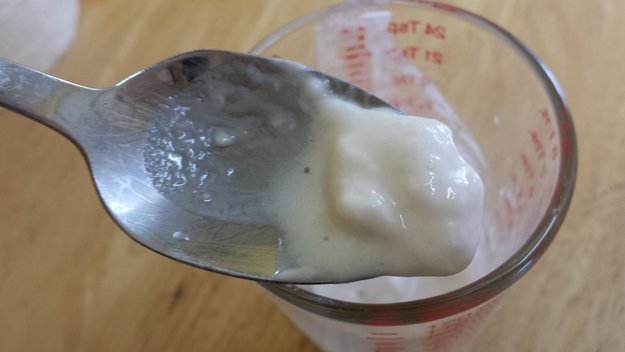
Take the small measuring cup and add some flour. Then, pour some water in the liquid measure, and carefully add drops of the water to the flour in the cup, and mix. The mixture should be gooey and wet. Not too wet though.
Step 4
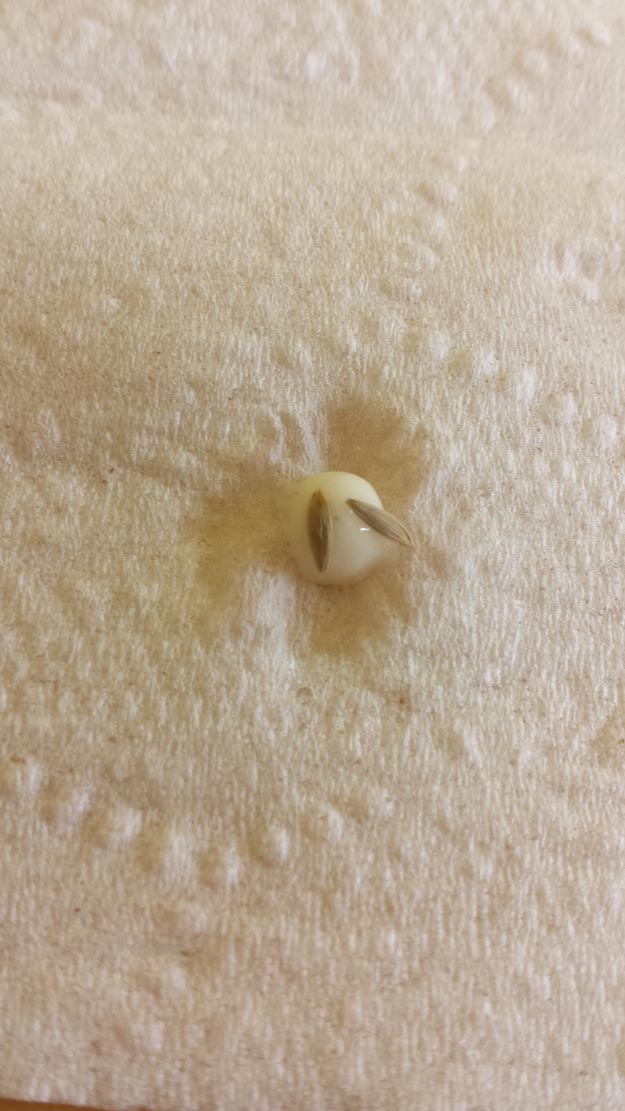
Use the brush and add small splotches of the flour mixture on the toilet paper, spacing them out evenly. Between the folds where the toilet paper is supposed to rip are good spaces to drop the mixture. Add one or two onto the flour mixture using either your fingers or the paint brush.
Step 5
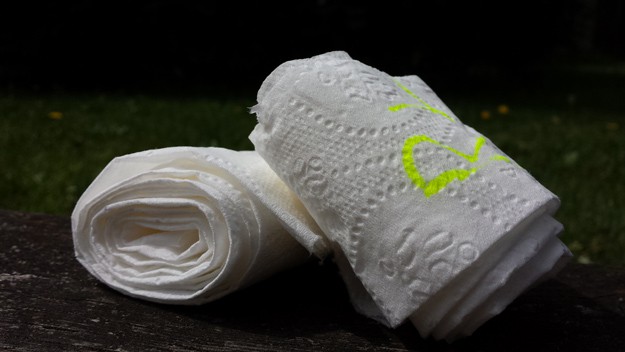
Now wait a little bit for the flour mixture to dry, just a tiny bit and fold the other side over to cover. Wait until you can't feel the moisture under the toilet paper and then roll them up and store for up to 1 month in a cool, dry place.
When it is time to plant, simply unroll the seed tape on your soil and cover with as much soil as needed. Make sure that the toilet paper is covered so that it is not seen under the soil.

This is so fun to make, and it makes me feel a lot more confident when it comes to spacing the seeds as I plant them. It will make your garden a lot more organized too!
This little project takes less than 10 minutes per roll, and is a great way to spend with the family during spring showers. 🙂
Want to see how to make it? Watch this video tutorial from GardenGirltv:

Thank-you for the information on how to make seed tape. How long can you store the tapes until planting time?
Great idea! I always wanted to buy since its terrible to this out and waste paid fir seeds.
You left out the word “seeds” in Step 4.
nice video,
i shared it