
Want to know how to remove labels from bottles? If you want to know how to remove sticker residue, then follow these easy steps.
How To Remove Labels From Bottles In 5 Easy Steps
Have you ever been cleaning out a bottle or jar to throw into the recycling bin and thought, “This is pretty cute! It’s a shame it’s got this big label on it”? Then you try to scrape it off only to be bested by all the sticky residue left behind and end up tossing it. No more! Here’s a sure-fire way to get rid of pesky labels so you can reclaim those bottles for some upcycled splendor.
What You’ll Need:
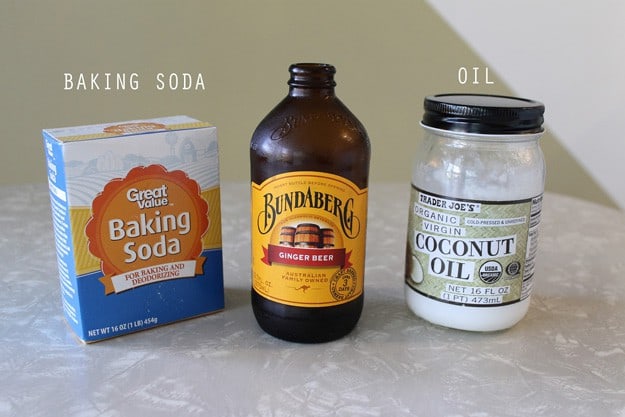
- baking soda
- oil of your choice
How to Remove Labels From Bottles:
Step 1: Soak Bottles In Warm-Soapy Water
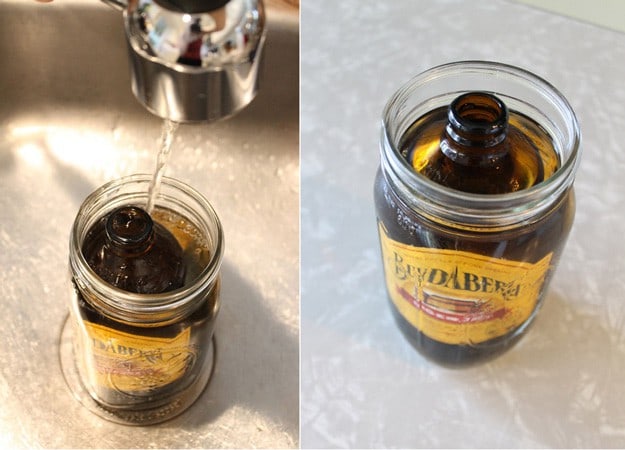
If you’re removing a few at a time, you can soak them in your sink. If you’re only doing one at a time and don’t want to waste all that water filling up your sink (or live in Drought-ifornia), just place the bottle in a larger cup or container. Plus, this way you can pour leftover water into house plants!
Fill both the bottle and the container with water so the bottle is completely submerged. Leave the bottles to soak for at least an hour. You want the label to get pretty soggy, which makes it easier to remove.
Step 2: Peel Off
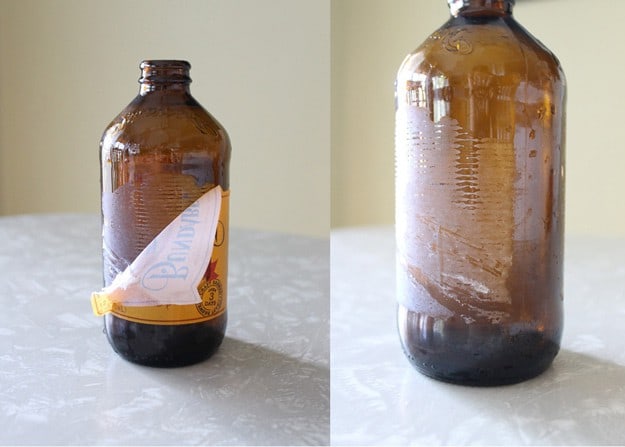
Peel off as much of the label as you can. There will be some stickiness left over. Try not to let the sticky part dry before the next step. If it does, just run it under some water to make it easier to scrub off.
Step 3: Make A Paste
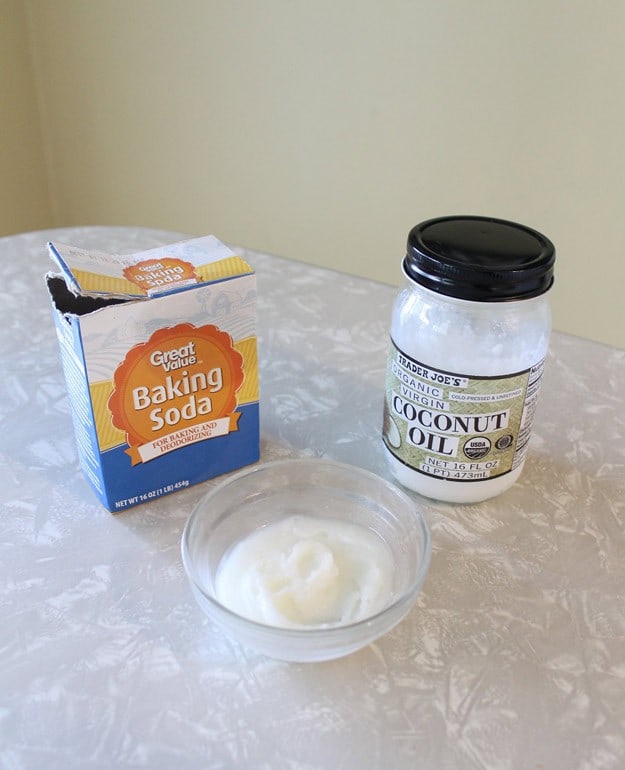
Make a paste of equal parts oil and baking soda. I prefer to use coconut oil, but other oils can be substituted. Depending on how many bottles you’re working with, start with 1 tablespoon of each and increase as needed.
Step 4: Work The Paste Over Label Residue
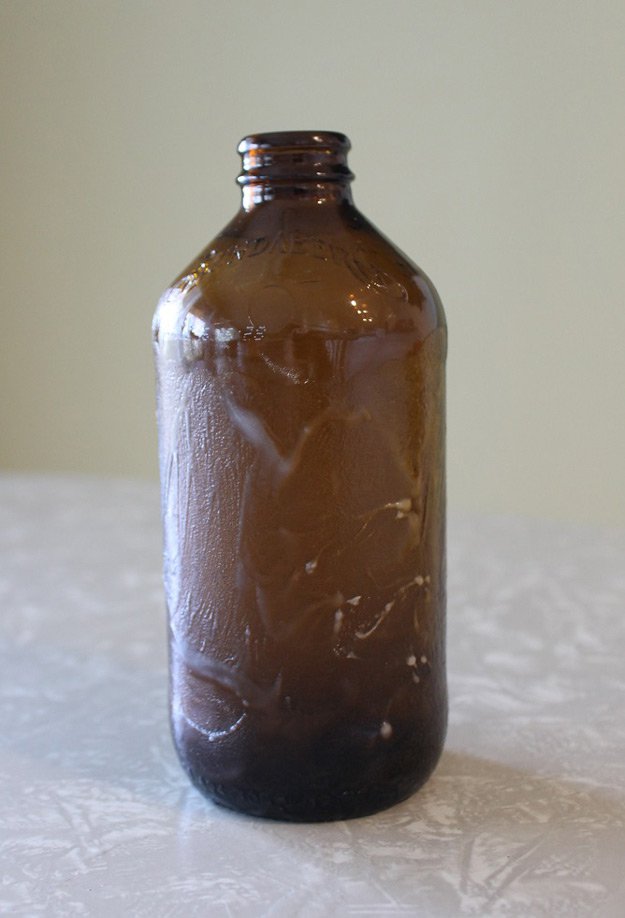
Using your hands, work the paste over label residue. You can also use one of those green scrubbers. The oil breaks down the stickiness while the baking soda provides light abrasion to rub it away. The paste can also be used to remove the dates stamped on bottles.
Step 5: Wash And Dry
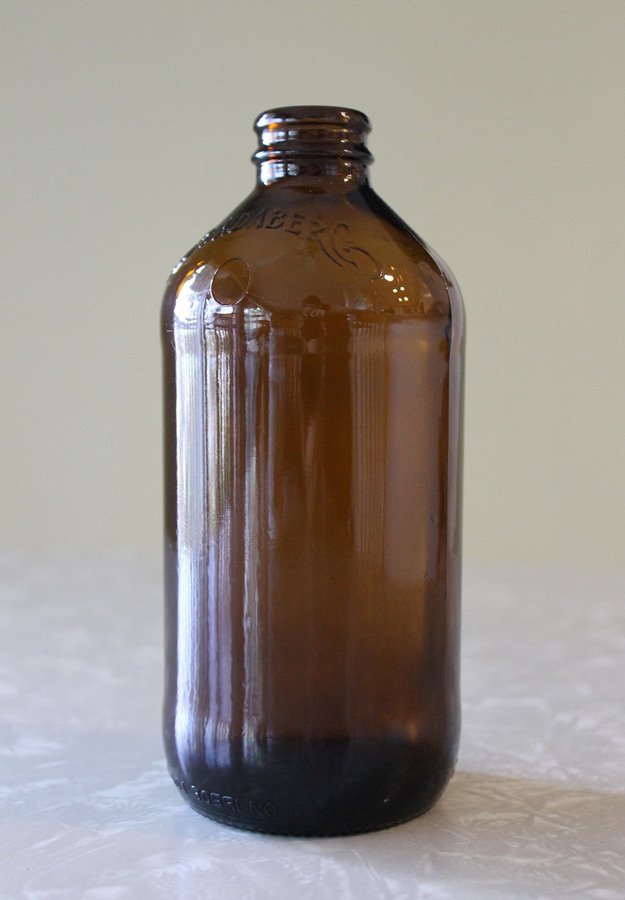
Once everything is removed, wash your bottle in warm soapy water and dry. Then, your bottle is now ready for any bottle DIY projects you have in mind!
Still Struggling? Here’s a very helpful video from redwinebuzz:
That’s it! No more tossing beautiful bottles. I like to gather a few small ones and group them together to use as centerpieces or in place of one large vase. Happy de-labeling!
What do you think of these steps on how to remove labels from bottles? Will you give it a try? Let us know in the comments section below.
Up Next: DIY Natural Household Cleaners | 5 Amazing Homemade Solutions

Follow us on Facebook, Instagram, Pinterest, and Twitter!
Editor’s Note – This post was originally published on November 2015 and has been updated for quality and relevancy.
