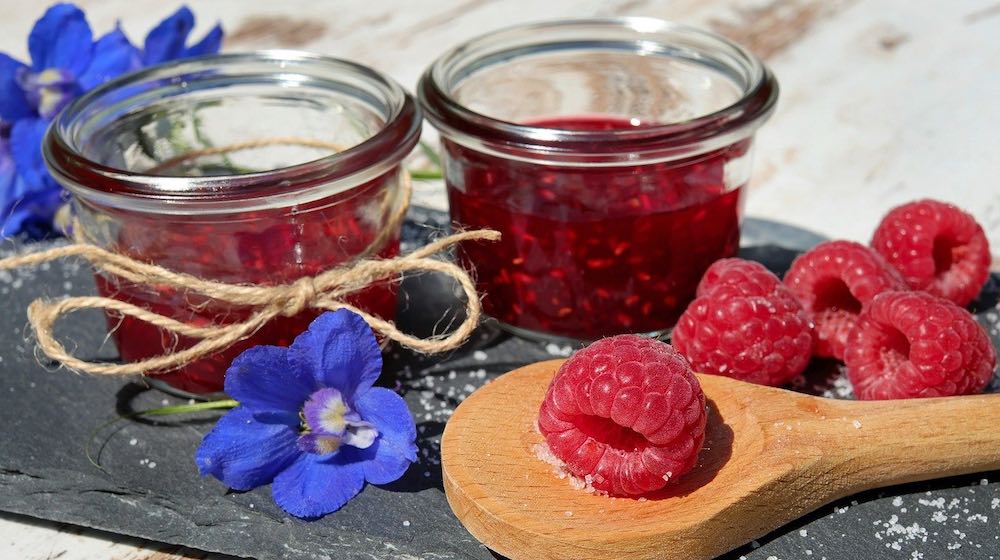

What better way to start the day than with some toast drenched in sweet, zesty, tangy raspberry jam? Here’s a simple raspberry jam recipe the whole family will love!
RELATED: 24 Perfect Blueberry Recipes To Make With Your Harvest | Homemade Recipes
Zesty, Refreshing Raspberry Jam Recipe for Sweeter Breakfasts
What You’ll Need:
Ingredients:
- 4 cups raspberries
- 4 cups granulated sugar
- fruit pectin (optional)
Cooking Utensils and Tools:
- stove
- clean processed glass jars
- oven
- ovenproof pan
- ladle
- wooden spoon
- metal spoon
- medium-sized saucepan
Step 1: Bake the Sugar
Pour all the sugar in a shallow ovenproof pan and then bake for 15 minutes at 250°F. This is done to heat sugar so it’ll dissolve easier.
Step 2: Prepare the Berries
While heating the sugar, it’s time to prepare the berries. Transfer to a large stainless steel saucepan then boil over high heat for one minute. Mash the berries with a wooden spoon and stir constantly until they dissolve.
Step 3: Cook the Jam
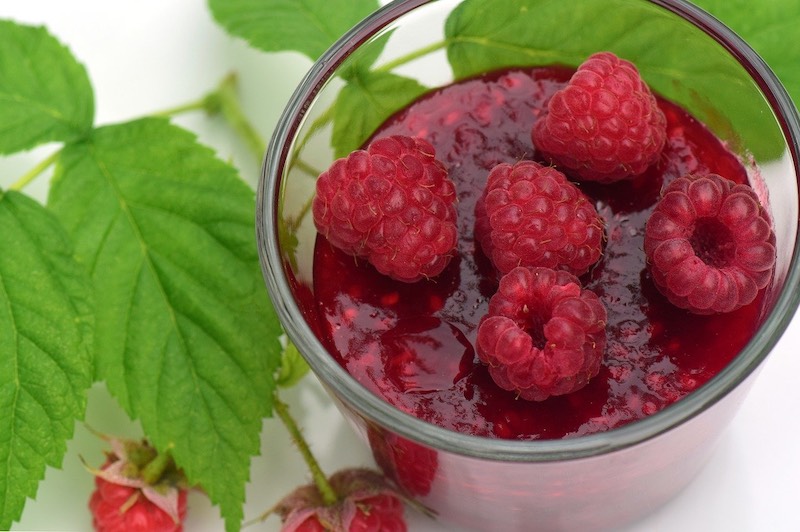
Once the sugar is ready, mix with the melted raspberries and heat for five minutes until the mixture is a thick, gel-like consistency.
A good way to check for doneness is the spoon test. Submerge a metal spoon in the jam mixture, stir around, lift the metal spoon, then observe the droplets. Do this a few times.
The droplets will be thin and runny the first time you do this. It’ll look somewhat similar to diluted fruit juice.
When you notice the consistency becomes thicker become droplets instead of runny, you know it’s ready.
Continue heating, stirring, and testing with the spoon until you see that the droplets on the spoon are thick and slow to move.
If you feel the jam is too thin, opt to add in some fruit pectin. You’ll have to balance the flavor out with added sugar, but the pectin will give your jam a thicker consistency. It’ll be similar to the ones you see at grocery stores.
RELATED: No Fuss Ways To Prepare Wheat Berries
Step 4: Transfer Jam to Sterilized Jars
By this time, you have a saucepan full of hot, thick raspberry jam. Let the mixture cool off for a few minutes before using a ladle to transfer it to a clean glass jar.
Note: Make sure the jar is clean and sterilized before pouring the jam into it.
How to Properly Store Homemade Jam
- Sterilize the jars by washing them and boiling in hot water over high heat for 10 minutes.
- Once you’re done, lift the jars up with tongs and then let cool on a rack of clean towels.
- Next, take out the canning rings, place in a medium-sized saucepan, fill with water, then bring to a boil.
- You can scoop the jam into the clean jars at the same time.
- Next, screw the lid on the jar, attach the canning rings, and then boil in hot water for another 10 minutes.
- Afterward, let the jar cool off for 12 hours.
Check out this raspberry jam recipe by Everyday Food:
Feel free to modify the raspberry jam recipe to suit you and your family’s specific taste. If you want to make the jam sweeter, pour in an extra cup of sugar. For those who want to make the mixture a little more sour and zesty, squeeze in a handful or two of extra raspberries.
Once you’re done preparing the jam, make sure to store the seal, unopened jar in a cool, dry place. However, once you’ve opened it, refrigerate right away. Also, don’t forget to use a serving spoon when scooping out jam.
Do you have any tips or hacks on making raspberry jam? Share your thoughts in the comments section below!
Fellow homesteaders, do you want to help others learn from your journey by becoming one of our original contributors? Write for us!
UP NEXT:
