• Home
  • Recipes
    • Appetizers
    • Breakfast
    • Quick and Easy Meals
    • Salad and Veggies
    • Side Dishes
    • Main Courses
    • Breads
    • Beverages
    • Desserts
    • Canning and Preserving
  • Skills
    • Craftmanship
      • Blacksmithing
      • Woodworking
      • Welding
    • Brewing & Distilling
      • Homebrewing
      • Distilling
    • Cooking & Food
      • Cheese & Dairy
      • Drying & Smoking
      • Canning
      • Fermentation & Pickling
    • Homemaking Skills
      • Candle Making
      • Soap Making
      • Spinning & Weaving
  • Projects
    • Workshop
      • Homes & Buildings
      • Sheds & Coops
      • Appliances & Equipment
    • Garden & Outdoor
    • Homemade Products
      • Home Remedies
      • Natural Beauty
      • Cleaning and Home
    • Textiles & Fabric Arts
      • Sewing
      • Knit and Crochet
      • Quilting Skills
      • Weaving
    • Crafts
      • Home Decor
      • Pottery
      • Upcycling
      • Gifts
      • Kids
      • Holiday
  • Gardening
    • Growing Vegetables
    • Growing Fruit
    • Growing Herbs
    • Growing Grain
    • Soil Improvement
      • Composting
      • Worm Farming
      • Fertilizers
    • Aquaculture
  • Animals
    • Raising Poultry
    • Raising Goats
    • Raising Cattle
    • Raising Pigs
    • Raising Horses
    • Raising Rabbits
    • Raising Bees
    • Raising Cats & Dogs
  • Self Sufficiency
    • Emergency Prep
      • Planning
      • How To
      • Skills & Tips
    • Defense & Protection
      • Guns
      • Knives
      • Archery
      • Tools & Weapons
    • Energy & Power
      • Solar Power
      • Fuels
      • Water
    • Home Remedies
Logo
  • Emergency Prep
  • Defense & Protection
  • Energy & Power
  • Home Remedies
  • OUR SHOP
You are here: Home / Self Sufficiency / Emergency Prep / How To / How to Jumpstart a Car Safely | Homesteading Skills

How to Jumpstart a Car Safely | Homesteading Skills

Reading Time: 4 minutes

April 3, 2025 By Riley E. Carlson Leave a Comment

Want to know how to jumpstart a car? If you want to learn self-sufficiency and not have to rely on anyone else with your car problems, this how-to is for you. Learn how to use jumper cables and jumpstart your car in a sticky situation.

How to Jumpstart a Car Safely

Have you ever had that experience when you parked your car and when you got back, you see that you left your headlights on? Well you must know what may come next, your car just won’t start! It’s not the best experience especially when you have dead battery. I’ve been a driver for years and there will come a time when your car’s battery will fail you. What I normally do before was call the tow or ask for someone else to help me out. But I then decided that I shouldn’t always ask for help when the solution can be so easy.

I realized that being a woman should not stop me, or anyone, from learning automotive skills. You can never tell when you can use an added skill of self-reliance. So if you’re ready to learn something new, check out this easy tutorial on how to jump a car.


What you’ll need to jumpstart a car:

  • jumper cables
  • the dead car
  • a working car


Step 1

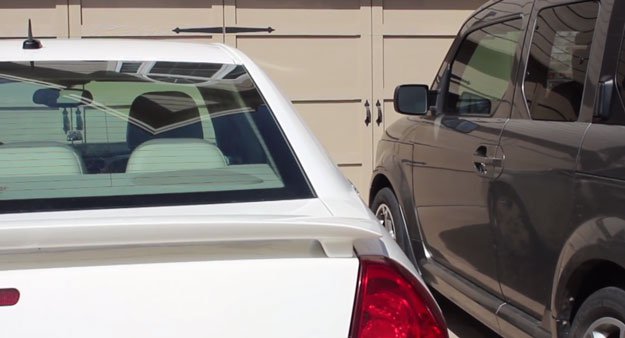
Get the two cars close enough together so you can connect the jumper cables without a problem.

TIP: Always have your jumper cables in your trunk. You’ll never know when you need them.


Step 2

Open the hood of both cars but before doing anything, make sure that they are both turned off.


Step 3
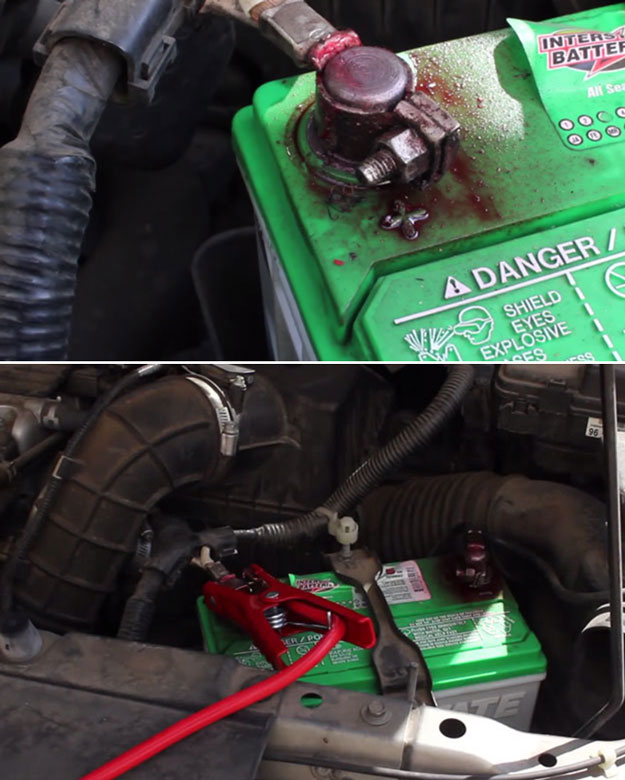
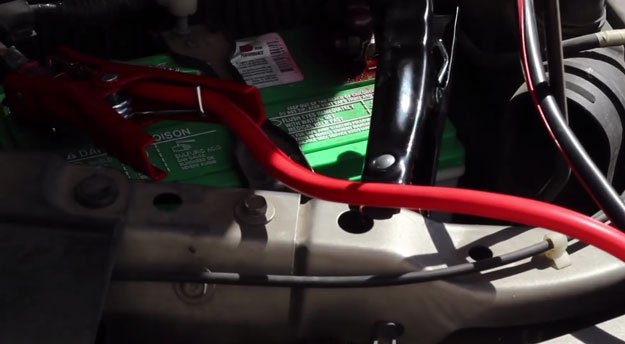
Clamp the red cable to the positive terminal of the battery of the dead car.

Start with the red cables first, they are your positive cables. You’d want to clamp the red cable [positive cable] to the battery’s positive terminal of your dead car first.
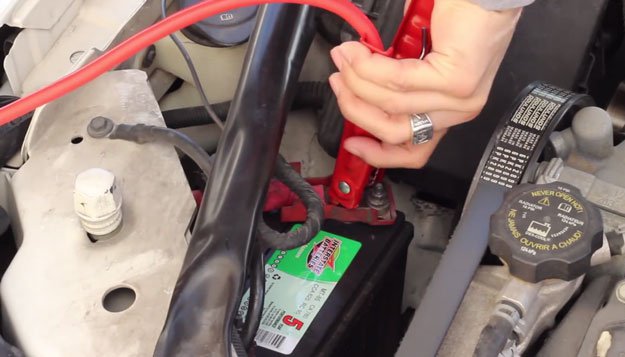
Now clamp the red cable to the positive terminal of the battery of the good car.

Then clamp the other red cable to the battery’s positive terminal of the good car.

TIP: Need to know which is the positive and negative on your car battery? Normally there would be a positive (+) and negative (-) sign on top of the battery but in some cases that it doesn’t, there are still a few indicators you can check. Normally the positive will have something red on it and the negative, something black. If you still don’t see any of these signs, remember that the negative cable usually runs where it touches the body and the positive cable runs along the outside of the engine. So if in doubt, just follow where the cable leads.


Step 4
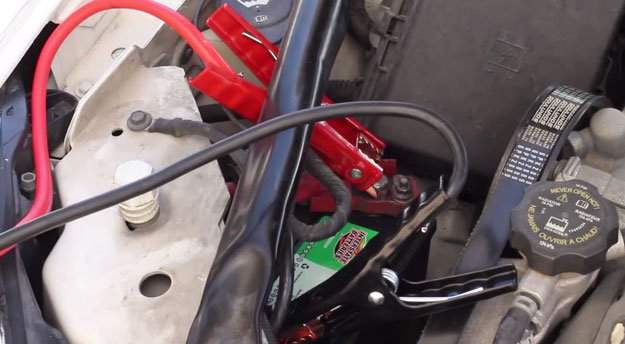
Clamp the black cable to the negative terminal of the good car’s battery.

Now that you have the red jumper cables attached, let’s move on to the black cables. Put the black cable [the negative cable] to the negative terminal of the good car’s battery.


(+) connects to (+)

(-) connects to (-) 


Step 5
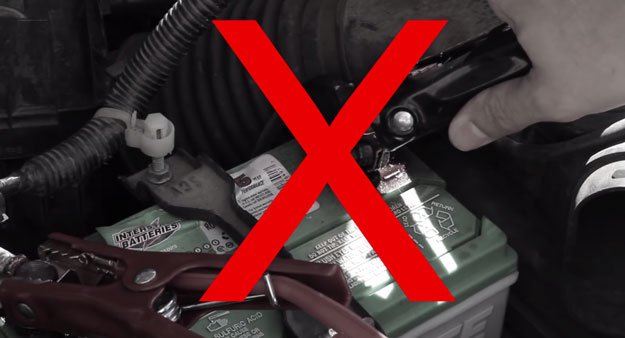
Don’t clamp the black cable to the negative terminal of the dead battery.

You may think that the next thing to do is clamp the other black cable to the negative terminal of the dead car’s battery but think again. This may cause a spark and an explosion or accident so please don’t do that.

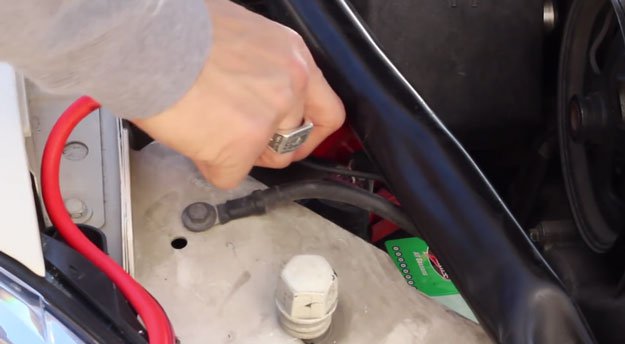
Clamp the second black cable to the part of your car that has a good ground.

What you should do is find a good ground to connect the black cable, a clean unpainted metal surface on the car’s hood, the car’s engine block or the top of your alternator.


Step 6
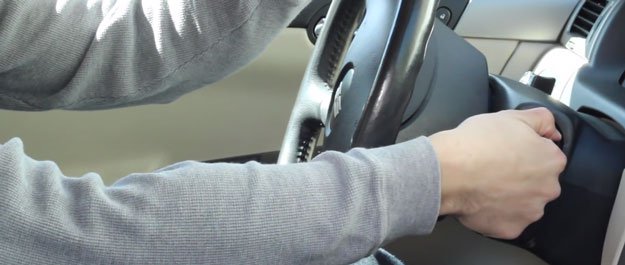
Now that you have everything attached, it’s time to jump start the car. Start the good car and allow it to run for 2-3 minutes. What you’re doing with this is charging the battery of the dead car.


Step 7
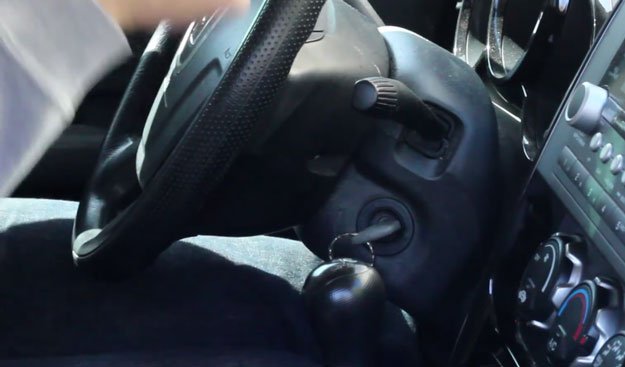
After a bit of waiting you can now turn the ignition of the dead car and it should start. Congratulations, you’re almost home free.

TIP: In the event that the dead car still doesn’t start, raise the idle of the good car. This will allow the alternator to run better and charge the dead battery more.


Step 8
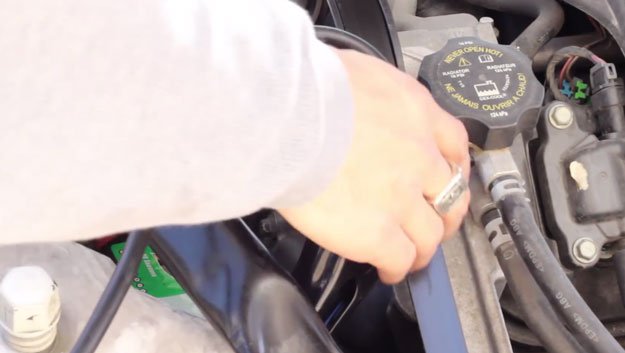
Remove the black cable from the dead car then the good car.
Remove the red cable from the good car then the dead car.

Now that you have your car running, the last thing to do is to disconnect everything. You’ll be doing it in a reverse order. So start with the black cable from the dead car then the good car. Then remove the red cable from the good car followed by the dead car earlier.


Step 9
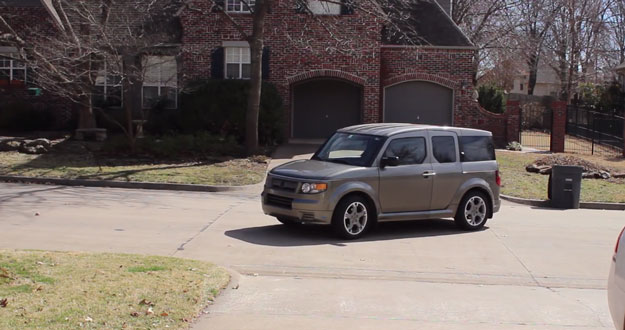
Drive around the jumped car for at least 30 minutes. This will give the battery time to recharge itself.


And that’s how you jump a car battery. If you don’t want to go through that whole process, be sure to always check you headlights but in case you experience this and you didn’t leave your headlights on, have a professional check your battery.

Want to see how to jumpstart a car? Watch the video tutorial from Art of Manliness:


What do you think of tutorial on how to jump start a car? Do you think you’d be confident to do it in case you experience this kind of car problem? Let us know in the comments section below!

Have any homesteading projects you’d like to share? Share it with us an we’ll give it a try. We’d love to know what you think!


Like this post? You’ll also LOVE:

How to Change a Tire Safely |Homestead Tips

Homesteader’s Guide to Basic Carpentry Skills

34 Must Have Tools for Homesteaders | Homesteading Tools

Filed Under: How To, Self Sufficiency Tagged With: how to be an urban farmer, how to jump a car, how to use jumper cables, jump starting a car, jumper cable order, jumper cables, self reliance, self sufficiency

Leave a Reply Cancel reply

Your email address will not be published. Required fields are marked *

Subscribe To Our Newsletter

DIY Projects And Get This FREE GIFT
  • Facebook
  • Instagram
  • Pinterest
  • Tumblr
  • Twitter
  • YouTube

Popular Articles

Top 15 Ways To Make Money On Your Homestead

Kickstart Spring By Starting Your Own Straw Bale Garden

The Best Egg Laying Chickens For Your Homestead

50 Gardening Tips And Tricks To Become A Successful Homesteader

Important Pages

  • About Homesteading
  • Contact Us
  • Privacy Policy
  • Returns
  • Terms & Conditions
  • Write For Us
  • Advertise With Us
  • Information Disclaimer

Other Great Sites

  • DIY Projects
  • Survival Life
  • Garden Season
  • Outdoor Warrior
  • Sewing.com

Resources

  • Hey Riley
  • Winter Survival
  • Raising Backyard Chickens
  • Canning & Preserving
  • Join Our Newsletter
  • Returns Policy
Homesteading
Email Support: support@homesteading.com
Phone: 512-806-7603

Product returns go to:
1889 E Maule Ave, Ste G
Las Vegas 89119

Copyright © 2025 · Homesteading


This copyrighted material may not be republished without express permission. The information presented here is for general educational purposes only.

MATERIAL CONNECTION DISCLOSURE: You should assume that this website has an affiliate relationship and/or another material connection to the persons or businesses mentioned in or linked to from this page and may receive commissions from purchases you make on subsequent web sites. You should not rely solely on information contained in this email to evaluate the product or service being endorsed. Always exercise due diligence before purchasing any product or service. This website contains advertisements.