The French Seam is not as difficult as it seams.
…Get it, seams.
In fact, all it really means is encasing your raw edges of your stitch in the seam for a high-end finished look. You can do this with any sewing project, it is very easy, you just have to plan on doing it before you begin your process. Read on to learn why so you can find out how to sew the french seam.
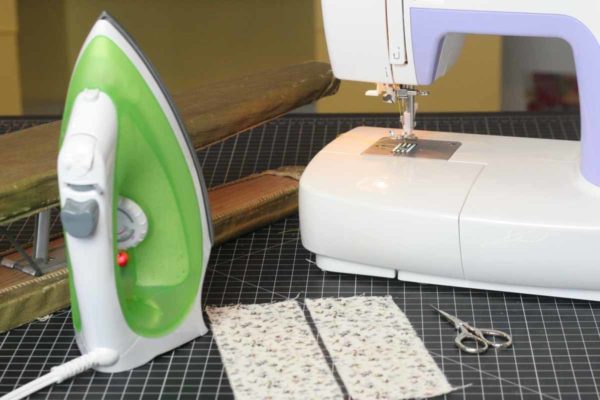
Supplies:
- Sewing machine equipped with thread
- Iron and ironing board
- Fabric
Step 1: Place wrong sides together
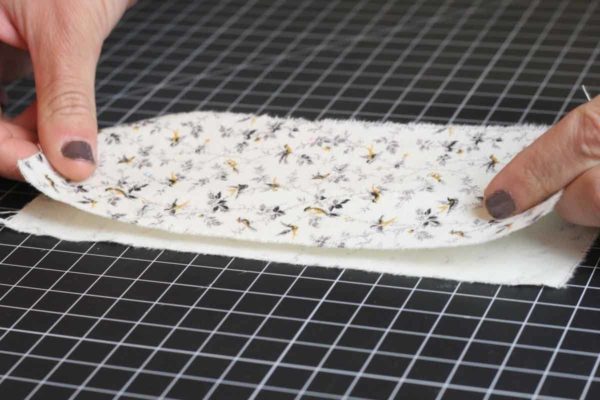
Start your French seam by placing the wrong sides together. This is unlike most seams, where you would typically want your right sides together. For those of you totally new to sewing, the wrong sides means the sides you will not see once the sewing project is done.
Step 2: Use 1/4″ Seam allowance
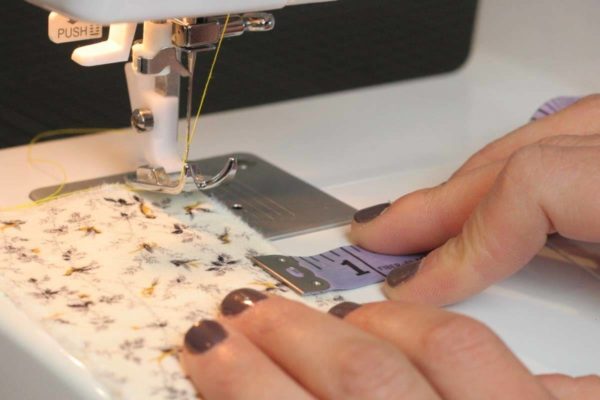
Use a 1/4″ seam allowance for the first time you sew your pieces together. You'll be using a wider allowance later.
Step 3: Sew wrong sides together
Sew the wrong sides together in a nice straight line, using a 1/4″ seam allowance.
Step 4: Press seam open
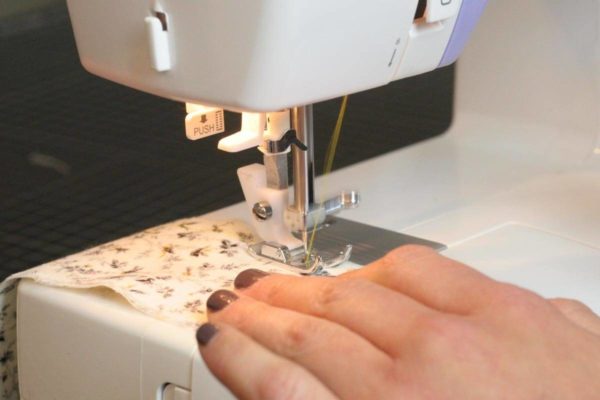
Open up your seam and press it flat. Make sure it is nice and crisp.
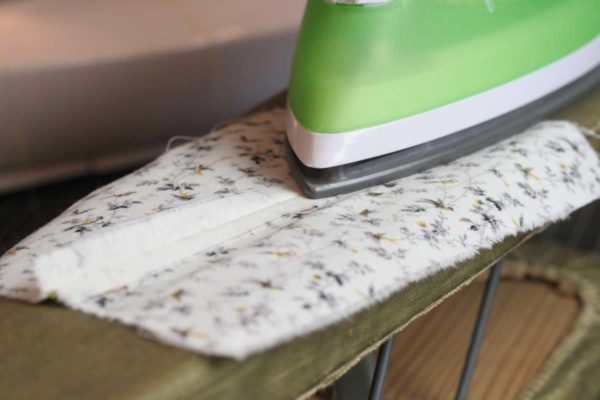
Step 5: Fold in half and press
Once you have pressed the seam flat, you should also fold your piece in half so the seam is on the inside, and press the folded edge flat.
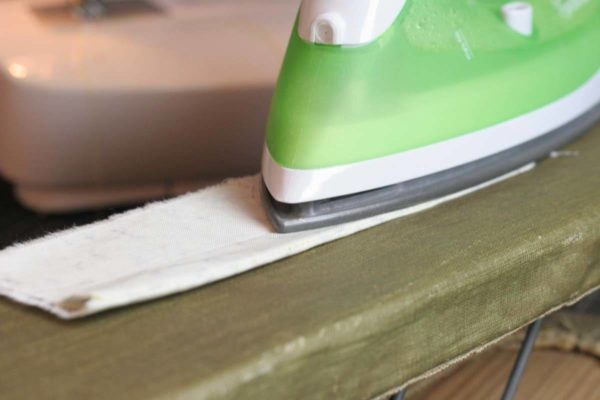
Step 6: Sew with 1/2″ seam allowance
Now with your right sides together, place your seam back into the sewing machine and use a 1/2″ seam allowance.
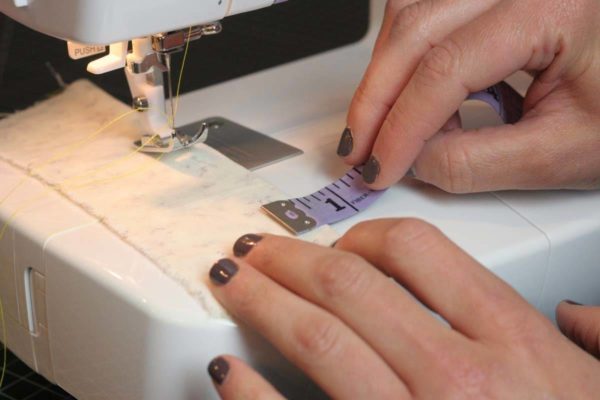
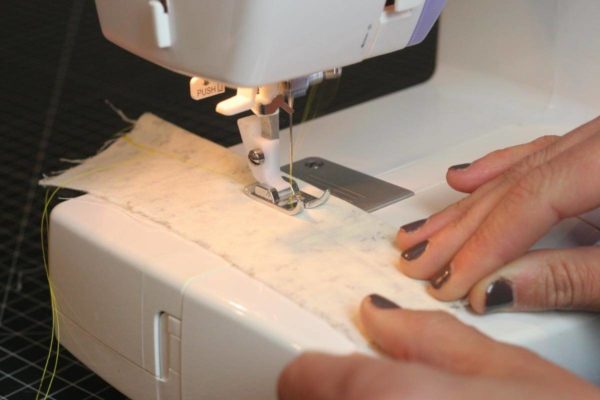
Step 7: Sew along the fold
Sew your seam shut, you are encasing your raw edges from before. Use the 1/2″ seam allowance and sew in a straight line.
Step 8: Press French seam flat
Take your fabric out of the machine and press it flat to one side.
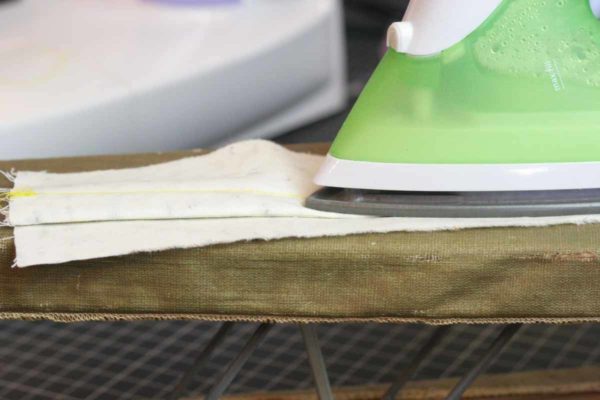
That's a French seam. Now you don't have to worry about any raw edges showing on your final product! Now get back to work 😉

Leave a Reply