
Quick Summary on How to Press Flowers at Home
- Pressing flowers is an easy, low-cost way to preserve blooms for crafts, keepsakes, and décor.
- You can use three simple methods: an iron (fast), a flower press (best quality), or wax paper with heavy books (most accessible).
- Flat, thin flowers like pansies and daisies press best; always start with dry blooms.
- Avoid steam and excess moisture to prevent browning or mold.
- Pressed flowers can be used for cards, framed art, bookmarks, scrapbooks, and family crafts.
Related: 45 Stunning Blooms Perfect For The Season
Know-How To Press Flowers For Your Arts And Crafts
From decorating your scrapbook to designing wedding invitations, pressed flowers are the way to add an extra special touch to any DIY project. But were you still waiting weeks for your flowers to dry out in an old book? Our three easy tutorials will “leaf” you inspired to create! So now, let’s get ready perfectly press some petals!
Tips To Press Flowers Effectively
- Choose naturally flat flowers, like daisies, pansies, violas, and miniature daffodils.
- Choose perfect flowers with no holes or discoloration – we only want the best!
- Pressed flowers are extremely fragile. Handle with care!
- Use makeup oil blotting paper to help soak up moisture and insert a sheet on top of your flowers before you press to get the best results.
- Let your flowers have their space! When laying out flowers, make sure they are not overlapping each other in the press, or else you will get one glob of petals.
Now Let’s Get Started!
Want to craft something cute in a flash? This flower pressing method is the method for you! In only minutes, you have some beautiful pressed flowers that are craft ready when you are!
Supplies needed:
- Iron
- Ironing board
- Paper sheets
- fresh flowers and leaves
Step 1:
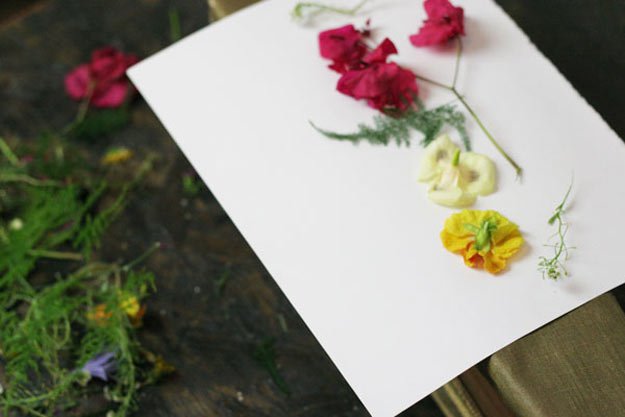
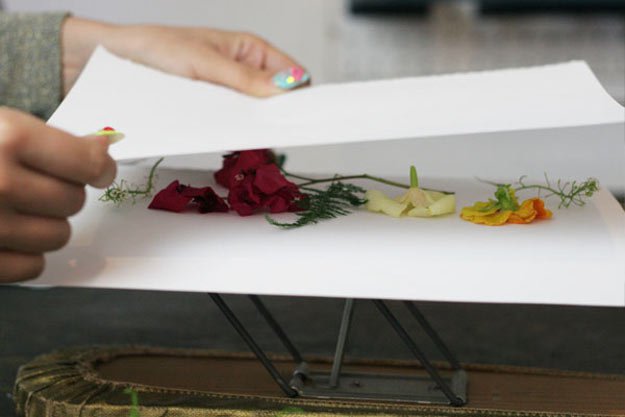
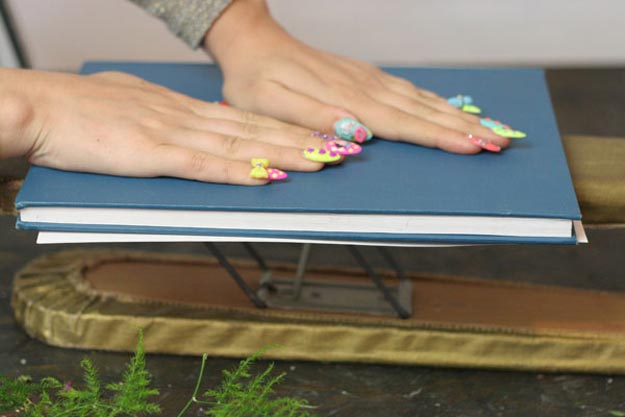
Lay a sheet of paper down on your ironing board. Place flowers on top and cover with another sheet of paper. Lay heavy hardcover book on top. Try not to slide the book as this may damage the flowers. Instead, push down on the book and wait for 2-3-minutes.
Step 2:
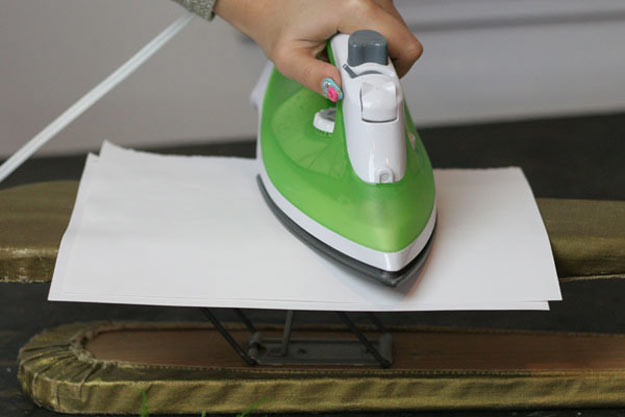
Remove the book, but keep flowers on the paper. Take out iron and remove any water if it’s a steamer kind. Set the iron to the lowest heat setting (or dry, if your iron has it). Gone are the old days of waiting days for pressed flowers to dry. Irons turn fresh flowers into pressed flowers within minutes! Place iron down on paper and press.
Hold for 10 seconds, remove, and repeat this process across the sheet. Do NOT drag across like you do on clothing. This will damage both your flowers and your paper. Instead, remove flowers slowly to prevent tearing and set them aside on another clean sheet of paper.
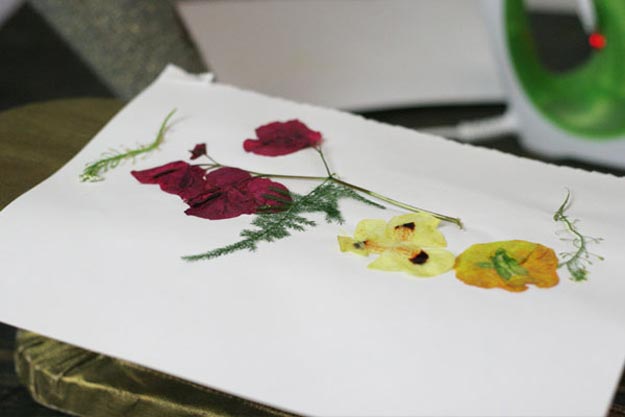
And that’s it!
Pressing Flowers With A Flower Press
Have some more time to invest in creating perfectly flat flowers? Try a flower press – easy to make and use. Flowers are ready to be used after 24 hours in the press.
Supplies:
- 2 7” x 7” wood squares
- Scrap cardboard
- Four screws, washers, wing nuts
- Sheets of paper or blotting paper
- Fresh flowers and leaves
- Power drill
- 5/32” drill bits
Step 1:
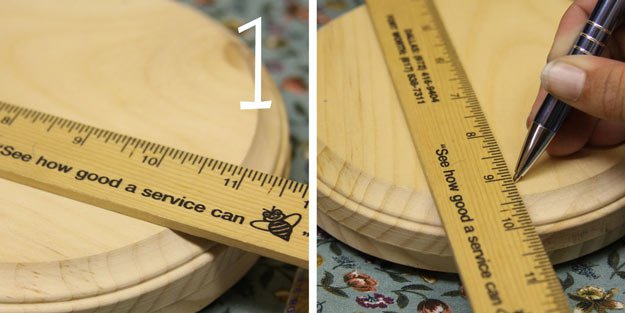
First, cut or purchase two identical pieces of wood, and measure about 1” in from the edge of your wood corners with a pencil.
Step 2:
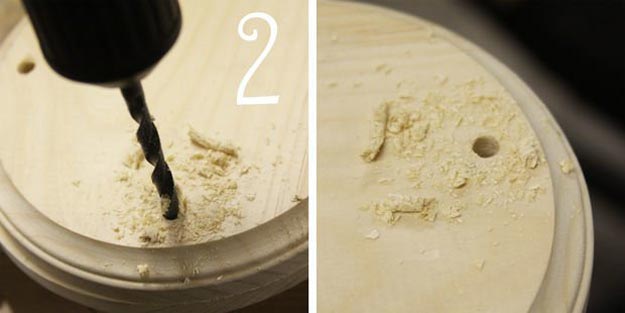
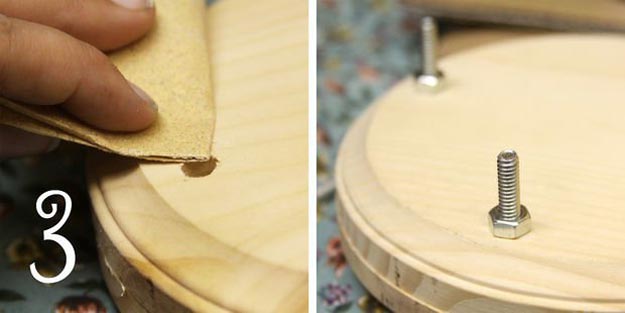
Drill over your pencil marks through both boards at about 1″ in from the corner on all four sides. Place washers on the bolts and slide the bolts up through the bottoms of both squares. Make sure to add wingnuts on top to tighten and loosen your press easily.
Step 3:
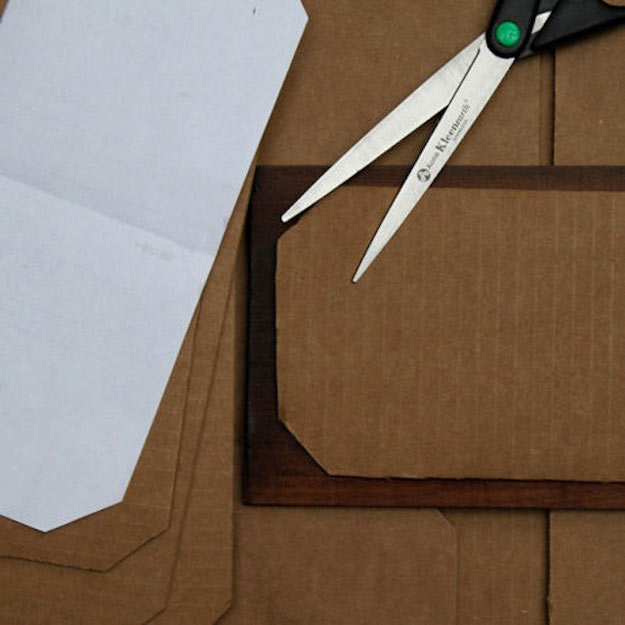
Take some scrap cardboard that is roughly the same size as your press. Trim off corners of cardboard, so they do not interfere with the bolts of your flower press.
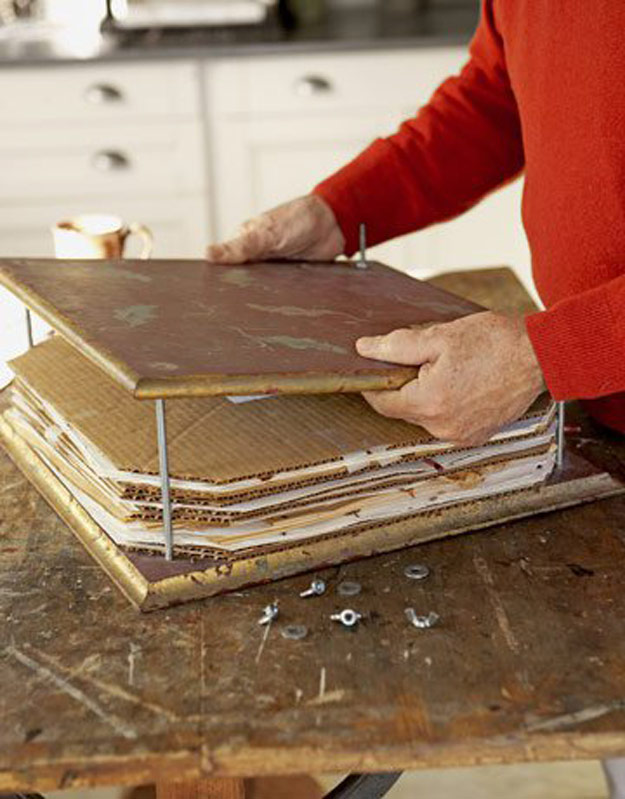
Step 4:
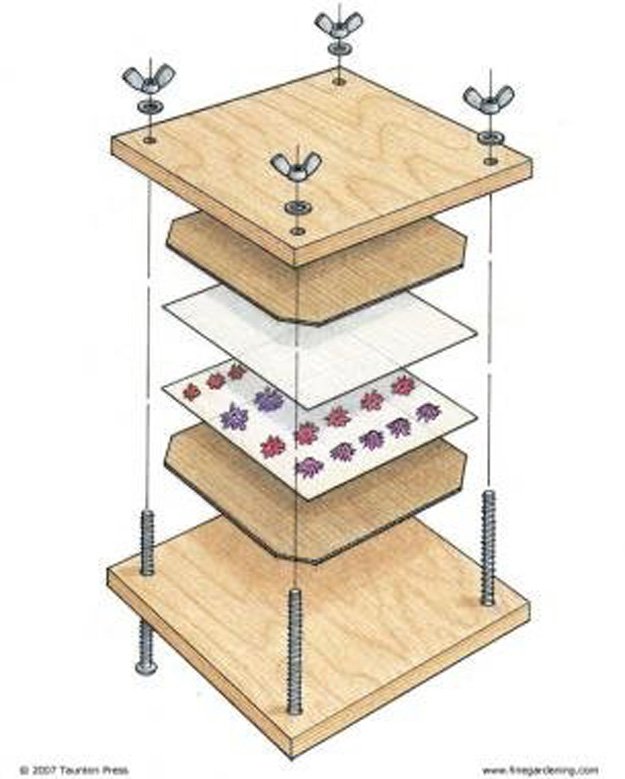
Take your flowers and lay them out how you like on plain paper. Next, insert your flowers between your cardboard sheets and use the wingnuts to tighten and press. After 24 hours, you will have perfectly pressed flowers!
Pressed Flowers With Wax Paper
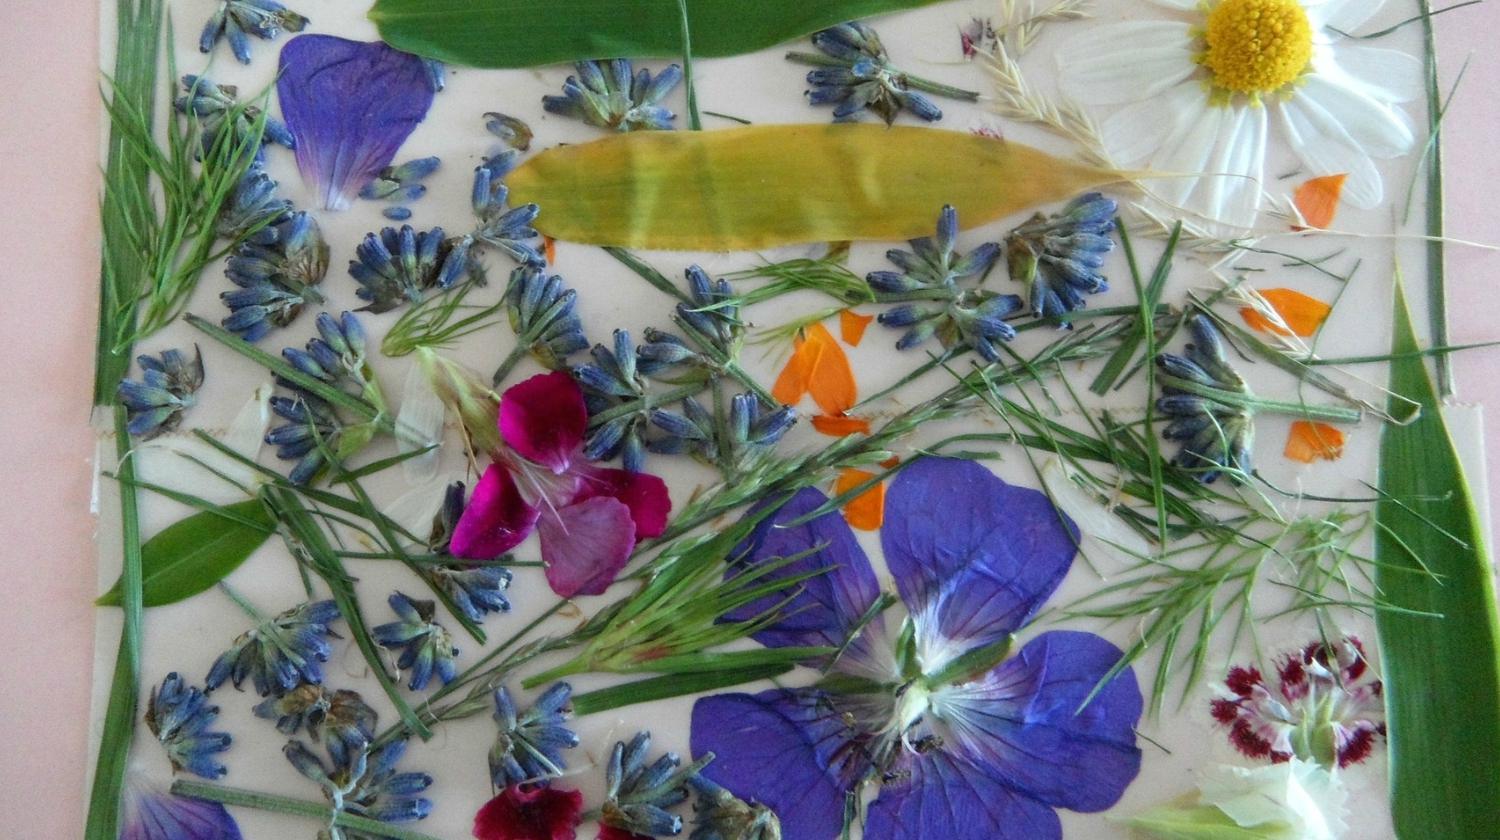
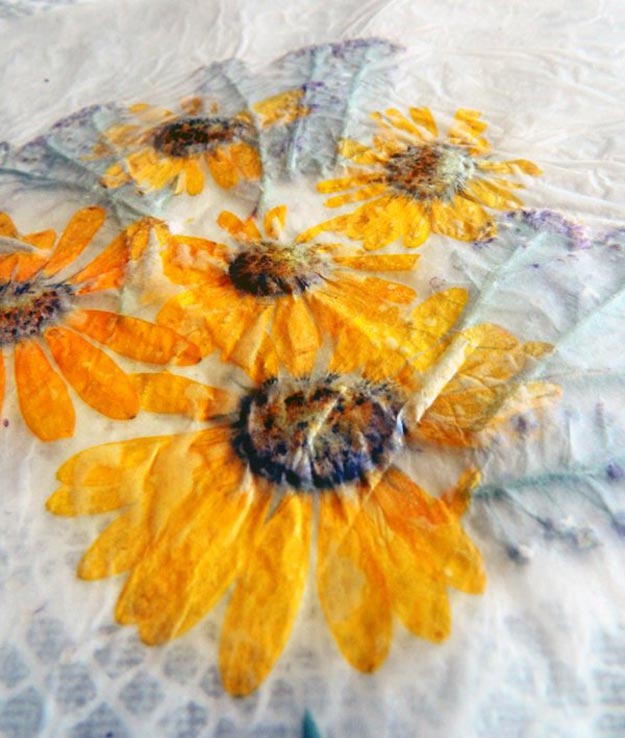
This next method of pressing flowers is perfect for lightweight flowers. Once completed, you will have a translucent flower sheet that adds rustic dimension to any craft project.
Supplies:
- Iron
- Ironing board
- Wax paper sheets
- Paper towels
- Small fresh flowers and leaves (small daisies or orchids)
Step 1:
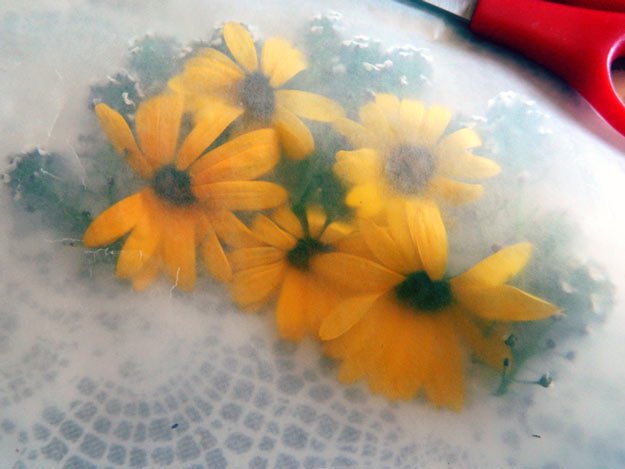
The steps for this process are similar to pressing flowers with an iron. Just replace the paper with two sheets of wax paper sandwiching your flowers.
Step 2:
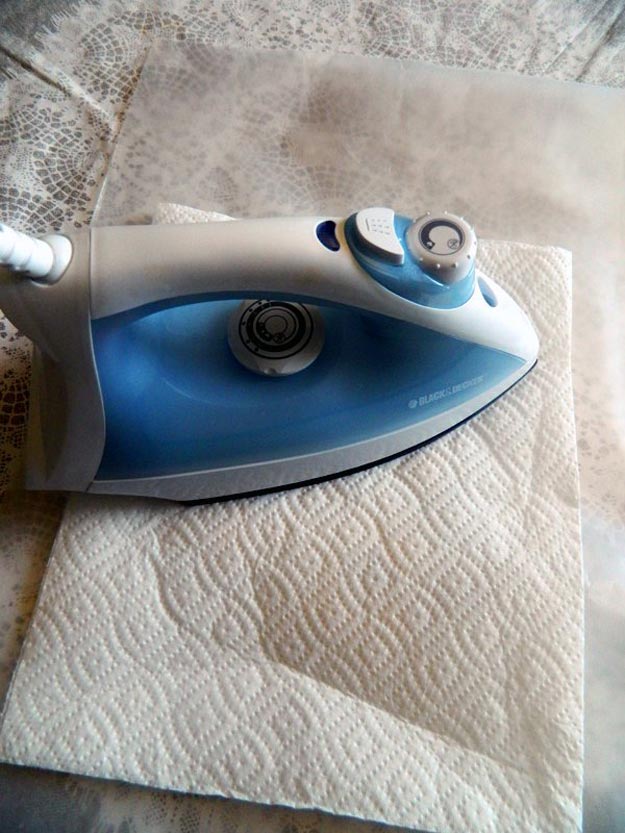
Take some paper towels and lay them on top of your wax paper, then press down with your iron for 10 seconds at a time. You will have a sealed translucent sheet filled with flowers in only a few minutes!
Did you know you can also press flowers in a microwave? See how in this video:
Wasn’t pressing flowers easy enough? It can be intimidating at first, but it gets easy after knowing all the methods and options. I’m sure you’ll want to try making some yourself.
What was your favorite method to press flowers? Let me know below in the comments!
FAQ: Pressing Flowers at Home
How long does it take to press flowers?
It depends on the method. Iron pressing takes minutes, while book or flower press methods usually take 1–3 weeks.
Why did my pressed flowers turn brown?
This usually happens because of excess moisture, humidity, or too much heat. Always dry flowers fully and avoid steam.
Can I press flowers with kids?
Yes! Book pressing and wax paper methods are especially kid-friendly with adult supervision.
How do I store pressed flowers?
Keep them in an airtight container or between clean sheets of paper, away from sunlight and moisture.
What can I do with pressed flowers?
Pressed flowers are perfect for crafts like framed art, greeting cards, bookmarks, candles, and scrapbook pages.
