
Want to learn how to grow sprouts? It’s very simple. In fact, it will only take you around a week. Sprouts are nutritional powerhouses and growing them is a great addition to your wonderful homestead. So to help you get moving, we listed down a few steps.
RELATED: How To Sprout Mung Beans In Jars
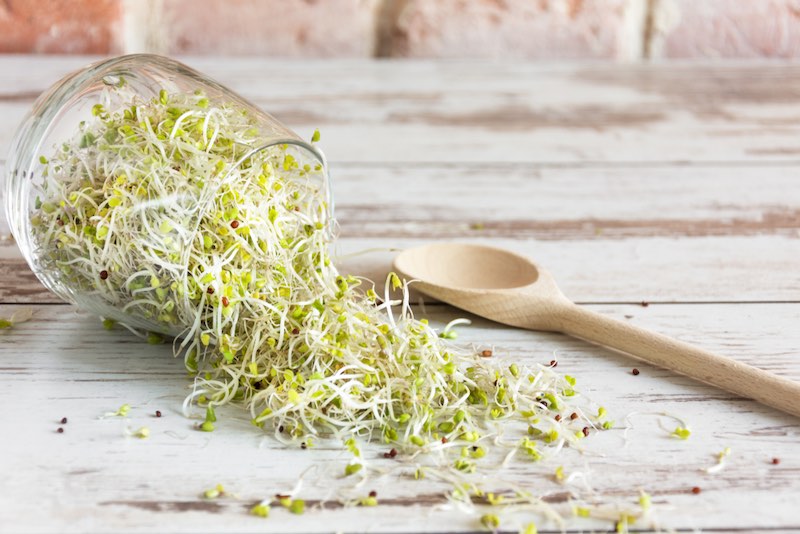
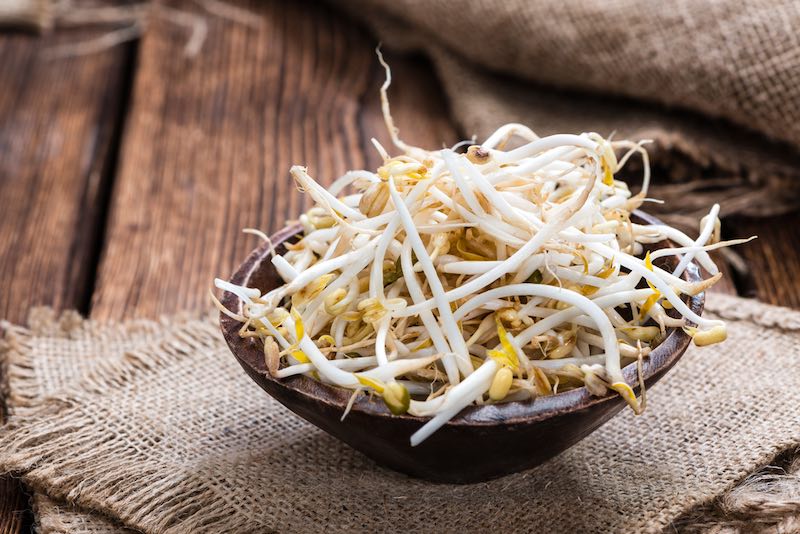
Quick Steps To Grow Sprouts At Home Using Old Jars
Materials Needed
- Sprouting seeds
- A few unused jars
- Squares of fabric
- Rubber bands
- Sprouting lids
How To:
- First, put around half a cup of seeds inside the jars. Remember, do not fill the jars with seeds, because you will be mixing them with water later on.
- Next, fill the jars with lukewarm water. Make sure that you cover the seeds with water that is thrice the depth of the seeds.
- Then, soak the seeds overnight, or about 12 hours. Store the jars in a dark area or in a cabinet.
- After soaking them overnight, drain the water from the sprouting seeds. If you don’t have a sprouting lid, a small strainer or a sieve can come in handy. Then, prop your jar upright to drain the residual water.
- After draining the water, it is important to keep your jars away from direct sunlight, as well. Too much sunlight may heighten the temperature inside the jars, and dry up the sprouts.
- For the next two to four days, rinse your sprouting seeds with fresh, cool water for a couple of times daily. Then, rinse them continuously until you see the tiny plants emerging from the sprouts.
- After rinsing the seeds, prop the jars upside down to drain the residual water. Alternatively, if you don’t have a sprouting lid, you can secure pieces of fabric on the jars’ lids to drain the water.
- When you can finally see the seeds sprouting, remove them from the jar. After that, clean the jars thoroughly and dry them.
- Then, transfer the sprouts back in the jars and place them near indirect sunlight for around twelve to 24 hours. By doing this, the sprouts will undergo photosynthesis which helps them grow further.
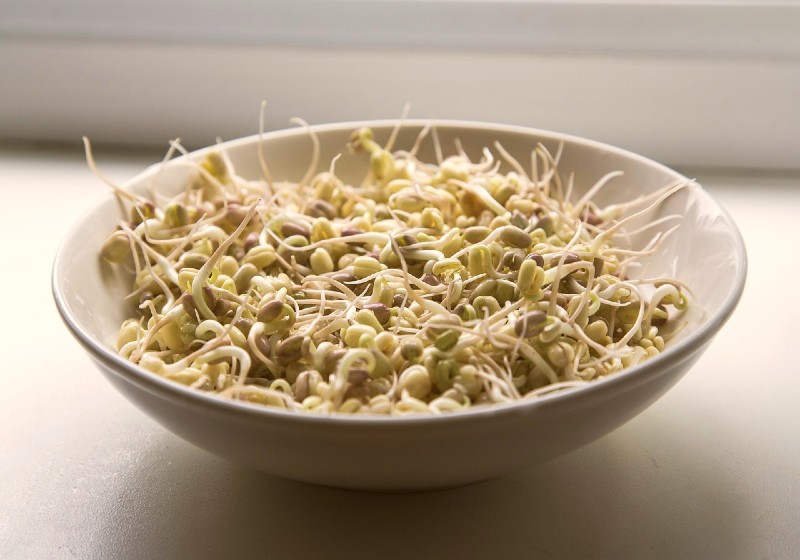
- On a clean towel, lay out all the sprouts to air dry. Gather all the sprouts that you want to cook, and keep the rest in the refrigerator for around four to five days.
Benefits of Growing Sprout
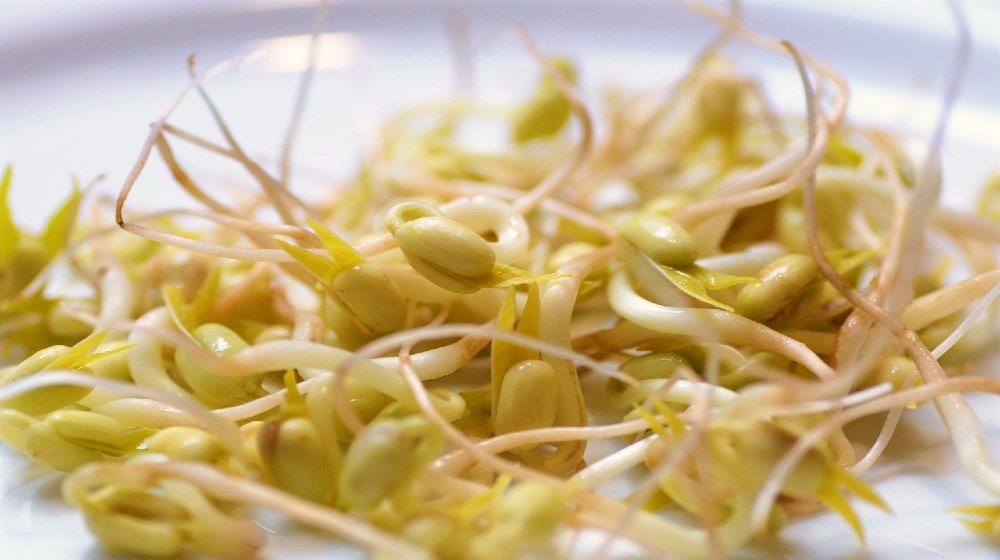
Sprouts are seeds that have germinated and have grown into young plants. The germination process begins when the seeds are soaked for a few hours. And when exposed to the right amount of moisture and temperature, the seeds will grow into sprouts around two inches long.
There are different types of seeds that can be sprouted. Some examples are:
- Sprouted grains – brown rice, quinoa, buckwheat
- Vegetable sprouts – broccoli, radish, beet
- Beans – lentils, mung beans, green peas
- Nuts – almonds, pumpkin seeds, sesame seeds
You can get a tremendous amount of benefits from growing sprouts. First, are nutritionally dense. According to the US National Institute of Health, they are a rich source of minerals and vitamins such as the following:
- Vitamin C
- Vitamin K
- Protein
- Magnesium
- Folate
- Manganese
Also, they also contain antioxidants that can lower blood sugar levels, decrease cholesterol, and even improve your digestion.
Growing sprouts at home don’t require a big space. With just a few simple items like unused jars, you can already create your own sprouting system. So, here are easy steps you can follow.
RELATED: Survival Seeds Storing Techniques For Homesteading
Delicious Ways to Eat Sprouts
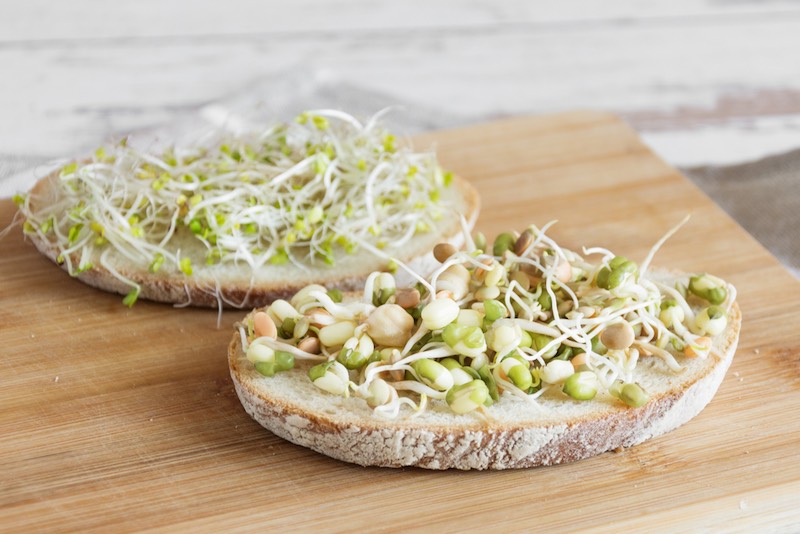
Wondering what recipes to use your sprouts for? Since these are veggies, you can include them in a wide array of dishes. In fact, you can even sprinkle the uncooked sprouts on your salads and sandwiches.
Here are ten ways to enjoy your sprouts:
- Sprinkle on tossed salads, along with vinaigrette or maple syrup
- Use as a substitute for celery in tuna salad
- Mix into mashed potatoes or potato salads
- Garnish into pasta dishes along with other leafy veggies
- Add to stir-fry dishes like Mongolian stir-fry noodles
- Garnish as toppings on a chicken sandwich, grilled cheese, and scrambled eggs
- Blend into veggie smoothies along with other veggies
- Include as crunchy toppings for soup, right before serving
- Sauté with onions and beans
- Pop them into your mouth as raw, on-the-go snacks
Sprouting FAQ
 Can I Use Regular Garden Seeds as Sprouting Seeds?
- No, using regular garden seeds for sprouting is not recommended. This is because garden seeds usually contain mercury coatings and chemical fungicides, which may be highly toxic if consumed as is.
Can I Use My Sprouting Seeds for Gardening?
- Yes, you can try using sprouting seeds for gardening. However, these seeds are made to bolt as young plants, so they may not be a good source of mature food.
What Happens if Molds Grow Inside My Sprouting Jars?
- If you see molds grow inside the jars, throw them right away. It is never safe to eat seeds that have even a tiny spot of mold since you might get poisoned.
Can I Freeze My Sprouts for the Whole Year?
- No, you can’t freeze sprouts for the entire year as they are very frost-sensitive. But, you can keep them inside the fridge for a couple of days.
How Can I Extend the Storage Life of My Sprouts?
- When stored inside the fridge, you can rinse them every two to three days and expose them to direct sunlight for an hour or so.
Learn how to grow Mung Bean in 3 ways by watching this video from Daisy Creek Farms with Jag Singh:
Learning how to grow sprouts is indeed, very simple. And, don’t need to use any equipment, or buy a lot of new materials for it. Just remember to clean the jars before putting the seeds, rinse the sprouts thoroughly, and store them properly.
Fellow homesteaders, do you want to help others learn from your journey by becoming one of our original contributors? Write for us!
UP NEXT:
