Learning how to build a root cellar should be every beginner homesteader's mission. Besides gaining underground refrigerators with these, you get enough room to store away a whole season's harvest.
RELATED: Canning vs. Freezing: What’s The Better Preservation Method
How to Build a Root Cellar in Five Easy Steps
Materials You'll Need
- Concrete
- Wall blocks
- ½” Arched plywood
- 2×4 grooves
- Plywood sheet
- Deck screws
- 18 ½” rebars
- 8-inch centers
Tools You'll Need
- Backhoe
- Shovels
- Concrete mixer
- Drill
Step 1. Dig the Root Cellar Hole and Add Your Concrete Footer
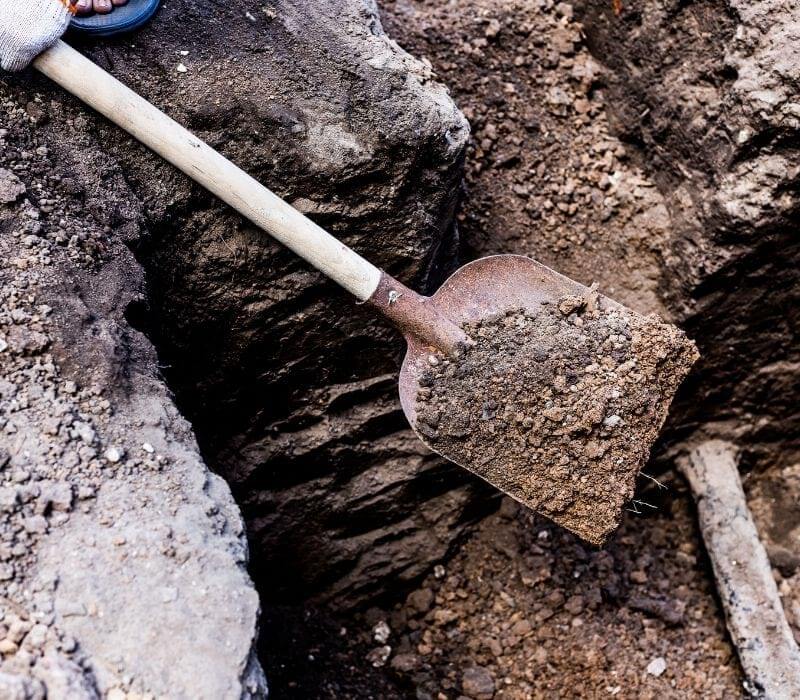
Firstly, begin by digging the 8 x 8-foot hole in the ground that will be your root cellar. If you do not have the time or workforce to spare, consider hiring a backhoe operator to dig the hole for you.
In case you are lucky to get a backhoe artist, you will not need to do much more to the hole afterward. Otherwise, you will need to smoothen out the rough edges to get the exact dimensions you want.
Next, using a shovel, dig a 17.4-inch-wide footer pit along the lengths and widths of the root cellar, such that the interior width of the cellar is 7.4′ 5/8 “. Now mix your concrete and fill the pit to make the foundation for your walls.
Remember: If you want a corridor extension, remember to factor it in your layout plan so you can have the right dimensions.
Step 2. Laying Your Concrete Blocks
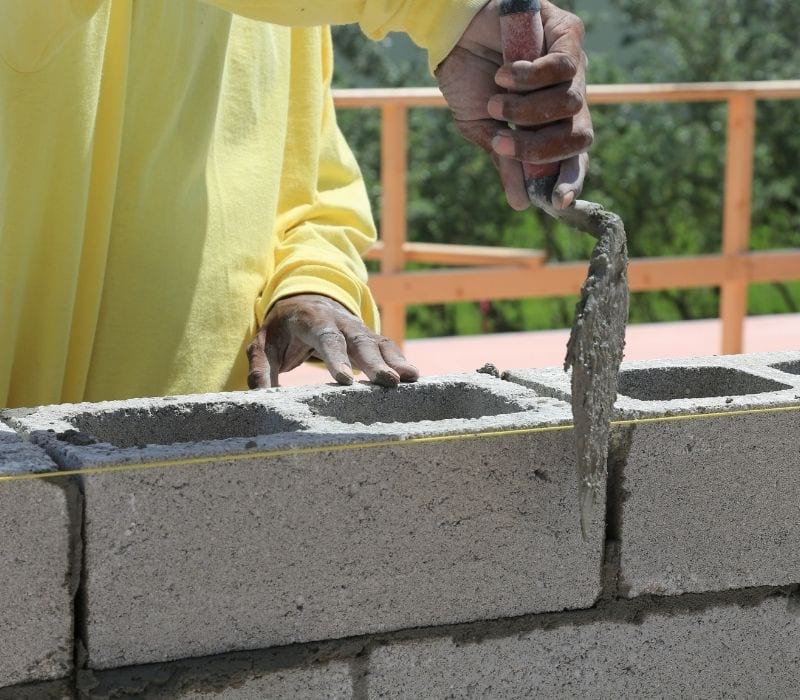
Once the concrete footer is set, it's time to start laying the wall blocks adding a generous amount of concrete between them. About 320 pieces will go into an 8 x 8-foot cellar. Using a ladder will make it easier to add the blocks as your wall gets higher.
Note: Remember to factor in the number of blocks you will need for your corridor extension's lengths.
RELATED: Best Vegetables For Canning
Step 3. Building and Installing an Arched Roof Form
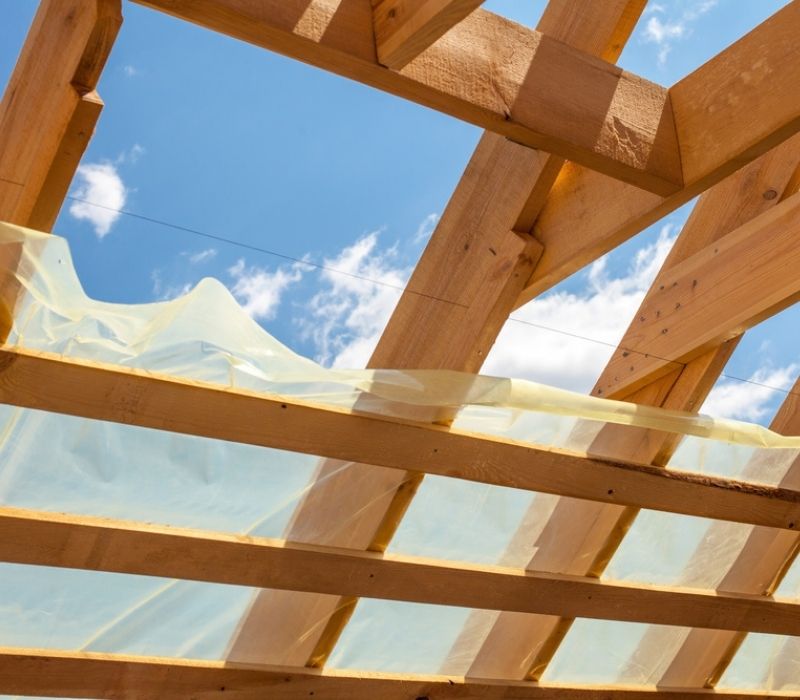
A flat slab will not be ideal since condensation will not run off to the sides. Besides, an arch creates a stronger roof form.
To make the roof frame, press down ½” plywood boards into 2×4 grooves. This arched roof frame should fit snuggly inside the root cellar's interior – at least one block into the cellar structure. Next, install the plywood sheet using your deck screws and a drill.
Tip: Using a detachable roof form will make dissembling it easier.
Step 4. Installing Rebar and Adding a Concrete Roof
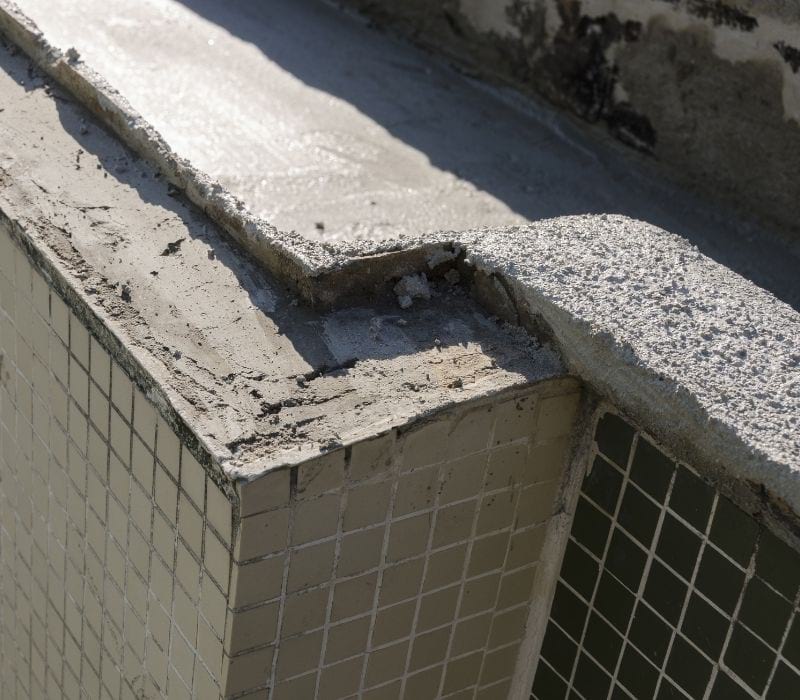
Here, you will need to add a perimeter of blocks on the widths to transform into a curve at the top. Next, install 18 half-inch rebar in grids, securing them in place on top of the plywood sheet with eight-inch centers.
The rebars should extend into the wall blocks. Here, add concrete into the individual block holes to hold the extending rebar. Once all the rebars are cemented into the form, it is time to pour concrete.
Give the concrete around two days to cure before removing the roof form from the inside.
Tips
- Store your disassembled roof form pieces to re-use in the future.
- The seams will not only be nearly invisible from below but are also waterproof.
- Laying a plastic sheet over the plywood will make your arched concrete roof glossy.
Step 5. Finishing the Interior
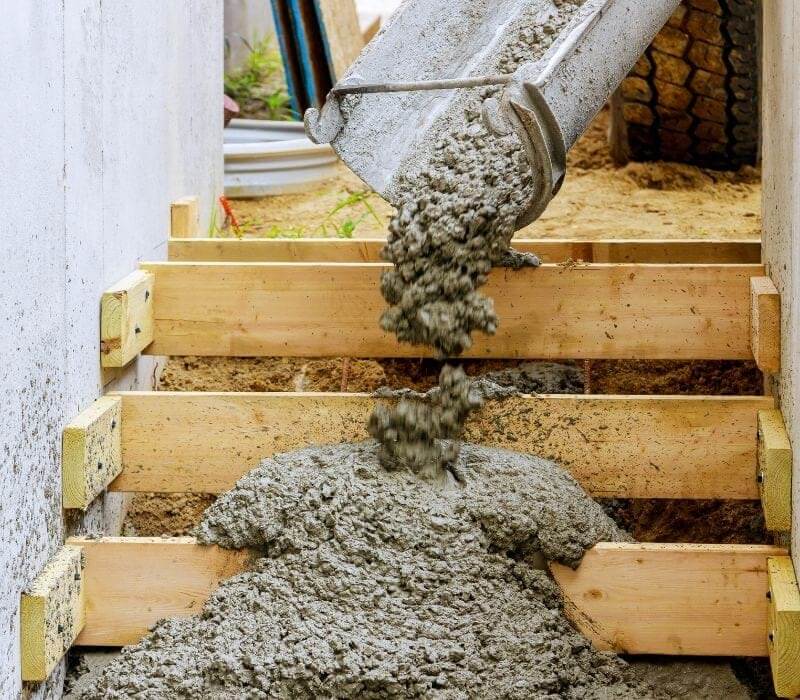
Apart from adding a freight of stairs and doors for the top and bottom entrances, your root cellar is pretty much done and ready for vegetables and fruits.
Pro Tips
- A root cellar will be ideal for late-maturing crops store than early maturing ones.
- Also, certain varieties store better in root cellars than others.
- Remember to check the condition of your fruits and vegetables before moving them into storage. Similarly, it's advisable to inspect produce in storage regularly.
- Vegetables like garlic, onions, pumpkins, potatoes, and other root tubers require curing before being stored.
- Wiped off your root vegetables rather than washing them before storage to prevent rotting.
- Consider using fresh leaves, sawdust, or sand each storage season to prevent potential pathogen buildup.
- If your garden is muddy during harvest time, you can wash your produce, but ensure you dry the excess moisture.
- Store fruits that release ethylene gas away from products that can be spoiled easily by the gas. Try wrapping fruits like bananas in a newspaper to contain the gas.
- Keep away vegetables with a strong odor, like cabbage and turnips, away from other vegetables and fruits.
- Ensure your fruits and vegetables do not freeze as they will get mushy and rot.
- Track humidity and temperature to know your root cellar's performance. Only open the root cellar only when you have to or unless you have a protected entry.
Watch this video from Modern Self Reliance on building root cellar (Hobbit House):
There you go, homesteaders. With this simple to follow guide, you can now build a root cellar in your homestead and rest assured that your farm produce will store away safely for as long as you need. Remember to take suitable measures to prolong storage.
How do you like storing your farm produce? Let us know in the comment section below!
Up Next:
- How To Blanch Vegetables Before Freezing
- How To Build A Tiny House | A Step-By-Step Guide
- Chimney Cleaning 101: How To Clean A Chimney
Fellow homesteaders, do you want to help others learn from your journey by becoming one of our original contributors? Write for us!


You are amazing, creative, and hard working. I loved the video. Any pics of it filled with harvest?
Please add a ‘Print’ option to your articles?