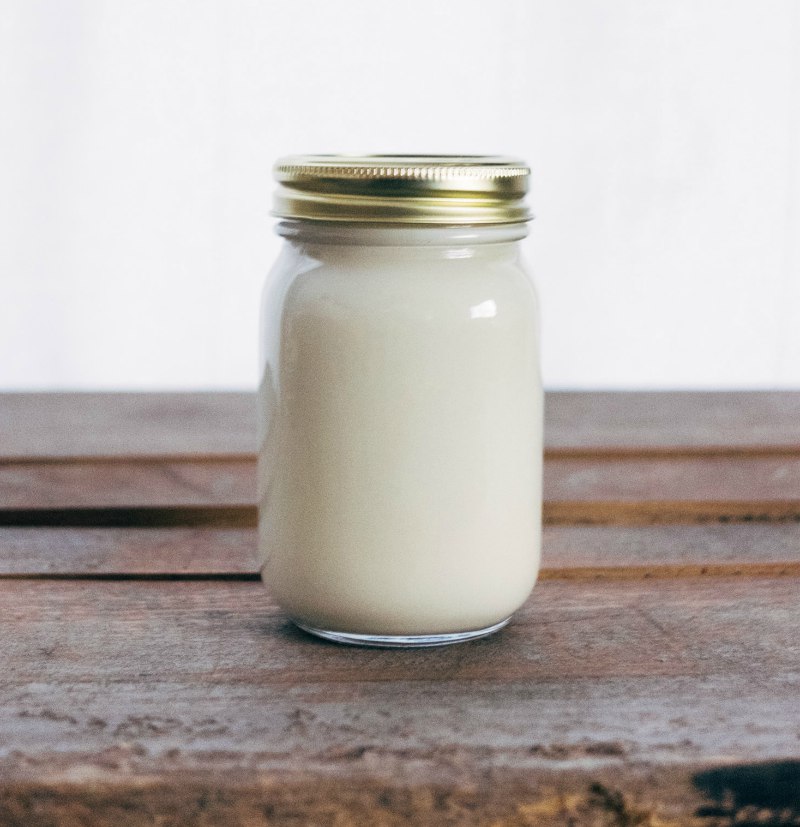
Don’t let cow milk allergies stop you from enjoying delicious dairy treats like yogurt! Here’s a simple, easy, and inexpensive way to make goat milk yogurt from your kitchen.
RELATED: Homemade Yogurt Recipe
Delicious Homemade Goat Milk Yogurt the Whole Family Will Love
What You'll Need:
- 8 cups pasteurized goat’s milk
- 1/2 cup plain yogurt with live cultures
- 2 tsp. powdered gelatin
- Candy thermometer
- 8-liter flip-lid cooler
Step 1: Prepare the Goat Milk and Gelatin
Pour 1/4 cup of goat milk in a small bowl then evenly coat the surface with powdered gelatin. Do not mix the ingredients together. Rather, let the gelatin powder set and bloom on its own.
Meanwhile, pour the rest of the goat milk in a large pot and bring to a boil over medium heat. Attach the candy thermometer on one side of the pot.
Once the milk reaches 180°F, lower the heat and let the milk keep heating for another 20 minutes. Stir the milk every now and then.
Note: Fresh goat milk is always the best option.
Step 2: Remove from Heat and Mix in Gelatin
After letting the milk simmer on low heat for 20 minutes, remove from heat and set aside on the counter. Do not remove the candy thermometer yet.
Wait for the milk’s temperature to drop to 120°F then pour in the gelatin and milk mixture. Stir gently until the ingredients combine.
Let the milk’s temperature continue to drop until it reaches 108°F. You can opt to put the pot in an ice bath if you want to speed up the cooling process.
However, keep a close eye on it. Otherwise, the milk will continue to cool down and the bacteria might die.
Step 3: Whisk in Plain Yogurt
Carefully pour in the plain yogurt while following the specific instructions on its packaging. Whisk thoroughly until the ingredients form a thick, rich, creamy substance.
Note: Mix the yogurt mixture thoroughly but carefully. There are living organisms in the yogurt culture and whisking them too vigorously might kill them.
RELATED: Goat Milk Soap [Chapter 12] Raising Goats | Homestead Handbook
Step 4: Incubate the Yogurt Culture
Next, boil four liters of purified water and then pour it into an insulated cooler. While waiting for the water to boil, transfer the yogurt culture to a clean, airtight glass jar.
Submerge the closed jar of yogurt in the cooler then incubate for around 5 to 10 hours. Note that a longer incubation period will allow the yogurt to form a firmer consistency.
Step 5: Refrigerate and Serve

Refrigerate before serving. Yogurt is best consumed freshly chilled rather than straight from the incubator. If kept sealed in an airtight container and stored in the refrigerator, your jar of yogurt should last a couple of weeks.
Here's a detailed video guide by Sam's Kitchen on how to make homemade yogurt. Just remember to replace milk with goat milk:
Those who live on a homestead should consider raising their own small herd of goats. Doing so will give you unlimited access to delicious dairy products such as goat milk yogurt, cheese, and milk, among others.
If you don’t have the freedom to raise livestock, however, store-bought goats milk will work fine. Just make sure to use fresh options. Avoid branded goat milk pumped with extenders, preservatives, sweeteners, and chemicals.
Have you tried making your own batch of goat milk yogurt? Share your experience with us in the comments section below!
Fellow homesteaders, do you want to help others learn from your journey by becoming one of our original contributors? Write for us!
Up Next:

Leave a Reply