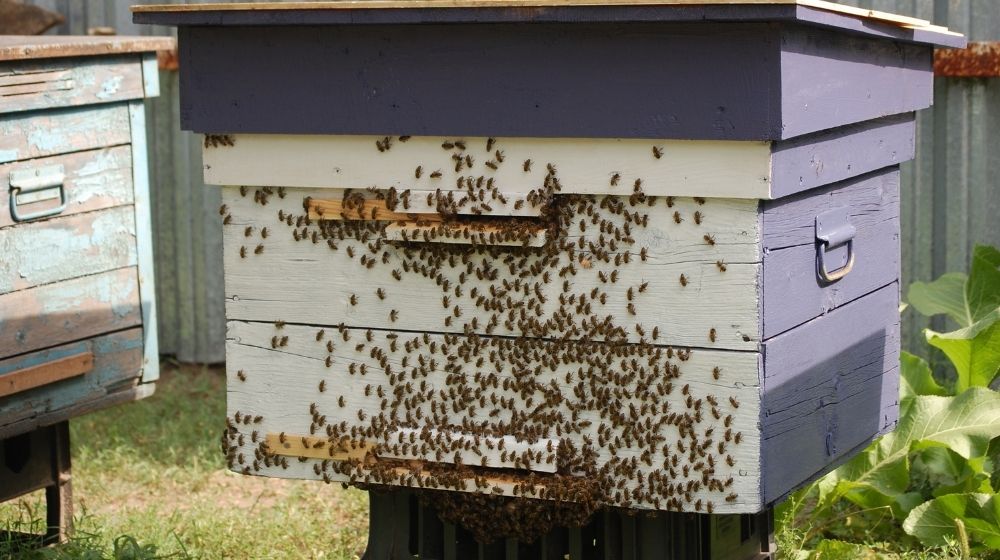

Learning how to build a DIY beehive is a surefire way to ensure a constant supply of fresh organic honey that comes in handy for many home uses.
RELATED: 7 Best Types Of Honey Bees For Your Bee Farm
Step by Step Guide on How to Make a DIY Beehive Two Ways
1. How to Build a DIY Beehive With Jars
Things You’ll Need
- (2″x12″x 6′) lumber for the two 22″ sides
- (2″x12″x 6′) lumber for the two 18″ front and back sides
- (1″x1″x 6′) lumber for the two 22″ top frame right and left sides
- (1″x 1″x 6′) lumber for the two 18″ top frame front and back sides
- Thick plywood (16″x20″)
- Bottom beehive kit to make an entrance for the hive
- 12 big mouth quart-sized jars for the honeycomb
- Box of 1″ screws
- Wood stain
Tools
Instructions
- Firstly, take the thick piece of plywood and cut it into a 16″x20″ board. Next, measure and correctly center for 12 holes by drilling small pilot holes. Now, with the guide of the pilot holes, drill 12 three-and-a-half-inch holes using a circular saw to fit your jars.
- Secondly, cut to size two 22-inch pieces from the 2″x12″x 6′ board and another two 18-inch pieces from the same 2″ x 12″ x 6′ board. Next, screw the wooden pieces together and stain with dark wood stain or any other paint you choose.
- Now, get your 12 wide-mouth mason jars – half a gallon or regular quart-sized quart-sized jars, and arrange them on the thick plywood with holes. Ensure they all fit snugly over the holes without tipping over.
- Let the mason jars sit with screwed-on rims with less than a 1/16-inch gap between the jars and the beehive holes. Consequently, consider adding some shims to prevent sagging as the weight increases due to honey accumulation.
- Similarly, consider screening and venting the chamber if there is too much exposure to heat. Alternatively, place the DIY beehive where it will get a shade late in the day. Note: The bottom wooden piece can be bought as part of a kit. It is where your bees will enter or leave the beehive.
- Lastly, add the casing to cover the mason jars, introduce your bees and give them some time to make honeycombs and some pure organic honey. If you are lucky enough, the bees might make enough for you to sell too.
RELATED: Beekeeping In Winter: Preparing Beehives For The Cold Season
2. How to Build a DIY Beehive With a Computer Case

Things You’ll Need
- Old computer PC case
- Styrofoam for insulation
- Medium-density fiberboard for the bottom and front
- Plywood for the top
- Pieces of pine
Tools You’ll Need
Instructions
- Since the back of the PC case will be the bottom side of your hive; you can use the holes on it to attach the bottom panel – a piece of the medium density fiberboard cut to size. It will also be a great idea to add a landing space – a 3 cm wide piece of the medium density fiberboard. This will also offer protection to the bottom insulation hence limiting exposure.
- Next, drill two holes at the back of the hive and attach a sizable pine piece with screws. This will enable you to hang the beehive on a pole in your backyard.
- Here, drill holes on the case’s side panels. This will enable you to attach your wooden front panel. Keep in mind that the front of the DIY beehive is the bottom part of your PC case.
- Next, cut out a 6×6 cm opening at the bottom of the front panel to make an opening to allow the bees to enter and leave the hive.
- Now, cut your plywood to size and allow a 5cm overhang on both sides and the front. You can route a groove at the bottom of the cover on the overhanging sides, about a centimeter from the edge. This will ensure that the rain does not flow into the hive.
- Next, place your bee box inside the hive and surround it with styrofoam. Ensure that the styrofoam tightly covers the bee box on all sides.
- Lastly, attach your DIY beehive in a south-facing direction onto a 120cm high pine wood for easy and regular inspection.
Pro Tips
- You can put a bright sticker on the front part of the hive so that the bees can easily recognize the beehive. Beehives in apiaries have colored marks for the same reason.
- Besides protecting the hive from precipitation, the hive’s cover should also be easy to remove to allow bee inspection.
- The notches under the beehive cover will help keep the hive cover in place and offer a surface to screw in locking pins.
- Remember to screw in place a 2cm wide pine wood to prevent rainwater from leaking in.
- Working with bees can be lethal, especially if you are allergic to bee stings.
- Avoid swatting at the bees when working with them as they may get angry and aggressive.
- Always obtain your bees from a trusted source.
- Research on the legal restrictions and prescriptions in your county before practicing beekeeping.
- Invest in protective gear to wear when handling the bees.
Watch this video by Goshen Farm and Gardens for another DIY beehive design:
There you go, homesteaders. What’s keeping you from farming bees now? With the necessities in mind, you can make a beehive from practically anything and enjoy some organic and healthy goodness in the comfort of your home.
Happy beekeeping!
Do you have beehives in your homestead? Share with us some of the designs you have in the comment section below!
Up Next:
- Beekeeping Starter Kit: Essential Supplies You Need To Get Started
- How To Create A Bee-Friendly Garden | Organic Gardening Tips And Ideas
- How To Build A Root Cellar For Your Homestead
Fellow homesteaders, do you want to help others learn from your journey by becoming one of our original contributors? Write for us!
