
Want to know how to build a zip line? If you want to have a fun outdoor activity with the kids right in your backyard, this is the DIY project for you. Grab your supplies and make this over the weekend.
Depending on the location zip lines is really not for the faint of heart. But my grandchildren just loved it so much they can’t stop talking about it. Can you guess what I did? I made a homemade zip line. Forget the zip line kits, learn how to build a zip line from scratch. It’s really not that hard. Show your self-reliance by making this your next DIY project. I’m sure your whole family will have a grand time.
How to Build a Zip Line For Fun And Practical Use
What You’ll Need to Build a Backyard Zip Line:
- Trees
- Rubber Hose
- Carabiners
- Climbing pulley
- Clamp sets
- Steel cable
- Small PVC pipe
- Paracord
- Plastic cutting board or wood
- Eye loop
- Super Glue
- Bungee cords
- Drill
- Circular saw
- Router table
- Wrench
Don’t want to make one? Buy one instead! This one works great.
How to Build a Zip Line
Video tutorial by one of my favorite Youtube channels: I Like To Make Stuff – thanks for the great tutorial, Ben! Scroll to the bottom of this post where you can watch the whole video.
Step 1. Pick the Right Trees
Take three clamps and slide them in your cable. Afterward, slide in your hose and tie it on your tree. We’re adding the hose to prevent any damage to your tree with the cable digging in.
NOTE: Pick a branch in the tree that’s high enough and strong enough to support your DIY zip line!!!
Step 2. Work on the Cables
Take some excess cable and insert it into the clamps again to form your loop. Space your clamps at least 6-10 inches and fasten the screws. Do the same for the other tree, tying it at an angle. For the excess cable, just feed it again to your clamps and insert the end to the hose so there won’t be anything dangling.
TIP: When deciding how much excess cable there should be, you have to think that you’re doing this as a safeguard. In case you would need to make any adjustments, it’s always best to have more excess cable and that the clamps are widely spaced apart.
Step 3. Work on the Slide Handle
Now that you have the line tight and secure, time to make the handle. Take your PVC pipe and cut it to length.
Mark your pipe 2″ from the edge and drill holes on either side. This is where we’ll be inserting the cord.
Insert the cord in one of the holes and pass it through inside your pipe going out the other hole. Tie a simple knot in both ends.
Make this your next project!
Your kids will have the best summer yet with this homemade swing set! https://t.co/tX1hufwgQw pic.twitter.com/rcP0wfM8rB
— Homesteading (@HomesteadingUSA) June 20, 2016
Step 4. Working on the Hardware
Take both ends of the cord and tie a knot to create a double loop at the top.
Cut your cutting board into four equal sized pieces (we’ll be using it to make the brakes). Then, make a groove in the middle using a router table. The size of the pieces will depend on the size of the hardware you’ll be using.
Stack all the pieces together making sure that the groove you made on the two pieces makes a hole to slide the cable in.
|
Take your hardware and mark the holes where the screws should go. Once you’ve done that start drilling holes in it.
Step 5. Attach Hardware to the Cable
Sandwich your DIY brake around the cable and screw it in place. You can also add some super glue just to make sure that the bolts and nuts stay in place.
Attach your break into something stationary using a bungee cord and carabiners.
TIP: Check and adjust the bungee cord depending on the stopping distance you need.
Step 6. Work on the Cables and Pulleys
Put the pulley over the cable and put a carabiner through it.
TIP: You can use two carabiners to have different height options for the kids and adults.
Attach your handle to the carabiner using the loops on the cord.
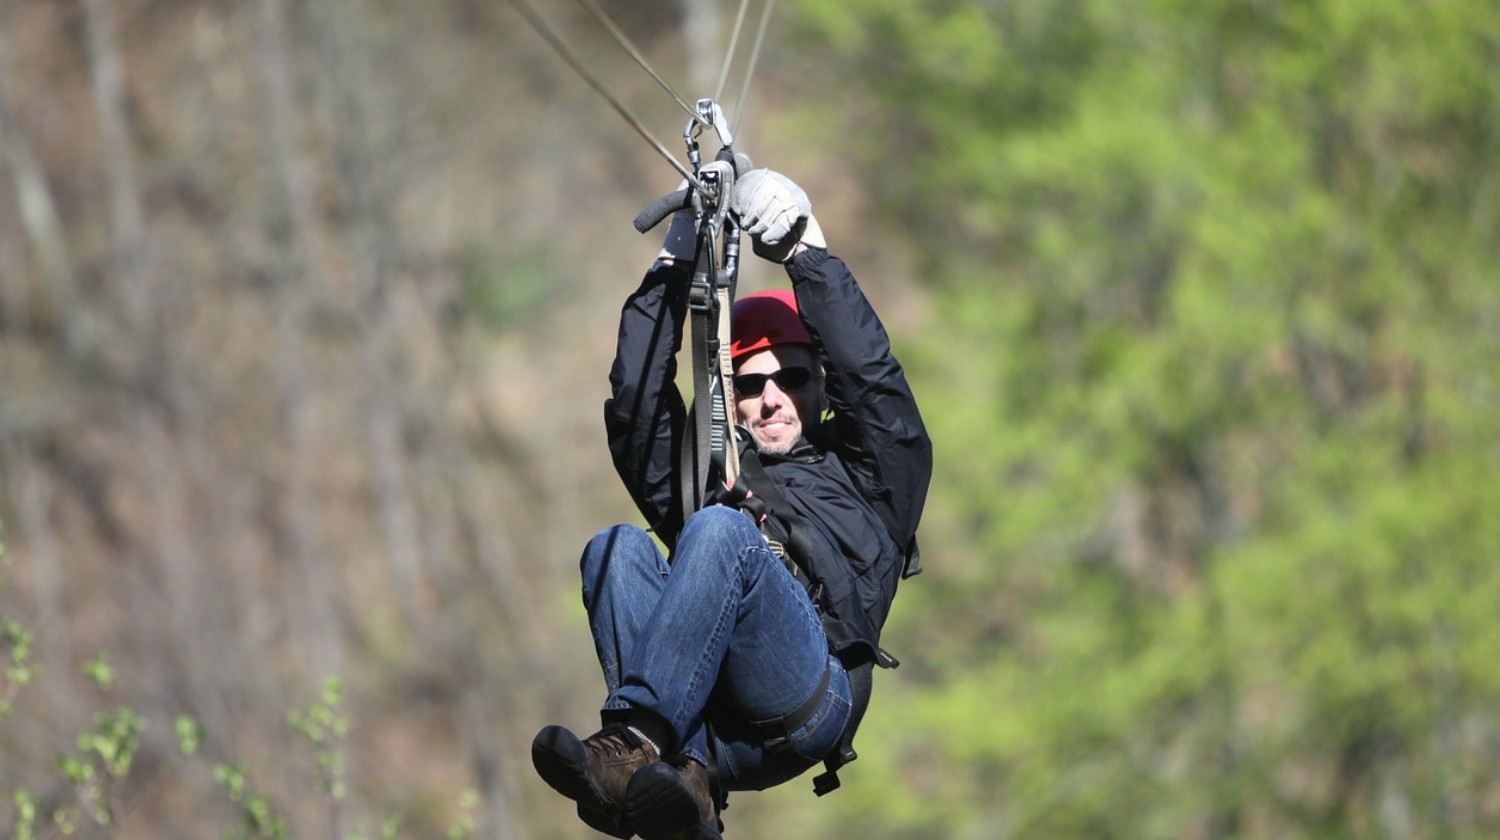
Step 7. Test Your DIY Zip Line Safely and Enjoy!
Test it out first and make any necessary adjustment. Once that’s out of the way, start swinging! Enjoy your amazing homemade zip line.
You can now have fun with the kids anytime with your DIY zipline. It’s an amazing outdoor activity you can do every weekend or whenever you like that will surely keep everyone entertained for hours.
Warning!
ALWAYS BE SAFE when ziplining! Wear a helmet, check that your path is clear, make sure your lines are secured on both ends, etc. I don’t want anyone to get hurt, so I must remind you to please please please be safe for my own sanity! Now have some fun!Watch the full and detailed guide on how to build a zip line in this video tutorial from I Like to Make Stuff:
I love their channel, you should definitely subscribe to it! [Just Click Here]
This is a great hands-on project! Do you want a backyard zip line that’s a little simpler? Buy one here for great quality and a great price.

Act now, adventure awaits!
What do you think of this homemade backyard zip line? Let us know in the comments section what your thoughts are on this fun outdoor activity project. Do you think it’s something you’ll be making this weekend? Let us know how it went and share your experience with us!
Up Next: 45 Off The Grid Hacks | Homesteading Tips, Tricks, And Ideas
Follow us on Instagram, Twitter, Pinterest, and Facebook!Editor’s Note: This post was originally published on July 20, 2016, and has been updated for quality and relevancy.