
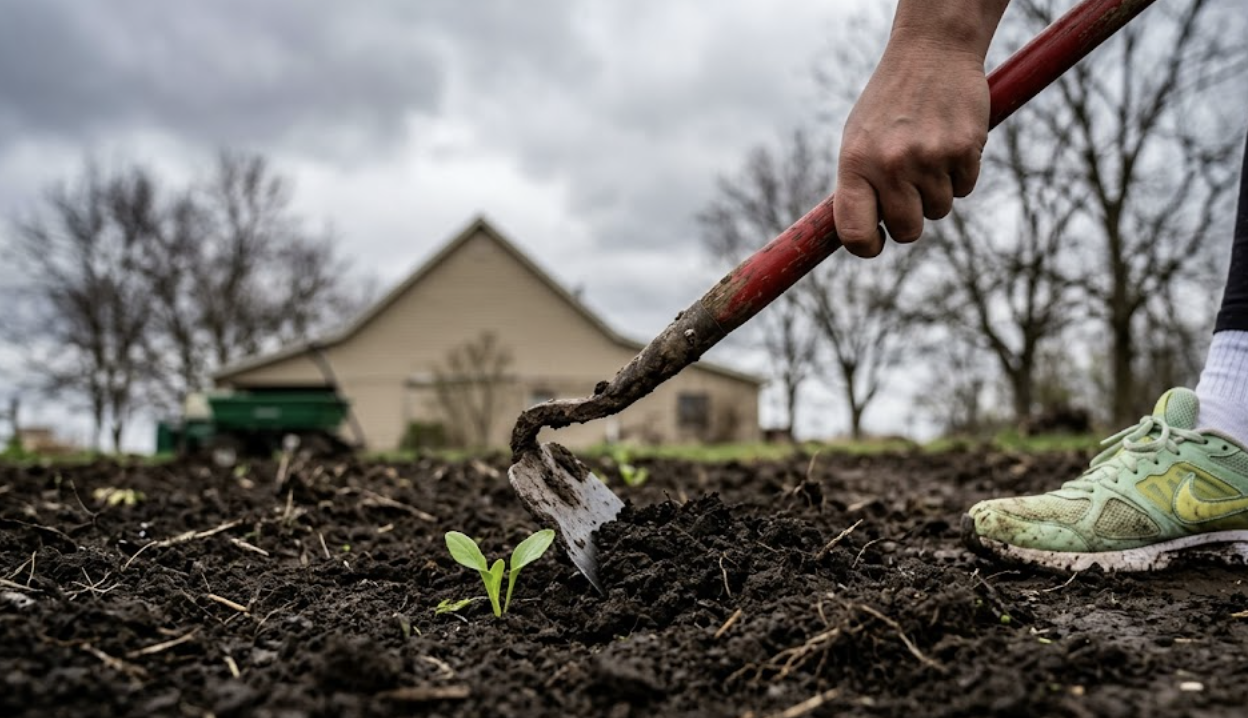

At a Glance: Spring Soil Preparation
- Test your soil’s pH at home before buying any expensive bags of fertilizer.
- Wait for the dirt to dry; working wet soil ruins it for the whole season.
- Add compost to feed the dirt, rather than just feeding the plants.
Want to grow your own food, but unsure where to start?
Building a garden starts with taking care of the soil first. We’re going to strip away the confusing farm science and give you 7 simple spring soil preparation tips to wake up your garden beds.
A Quick Note on Safety
While preparing soil is very safe, always wear a simple dust mask if you are pouring dry, powdery materials like bone meal or perlite. You don’t want those fine particles in your lungs. Also, remember to lift heavy bags of compost with your legs, not your back!
7 Essential Spring Soil Preparation Tips for Beginners

Tip 1: The “Squeeze Test” Comes First Never dig into wet spring dirt. Grab a handful of garden soil and squeeze it. If water drips out, put it down and wait a few days. Digging in wet dirt turns it into hard, concrete-like chunks that will struggle to grow anything. If it holds its shape but crumbles easily when you poke it, you are ready to work.
Tip 2: Follow the “One Shovel” Rule Only prepare the amount of garden space you can comfortably manage this weekend. The biggest beginner mistake is digging up the whole yard in a burst of spring energy, only to get overwhelmed and burn out by July. Start small.
Tip 3: Feed the Dirt, Not the Plant Instead of chasing quick-fix liquid fertilizers, focus on adding rich compost. Healthy dirt creates healthy plants. If you build good soil, the soil will do the hard work of feeding your vegetables for you.
Tip 4: Honor the 2-Week Rest Period After adding fresh compost or other rich materials, let the garden bed rest for about 14 days before planting seeds. This gives the soil bugs time to settle in, and ensures that rich materials don’t accidentally burn young, tender roots.
Tip 5: Layer on Top, Don’t Deep Till You do not need a noisy rototiller. Deep tilling every year chops up all the helpful earthworms and soil structures. Instead, just layer about two inches of fresh compost right on top of the soil. The worms will naturally pull it down for you.
Tip 6: Test Before You Guess Never buy expensive bags of garden amendments without checking your soil’s baseline first. If your soil is too acidic or too alkaline, plants cannot absorb the food that is already there. Fix the balance first.
Tip 7: Save Your Kitchen Scraps Now Start tossing your vegetable peels and eggshells into a compost pile this spring. By next year, you will have your own free, homemade compost to put on the garden, reducing what you have to buy at the store.
How Do You Prepare Garden Soil for Spring Planting?
Prepare it by gently waking it up. This means checking that it isn’t too soggy, clearing away old winter messes, and laying down a fresh blanket of compost to feed the new plants. Let’s walk through exactly how to clean up those beds without hurting helpful bugs, and how to figure out exactly how much compost you will need for the job.
Clearing Winter Debris the Right Way
When the weather starts to warm up, go out and gently rake away old, dead leaves and leftover plant stems. Do this carefully. Many helpful insects hibernate in that debris over the winter. By moving it to a compost pile instead of bagging it for the trash, you keep those good bugs in your yard.
Measuring Your Beds for Amendments
Don’t guess at the garden center. If you have a standard 4-foot by 8-foot raised bed, and you want to add a 2-inch layer of compost, you will need about 6 cubic feet of compost. Knowing this simple math keeps you from overbuying and wasting money.
How to Test Soil pH at Home
Test your soil pH using a simple trick from your kitchen pantry, or by buying an inexpensive test strip kit from the hardware store to see if your dirt is too acidic or too sweet. Both methods are easy to do in a single afternoon. Let’s look at exactly how to run these quick tests, and why finding out your soil’s score is the real secret to growing healthy vegetables.
The Pantry Method vs. Store-Bought Kits
For a fast, free test, put a scoop of soil in a cup and add vinegar. If it fizzes, your soil is alkaline (sweet). In a second cup, mix soil with water and add baking soda. If it fizzes, your soil is acidic. For a more exact number, buy a cheap soil test kit with colored strips. It is a small step that saves a lot of heartache.
Why pH Matters More Than Fertilizer
Think of soil pH like a locked door. If the pH is wrong, the door is locked, and plants cannot “eat” the nutrients in the dirt. You could pour a hundred dollars worth of fertilizer on the ground, but if the pH is off, the plants will still starve. Fix the pH to unlock the door.
What’s the Best Soil Amendment for Vegetables?
The absolute best soil amendment for vegetables is rich, well-aged compost. It naturally adds nutrients, helps the soil hold moisture, and feeds the good bugs in your dirt all at once. But if you don’t have your own compost pile yet, don’t worry. Here is a quick look at how store-bought options compare to homemade, and what to look for if you need to buy it this year.
Compost vs. Purchased Amendments: Cost Comparison
Making your own compost from yard waste and kitchen scraps is free, and it should be your ultimate goal. However, if this is your first year, it is perfectly fine to buy bagged compost. Look for bags marked “OMRI Certified,” which means it is verified organic. It costs a bit up front, but it is a much smarter investment than buying bottled fertilizers that’ll get washed away when it rains.
Spring Soil Preparation Calendar by Plant Type
Prepare your soil in stages, starting with beds meant for early spring greens and finishing later with beds for summer heat-lovers. Let’s break down the timing so you know exactly when to prep for your cold-weather crops versus your summer vegetables.
Timing Your Amendments
As soon as the ground thaws and passes the squeeze test, prep the beds for your tough, cold-weather crops like lettuce, spinach, and peas. You can wait a few more weeks to prepare the spots where you plan to put tomatoes, peppers, and zucchini. There is no rush to prep the whole garden on the exact same day.
FAQs
When should I start my spring soil preparation? Start your spring soil preparation as soon as the ground has fully thawed and passes the “squeeze test.” If you grab a handful of soil and it drips water, wait. If it crumbles nicely, you can begin clearing debris and adding your compost layers.
Can I do spring soil preparation while the ground is frozen? No. Working frozen or overly saturated ground damages the structure of the soil. You should only plan, map out your garden on paper, or gather your compost materials while the ground is frozen.
Why did my seeds burn after adding manure? You likely used “hot” or fresh manure. Fresh animal waste contains high levels of nitrogen and salts that will burn young plant roots. Manure must be aged or composted for several months before it is safe to touch your garden soil.
How long should I wait to plant after adding compost? Always give your beds a two-week rest period after mixing in fresh compost. This allows the soil biology to settle and prevents any sudden nutrient spikes from shocking your new seeds or delicate transplants.
Is it worth buying expensive liquid fertilizers for spring prep? Usually, no. Liquid fertilizers act like a quick sugar rush for plants, but they do not improve the actual dirt. Invest that same money into high-quality compost, which feeds the soil slowly and builds a healthy garden foundation for years to come.
