Chimney cleaning is a vital skill for every homesteader for safety and functionality, especially now when fireplaces need to be at their best as winter approaches.
Here is how to clean your chimney in three simple steps.
RELATED: 9 Chemical-Free Spring Cleaning Hacks + Recipes
Chimney Cleaning in Three Simple Steps
Things You'll Need
- Canvas tarp
- Drop cloth
- Poly sheeting
- Duct tape
- Flashlight
- Flue liner brush
- Long-handled brush
- Noodle brush
- Dust mask
- Safety glasses
- Safety harness
- Shop vacuum plus extra hoses
Step 1. Getting the Appropriate Cleaning Tools

The first step towards chimney cleaning is getting the appropriate cleaning tools adapted for that specific task. Having the right tools increases your chances of success and makes it possible to save several hundred dollars.
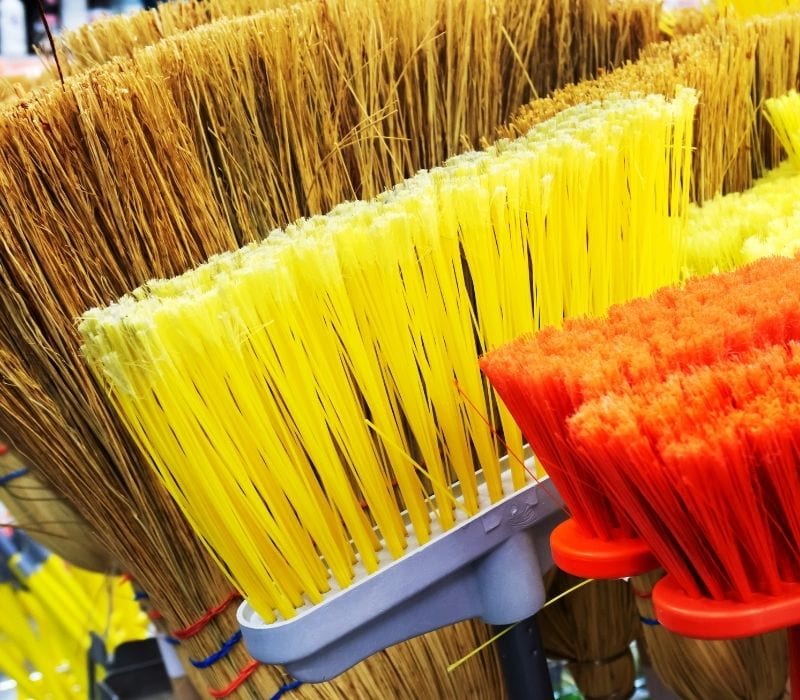
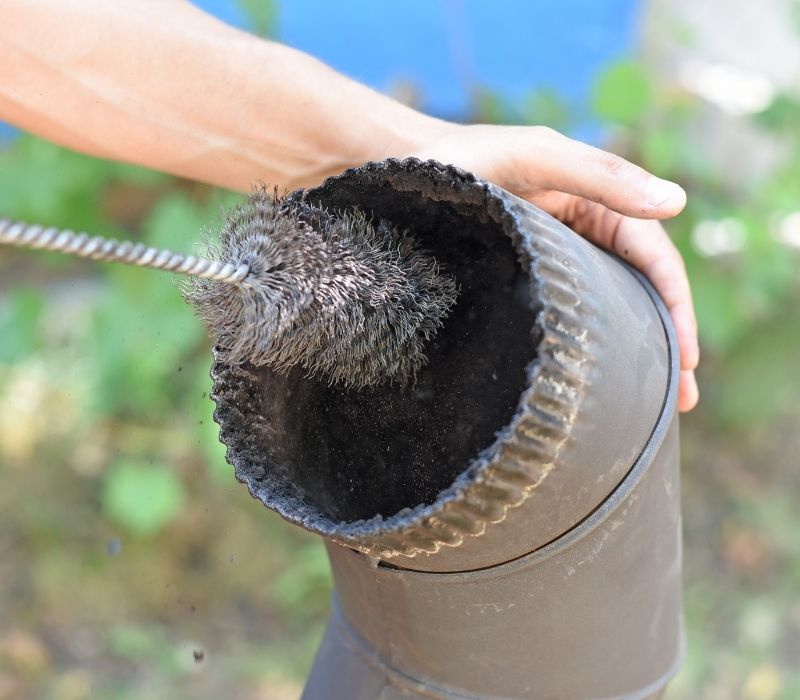
However, the type of liner you have in your flue will dictate the kind of cleaning tools you get. While cleaning a clay flue will be more comfortable with a metal-bristled brush, a metal flue liner will clean better with a plastic-bristled brush.
Besides these, the smoke shelf will require specialized tools like a pliable noodle brush. In contrast, the firebox will need a long-handled brush for the soot on the sides.
Tips
- Whichever brush you buy, remember to have enough rods to cover your entire chimney.
- To get the right brush for cleaning the flue liner, you will have to climb to your roof and measure the flue's length.
Step 2. Preparing for Cleaning

Chimney cleaning can be a messy affair, hence, the need to protect your interior. Firstly, lay a tarp over the chimney hearth. The tarp should be big and long enough to spread into the rest of your living room.
Secondly, lay a poly sheeting such that it covers the fireplace and hold it in place with duct tape. Now, make a notch on the poly sheeting and insert a vacuum hose and seal with duct tape.
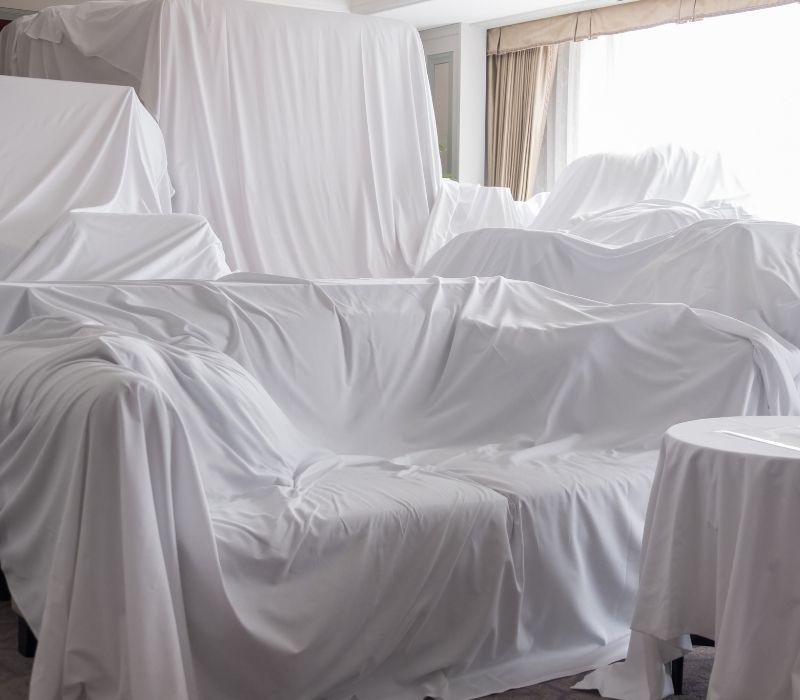
At this point, protect your living room furniture by covering the interior with drop cloths. If you do not have any, a tarp or poly sheeting will also do the work correctly.
Once your interior is completely covered, start joining the extra hoses to your vacuum hose and seal them together with tape so that it is long enough to connect to the shop vacuum outside your house.
Remember to close all windows and doors to prevent the vacuumed soot from going back to the house. Once done, you can run the vacuum as you brush the flue, but you will need to replace the filter if it clogs with soot.
Tips
- Since you need to vacuum from outside, buying the extra vacuum hoses is paramount.
- Remember that the vacuum filters will not trap all the soot, so all doors and windows need to be closed.
RELATED: 17 Homesteading Ways To Use A Vinegar Cleaning Solution
Step 3. Cleaning the Flue, Smoke Shelf, and Firebox

Firstly, run your vacuum and begin your chimney cleaning endeavor from the rooftop. At this point, you should have all your safety gears on to avoid any accidents or complications.
Secondly, move your metal or plastic-bristled brush back and forth severally on a section of the flue to scrub off the soot. Essentially, scrub as far as the brush can reach. Once done, use a flashlight to ensure that one section is well cleaned before moving to the next.
Now, continue adding rods and scrubbing the flue as you move down the chimney, checking your work every time until there is no more resistance as you scrub. This will mean you are at the smoke chamber, which you can clean from inside the house in the firebox.
To clean the smoke chamber, peel back a small part of the poly sheeting to make a small opening – enough to fit your hand and a brush.
Now, use the pliable noodle-brush to clean the smoke shelf after which you should use the long-handled brush again to thoroughly clean the firebox sides. Finish off your chimney cleaning experience by vacuuming the firebox.
Lastly, fold the canvas tarp and poly sheeting at the hearth and take them outside and shake the soot off before cleaning and reusing them during your next chimney cleaning DIY.
Pro Tips
- Do not skip cleaning the smoke shelf as many chimney fires start in that area.
- If your chimney's smoke shelf area is not accessible or has no room for brush movement during cleaning, you certainly need to hire professional chimney sweeps to do the work for you.
- You might also need to contact a professional if your roof is too steep or if you can't go up for some other reason.
- Even after cleaning your chimney, have it further inspected by a professional yearly.
- If you mostly burn wet logs, clean your chimney, and have it inspected after every 50 burns. Otherwise, clean it and have it checked after 70 burns if you use mostly burn dry logs.
Watch this from DIYwithWayne on how to clean your chimney:
Chimney fires can rapidly escalate to bigger house fires, especially if there is creosote buildup. Therefore, cleaning your vent, more importantly, is a safety measure. With the tips in this guide, you can help keep yourself safe and your chimney clean.
After how long do you clean your chimney? Let us know in the comment section below!
Up Next:
- DIY Wooden Playhouse Ideas You Can Build For Your Kids
- Top 33 Winter Homesteading Activities To Stay Productive For Homesteaders
- DIY Wooden Playhouse Ideas You Can Build For Your Kids
Fellow homesteaders, do you want to help others learn from your journey by becoming one of our original contributors? Write for us!

We have an 8″ chimney from our wood stove. The issue is that the cleanout base is about 4′ off the concrete porch, it goes up about 5′, then a 22 1/2 bend up 6+’ to another 22 1/2 bend and straight up through the porch roof — total of 27-30′ of pipe. Upper section is too far from any roof to get to it from a ladder. Have tried rod & brush from base but can’t make the ‘bend’ with stiff enough rod to push brush on up. (Would incl. pics., but they will not attach.) Solution????
It sounds like you might be using cheap ¼” rods from your hardware store. Pros use much thicker, stiffer, rods, which will accommodate even 45° offsets and long flues. Thicker rods, but not the stiffest, will even traverse 90° offset. Also, your spark arrester will need cleaning, if you have one. So you’ll probably have to find a way to separate top sections of pipe to access it and thoroughly brush it off. Failing to do so will cause it to plug, cause much faster build-up, and you won’t like the result, especially in the middle of a cold night. Use quick-connectors or at least make sure your rod connections remain tight, or you’ll end up with a rod and brush stuck in the middle of your flue somewhere.
As a certified, now retired, chimney sweep and licensed contractor with 22 years experience, I can say your article is good for a starter and will suffice on fireplaces and chimneys producing loose, powdery soot. There are other types of creosote deposits your article did not address, and they require more aggressive measures to clean the flue to within safe standards. Nor did your article address the problem of adequately cleaning the smoke chamber in a masonry fireplace.
Since this is a DIY article for the most part, I’ll go into some details.
Creosote is deposited in chimneys due to wood, coal, oil or gas being incompletely burned. Insufficient oxygen causes incomplete combustion, leaving residue, which condenses as it cools and turns to visible smoke and which collects on the walls of the venting system, and even on the walls of some wood stoves and fireplaces.
Creosote can be observed in basically three forms and in combinations of the three: 1st degree – loose, powdery soot; 2nd degree – flaky shiny with the look of cornflakes; and 3rd degree – smooth shiny and hard build up, which may look and feel like black licorice or may be as hard as asphalt pavement. Wire or plastic brushes will not remove 3rd degree creosote and some 2nd degree, and specially designed scrapers may need to be purchased; or, you’ll need to call a professional to completely remove it. After that, you’ll need to change the way you’re operating your appliance by giving the fires more air. Smaller fires and more frequent feeding the fire usually worked for my customers.
DO NOT under any circumstances attempt to ignite a chimney fire to burn out the remaining 2nd or 3rd degree creosote! Chimney fires have been measured and observed to reach 2,200° F. That’s enough to thoroughly destroy a clay-lined masonry flue and severely damage stainless steel chimney liners and manufactured chimneys. You may be lucky to escape additional structural damage during the first chimney fire. Chances are that when the second chimney fire occurs, your damaged chimney will allow sufficient heat transfer through the cracks, separations and gaps to start a fire in the surrounding combustible walls. Older masonry chimneys with no clay or add-on flue liner are particularly prone to allowing structural damage from chimney fires. If that’s what you own, save yourself some grief and have it lined with UL-listed materials, professionally installed and permitted by your building department.
When I was in business, the National Fire Protection Association, and the National Chimney Sweep Guild indicated the flue would need cleaning when soot/creosote accumulation reached ¼ inch in thickness. In my experience, I found flues with 1st and 2nd degree creosote much thicker than that in a week or less. In once case, a wood stove owner burned wet pine and completely blocked his 8” chimney in about 72 hours on a brand new installation. In Northern California, where I worked, I generally recommended to my customers that they inspect the chimney, looking for ¼” of buildup, every 100 fires or cord of wood. I had several customers whose chimneys I inspected yearly, but who never achieved ¼” thickness in all the years I inspected those chimneys. My point is you don’t know when your chimney needs cleaning unless you look. Once a week for the first year of operation of a new installation, or one you just moved into, might not be too often.
Masonry fireplace smoke chambers can be tricky. In California, prefab fireplace dampers were in wide use for many decades. The dampers were actually welded into the unit, making damper removal and smoke chamber cleaning difficult, if not impossible. I removed 50 gallons of soot and ash from some fireplace smoke chambers. With the dampers welded into a prefab firebox/damper unit, the only way to access the smoke chamber was to install an access door in the back of the chimney. Access doors back then were only about $80 or so, and the labor to install required only an hour or so. Check with your city or county building department to verify the need for a building permit. Permits were required in all the communities I worked.
If your masonry fireplace damper happens to be be bolted in, and therefore removable, you may still need an access door installed at the rear of your fireplace. Make sure it’s designed for fireplace use. Some are attractive enough to be used where the back of the fireplace is inside a living area. The best ones are insulated to alleviate cooling temperatures in the smoke chamber and consequent creosote accumulation in your chimney. Approved access doors, scrapers, rods and appropriately sized and shaped flue (oval, square and rectangle) brushes can be had from some chimney sweep services who also retail merchandise, or from some local hardwares.
I think dtaylr was remarkably cool with his comments about the video and your articles instructions. I noted that the video started off with very little of the equipment your article recommended you have on hand to accomplish the job. Yes, I recognize your article dealt with a fireplace cleaning while the video dealt with a stove installation so perhaps not all of the equipment your article listed might not be used. But then, the act of shoving a brush to the bottom of a metal chimney to the connector pipe elbow might be risky enough to merit some of the covering of the stove and furnishings. As hard as that brush was required to be shoved, had it slipped suddenly down that man could have easily separated that elbow making one heck of a mess. I hope persons watching that video recognized that cough that rapidly appeared after the cleaning. Creosote is considered a carcinogen, and face masks are usually required, and always recommended. It would have been nice to see how the roof of the home was cleaned up after the mess was made. I am sure the producer of that video spent considerable time cleaning up the piles of creosote from the roof and the bench or table he was working on when cleaning the top.
I commend the man making the video but I suggest your article could have submitted that video for some ‘professional’ review or that you seek out a professional video concerning this very important job. Just giving the impression that creosote could be left on the roof is enough to get some folks in a pile of trouble. There is only one appliance in your home (other than your acetylene torch) that can produce a fire capable of subjecting your home to a fire often surpassing 2,200 degree F. for 30 minutes or more. That is your sold fuel chimney, and unfortunately not many chimneys were designed or expected to do that. Chimney safety is very important. Do it right, often, and thoroughly.