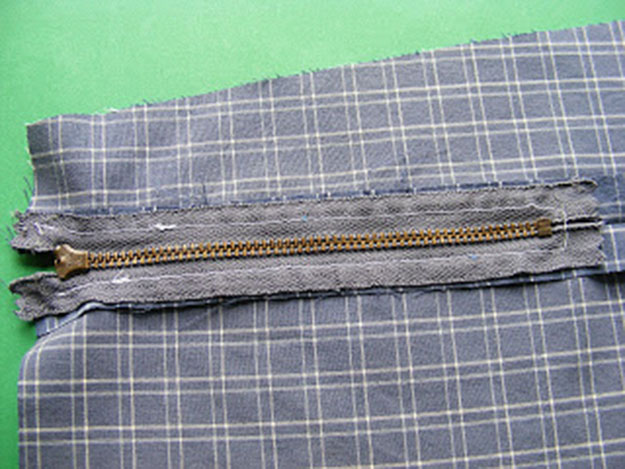
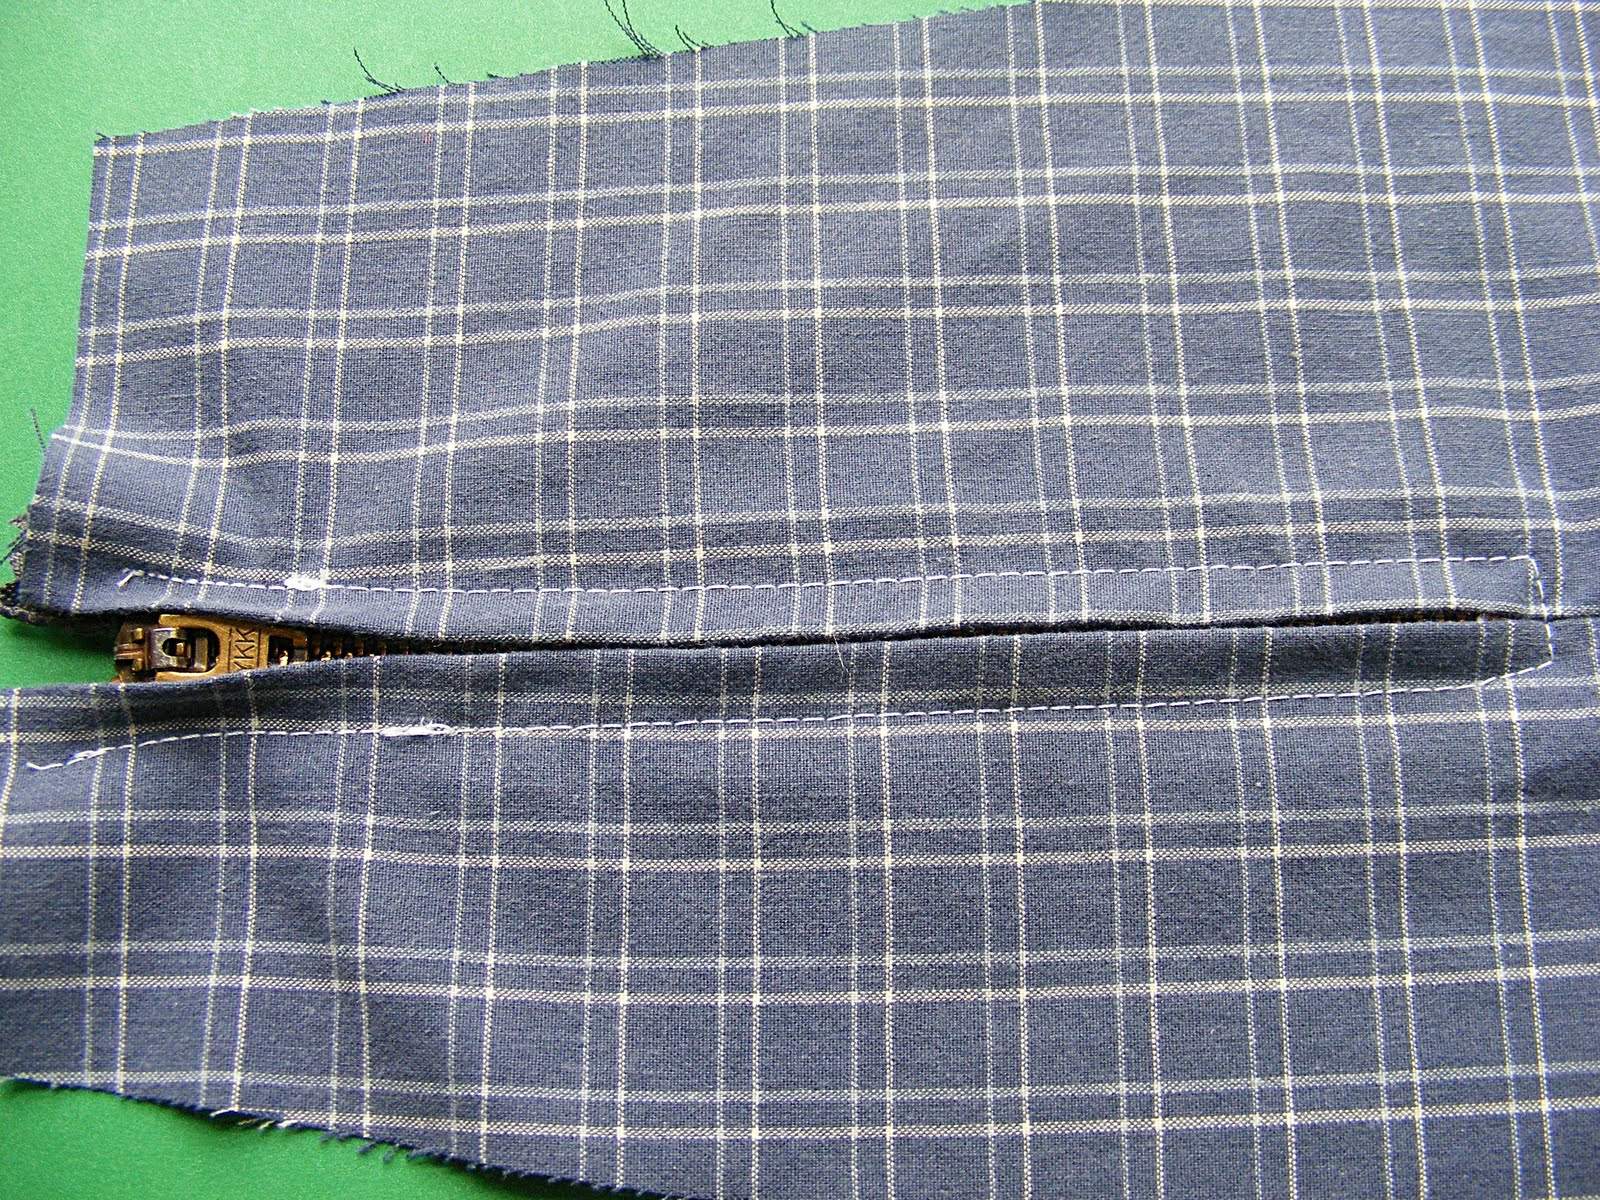
Need to know how to sew a zipper? Sewing a zipper onto a project is as tricky as it gets, at least when it comes down to the sewing basics. With this simple tutorial, you can get through this and on with the rest of your work in no time. Patience and a steady hand are key.
How to sew a zipper is one of those skills that we think we know but actually have no idea about. Yes, it's basic, but it has it complications like how to keep it straight, or how to know where to properly place it. You know, things that need your patience pants on. Once you get the hang of it, you'll be the master of sewing zippers and you'll never struggle with broken zippers ever again
How to Sew a Zipper Using Sewing a Machine
These step by step instructions on how to sew a zipper will show you how to do just that over an already closed seam. This sewing skill is helpful for any kind of project, from a pillowcase to a skirt, or a dress, pants, blouse or purse. Anything that zips! Shall we start?
Supplies Needed to Sew a Zipper:
- Zipper
- Zipper Presser Foot
- Seam Ripper
- Ball Pins or Adhesive Tape
- Sewing Machine
- Thread
Step 1: Use Zipper Presser Foot
Image via Gifs
The first thing you need do to sew a zipper is to have a zipper presser foot. Place the zipper presser foot into the sewing machine.
Step 2: Place Zipper Face Down Over Fabric
For this sample we used a scrap of fabric, realistically you will be attaching your zipper to any seam that is already sewn and pressed with a 5/8″ seam allowance. Place the zipper face down on the back side of the seam.

Step 3: Secure Zipper in Place
Image Gifs
Use the ball pins or tape to secure your zipper in place. Make sure the center is aligned with the seam before you sew a zipper. Pin all the way down to ensure your zipper will not budge while sewing.
Step 4: Sew One Side of the Zipper
Image via Gifs
Set your fabric into the sewing machine underneath the zipper foot and stitch down one side. Do this until you reach 1/4″ away from the end of your zipper. Then stop.
Step 5: Turn Fabric in Sewing Machine
Image via Gifs
You don't want to move your stitching at all, but you do need to rotate your fabric. To rotate the fabric, use the hand wheel to place the needle down into the fabric. Then lift the zipper presser foot up, and with the needle holding everything in place, use your hand to turn the fabric clockwise 90 degrees.
Step 6: Sew Base of Zipper
Image via Gifs
Stitch in a straight line over the zipper, back stitch over the line you just made, and forward stitch again. Pause when you get to the zipper tab, place your needle in the machine with the hand wheel so it won't move, then lift up the presser foot so it is out of the way. Use your finger to push the zipper open slightly. Move the zipper tab pass the path of the sewing machine so it will not hinder your ability to sew in a straight line.
Step 7: Remove From Sewing Machine
Image via Gifs
With your needle and presser foot up, take the fabric out of the sewing machine, and trim off any extra threads. But we are not done yet!
Step 8: Rip Open the Seam that Encased the Zipper
Image via Gifs
Take your seam ripper or scissors and rip open the seam that you attached your zipper over. The stitches are delicate and will rip easily. Rip the stitches until you can see the zipper pull-up.
Step 9: Secure Unsewn Portion Near Zipper Pull-Up
Image via Gifs
Pull the zipper pull-up and unzip the zipper. If you placed ball pins or tape on the back portion, now is the time to remove that. After unzipping, place the unsewn portion to the presser foot and give it a good run until both sides are secure.
Step 10: Clean Up All Lose Threads

Remove all lose threads and tape and inspect if all sides are secure. This is the last part of the process on how to sew a zipper. If the zipper zips smoothly, you're good to go!
Watch this step by step video by Wendi Gratz of Skinny Happy World:
Congratulations! Now you know the basics on how to sew a zipper. That wasn't so bad was it? Sew the rest of your project as normal. Now you can go mend all of those clothes you were sure were done for! Get to work using your newly learned skill. Practice makes perfect!
What other sewing skills would you like to learn? I’d love to hear about it! Let me know in the comments area below.
If you want to learn other sewing tricks, try these 25 Sewing Hacks To Make your Life Easier!
Follow me on instagram, twitter, pintere
Image via Ummihasyajihan

I have sewn a lot of zippers successfully on my Bernina 880. The main reasons for my success is two-fold. I use Wonder Tape (by Collins (a double sided, repositionable, and wash away tape) to hold the zipper. It’s better than pins, which can distort the zipper and fabric. I also use longer zippers than necessary so that I don’t have to move the zipper pull as I sew the seam.It only a few cents more for the longer zipper.
This is very informative tips for sewing the zipper correctly. I have a sweater but it’s too long I can’t shorten this zipper. Even the fact of a world pandemic Corona I can’t go outside from my home. I have a sewing machine in my home when I read your article very attentively then I have done this work at my home. Thank you for sharing this informative article.
I recently came across the “Sew a Zipper” tutorial on the website “Homesteading”. I found this tutorial to be very helpful for those who are new to sewing or who want to improve their zipper-sewing skills.
The tutorial is well-written and provides clear, step-by-step instructions that are easy to follow. The author also provides detailed explanations and tips, making it easier for those who are new to sewing to understand the process. The accompanying photos are also a great touch, as they help to visualize each step of the process.