Sometimes, wear and tear on your flooring is just unavoidable and you have to rip the stuff up. Carpet is the worst about showing the signs of age, stains, and general wear. So instead of replacing your flooring with yet another expensive option that will once again ruin with time, try this handy trick.
You can use any stencil pattern and color paint you desire, however, lighter colors tend to work the best because the concrete is a dark grey. I used an off white color here for this tutorial. I hope you enjoy learning how to paint a concrete floor!
You Will Need:
1 bag (or 2 depending on the size of your room) of Quikrete
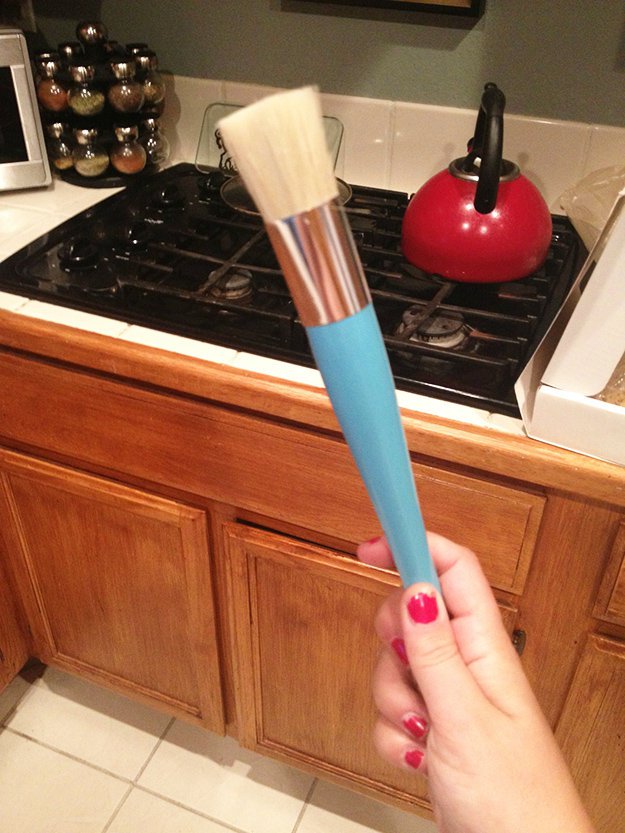
1 Paint Brush
3 Floor Stencil (any stencil is fine)
Clear Primer
White Latex Paint (base color)
Polyurethane
Dark Grey Latex Paint (or whatever color you like)
Tear out carpet (left) and fill in the holes with some quikcrete and sand off any glue residue from the carpet pad. If you don't have carpet down then you can skip this step!
Step 1-2.
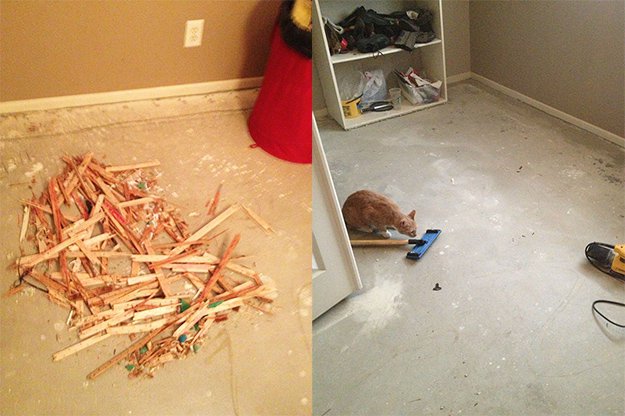
Pour the quikcrete over the floor and smooth evenly. If you don't have experience pouring concrete, check out this YouTube video that will give you further instructions:
Step 3.
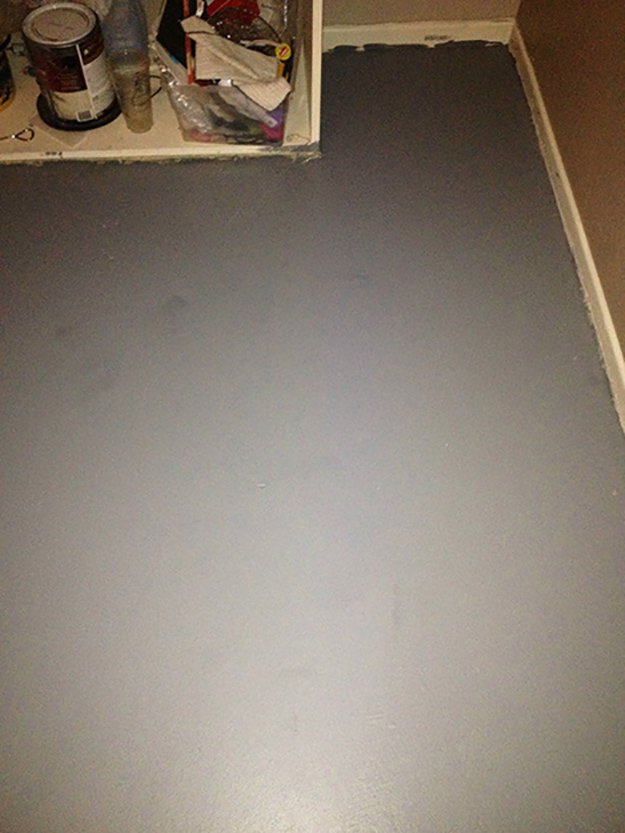
Your floor should look like this once your concrete is poured:
Step 4.
Let your quikrete dry thoroughly. It doesn't take long! Sit back, relax, and wait!
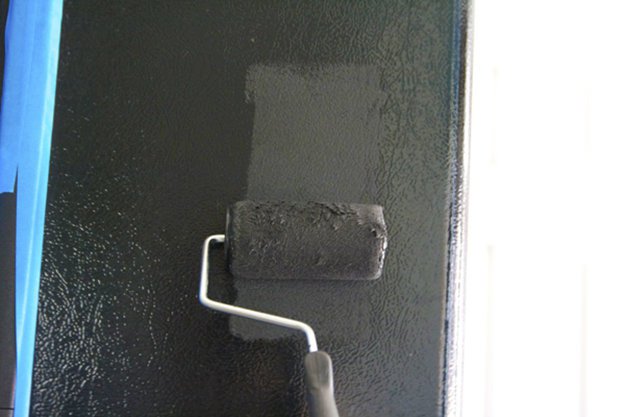
For the base color, I just used an off-white latex paint.
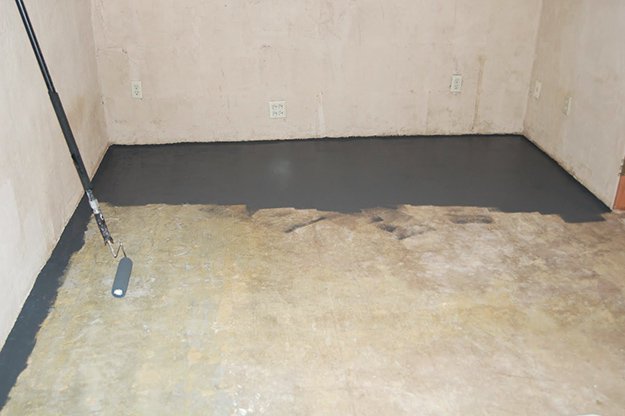
Step 5.
Now you're ready to start stenciling.
Step 6.
Use a “chalk paint” for stenciling. You can find this at Home Depot or you can order it from any craft store online. You can make your own using this quick recipe:
- 1 cup latex paint
- 2 tablespoons unsanded grout
- 1 cup warm water
Step 7.
Choose your stencils carefully. You want to make sure it is a large enough stencil! Remember you are covering a floor. You can find floor stencils from your local craft store or order them online here: StencilsOnline.com
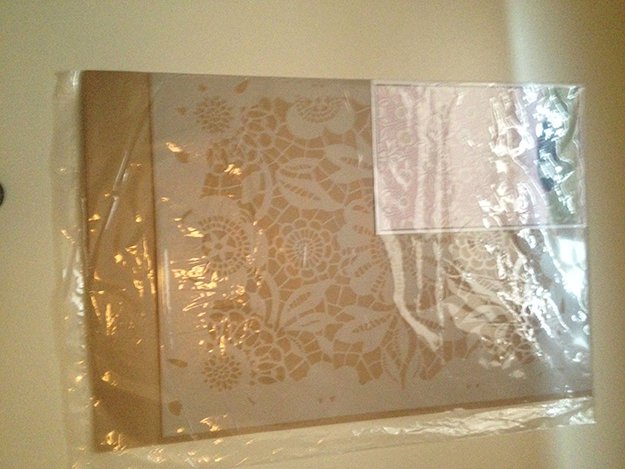
Steps 8-9.
Pour your chalk paint into a tray and get to it! Lay your stencils side by side and gently brush over the top of them creating an imprint on your floor. The chalk paint should feel like jelly. The thicker your paint is the better. Chalk paint generally dries very fast – so work quickly!
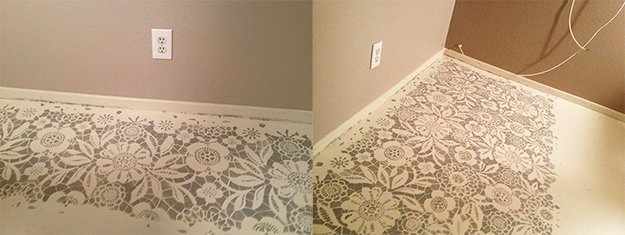
Steps 10-11.
Repeat the process until your floor is covered. Work in rows. I find that it is the most effective way to keep the pattern from distorting. Work from corner to corner and make sure not to paint your wall on accident. The paint should come off with warm water if this should happen. It's a good idea to keep some handy.
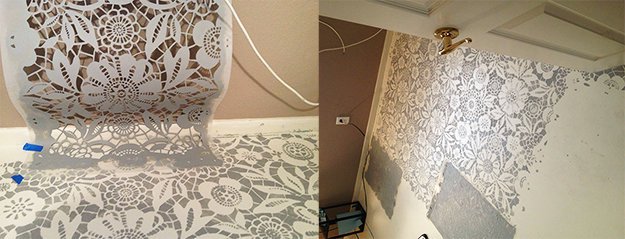
Steps 12-13.
Continue to work in rows from side to side. The pattern should look like this:
TIP: You can use multiple patterns to create a lace look if you're using a floral pattern. That's what I did for this project and it came out great!
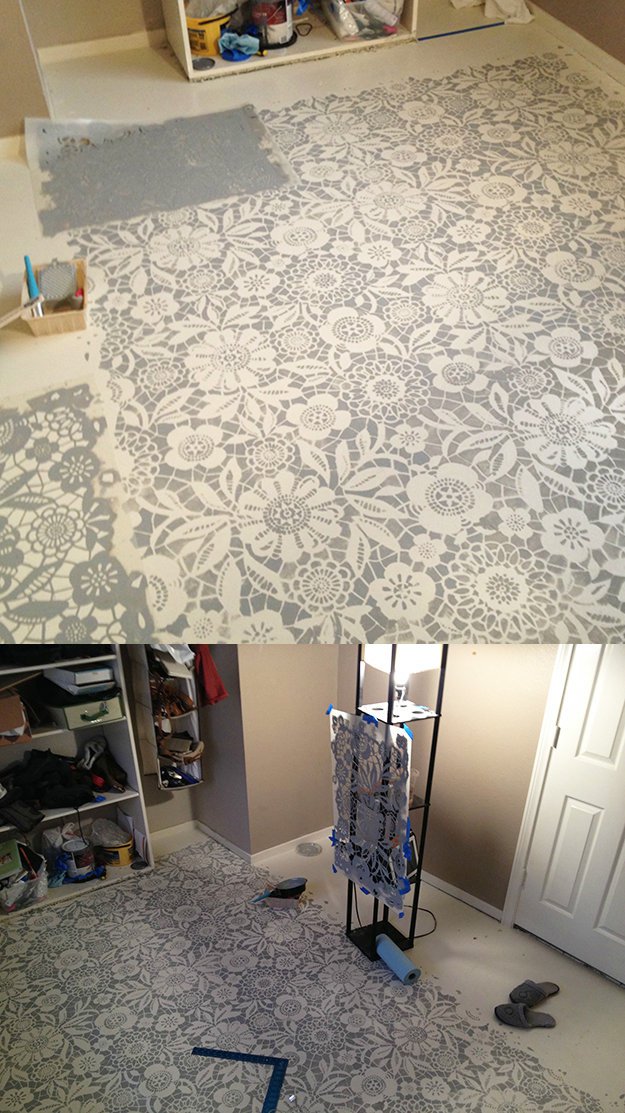
Step 14.
Here is your finished floor! Be careful working around the corners of your room. You do not want to paint the stencil too close to the wall. I found that it was fairly easy to get the pattern where I wanted it. The overlapping flowers are great because you don't have to be good at lining up the edges! Have fun!


Your project is inspirational! Thanks for the post! I am wondering about the need for quickcrete and how think was the layer you put into place and why do the entire floor rather than just patch up the holes. Also can you share more about the type of base paint you used? What was the finish and did you use any additives? Thanks much!