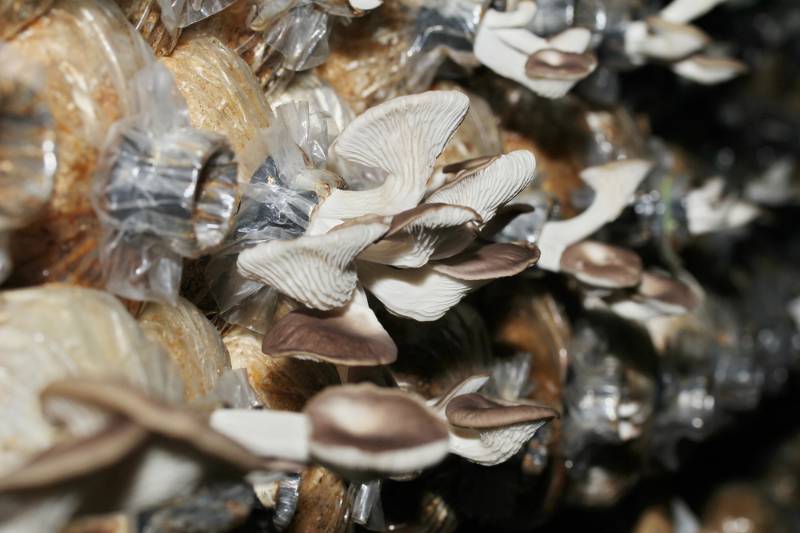
Thinking of growing a mushroom spawn in your homestead? You can follow these easy steps to help you get started.
RELATED: How To Inoculate Mushroom Logs For A Fresh Harvest For Fall
How to Make Mushroom Spawn at Home
What You’ll Need
- Oyster mushroom stems
- Cardboard
- Medium-sized airtight container
- Boiled water
Step 1: Shred Some Cardboard and Dampen Them
Find some plain cardboard pieces and tear them into smaller pieces. It’s important that your cardboard doesn’t have any prints so the mushrooms will not absorb the ink.
Next, pour boiling water over the cardboard pieces. Let it cool down and drain off the excess water.
Mushrooms thrive in a humid and moist environment, and boiling water will help kill any wild molds, fungi, or yeasts.
Step 2: Prepare Your Mushroom Spawn Container
Poke some small holes into your airtight container to allow some air to flow through. Poke or drill around two to three holes per side.
Make sure to only create a few holes. Otherwise, the mushroom spawn will dry out.
Tip: To have an easier time drilling, you can heat up a nail using a lighter and poke the screw onto the sides of your container.
Step 3: Add Shredded Cardboards Into the Container
Fill up around ¼ of the bottom of the container with some damp, shredded cardboard. You may gently squeeze the shredded pieces to get some of the excess water out.
Step 4: Mix In Your Mushroom Stem Butts
[instagram url=https://www.instagram.com/p/BiTHOsPlv1Y/ hidecaption=true width=600]
Spread out an even layer of much mushroom stem butts on top of the shredded cardboard. Put in as much stem butts as you can, to have better chances that your mushroom spawn may thrive and defeat any wild fungi that may grow.
RELATED: 9 Reishi Mushroom Health Benefits
Step 5: Add A Layer of Shredded Cardboards And Seal It
Throw in another layer of shredded cardboard pieces, enough to fully cover the topmost layer of the container. Then, seal it properly.
Tip: You can wrap the container with some rubber bands for a tighter seal.
Step 6: Set Your Mushroom Spawn Aside For 11 Days

Now it’s time to wait!
Let your mushroom spawn sit in a dark corner for around 11 days. After that, you should see a white, strong mushroom growth in your container.
Remember, do not open the container before it reaches 11 days. Doing so will risk your mushroom spawn to contamination from airborne molds and wild yeasts.
Step 7: Pin the Mushroom Spawn to Produce Mushrooms
After 11 days, you can already transfer the spawn to a bigger container to let it start its pinning process.
Sprinkle the spawn with some cardboard strips and coffee grounds. Then, leave the container inside your refrigerator overnight with its lid open.
After that, keep the mushroom spawn at room temperature. Drizzle it with some water every few hours to keep it moist until new mushrooms have sprouted.
To watch the step-by-step guide on growing your own mushroom spawn in your homestead, watch this informative YouTube video by GroCycle:
The simplest way to grow your own mushroom spawn indoors is through the stem butt method which allows us to propagate mycelium from mushrooms onto the cardboard.
In this technique, you will only need to remove the stems of your oyster mushrooms and place them in a container full of damp cardboard. And after a few weeks, a new spawn will be growing.
Some of the advantages of the stem butt method are the affordability of the materials needed, and its steps are generally easy to follow. It doesn’t need expensive equipment and it is not labor-intensive.
What are your favorite mushroom recipes? Share your ideas in the comments section below!
UP NEXT:
- Easy Guide To Growing Mushrooms At Home
- How To Mulch A Tree: 5 Tips From The Pros
- 5 Beautiful Modern Pergola Designs For Your Homestead
Fellow homesteaders, do you want to help others learn from your journey by becoming one of our original contributors? Write for us!


What if i add some wheat / rice seds with th cardboard ? would the new mushrooms be healthier than just crdboard ?