A popular ingredient in both salads and recipes is wine vinegar, with red being the most popular but white used as well. If your place is like mine, there are multiple bottles of wine in the cupboards, that have been used for cooking, having a drink with friends and even marinating with all in various stages of fullness. Some may even be full bottles, that you didn't really like, but the frugal part of you won't allow it to be poured down the drain, so there it sits, taking up precious shelf space.
Homemade Wine Vinegar
You can take these odds and ends wine leftovers, or even use full bottles, and make some great wine vinegar right at home, with no exotic or “special” ingredients needed. Just the wine, some live, (not pasteurized) preferably organic, apple cider vinegar (with or without “the mother”) and a little time. It is as easy as it sounds, and your frugal self will love you for being able to find a use for these bits of leftover wine.
Directions:
To begin the process, you will need a bowl or wide mouth jar large enough to hold the amount of wine you will be turning during the fermentation process. It should be very clean and non-reactive. You will also need the live, organic apple cider vinegar, a clean towel (large enough to cover the bowl or jar), a bottle or jar to keep the completed vinegar in. (One of the cleaned and sterilized wine bottles will work well for this.)

Pour the wine into the bowl or jar you are using for the fermenting process. Although you would normally ferment the red wine and white wine separately, if you only have a bit of each and you want to try combining the two, go for it! But remember your proportions just in case you develop something that you really like, so you can replicate it!

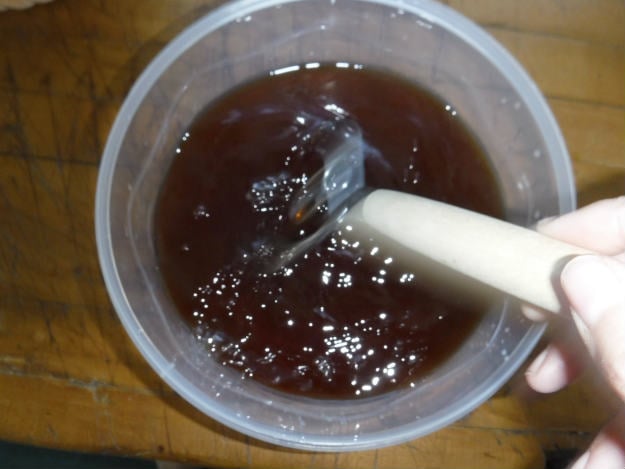
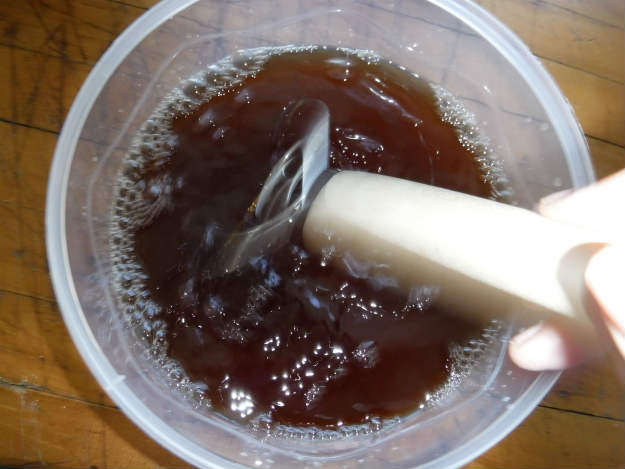
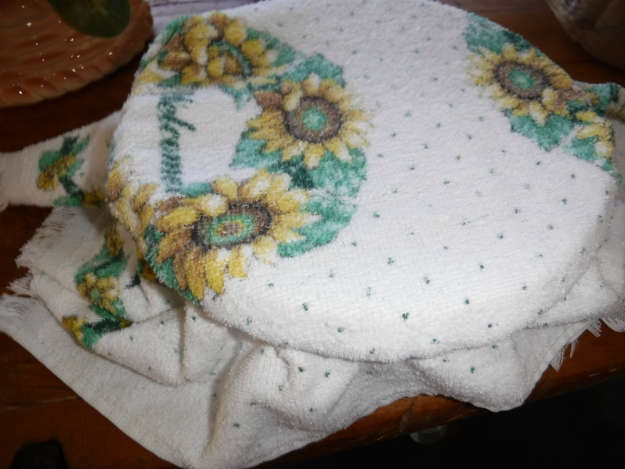
For each cup of wine placed into the bowl, add 3 tablespoons of the apple cider vinegar and stir vigorously. Cover the bowl with the clean towel, securing it with a large rubber band. Let stand at room temperature. Stir the wine vigorously once per day. Usually, within a week to 10 days, a gelatinous film should form on top of the mixture. This will be “the mother”.

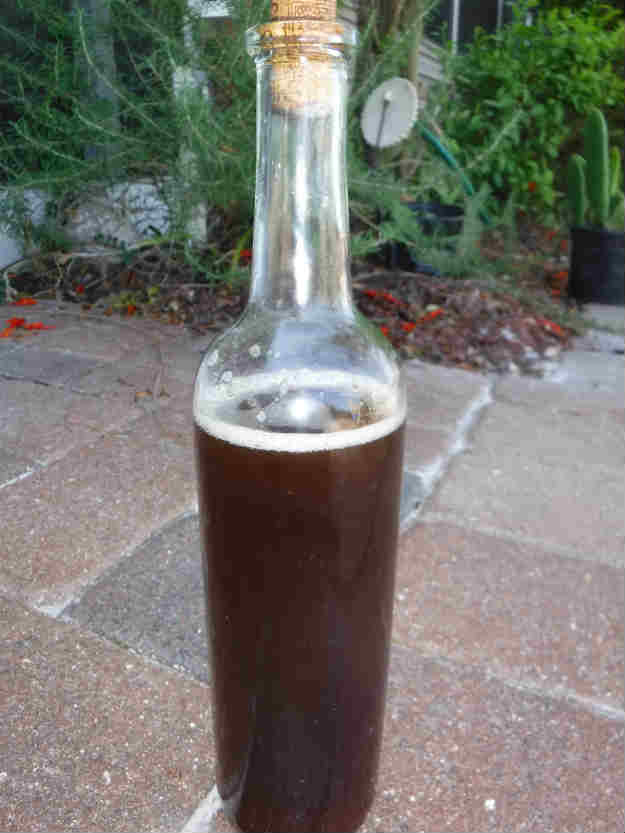
Begin your “taste testing” in about 2 weeks. When the mixture begins to taste more like a vinegar than a wine, it is time to move it to the air tight bottle or jar it will be kept in. (This is where you may reuse a thoroughly cleaned, resealable wine bottle.) The air tight container is necessary, as although the air exposure was necessary during the fermentation process, at this point, it can do more harm than good.

From this point, you can allow the vinegar to age further or if you are happy with the flavor, begin using. If you have made way more vinegar than what you can use, package the excess in smaller, decorative bottles (well cleaned and sterilized) and use as hostess or holiday gifts.
Up Next: 160+ Extra Space Storage Ideas | Make Your Space Work For You
Will you give this Homemade Wine Vinegar a try? Let us know in the comment section below.

Hello guys, thanks for all the great ideas. I have a question concerning the mother. How do I keep it? Should I let it sit in the new wine vinaigre?
Keep providing more interesting posts!