As a homesteader, learning how to grow oyster mushrooms is a must and it's fun. Nothing beats a fresh, quality, and constant supply of these pillows of goodness.
Read on to master the skill of how to grow oyster mushrooms.
RELATED: How To Grow Your Own Mushroom Spawn
How to Grow Oyster Mushrooms | Step by Step Guide
Things You'll Need
- Fresh oyster mushrooms
- Used coffee grounds
- Tyvek paper
- Sterilizing alcohol (Must have an alcohol percentage of 91 and above)
- Paper towel
- Straw
- Plastic bags
Equipment You'll Need
- Knife or blade
- One bowl
- Three small plates
- Mason jars with rings
- Old salad spinner
- Old food processor or knife
- 2 five-gallon buckets
- Thermometer
- Plastic tub
- Hydroton
- Humidifier
Step 1. Inoculating Mycelium on Coffee Grounds
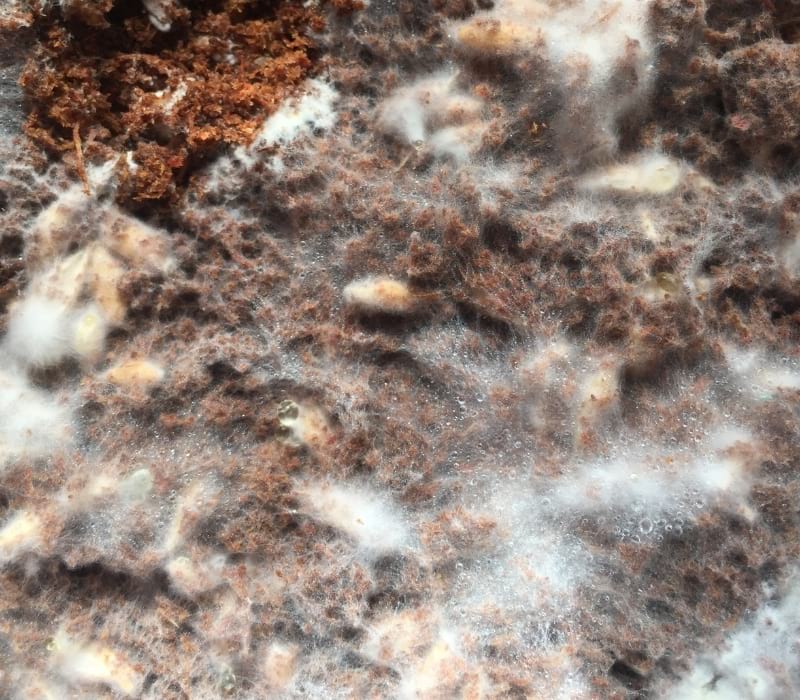
Mushrooms easily get contaminated in the initial stages of growth. Therefore, sterilize everything you will be using, including your hands, the insides of your bowls and mason jars, and your work-bench surface.
To start, turn on your coffee maker so that your coffee grounds will be warm to the touch. Make a cup of coffee to help get the coffee grounds warm.
Now, remove the warm coffee grounds from your machine and squeeze the excess water out. In addition, keep the coffee filter as it will aid in the colonization process.
Put your squeezed coffee grounds in the sterilized bowl and use your hands to shred the coffee filter into small pieces. Then, set aside.
Subsequently, let your mason jars dry and without the smell of alcohol. Distribute the coffee grounds equally – two spoonfuls per mason jar will do.
Next, place your fresh oyster mushrooms on a sterilized plate and use a clean blade or knife to cut off the stem butts – a ¼ to ½ an inch will do. These are the fuzzy bases of the mushrooms that have the Mycelium.
Drop the stem butts into the coffee-ground-filled-mason-jars and ensure the mycelium side is in contact with the coffee grounds. Use a sterilized butter knife to turn the stem butts should the need arise.
Lastly, place sterilized Tyvek paper on each mason jar and screw on the jar rings. Stash this away for a few days to allow the Mycelium to take over the coffee grounds.
Tips
- Use several small mason jars as opposed to a large one. This way, you grow a mycelium colony sooner, which reduces the rate of contamination by mold.
- To reduce the risk of contamination and speed up the colonization, mix the coffee grounds with tiny bits of pasteurized straw. However, ensure to take the pasteurized straw through a couple of spins in a salad spinner or any other spinner to get rid of any excess water.
- To sterilize the Tyvek paper, dab it with a paper towel soaked in the sterilizer and dry it.
Step 2. Growing the Mycelium Colony
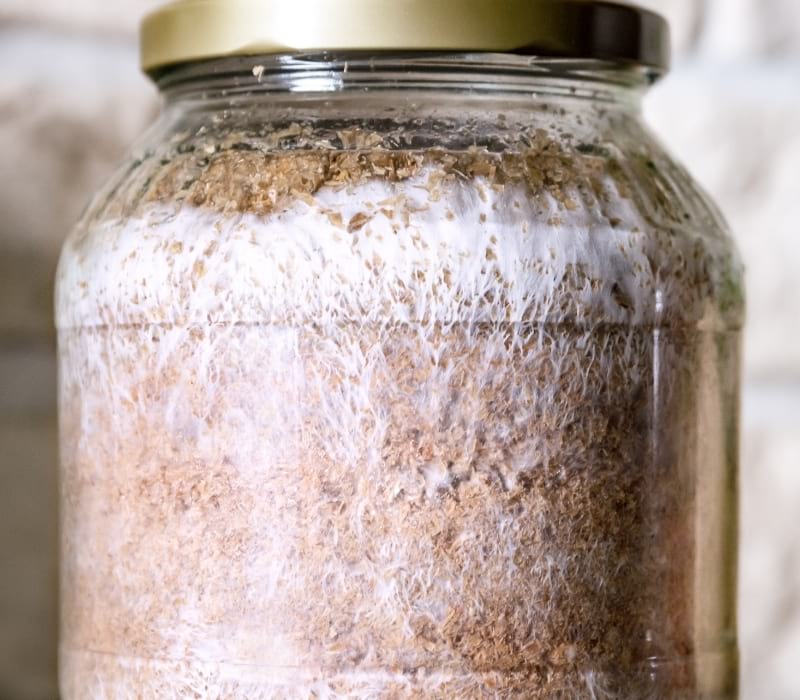
After a few days, the Mycelium should have taken over the coffee grounds. However, this will only happen if there was no contamination.
The next step is to build or grow the colony. For this, add another layer of coffee ground in the mason jars – two to three spoonfuls per mason jars.
Similarly, you can mix the coffee grounds with pasteurized straw. Remember to spin the straw.
Give this a few more days for the Mycelium to take over the coffee grounds and repeat this process. Do this until the mason jars are fully colonized.
Tips
- Always change the Tyvek paper with every addition of the coffee ground mixture.
- Also, always sterilize the mason jars before and after opening them.
RELATED: Mouth-Watering Oyster Mushroom Recipes
Step 3. Pasteurizing the Straw
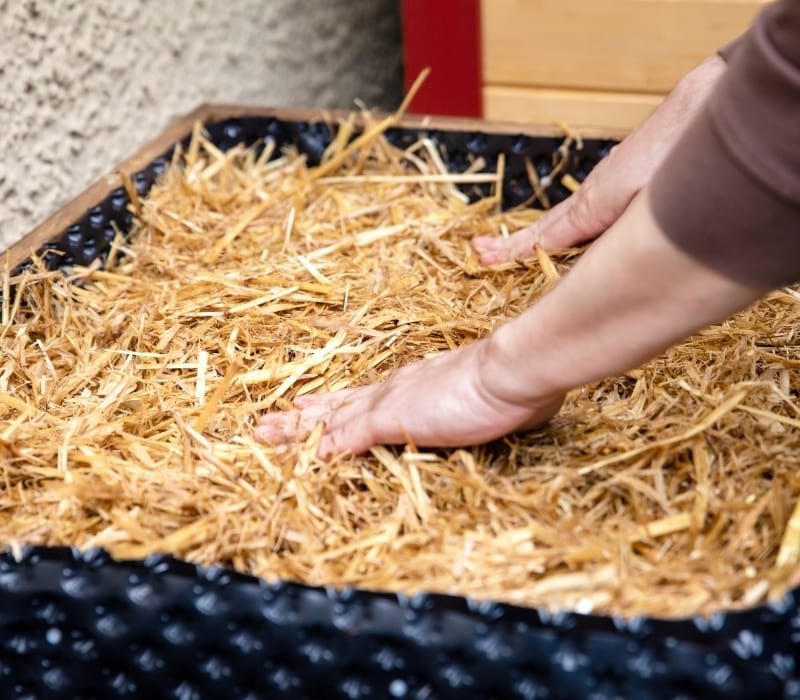
First, use a shredder to cut the straw into small manageable bits. If you do not have a shredder, you can improvise with an old food processor or use a knife.
Next, sterilize your five-gallon buckets and add the shredded straw into one. Next, add three pots of boiling water into the straw and have two more pots boiling on standby.
Use the empty bucket to press down the straw such that it is compact enough to hold a thermometer. Now, stick a thermometer onto the compact straw and ensure the temperature stays in the range of 160 and 180 degrees Celsius.
Afterward, let this sit for at least 15 minutes. Check every five minutes, however, to ensure that the temperature stays in the required range.
After 15 minutes, drain the straw and remember to use a sterilized strainer for this. Next, run the pasteurized straw through several spins in a kitchen salad spinner to eliminate excess water.
Step 4. Transferring the Mycelium to Plastic Bags
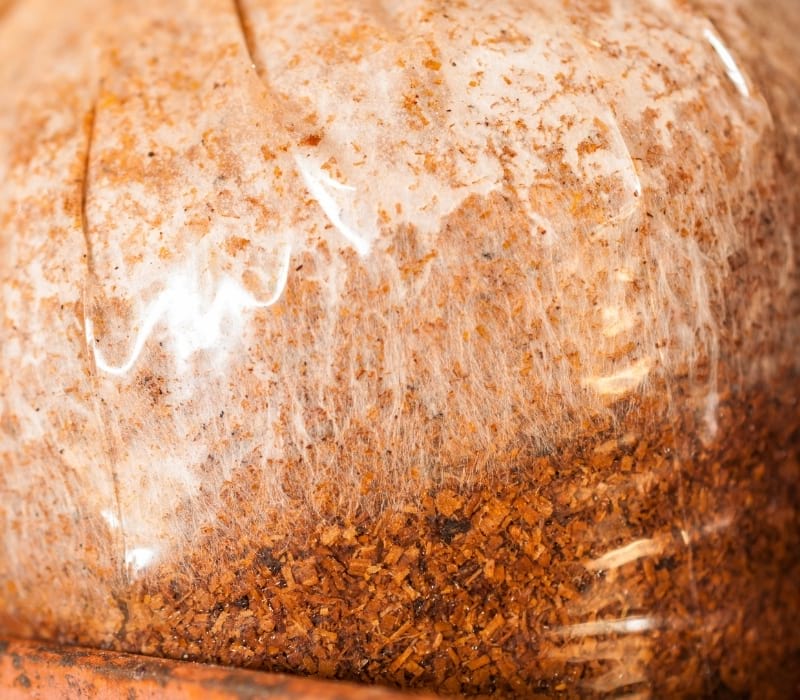
Now, sterilize the plastic bags you will be using and allow them to air dry.
Next, scoop the Mycelium colonies from the mason jars onto sterilized plates and break them down into small chunks. You will know the Mycelium is ready when the colonies have a pungent mushroom smell instead of a coffee grounds smell.
When the plastic bags are dry, take one and pack it with a layer of straw. Now, add a layer of Mycelium onto that. Keep going until you have a half-filled bag. Ensure the straw layers are as tightly packed as you can get them.
Once done, press down the plastic bag to remove any air from and to further compress the straw. You will have done it right if the load is compact and almost hard to poke. Now make a tight knot or ribbon tie and cut away any excess paper.
Meanwhile, using a sterilized blade, make random X-cuts on the plastic bag to make way for the mushrooms. Make some at the bottom of the plastic paper to help with water drainage. Repeat this step until all the Mycelium is used.
Stash this away for a few days until the Mycelium takes over the straw and start to pin.
Step 5. Moving the Mycelium to a Highly Humid Environment
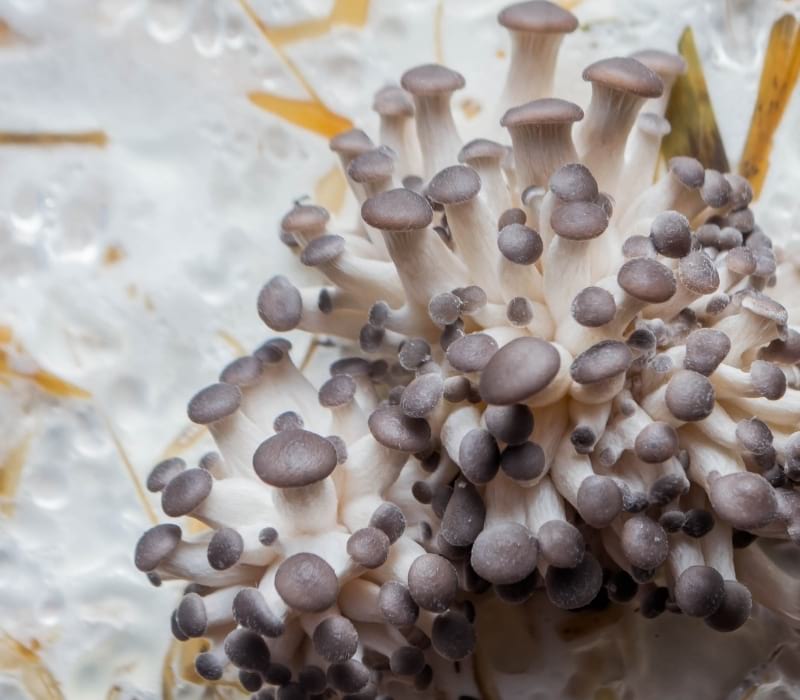
Examine your plastic bags after a few days and make cuts in areas where the Mycelium has started to pin. At this point, the Mycelium pins will need fresh air, humidity, and light.
Now, add about a half-inch of water into the tub and cover it with Hydroton. Next, place your plastic bags on the Hydroton and put them in a humidity chamber.
Moreover, ensure the humidity stays between 85% and 95% and maintain a temperature of 45 to 65 degrees Celsius. Also, ensure that there is enough lighting.
Tip: Mist the bags twice a day, in the morning and the evening.
Watch this video from Jany's Garden on growing button mushrooms yourself:
There you go, homesteaders. Mushrooms are temperamental, and growing them can be a bit technical, but you will soon master how to grow oyster mushrooms in your basement or shed with this easy guide.
What's the most important lesson you learn about how to grow oyster mushrooms? Let us know in the comment section below!
Up Next
- How To Cook A Healthy And Tasty Vegetable Pot Pie
- 9 Reishi Mushroom Health Benefits
- How To Mulch A Tree: 5 Tips From The Pros
Fellow homesteaders, do you want to help others learn from your journey by becoming one of our original contributors? Write for us!

Oyster mushrooms prefer colonize at room temperature or slightly above, and fruit best at cooler temps around 15 degrees. 45-65 degrees as stated in this article is way too hot for oysters.