Never have to worry about soggy, limp veggies. again! Here's a step-by-step guide on how to blanch vegetables and retain their freshness even after storing them in the freezer.
RELATED: Food Preservation Methods | Which One Is Right For You?
Step-By-Step Guide on How to Blanch Vegetables Properly
Why Blanch Vegetables Before Freezing Them?

Have you ever felt like your veggies were lacking in flavor? Did they come from the freezer? If so, you should try blanching them next time.
Blanching is a food preservation technique that retains the flavor, color, nutrients, firmness, texture, and overall freshness of your veggies. That way, they remain crisp and juicy even after freezing them.
Here are some of the veggies you can blanch and how long you should boil them:
- Artichoke: 7 minutes
- Artichoke: 3 to 5 minutes
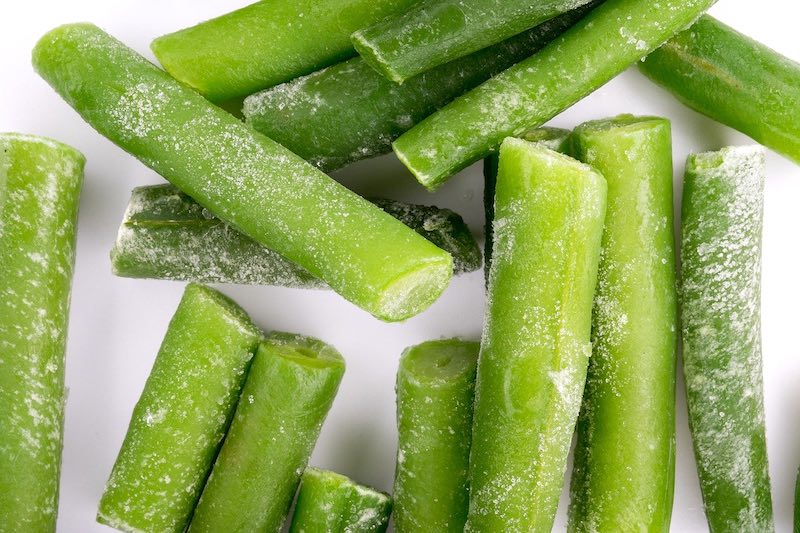
- Green beans: 3 minutes
- Lima beans: 2 to 4 minutes
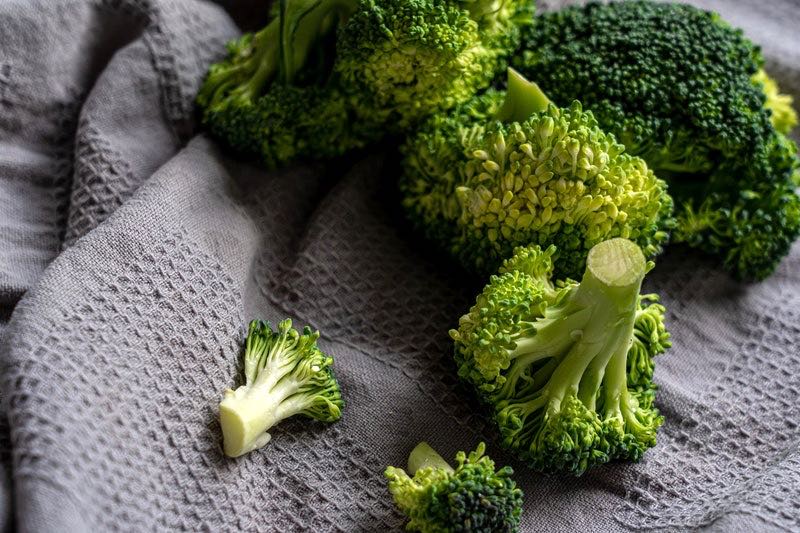
- Broccoli: 3 to 5 minutes
- Brussel Sprouts: 3 to 5 minutes
- Shredded cabbage: 1 minute
- Carrots: 2 to 5 minutes
- Cauliflower: 3 minutes
- Celery: 3 minutes
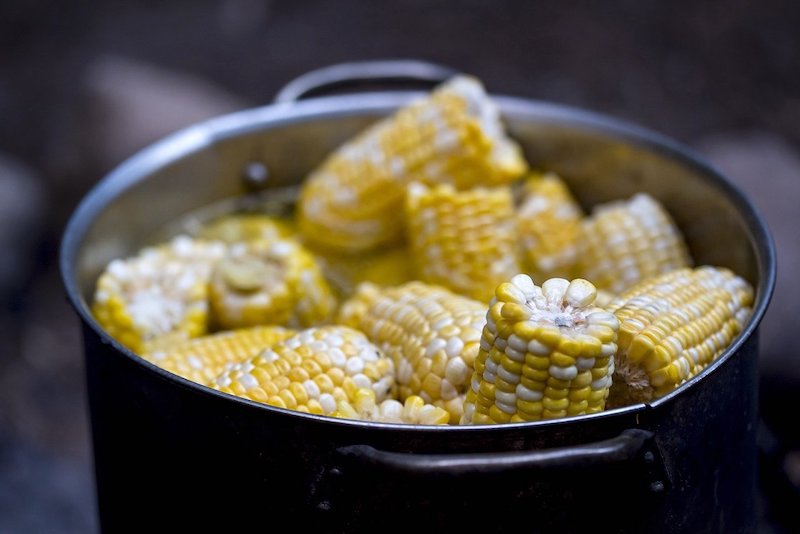
- Corn: 7 to 11 minutes
- Eggplant: 4 minutes
- Collards: 3 minutes
- Kohlrabi: 3 minutes
- Mushrooms: 3 to 5 minutes
- Okra: 3 to 4 minutes
- Onions: 3 to 7 minutes
- Onion rings: 10 to 15 seconds
- Peas: 2 to 3 minutes
- Green peas: 1 to 2 minutes
- Irish potatoes: 3 to 5 minutes
- Rutabagas: 3 minutes
- Soybeans: 5 minutes
- Squash: 2 minutes
- Summer squash: 3 minutes
- Turnips or Parsnips: 2 minutes
How Do You Blanch Vegetables
What You'll Need:
- slotted spoon
- large bowl
- ice
- cutting board
- large pot
- knife
- coarse salt
- large plate
- paper towels
Step 1: Prepare the Necessary Tools

Fill the large pot with water and then boil over high heat. Meanwhile, line the plate with a bunch of clean paper towels and fill the bowl of water with lots of ice.
Step 2: Cut the Vegetables
While the pot of water is boiling, take out your knife and chopping board then proceed to cut them into smaller pieces. Make sure to make uniform slices.
Step 3: Pour the Veggies in the Boiling Pot

After cutting the veggies and once the water is boiling, scoop in a few tablespoons of coarse salt into the pot. The salt will help retain the color and improve the flavor of your veggies.
Directly after sprinkling salt into the pot of water, it’s time to start blanching. If you’re blanching multiple types of veggies, separate each type into small batches.
Note: Blanch them one batch at a time starting with light-colored veggies. Save the dark-colored ones for last because they might tint the water and affect how the next batches will look and taste.
RELATED: Grow Vegetables From Scraps Instead Of Seeds
Step 4: Check for Doneness
While blanching, take out a piece of veggie, dip it in the bowl of ice water, and then do a taste test. Continue taste testing the veggies every 30 seconds until they're cooked to your liking. It should take around three to five minutes to blanch one small batch of veggies.
Step 5: Remove from Heat

Take out the veggies with a slotted spoon and submerge them in the ice bath. Once they've cooled down, leave them to dry on the plate lined with paper towels.
Check out this video by cookingguide for a visual presentation on how to blanch vegetables:
Learning how to blanch vegetables is perhaps the most effective way to retain the freshness of your veggies when you freeze them. Otherwise, they’ll end up limp and soggy.
As a homesteader, food preservation techniques such as this are very important. After all, you spent months tending to your vegetable garden. It would be such a shame for your crops to go to waste simply because you didn’t prepare them properly.
Do you have any questions on how to blanch vegetables? Post them in the comments section below!
Fellow homesteaders, do you want to help others learn from your journey by becoming one of our original contributors? Write for us!
Up Next:

Leave a Reply